One thing that sets Android devices apart from iPhones is the customizable features you get with an Android device. The font style and the font type play an essential role in the appearance of your Android device. You may want to change the font type on your Android phone, but you may be struggling to figure out 그것을하는 방법. Don’t worry, we have a small guide that will help you change the font style on your Android phone.
There are several ways of changing fonts for your Android device and giving it a fresh look. Check out the few methods that we are mentioning in this guide.

How To Change Font Type On Your Android Phone
There are two ways to change the fonts type on your Android device:
타사 앱 사용: For changing the fonts on your device, install third-party apps from the Google play store. There are several apps built for changing fonts on your device.
Using the in-built Settings: Most Android phones have built-in settings for changing the fonts on your device, but if you do not have the in-built setting, you have to root your phone before changing the fonts on your device.
Method 1: Change Fonts From In-Built Font Settings
Most of the Android devices come with pre-installed fonts for your device. However, the setting will vary depending upon your device model and OS version. You may follow these steps to change fonts on your Android device:
참조 :
휴대폰의 TikTok에서 사진 지속 시간을 편집하는 방법
How to Change Location on TikTok
HDMI를 사용하여 삼성 휴대폰을 TV에 연결하는 방법
Android에서 백그라운드 앱 새로 고침이란 무엇입니까?
1. Head to your device’s 설정 을 탭하여 톱니 바퀴 아이콘 while pulling down the 알림 창.
![]()
2. Locate and open the 디스플레이 section. Your phone may have a 디스플레이 및 밝기 option, depending upon your phone.
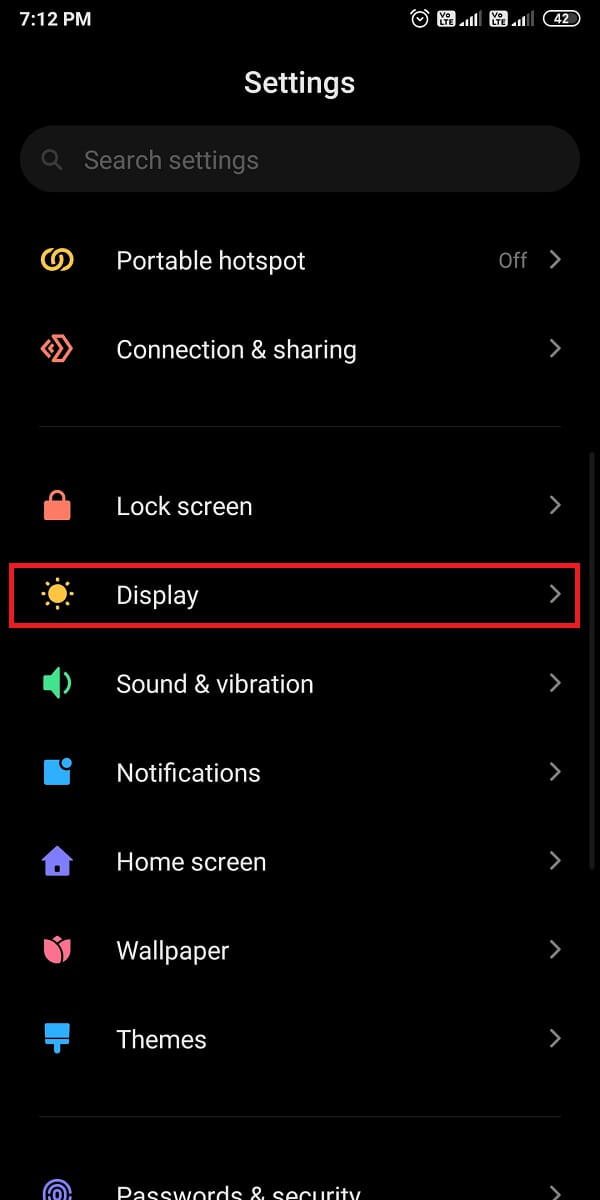
3. 이제 시스템 글꼴. Here, check the default font that is set for your device by tapping on 내 글꼴.
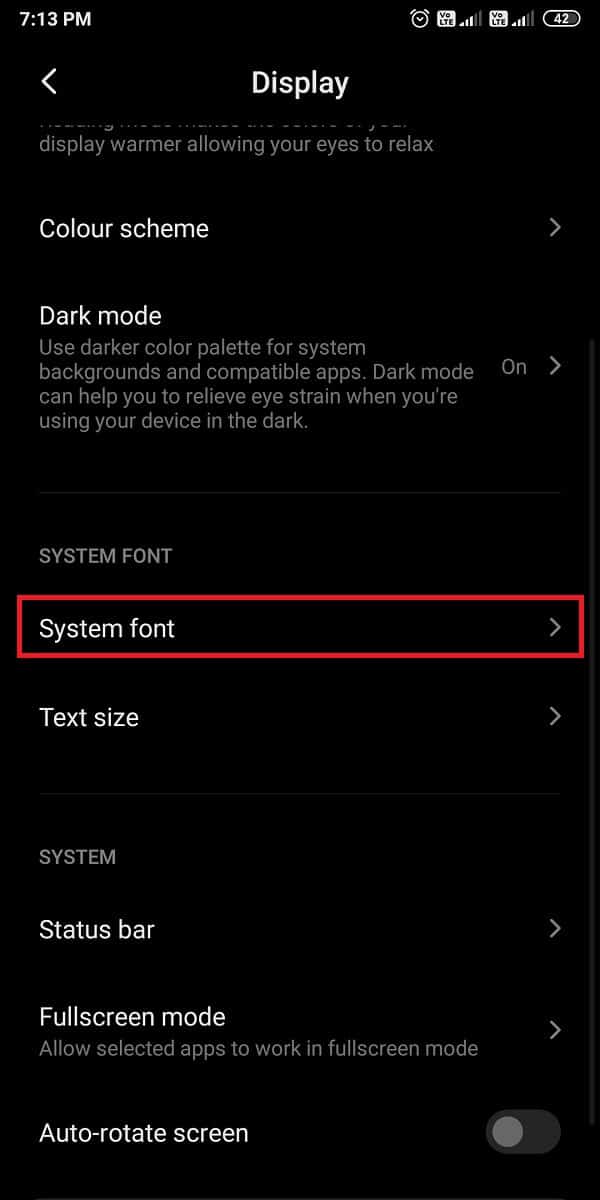

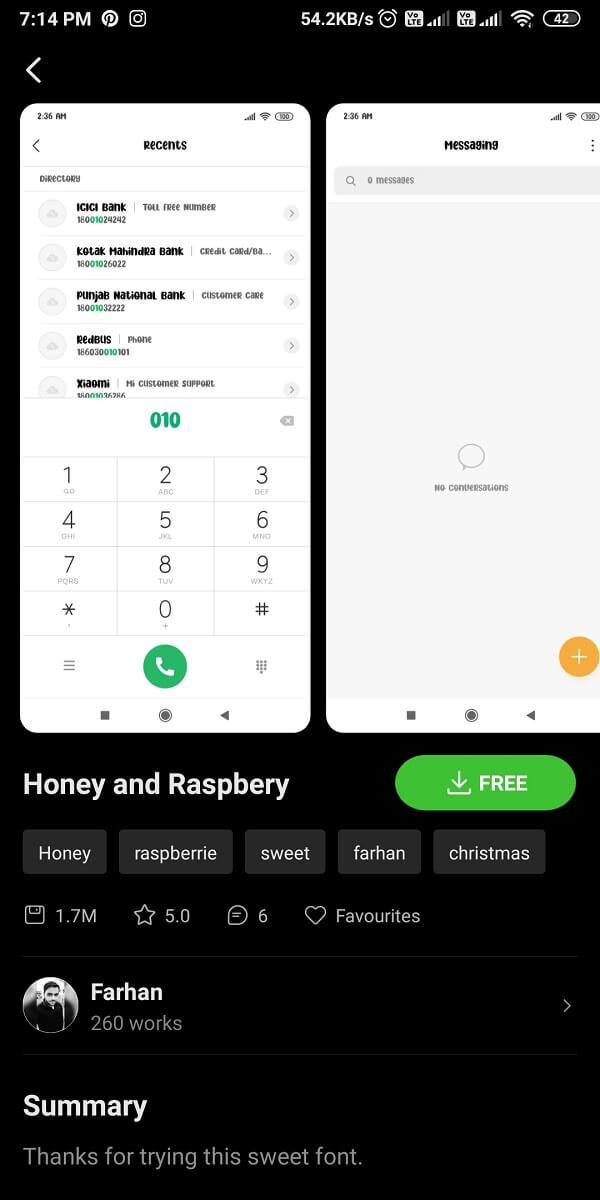
4. Since you want to change the font, scroll down and choose from a vast range of available fonts. Finally, select any font and check the 시사 before choosing it as your default font.
Method 2: Root Your Phone To Change Fonts
Some Android devices may not have in-built font changing features, which means the users will not be able to change the font style without rooting the Android device. After rooting the phone, you will be able to change the fonts easily.
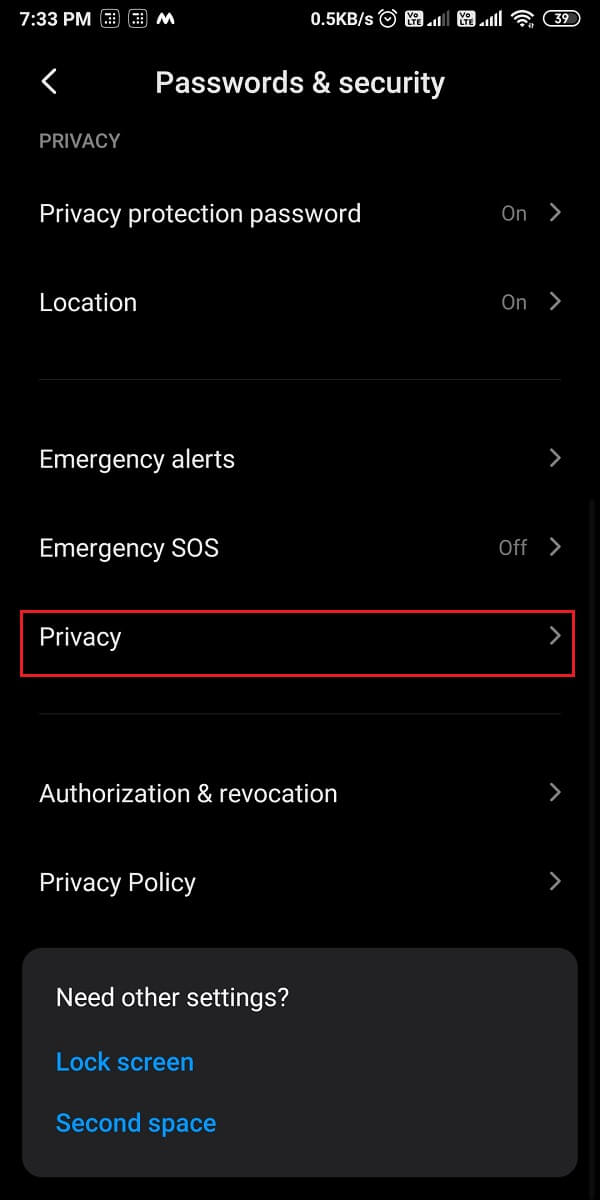
1. The first step is to ensure that you allow installation from unknown apps기기에서. For this, head to 설정 와 이동 암호 및 보안.
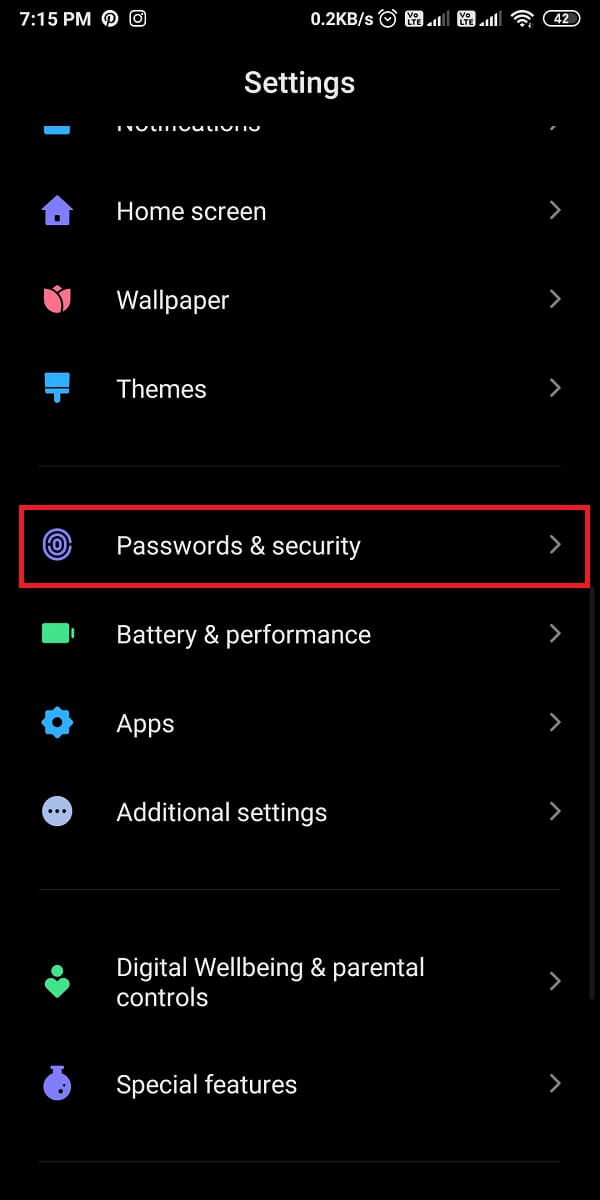
2. 누르세요. 개인정보보호 허용 Unknown installation from Google Chrome.

3. 이제 엽니 다 Google Chrome 설치하고 KingoRoot.apk tool on your device.
4. 앱을 실행 and start rooting your device.
KingoRoot.apk is a great app that you can use to easily root your Android device. You also have the option of installing this tool on your PC and transfer it to your device by using a USB cable.
Method 3: Use Third-party Apps to Change Fonts
There are several third-party apps to change the fonts of your device. Also, if you don’t have an in-built font changing feature, third-party apps come in handy.
그러나, the only drawback is the font will not apply system-wide; it means that the font in the notification shade, settings, or other apps will remain the same as the third-party font apps only change the fonts within the font launcher. Here are some launchers that you can try:
1. 액션 런처
Action launcher is a great app that gives you ample features to customize your device. Follow these steps for using an action launcher to change fonts on your device.
1. 열기 구글 Play 스토어 설치하고 액션 실행기 장치에.

2. 앱을 실행 와 필요한 권한 부여.
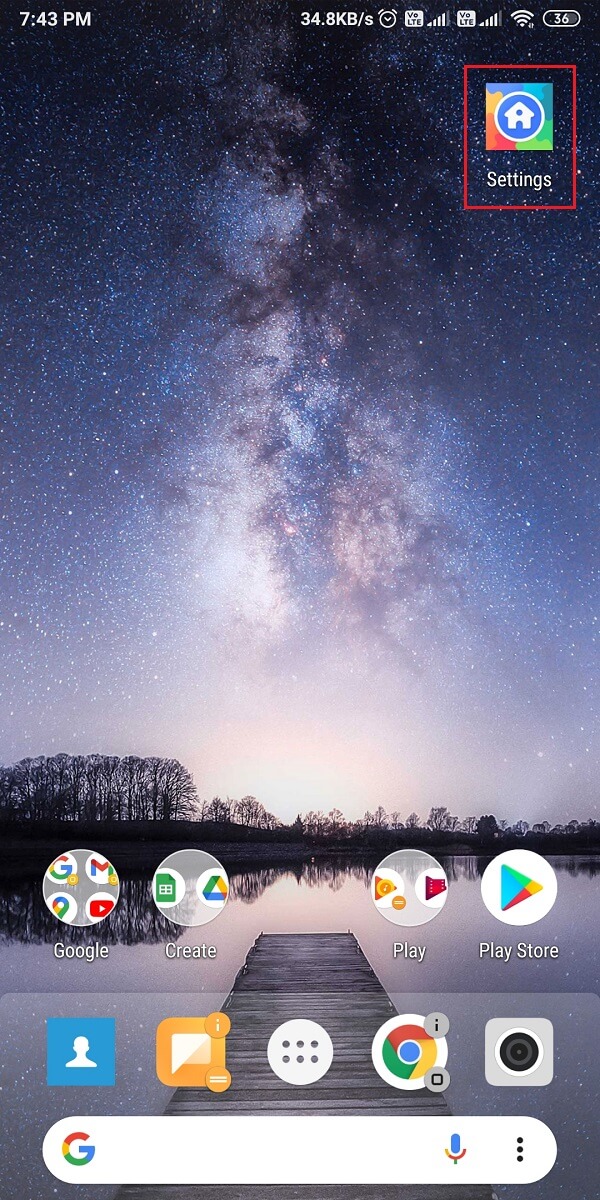
3. 이제 설정 홈 화면에서.
4. 로 이동 외관 section then scroll down and tap on 글꼴.

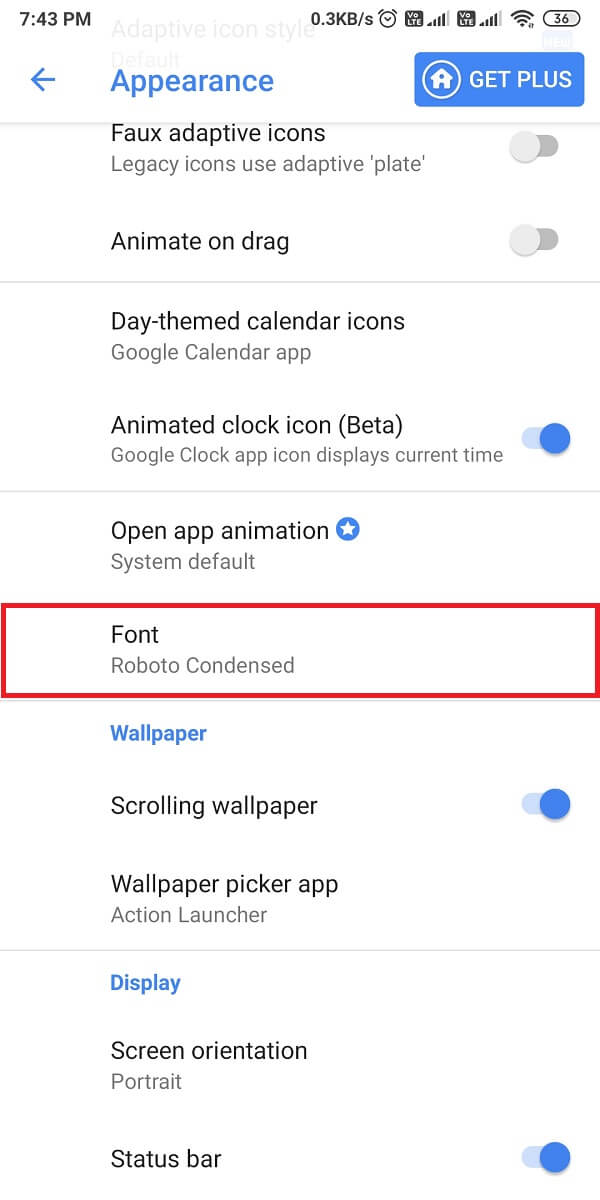
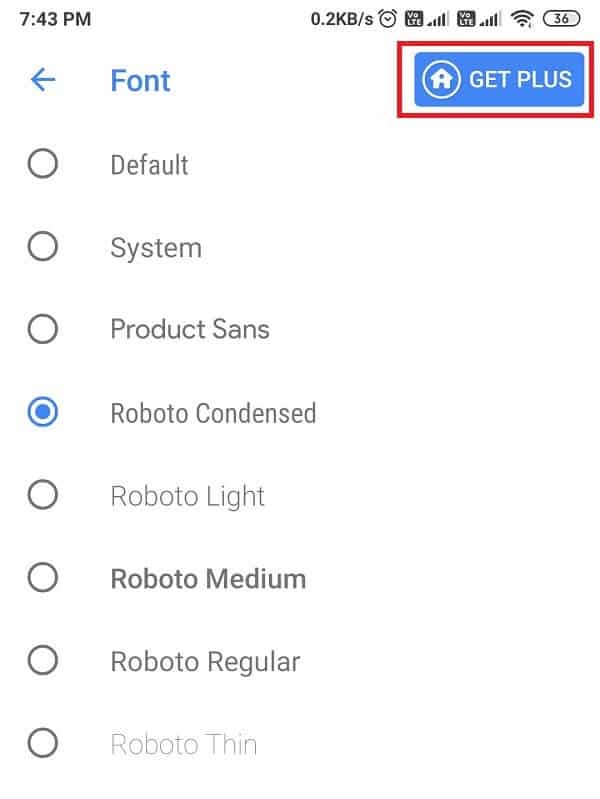
5. Finally, select a font from the available list of fonts. However, if you want more font options then choose the Action Launcher’s paid version by tapping on the GET PLUS 버튼을 클릭합니다.
또한 읽기 : 15 Reasons To Root Your Android Phone
2. 노바 런처
Nova launcher is similar to the action launcher, and it provides you amazing features to customize your phone. Follow these steps if you are curious about how to change your Android fonts using the Nova launcher.
1. 열기 구글 Play 스토어 설치하고 노바 실행기 장치에.
2. After successfully installing, 앱을 엽니 다..
3. Select the theme, layout, and other necessary actions.
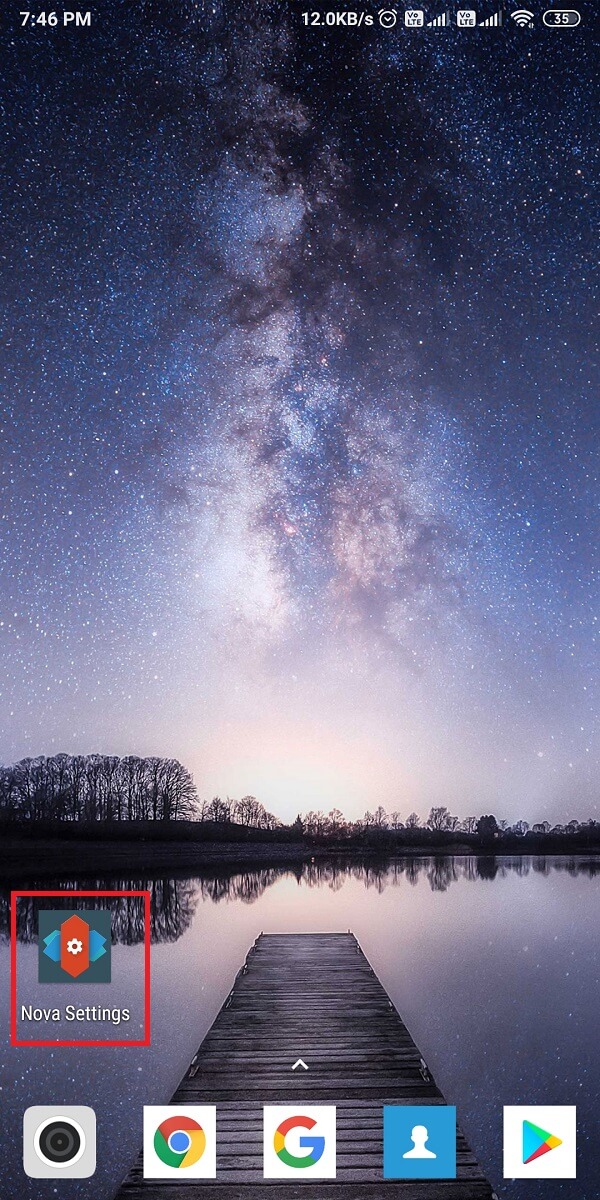
4. 이제 엽니 다 노바 설정 from your blank home screen.
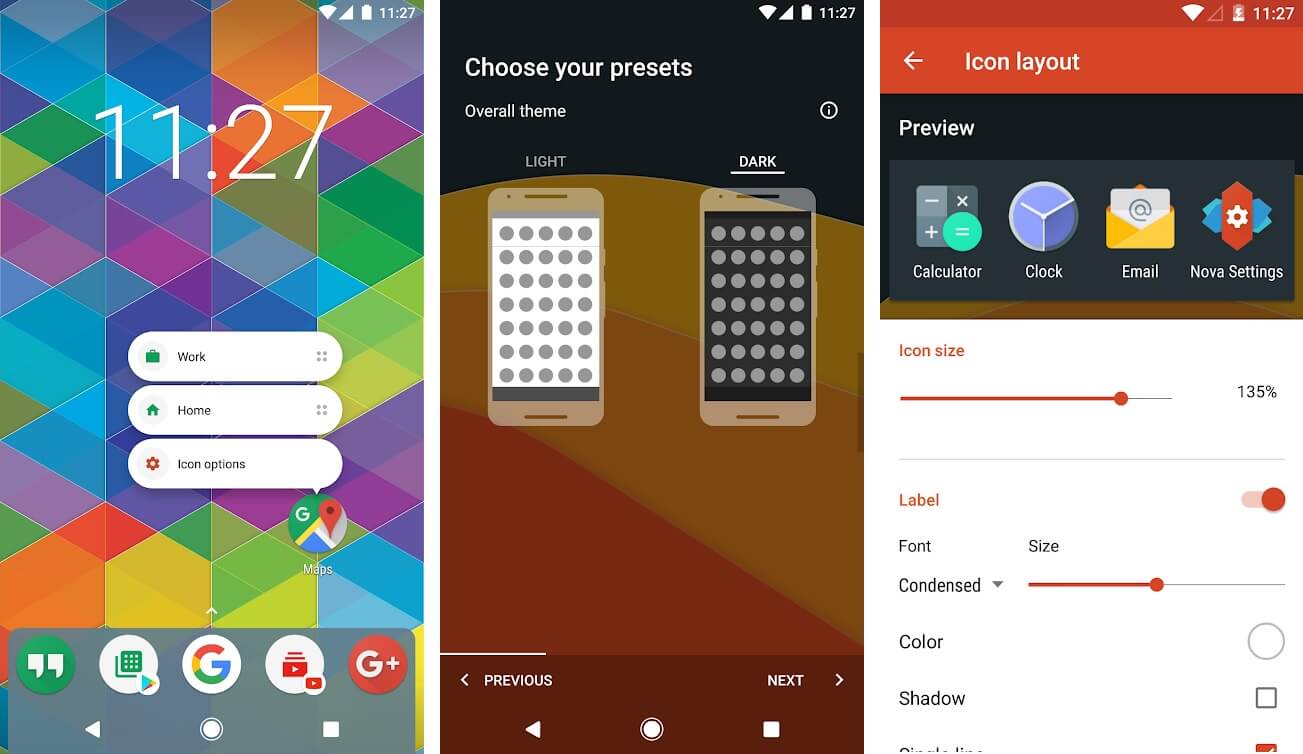
5. 해당 탭을 누릅니다. 앱 서랍 그런 다음 Icon layout 안내
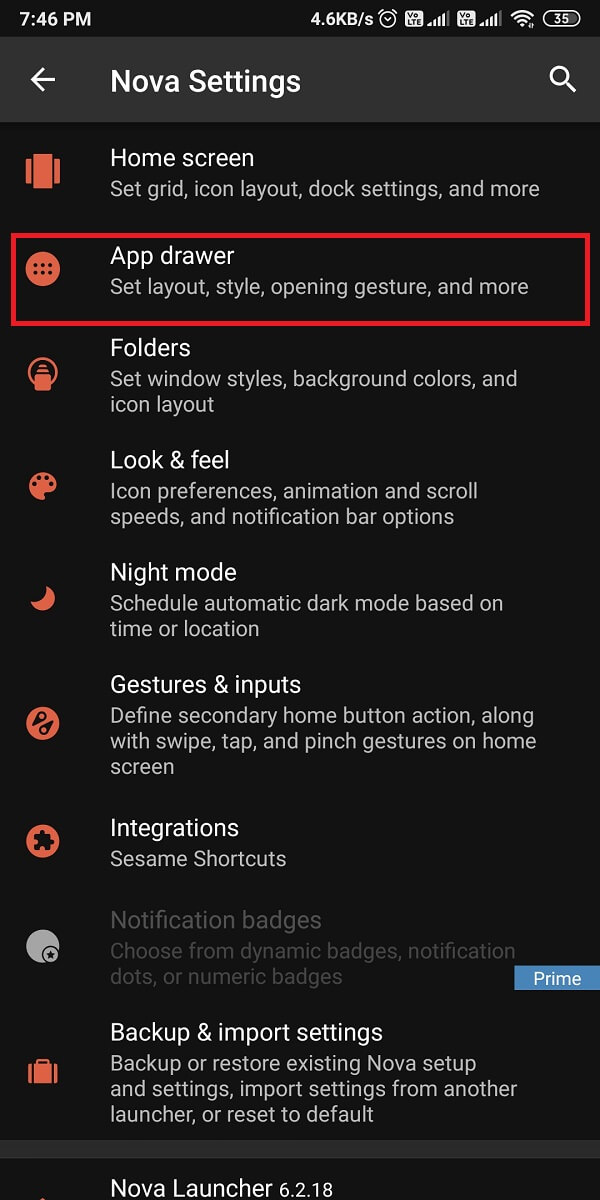
![]()
6. Finally, in the icon layout section, change the Font Size and Style. Drag the slider to change the font size and similarly tap on the pull-down arrow under the font to change the font style.
![]()
그러나, the Nova launcher only comes with four fonts, but it provides you the feature to change the font size, color, shadow effect, and much more.
3. 런처로 이동
Go launcher is also a fantastic app that you can use to change font type on your Android device. Follow these steps for using the Go launcher app:
1. 로 이동 구글 Play 스토어 설치하고 실행기 이동 장치에.

2. After installing the app, 필요한 권한 부여.
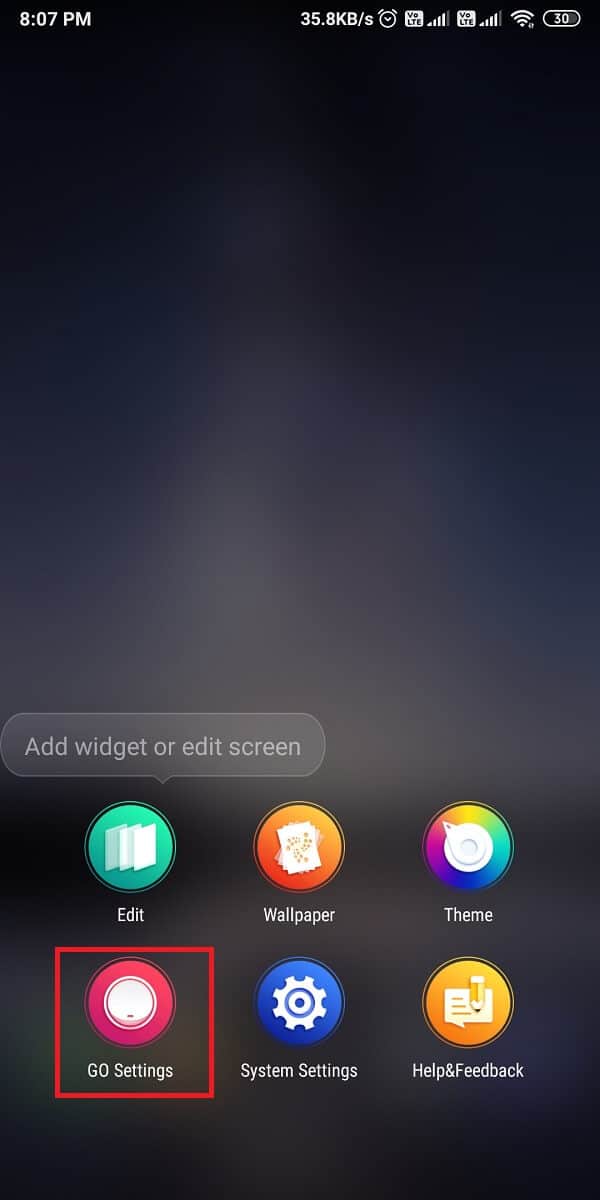
3. Swipe up and select 설정으로 이동 그런 다음 글꼴 section from the Settings.
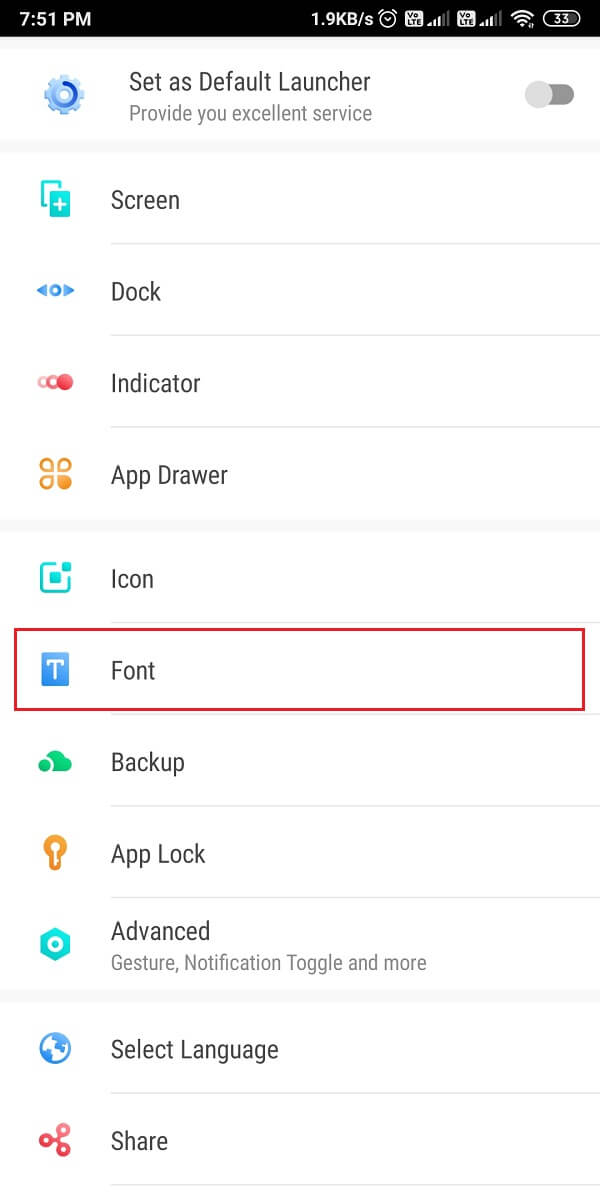
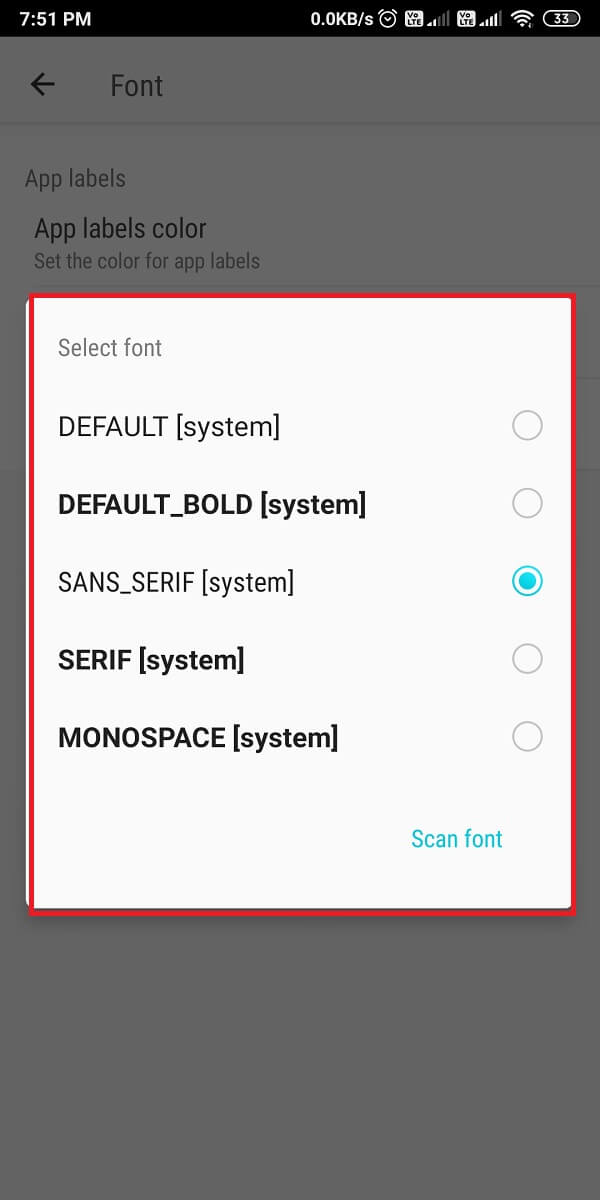
4. 'Select font‘ to choose from 5 different fonts. You can also scan for fonts on your device, the ones you have downloaded or the ones from other apps.
자주 묻는 질문 (FAQ)
Q1: How do I get different fonts on my Android?
To change the fonts on your Android device, use the in-built fonts that come with your device. Go to Settings > Display > Fonts. However, if you don’t have in-built font settings, use 타사 앱 to change the fonts of your device. Some of these apps are Nova launcher, Go launcher, and action launcher.
Q2: How do I install downloaded fonts on Android?
To install the downloaded fonts on Android, use a third-party app called iFont that allows you to install fonts on your device at a click. iFont is a pretty great app that even lets you download the fonts from the app itself.
권장 사항 :
이 가이드가 도움이 되었기를 바랍니다. change the font type on your Android Phone. A simple change in fonts can really change the appearance of your device. Still, if you have any doubts then feel free to ask them in the comment section.

![10 Ways To Back Up Your Android Phone Data [GUIDE]](https://lbsite.org/wp-content/uploads/2023/01/10-Ways-to-Back-up-your-Android-Phone-Data.jpg "10 Ways To Back Up Your Android Phone Data [GUIDE]")