How to Create a Local User Account on Windows 10

When you log in to Windows with your Microsoft 계정, it comes with several benefits. However, you need to agree to share information with Microsoft because based on that you will get personalized settings, your emails will sync automatically, accessing Windows App store and more. But what if you want to log in to Windows with a local account instead? In a situation where somebody does not have Microsoft account, in that case, the administrator can easily create a local user account on Windows 10 그들을 위해.
Now using this local account, the users without having a Microsoft account can easily access your device and can do their work without any issues. In this article, we will explain the entire process of creating and converting your Microsoft account into a local account. However, it is important to know when you want to create a local account and for what purpose because there are some limitations associated with the Local account as compared to Microsoft account.
How to Create a Local User Account on Windows 10
혹시라도 문제가 생길 경우를 대비해 복원 지점을 만들어 두시기 바랍니다.
Method 1: Create a Local User Account using Windows 10 Settings
To start with this process, first, you have to log in to your Windows 10 with admin access. Once you are logged in, follow the steps.
1.Open Start Menu, click on the 사용자 아이콘 선택하고 계정 설정 변경 옵션을 선택합니다.
![]()
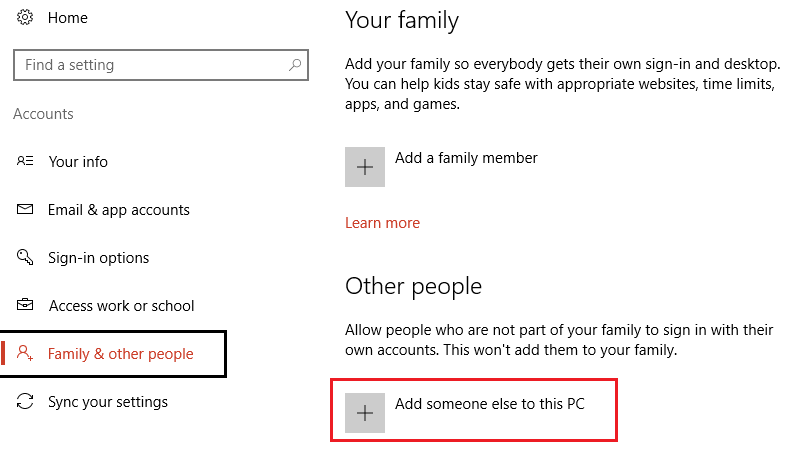
2.This will open the Account Settings window, from there you need to click on Family and Other Users 왼쪽 메뉴에서.
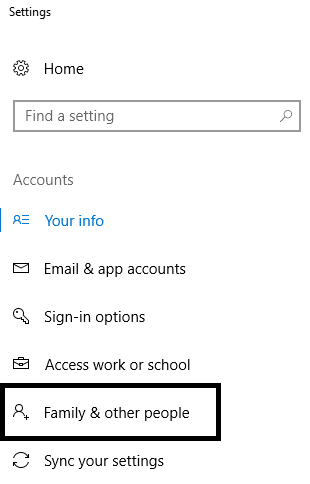
3.여기를 클릭해야 합니다. 다른 사람을이 PC에 추가하십시오. 옵션을 선택합니다.
4.On the next screen when Windows Prompts to fill the box, you don’t need to type Email or phone number rather you need to click on “이 사람의 로그인 정보가 없습니다"옵션.

5.On the next screen, you need to click on Add a User without a Microsoft account link on the bottom.

6.지금 type the name of the person in the box below “Who’s going to use this PC” and 비밀번호를 입력하십시오 under “Make it Secure” heading.
참고 : You can set three security questions in order to recover your password in case you forget the password of this account.

7.Once finished, finally click 다음.
Switch to the newly created Local User Account
Once you have created a local Windows 10 account, you can easily switch to a newly created local account. You do not need to sign out of your current account to switch to a local account. You simply need to click on the 시작 메뉴, 다음을 클릭하십시오. 사용자 아이콘 및 click on the newly created local account username.
Login to the New Local User Account
To login to your newly created local account, you just need to click on the username mentioned on the left side corner of your screen. Now enter the password. For the first time login, Windows takes some time to set up your account.
방법 2 : Change the Account Type
When you create a new user account, it is by default, Standard user account, which is important from a security perspective. However, if you want to change it to an administrator account, you can easily do so. Make sure that you do not need to change the account type for someone whom you don’t trust.
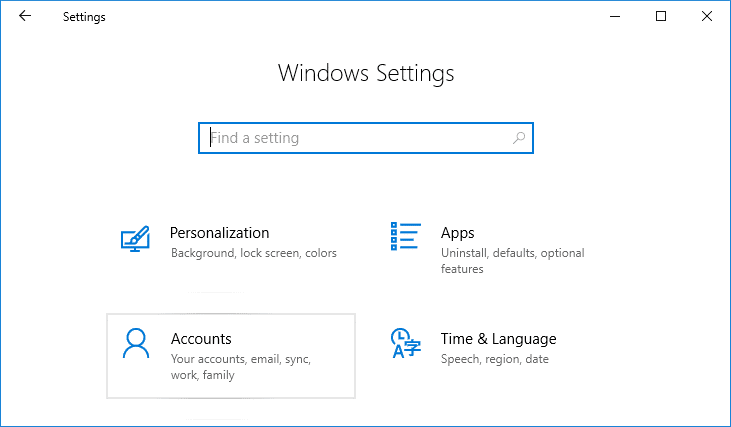
1. Windows 키 + I를 눌러 설정을 연 다음 계정.
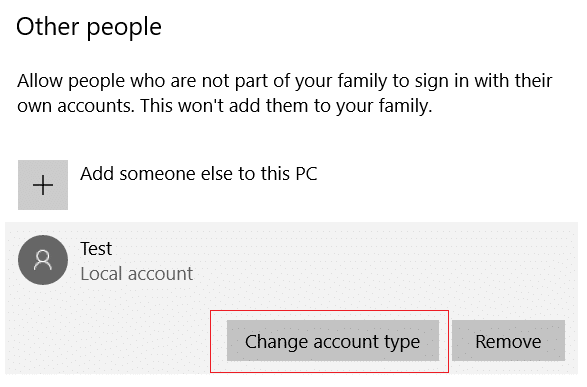
2.Next, navigate to Accounts > Family & Other Users.
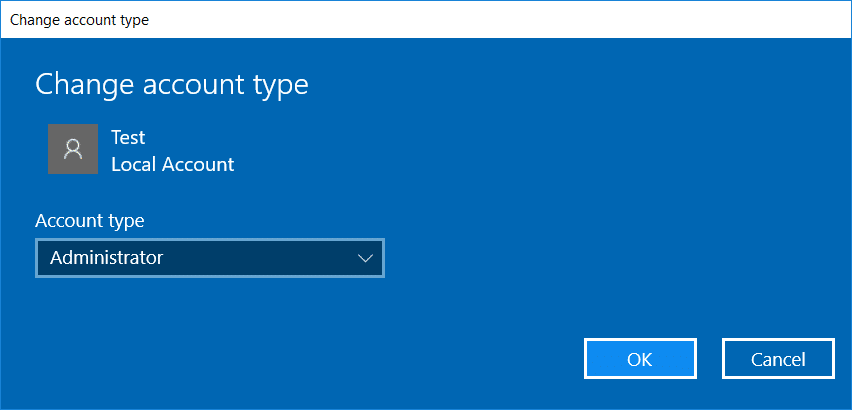
3.Choose the account name that you have created and click on 계정 유형 변경 옵션을 선택합니다.
4.Now from the “Account type” drop-down select 관리자 확인을 클릭하십시오.
Method 3: Remove a Local User Account
In case you want to delete a local user account, just follow the below steps.
1. Windows 키 + I를 눌러 설정을 연 다음 계정.
2.Now from the left-hand side menu click on Family & Other Users.
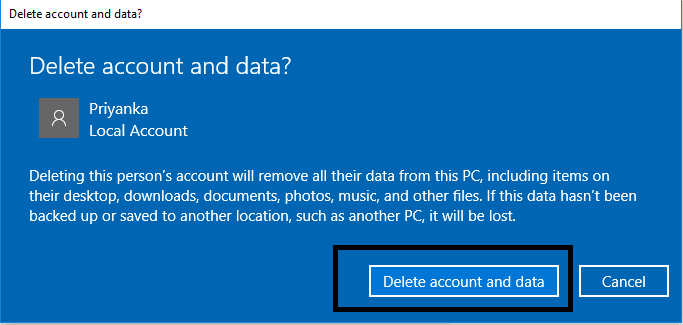
3.Next, click on the Account name which you want to remove and click on the 버튼을 제거하세요.

참고 : When you delete a user account, all its related data will be deleted. Therefore, if you want to secure the data of that user account, you need to take a backup.
방법 4 : Convert a Microsoft Account to a Local User Account
If you have signed in to your device with your Microsoft account, you can convert it to a local user account, if you want using the following steps:
1.검색 설정 in Windows search then 그것을 클릭하십시오.

2.Click 계정 section under the Settings app.
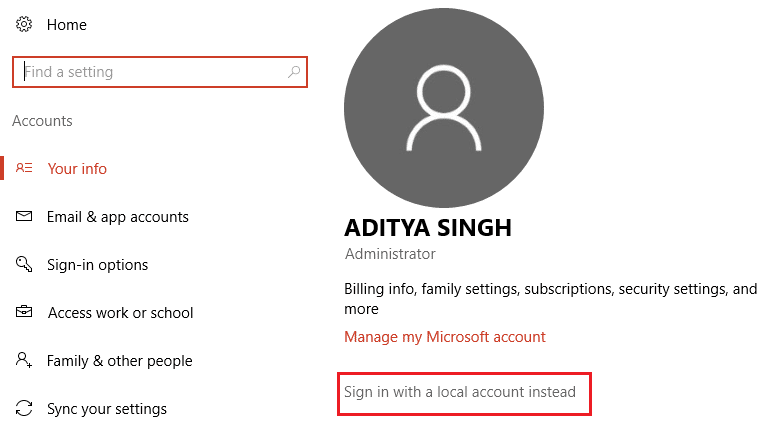
3.From the left pane, you need to click on 귀하의 정보 안내
4.여기를 클릭해야 합니다. 대신 로컬 계정으로 로그인하십시오. 옵션을 선택합니다.
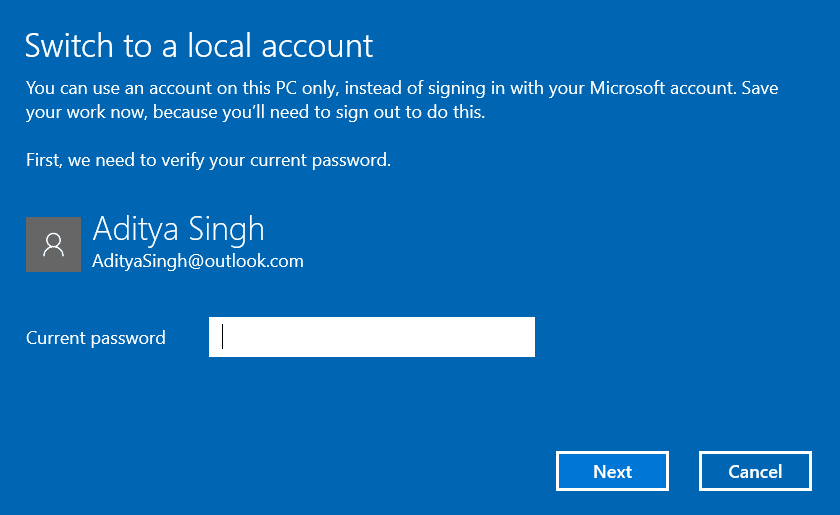
5.입력 암호 for your Microsoft account and click 다음.
6.Now you will need to Enter Password and Reenter the password including the Password hint then click on 다음.
7.마지막으로 다음을 클릭하세요. 로그 아웃 and Finish option.
Now you can easily log in to the local user account which you just created. However, keep in mind that with your local user account you won’t be able to take benefit of features such as OneDrive app, sync your emails automatically, and other preferences. Using a local account comes with its own pros and cons. In most cases, you should only create a local account when you are giving access to your device to your friends or relatives who do not have a Microsoft account. Hopefully, by following the above given detailed methods of creating, deleting and converting your accounts, you will be able to get your job done.
권장 사항 :
이 기사가 도움이 되었기를 바랍니다. 이제 쉽게 할 수 있습니다. Create a Local Account on Windows 10, 하지만 이 튜토리얼에 관해 여전히 질문이 있는 경우 댓글 섹션에서 자유롭게 질문하세요.