Windows 11 작업 표시줄을 왼쪽이나 오른쪽으로 이동하고 사용자 지정하는 방법

If you’re one of the many people who are finally using Windows 11, you’re probably playing around with all of the new features that are available.
One of the first features you may want to play around with is the ability to reposition the Windows 11 taskbar to the left or right, or how to further customize it in different ways. In this tutorial, you’ll learn how.

How to Move the Windows 11 Taskbar to the Left
One of the things you’ve probably noticed the first time you launched the Windows 11 operating system is the fact that the main taskbar icons are centered in the middle of the taskbar at the bottom of the desktop.

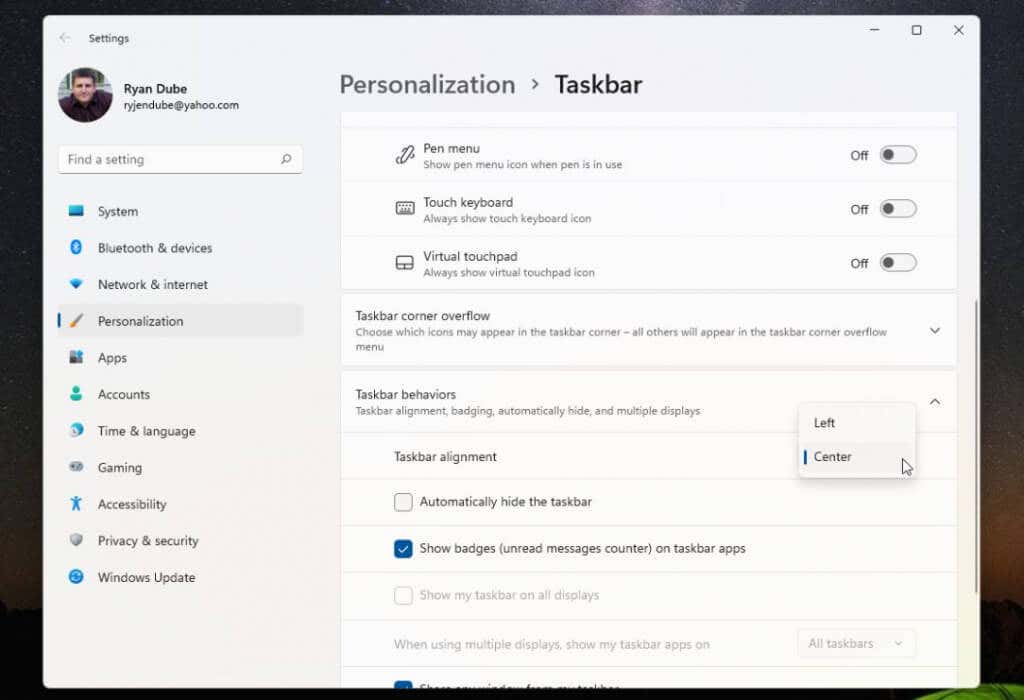
Two positions are available in the taskbar settings for you to reposition where the start menu icon and app icons appear in the taskbar. You can place these to the left or to the right side of the screen (this is actually the center of the taskbar, since the time, date, and system icons are at the far right).
Do you prefer the standard left location for the Start menu and app icons? Setting this is simple.
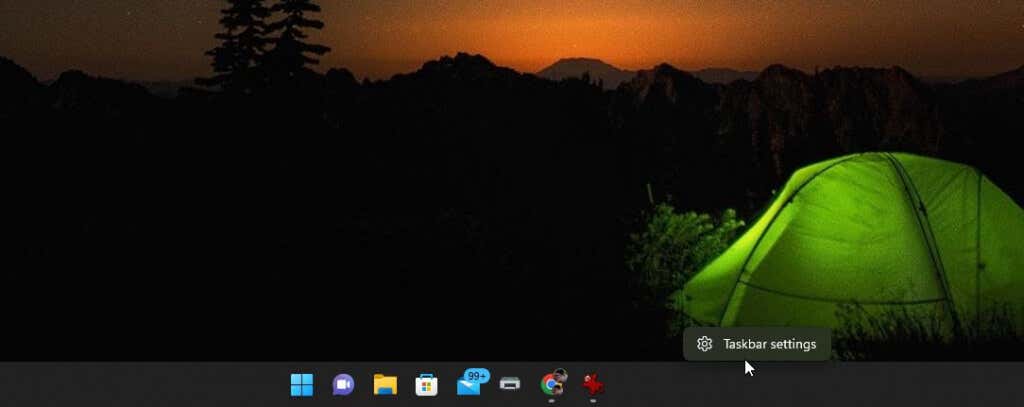
- 작업 표시줄을 마우스 오른쪽 버튼으로 클릭하고 선택 작업 표시 줄 설정.
- In the Taskbar settings window, scroll down to the “Taskbar behaviors” section and change the selection to the right of 작업 표시줄 정렬 from Center to 좌회전.
- Close this menu.
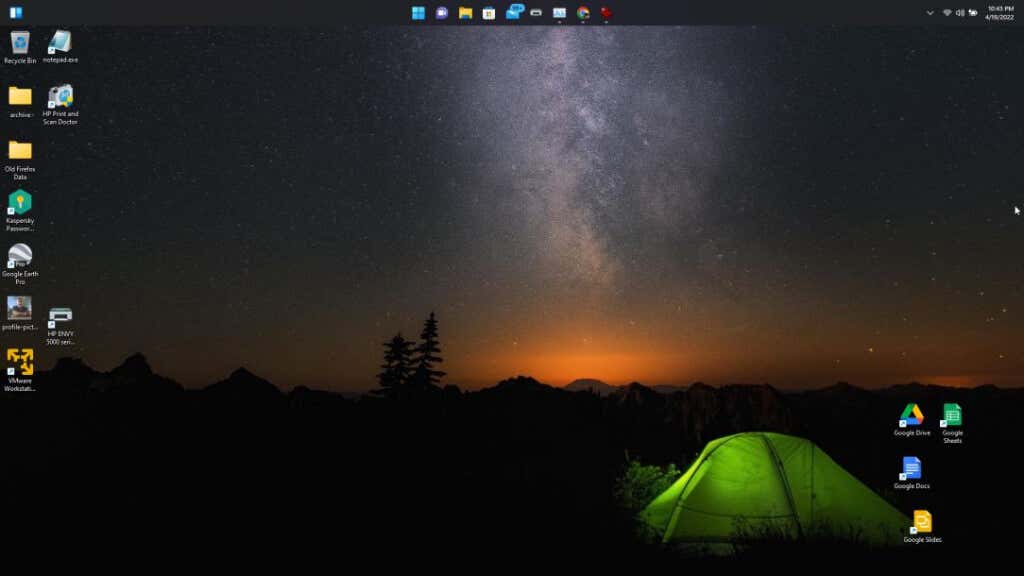
When you changed the setting, you should have noticed that the Start menu and all taskbar icons are now aligned on the left side of the taskbar.
If this is good enough, you can stop reading this article now. But if you’d like to position these 작업 표시 줄 아이콘 in other locations on the desktop or further customize it — read on.
Move Windows 11 Taskbar to Top of the Desktop
If the left or center of the taskbar isn’t enough flexibility for you, you can also place the taskbar at other positions on the desktop as well.
You can do this with a simple 레지스트리 해킹.
- Select the Start menu, type regedit를, 선택 레지스트리 편집기.
- 로 이동 ComputerHKEY_CURRENT_USERSoftwareMicrosoftWindowsCurrentVersionExplorerStuckRects3.
- 를 두 번 클릭 설정 registry key and then double-click the 5th column in the 2nd row.
Type any of the following values depending on which position you want to move the taskbar to.
- 00: Left side
- 01: Top of the screen
- 02: Right side
- 03: Bottom of the screen
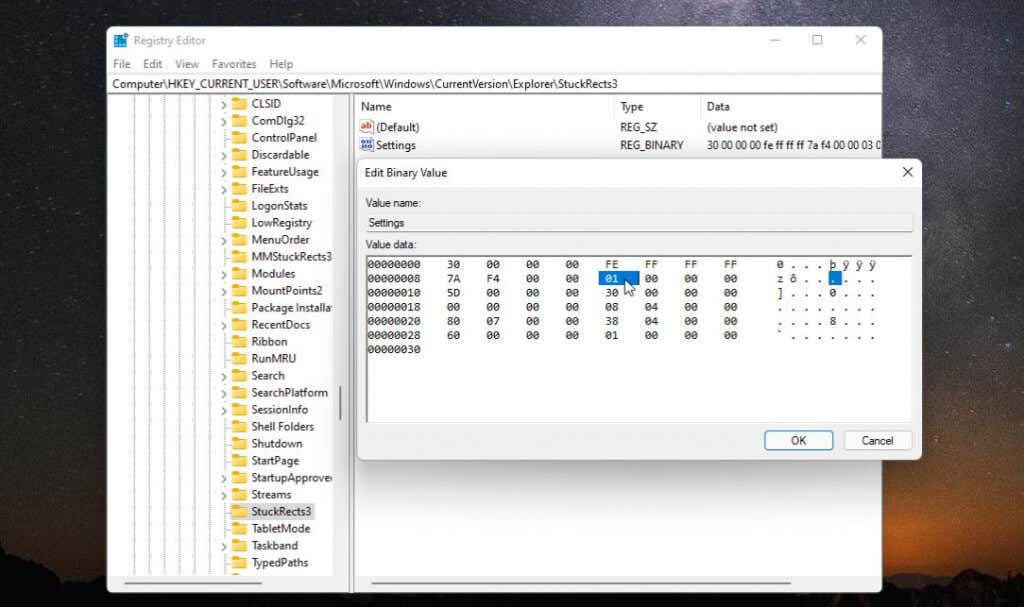
- To move the taskbar to the top of the screen, type 01 선택 OK.
- Close the registry editor, and open the Task Manager (Press Ctrl-Shift-Esc).
- 에 프로세스 탭, 아래로 스크롤 Windows 탐색기, 마우스 오른쪽 버튼으로 클릭하고 선택 다시 시작.
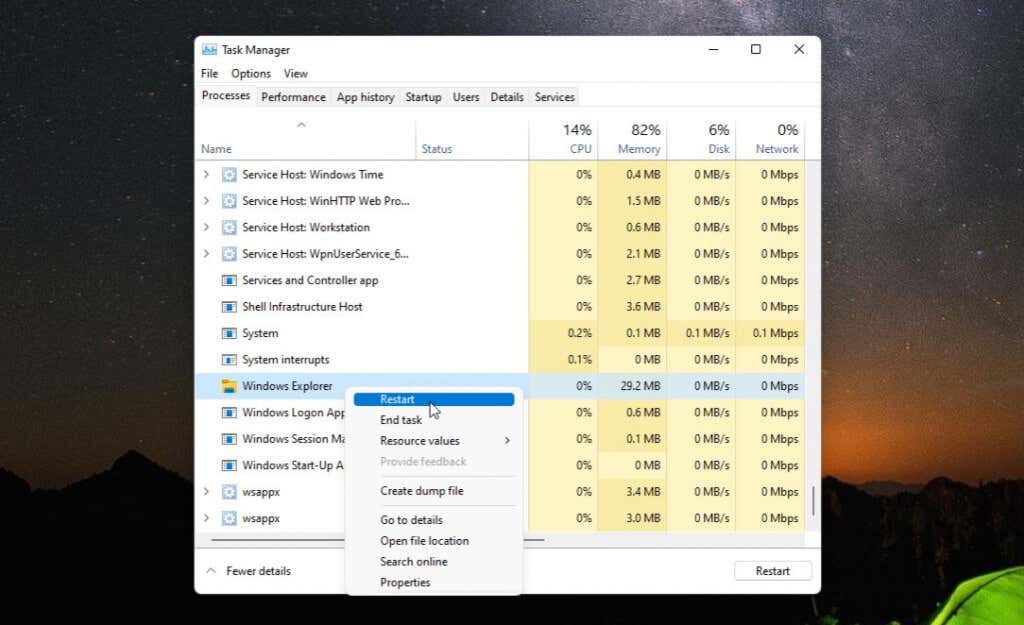
- Once Windows Explorer restarts, this will re-launch the Taskbar and place it where you’ve configured it with the registry tweak; at the top of the Windows desktop.
As you can see, it’s pretty easy to move the taskbar position wherever you’d like to place it on the Windows 11 desktop. But there are a few additional ways you can customize the Windows 11 taskbar as well.
How to Customize the Windows 11 Taskbar
There are a few other ways you can customize the Windows 11 taskbar. You can do this in the Taskbar Personalization settings in Windows Settings.
이것을하기 위해:
- Select the Start menu, type 설정, and select the Settings app.
- 선택 개인화 왼쪽 메뉴에 있습니다.
- 아래로 스크롤하여 선택하십시오. 작업 표시 줄 오른쪽 창에.
- 사용 작업 표시줄 항목 section to toggle off or on whether you want any of the following items to appear in the taskbar: Windows search, Task view, Widgets, or Teams Chat.
- Scrolling a little further down, you’ll see the “Taskbar corner icons” section. This is where you can enable or disable the pen icon, the touch keyboard icon, or the virtual touchpad icon on the taskbar.
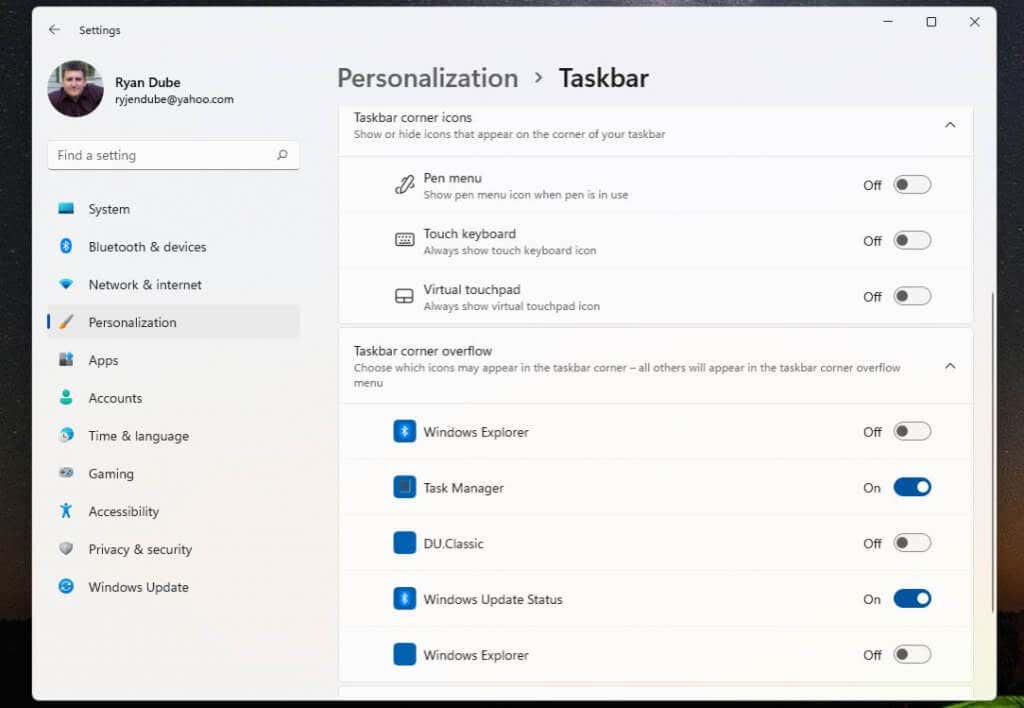
- The “Taskbar corner overflow” section is where you can configure the taskbar corner to display icons for items like Windows Explorer, Task Manager, or Windows Updates.
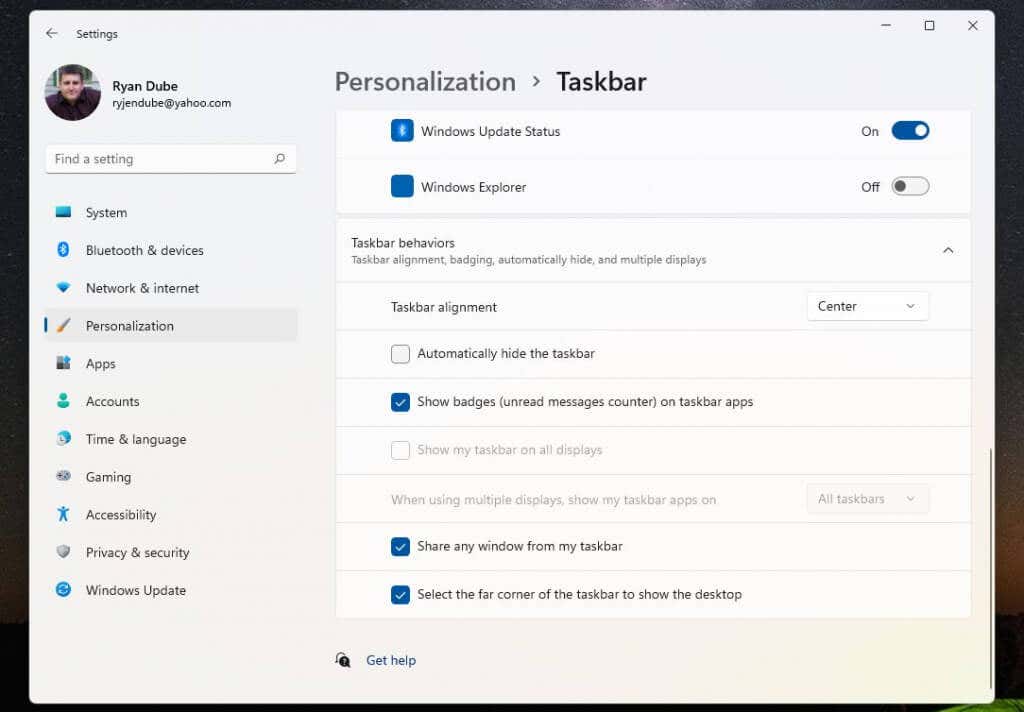
- Scroll down to “Taskbar behaviors” to set taskbar alignment, enable icons for unread messages, multiple display options, window sharing, and desktop display settings.
Once you customize the taskbar, just return to the desktop to start using it.
Of course, one last method you can use to customize what shows up on the dashboard is similar to what you could do in Windows 10 — pinning or unpinning app icons.
Just right-click any app that you want to remove and select 작업 표시 줄에서 고정 해제 to remove that app icon from the taskbar permanently.
This is the easiest way to customize which app icons appear on the taskbar whenever you launch Windows 11.
Love it or hate it, Windows 11 gives us a new user interface that may not make everyone happy. However, at least there are some different options to choose from when it comes to the Windows 11 taskbar.