- in Windows 10 by admin
Di Windows 10-ê de "Divê em hesabê weya Microsoft-ê rast bikin" digirin? Çawa Çareserkirin

Do you get a “Microsoft account problem. We need to fix your Microsoft account” notification whenever you sign in to your Windows PC? Or, does the error message pop up at random intervals when using your computer?
You’re most likely getting this error because there’s a problem with the Windows 10 “Shared experiences” settings, a feature that lets you easily share files between multiple Windows devices. Windows may also display the “Microsoft account problem” error due to file system corruption, or if your PC is unable to sync your account information with the Microsoft server.
Although this error often presents itself after a recent password change, it’s possible to encounter the issue even without changing your account password. Refer to the troubleshooting solutions below to fix the problem.
Remove Unused or Unknown Accounts
Go to the Windows account menu and ensure your account credentials are correct. You should also remove any unused or unrecognized accounts connected to your device.
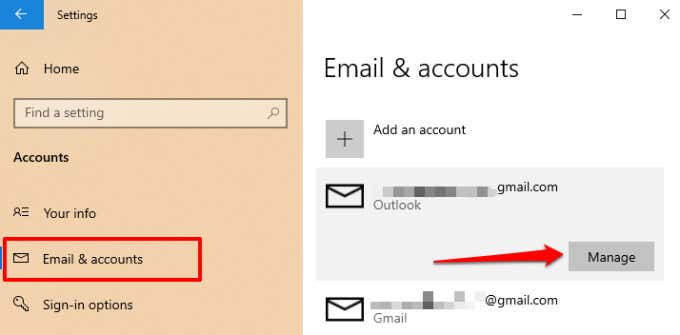
- Biçe Mîhengên > accounts > Email & hesabên and ensure the accounts in the “Accounts used by email, calendar, and contacts” section are correct.
- To remove an unrecognized account, select the account, and select the rêvebirin pişkov.
- In the Account settings windows, select Hesabê ji vê cîhazê hilînin û hilbijêrin Vemirandina icon on the next page to proceed.
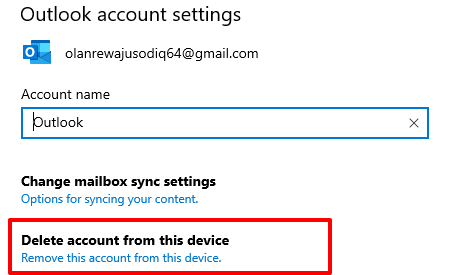
If the affected account is yours, removing and re-adding the account might fix the problem.
How to Re-Add an Account on Windows 10
We recommend restarting your computer before re-adding an account you just removed. When your PC comes back on, follow the steps below to re-add your account.
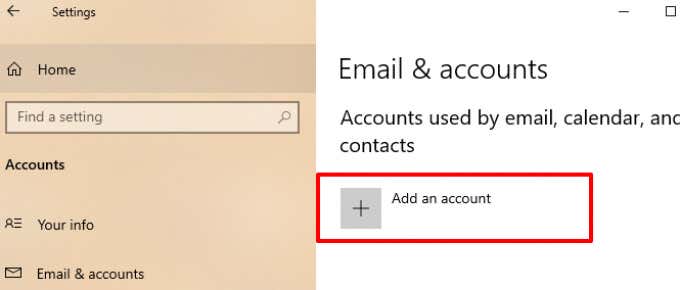
1. Biçe Mîhengên > Konto > Email & hesabên û click Hesabê xwe zêde bike.
2. Select your account provider to proceed.
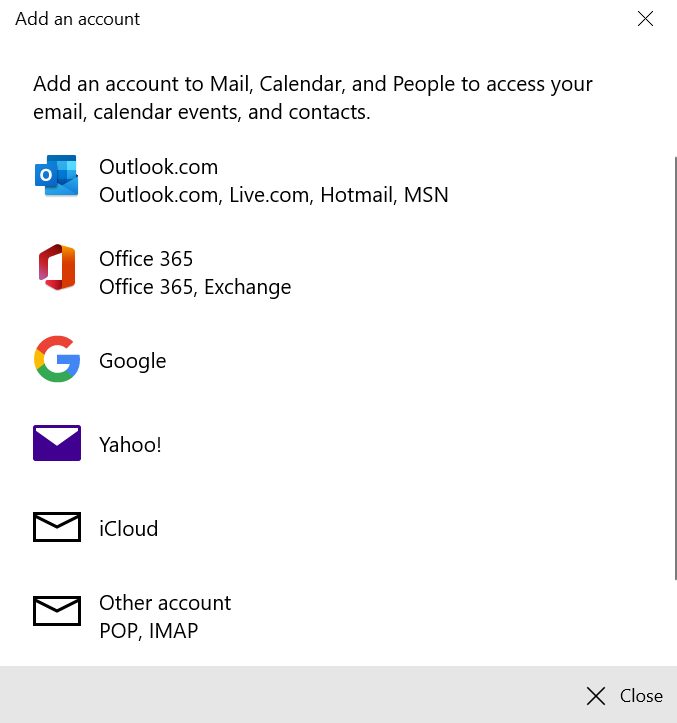
3. Enter your account credentials in the provided dialog box and provide other relevant information to reconnect your account.
Turn Off Shared Experiences
Disabling the “Shared experiences” feature is one easy way to get rid of the “We need to fix your Microsoft account” error. If you don’t own or use multiple Windows devices, you don’t need to enable the feature.
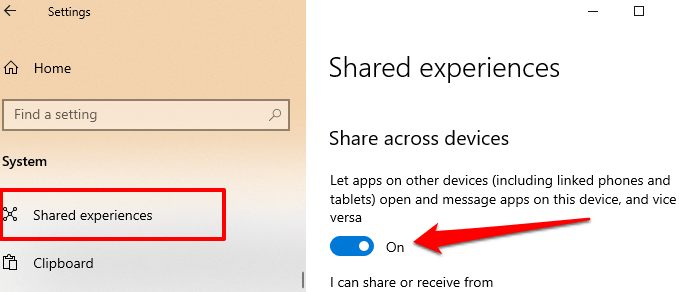
1. Open the Windows Settings, select Sîstemhilbijêrin Tecrûbeyên hevpar on the sidebar, and toggle off the Shared across devices dibe.
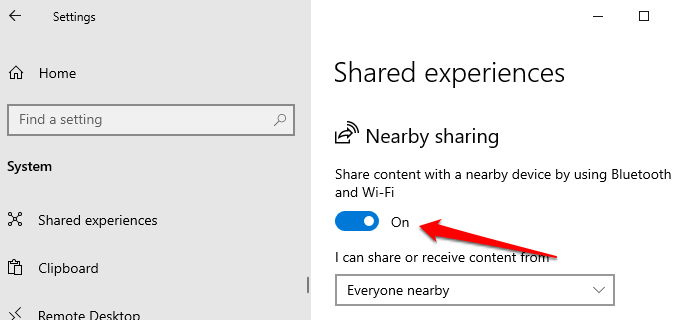
2. You should also turn off the Nearby sharing.
Windows should no longer display the error when you sign in with your local or Microsoft account.
Biguherînin Hesabek Herêmî
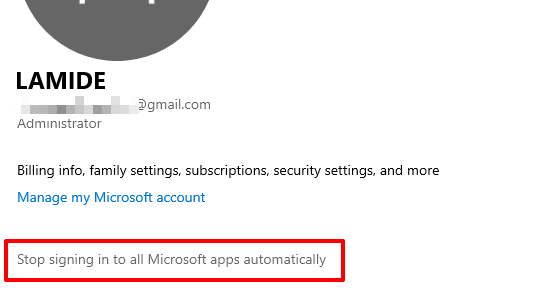
Several Windows users were able to put a stop to this issue by stopping Windows from signing in to all Microsoft apps automatically. This means signing in to your PC using a local account (i.e., an offline account), instead of your Microsoft account. To disconnect your Microsoft account as a sign-in option, go to Mîhengên > accounts > Agahdariya we û click Stop signing in to all Microsoft apps automatically.
On some Windows 10 builds/versions, this option is labeled Sign in with local account instead. If you have no local account on your PC, Windows will prompt you to create one.
Creating a Local Account in Windows 10
Em pêşniyar dikin creating a local account before disconnecting the Microsoft Account from the sign-in options. Follow the steps below to get it done.
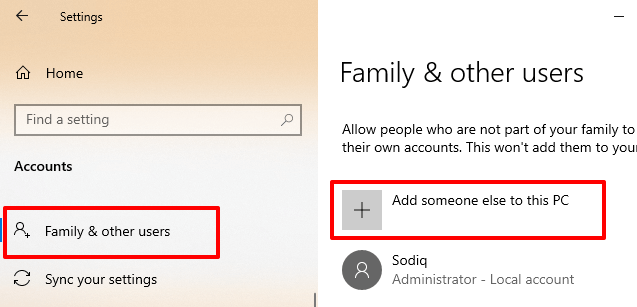
1. Biçe Mîhengên > accounts > Malbat & bikarhênerên din Û hilbijêrin Ji bo vê pcê kesek din bike in the “Other users” section.
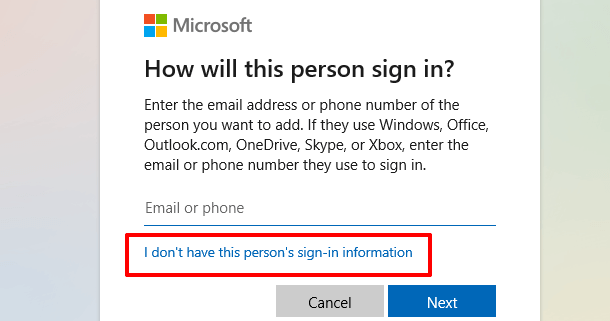
2. In the Microsoft account setup page, select Ez agahdariya nîşana vî kesî tune.
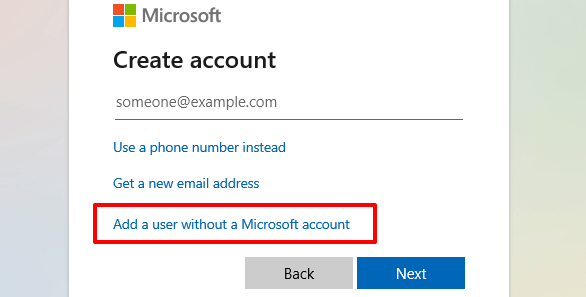
3. On the next page, select Bikarhênerek bêyî hesabek Microsoft-ê zêde bike.
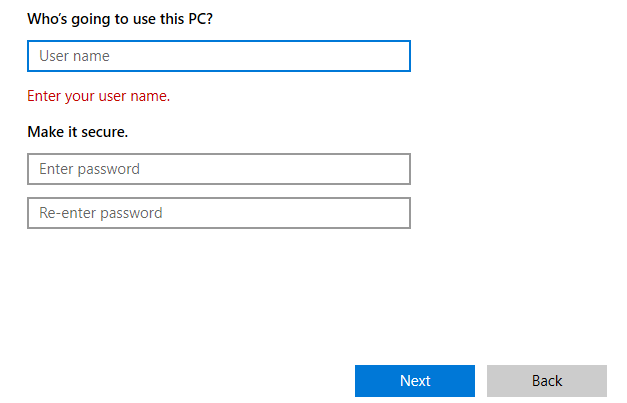
4. Enter the account credentials (username and password) and select Piştî berdewam bikin.
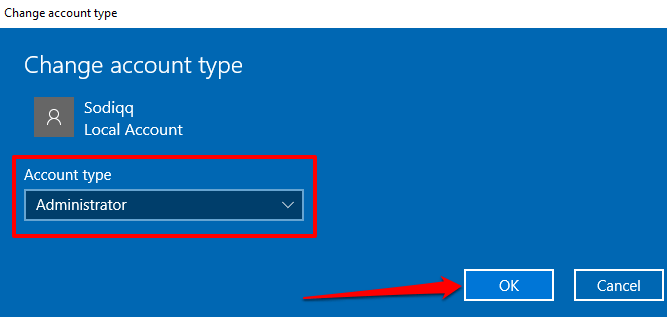
5. You should also ensure the account has administrative access. Click the account and select Guhertina hesabê biguherînî.
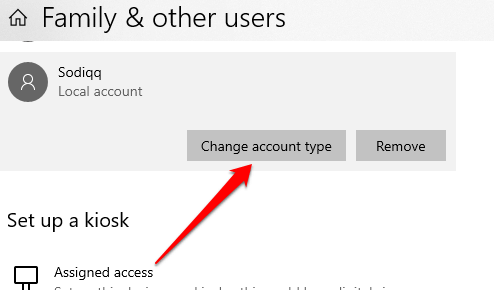
6. Click the Account type drop-down, choose Birêvebirû hilbijêrin OK.
Restart your computer, sign in with the local account, and check if that stops the “We need to fix your Microsoft account” error notification.
Windows-ê nûve bikin
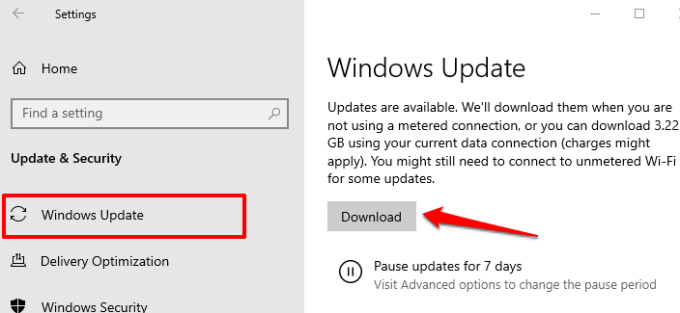
Make sure you have the latest Windows 10 build installed on your PC. An outdated, unstable, or bug-ridden Windows version may cause some functionality to malfunction. Open the Mîhengên app, hilbijêre Nûvekirin & Ewlekarîhilbijêrin Update Update, and install any pending updates on the page.
Vejandina Pergalê pêk bînin
Conversely, if the error notifications emerged after installing a Windows update or making some changes to your account settings, roll back your PC to a previous error-free condition. You can do this via the System Restore feature—a system protection tool that creates a backup of your PC’s settings, system files, drivers, registry files, etc.
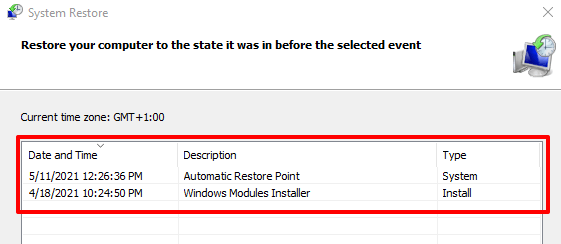
If System Restore is enabled on your PC, Windows will automatically back up your settings and create a restore point every week. Head to the Windows System Protection menu (Control Panel > Sîstem > Parastina pergalê > Sîstema Restore) and select the latest restore point before the “We need to fix your Microsoft account” problem occurred.
That’ll undo the settings or bug that’s causing the annoying error notification. Refer to this guide on creating and using System Restore on Windows 10 to learn more about using restore points to undo stubborn system glitches.
Check for System File Corruption
It’s also worth mentioning that Windows may persistently push the “We need to fix your Microsoft account” notification to your screen if some files powering the Microsoft Store, OneDrive, and other apps connected to your Microsoft account are corrupt or missing.
There’s no way to know for sure whether or not the files are corrupt. However, you can use the built-in System File Checker (SFC) tool to check the integrity of system files. The utility can also help fix and repair corrupt system files. If you’ve tried the troubleshooting techniques above and the error continues, follow the steps below to run the System File Checker.
1. Awa desthilatdar in the Windows Search bar and select Wekî Administrator vegerin in the results pane.
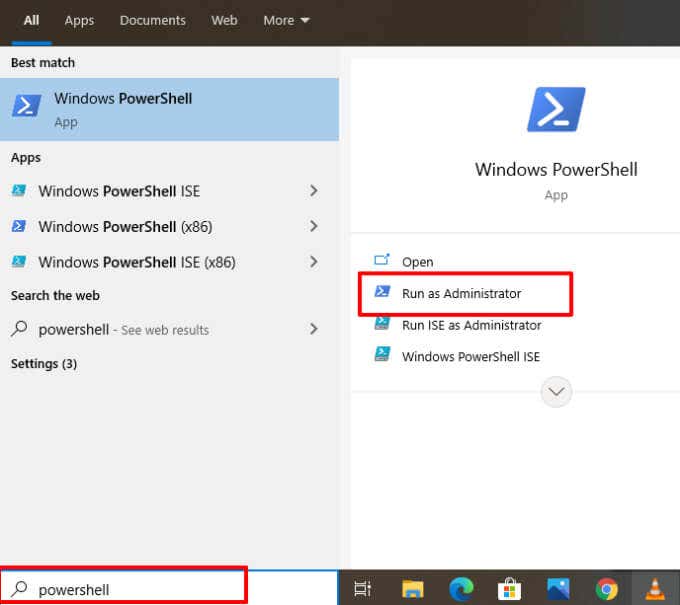
That’ll launch an elevated version of the PowerShell console with administrative privileges.
2. Type or paste sfc / scannow in the console and press Derbasbûn.
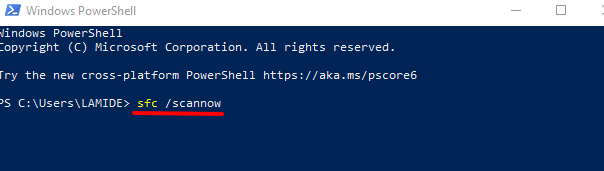
The command will prompt the System File Checker to scan your PC’s file system and fix the corrupt file system. Afterward, use the Alîkariya Dîskê (CHKDSK) kontrol bikin to locate and repair bad sectors on your hard disk.
3. Type or paste chkdsk C: / r in the elevated PowerShell console and press Derbasbûn.
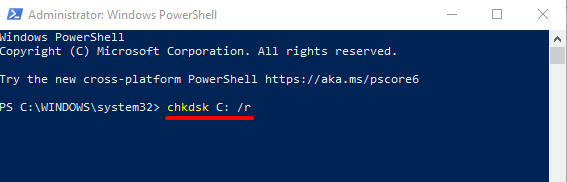
4. You’ll most likely be prompted to schedule the Check Disk scan if your drive is in use. Press y on your keyboard, press Derbasbûn û komputera xwe ji nû ve bidin dest pê kirin.

Restart your computer when the scan is complete and check if that stops the “We need to fix your Microsoft account” error message.
The Deployment Image Servicing and Management (DISM) tool is another built-in tool for repairing corrupt system files. Read this guide on using DISM (and other system tools) to fix corrupt files and get your computer running normally again. Let us know which of these techniques or tools helped resolve the problem.