Change Diagnostic and Usage Data Settings in Windows 10

Change Diagnostic and Usage Data Settings in Windows 10: You must be aware of the Diagnostic and Usage Data Settings which allows Microsoft to collect performance and usage information which helps Microsoft to troubleshoot issues with Windows and improve their product & services and resolve bugs as soon as possible. But the best part of this feature is that you can actually control the amount of diagnostic and usage data sent to Microsoft from your system.
You can select to only send basic diagnostic information which contains info about your device, its settings, and capabilities or you can select the Full diagnostic information which contains all the information about your system. You can also delete the Windows Diagnostic Data that Microsoft has collected from your device. Anyway, without wasting any time let’s see How to Change Diagnostic and Usage Data Settings in Windows 10 with the help of the below-listed tutorial.
Change Diagnostic and Usage Data Settings in Windows 10
Бир нерсе туура эмес болуп калса, калыбына келтирүү чекитин түзүүнү унутпаңыз.
The initial settings can be configured during the Windows Setup when you get to Choose privacy settings for your device simply enable the toggle for Diagnostics to select “Full” and leave it disabled if you want to set Diagnostic and usage data collection policy to “Basic”.
Method 1: Change Diagnostic and Usage Data Settings in Settings App
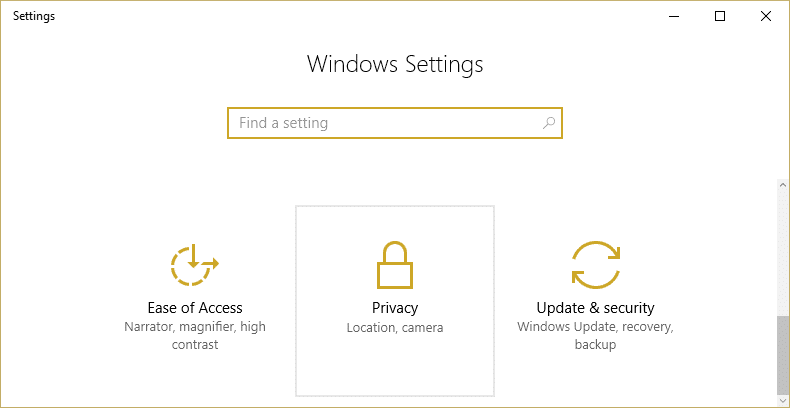
1.Пресс Windows Key + I ачуу үчүн Орнотуулар андан кийин чыкылдатыңыз Купуялык сөлөкөтү.
2. Сол жактагы менюдан тандаңыз Диагностика жана пикир.
3.Now either select Basic or Full for the Diagnostic and usage data.
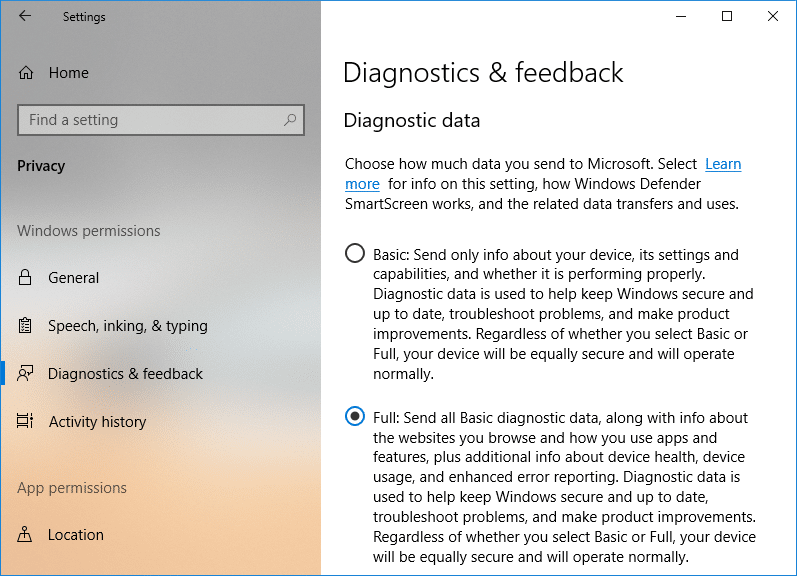
Эскертүү: By default, the setting is set to “Full”.
4.Once finished, close the setting and reboot your PC.
Ошондой эле окуу: Quest диагностикасы сейилдөөлөрдү кабыл алабы?
Method 2: Change Diagnostic and Usage Data Settings in Registry Editor
1.Press Windows Key + R анан териңиз regedit жана ачуу үчүн Enter басыңыз Реестр редактору.

2. Төмөнкү реестр ачкычына өтүңүз:
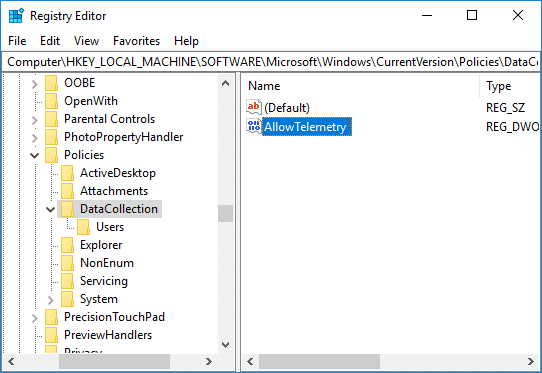
HKEY_LOCAL_MACHINESOFTWAREMicrosoftWindowsCurrentVersionPoliciesDataCollection
3.Тандоону унутпаңыз DataCollection андан кийин оң терезе панелинде эки жолу чыкылдатыңыз AllowTelemetry DWORD.
4.Now make sure to change the value of the AllowTelemetry DWORD according to:
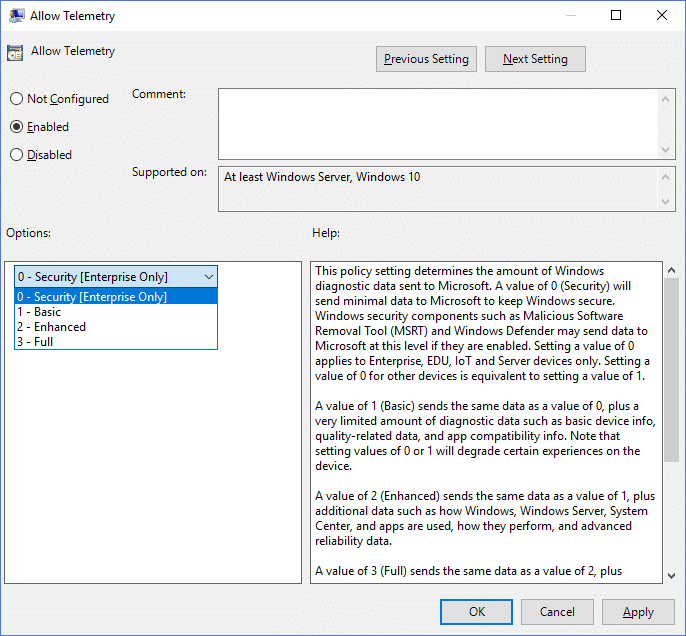
0 = Security (Enterprise and Education editions only)
1 = Basic
2 = Enhanced
3 = Full (Recommended)
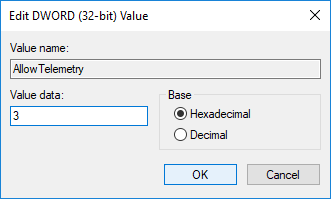
5.Once done, make sure to click OK and close registry editor.
Method 3: Change Diagnostic and Usage Data Settings in Group Policy Editor
1.Press Windows Key + R анан териңиз gpedit.msc жана ачуу үчүн Enter басыңыз Топтук саясат редактору.
2. Төмөнкү жолго өтүңүз:
Computer ConfigurationAdministrative TemplatesWindows ComponentsData Collection and Preview Builds
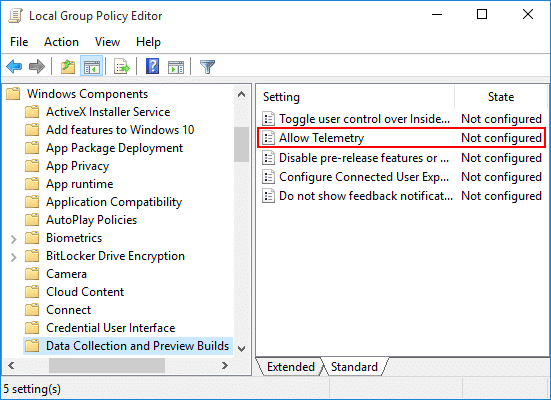
3.Make sure to select Data Collection and Preview Builds then in right window pane double-click on Allow Telemetry Policy.
4.Now to restore default diagnostic and usage data collection setting simply select Not Configured or Disabled for Allow Telemetry policy and click OK.

5.If you want to force a diagnostic and usage data collection setting then Enabled тандаңыз for Allow Telemetry policy and then under Options select Security (Enterprise Only), Basic, Enhanced, or Full.
6. Колдонуу жана андан кийин OK баскычын басыңыз.
7.When finished, reboot your PC to save changes.
сунушталат:
Муну сиз ийгиликтүү үйрөндүңүз How to Change Diagnostic and Usage Data Settings in Windows 10 бирок бул окуу куралы боюнча дагы эле кандайдыр бир суроолоруңуз болсо, аларды комментарийлер бөлүмүнөн сурасаңыз болот.