How to install Internet Explorer on Windows 10

How to install Internet Explorer on Windows 10: ເຖິງແມ່ນວ່າ Microsoft Edge is the default browser that is pre-installed on Windows 10 but many users still prefer to use Internet Explorer over other web browsers. As a user, you cannot uninstall Internet Explorer because it’s a Windows feature. But there are ways to turn on and off IE on Windows 10. If Internet Explorer is turned off in the Windows feature then you won’t be able to use IE on your system. IE will essentially be hidden until you again turn on Internet Explorer. In this article, you will learn about how to install/uninstall Internet Explorer in Windows 10.
Internet Explorer is Missing on Windows 10?
Users are reporting that they are not being able to open Internet Explorer on their Windows 10 PC. Another case is when users are doing a clean installation of Windows 10 they are unable to find Internet Explorer. In reality, Internet Explorer is turned off in Windows feature, although you can’t uninstall Internet Explorer, but you can turn it off or on.
How to install Internet Explorer on Windows 10
ໃຫ້ແນ່ໃຈວ່າສ້າງຈຸດຟື້ນຟູພຽງແຕ່ໃນກໍລະນີທີ່ມີບາງຢ່າງຜິດພາດ.
Method 1: Pin the IE to your Taskbar in Windows 10
This Internet Explorer will most likely be installed on your system, so you have to search it and then pin it to your taskbar so that it becomes easily available. To do this the steps are –
1. ກົດ Windows Key + S to bring up the search then type “Internet Explorer".
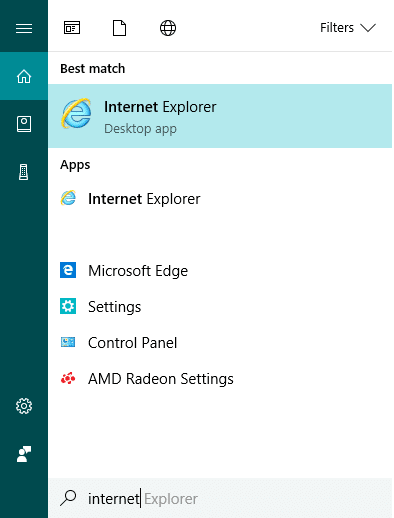
2.You will see that Internet Explorer will come in the top result of the search list.
3.Right-click on IE and choose the option “ໃສ່ກັບແຖບວຽກ".
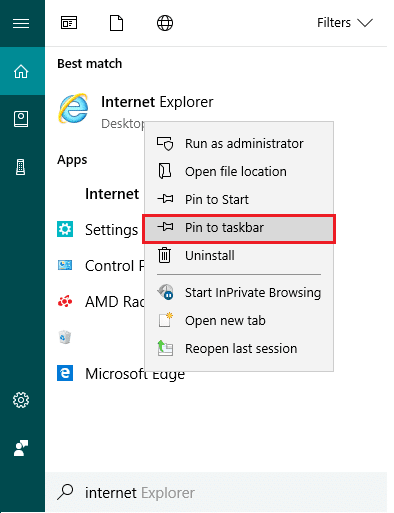
4.Now, you will see the Internet Explorer icon on your taskbar using which you can easily access IE anytime you want.
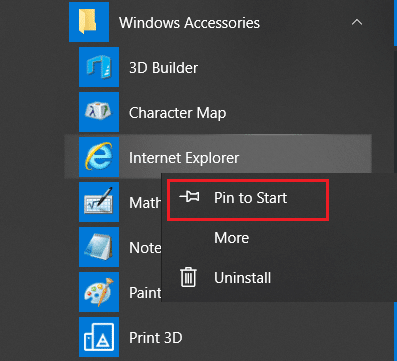
Method 2: Find Internet Explorer using Windows Accessories
Another way to find & pin Internet Explorer on Desktop is by using Windows 10 Settings:
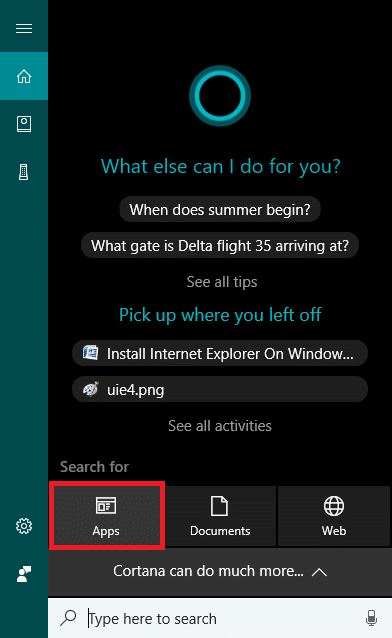
1.Go to the Start button then click on “Apps ທັງຫມົດ“. Or you can click on ກິດ under the Cortana search.

2.From there, you have to scroll down until you find the “ອຸປະກອນເສີມ Windows” ໂຟນເດີ.
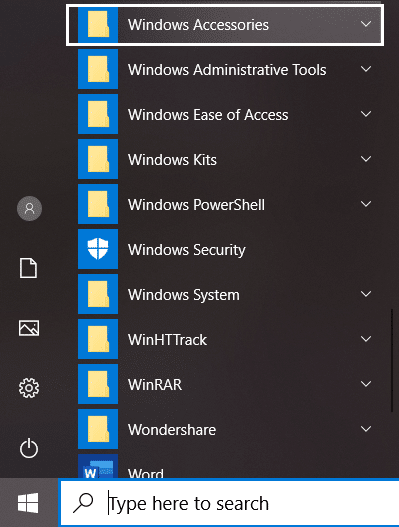
3.Click on it and you will find Internet Explorer in the list.
5.Right-click on Internet Explorer & choose the option “ໃສ່ກັບແຖບວຽກ".
Method 3: Turn On/Off Internet Explorer
In this step, we will learn how you can Turn On or Off Internet Explorer on your PC. To do this the steps are –
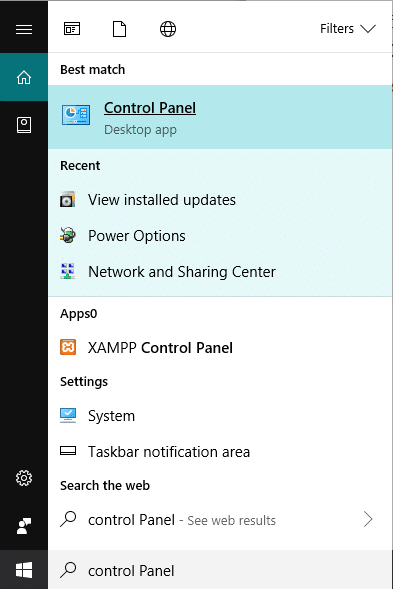
1.ປະເພດ ການຄວບຄຸມ ໃນ Windows Search ຫຼັງຈາກນັ້ນໃຫ້ຄລິກໃສ່ ກະດານການຄວບຄຸມ ຈາກຜົນການຄົ້ນຫາ.
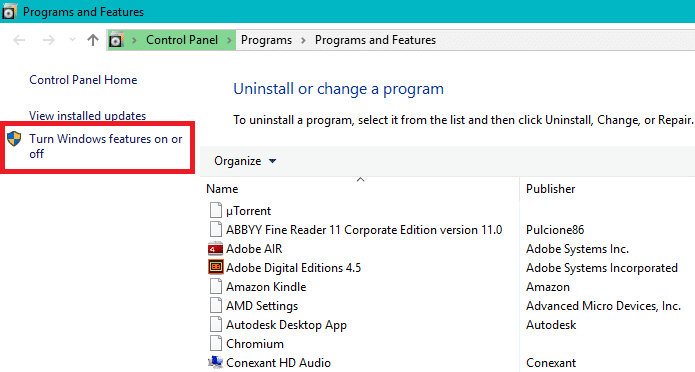
2. ຄລິກໃສ່ “ຖອນການຕິດຕັ້ງໂປລແກລມ” under Control Panel.

3.From the left-hand menu click on “Turn Windows feature on or off".
4.You will see a new pop up window will open (which is Windows Feature Window).
5.In the list, checkmark the box next to the Internet Explorer. This will turn ON the Internet Explorer on your system.
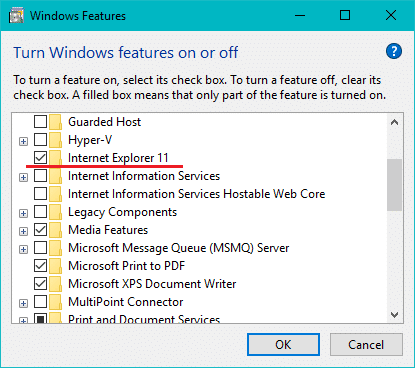
6.One done, click OK to save changes.
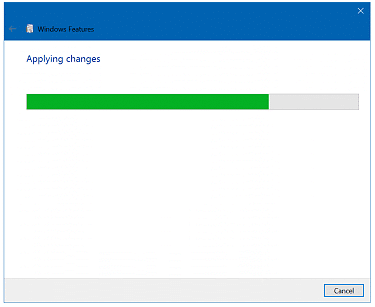
ຫມາຍເຫດ: It will take some time for Windows to apply the changes.
7.Reboot PC ຂອງທ່ານເພື່ອບັນທຶກການປ່ຽນແປງ.
Once the PC restart, you will notice that Internet Explorer is easily accessible through Windows search.
Method 4: Install or Uninstall Internet Explorer on Windows 10
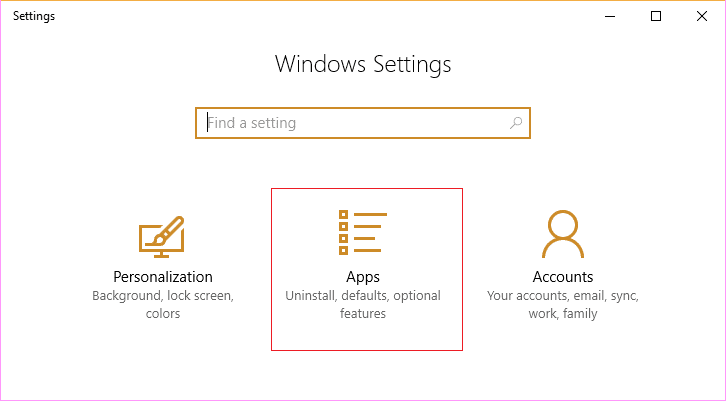
1.ກົດ Windows Key + I ເພື່ອເປີດ Settings ຈາກນັ້ນຄລິກທີ່ Apps.
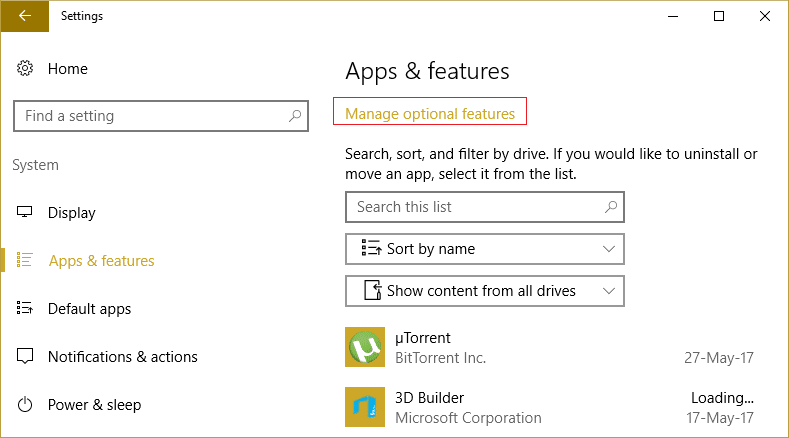
2.From ຊ້າຍມືເມນູ, ໃຫ້ຄລິກໃສ່ ແອັບ ແລະຄຸນສົມບັດ.
3.Now under Apps & features, click on “ຈັດການຄຸນສົມບັດທາງເລືອກ"ຫຼື"ຄຸນສົມບັດທາງເລືອກ".
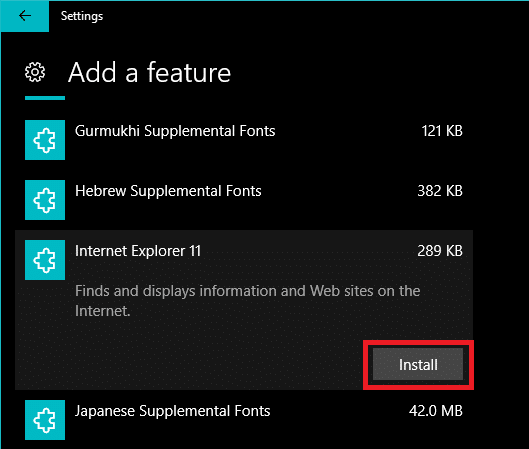
4.Scroll down the list and look for Internet Explorer.
5.Once you find it, you can either Uninstall Internet Explorer (if IE is installed) or ຕິດຕັ້ງມັນ (if IE is uninstalled) on your system.
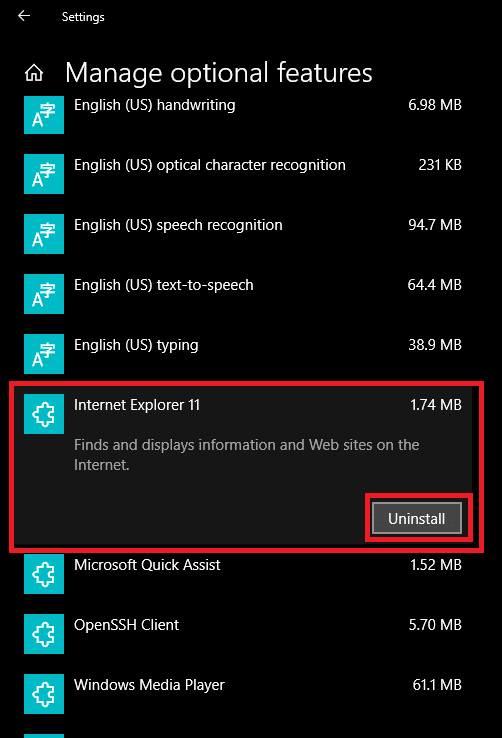
6.ຕອນນີ້ຄລິກ Install or Uninstall button depending upon the status of IE on your system.
7.Once finished, reboot your PC to save changes.
Method 5: Use PowerShell to Install or Uninstall Internet Explorer
Another way to Install or Uninstall Internet Explorer on Windows 10 is via PowerShell. To do this the steps you need to follow are –
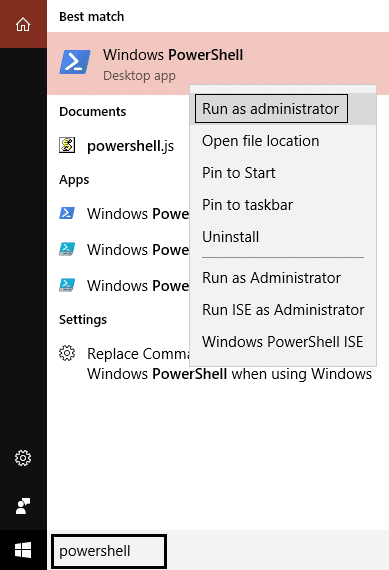
1.Click the Start and search the term “PowerShell ".
2.Right-click the PowerShell application, and open it as “ດໍາເນີນການບໍລິຫານຮູບແບບ”.
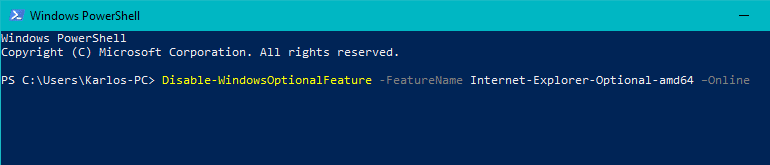
3.Type the following command depending on your choice:
To Uninstall Internet Explorer:
Disable-WindowsOptionalFeature –FeatureName "Internet-Explorer-Optional-amd64" -Online

To Install Internet Explorer:
Enable-WindowsOptionalFeature –FeatureName "Internet-Explorer-Optional-amd64" -All –Online
4.Once you type any one of the above commands and hit Enter, it will then prompt you to restart your system. You have to ປະເພດ Y ແລະກົດ Enter.
5.Your system will reboot to apply changes.
ແນະນໍາໃຫ້:
ນັ້ນແມ່ນ, ຖ້າທ່ານໄດ້ຮຽນຮູ້ວິທີການ Uninstall or Install Internet Explorer on Windows 10 ແຕ່ຖ້າທ່ານຍັງມີຄໍາຖາມໃດໆກ່ຽວກັບບົດຄວາມນີ້, ກະລຸນາຖາມພວກເຂົາໃນສ່ວນຄໍາເຫັນ.