- in langai by Administratorius
Pataisykite „Windows“ kompiuteris neprisijungia prie televizoriaus

The computer is connected to a Smart TV using an HDMI cable. Using HDMI, you can have a home theatre setup by connecting an HDTV or video projector to a computer. This cable will help in connecting to components for both audio and video. However, users have reported that sometimes computers do not recognize TV. If you are facing your PC won’t connect to TV issue, then you are in the right place. This article on how to fix computer won’t connect to TV issue will resolve the issue.
How to Fix Windows 10 PC Won’t Connect to TV HDMI
Whenever an external device is connected to the computer, Windows 10 sets the device ready to work with that device. For instance, when you connect a pen drive, you will see a prompt for File Explorer to run it. The process is similar when you connect a TV. If your computer fails to recognize the TV, then follow any of the methods below to resolve the issue.
Why Computer won’t Connect to TV?
Below are some of the reasons why your PC won’t connect to TV:
- Pasenęs vairuotojas
- Issues with the HDMI cable
- Issues with HDMI port
Pagrindiniai trikčių šalinimo patarimai
Before trying advanced troubleshooting methods, let us try some of the basic troubleshooting methods:
- Loosen up the HDMI coil if it is coiled tightly.
- Since HDMI is sensitive, check whether the pins on the HDMI are damaged.
- Use another HDMI cable.
- Remove other connections of the TV using the HDMI hub or switch.
- Pabandykite connect HDMI cable directly to the TV.
- Pabandykite connect to another HDMI port if your TV has multiple ports.
- Discharge the computer by removing AC adapters, power cables, and peripheral devices.
- Disconnect all ports and restart your computer and TV. Then, reconnect them.
Method 1: Enable Projection Mode
If Windows 10 has failed to automatically detect the connection to the TV, then you can enable the projection mode:
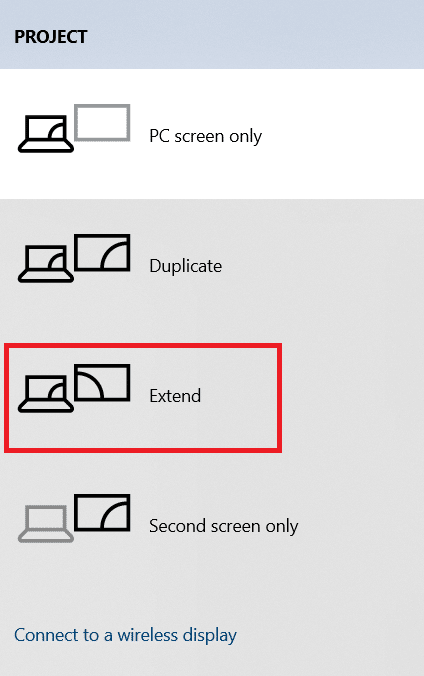
1. Paspauskite „Windows + P“ raktai simultaneously on the keyboard.
2. pasirinkti išplėsti to display your computer screen on the TV.
Pastaba: Taip pat galite pasirinkti dublikatas.
Method 2: Select Input Source on TV
If a TV has more than one display port, it might not detect the incoming video signal automatically and cause Windows 10 DisplayPort Not Working issue and cause Windows 10 DisplayPort Not Working issue. In this case, you can select input on the TV. Follow the steps below:
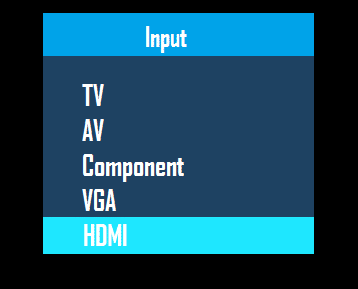
1. Paspauskite Įvesties šaltinio meniu mygtukas TV pultelis.
2. pasirinkti HDMI. This will display the screen of the computer.
Taip pat perskaitykite: How to Convert Coaxial Cable to HDMI
3 būdas: paleiskite aparatūros ir įrenginių trikčių šalinimo įrankį
If there is any issue with the PC hardware, running the troubleshooter will automatically diagnose the problems and fix them. Follow the steps written below to run the Hardware and Devices Troubleshooter to fix Computer won’t Connect to TV issue.
1. Paspauskite Windows raktas, įveskite Komandinė eilutė ir spauskite Vykdyti kaip administratorius.
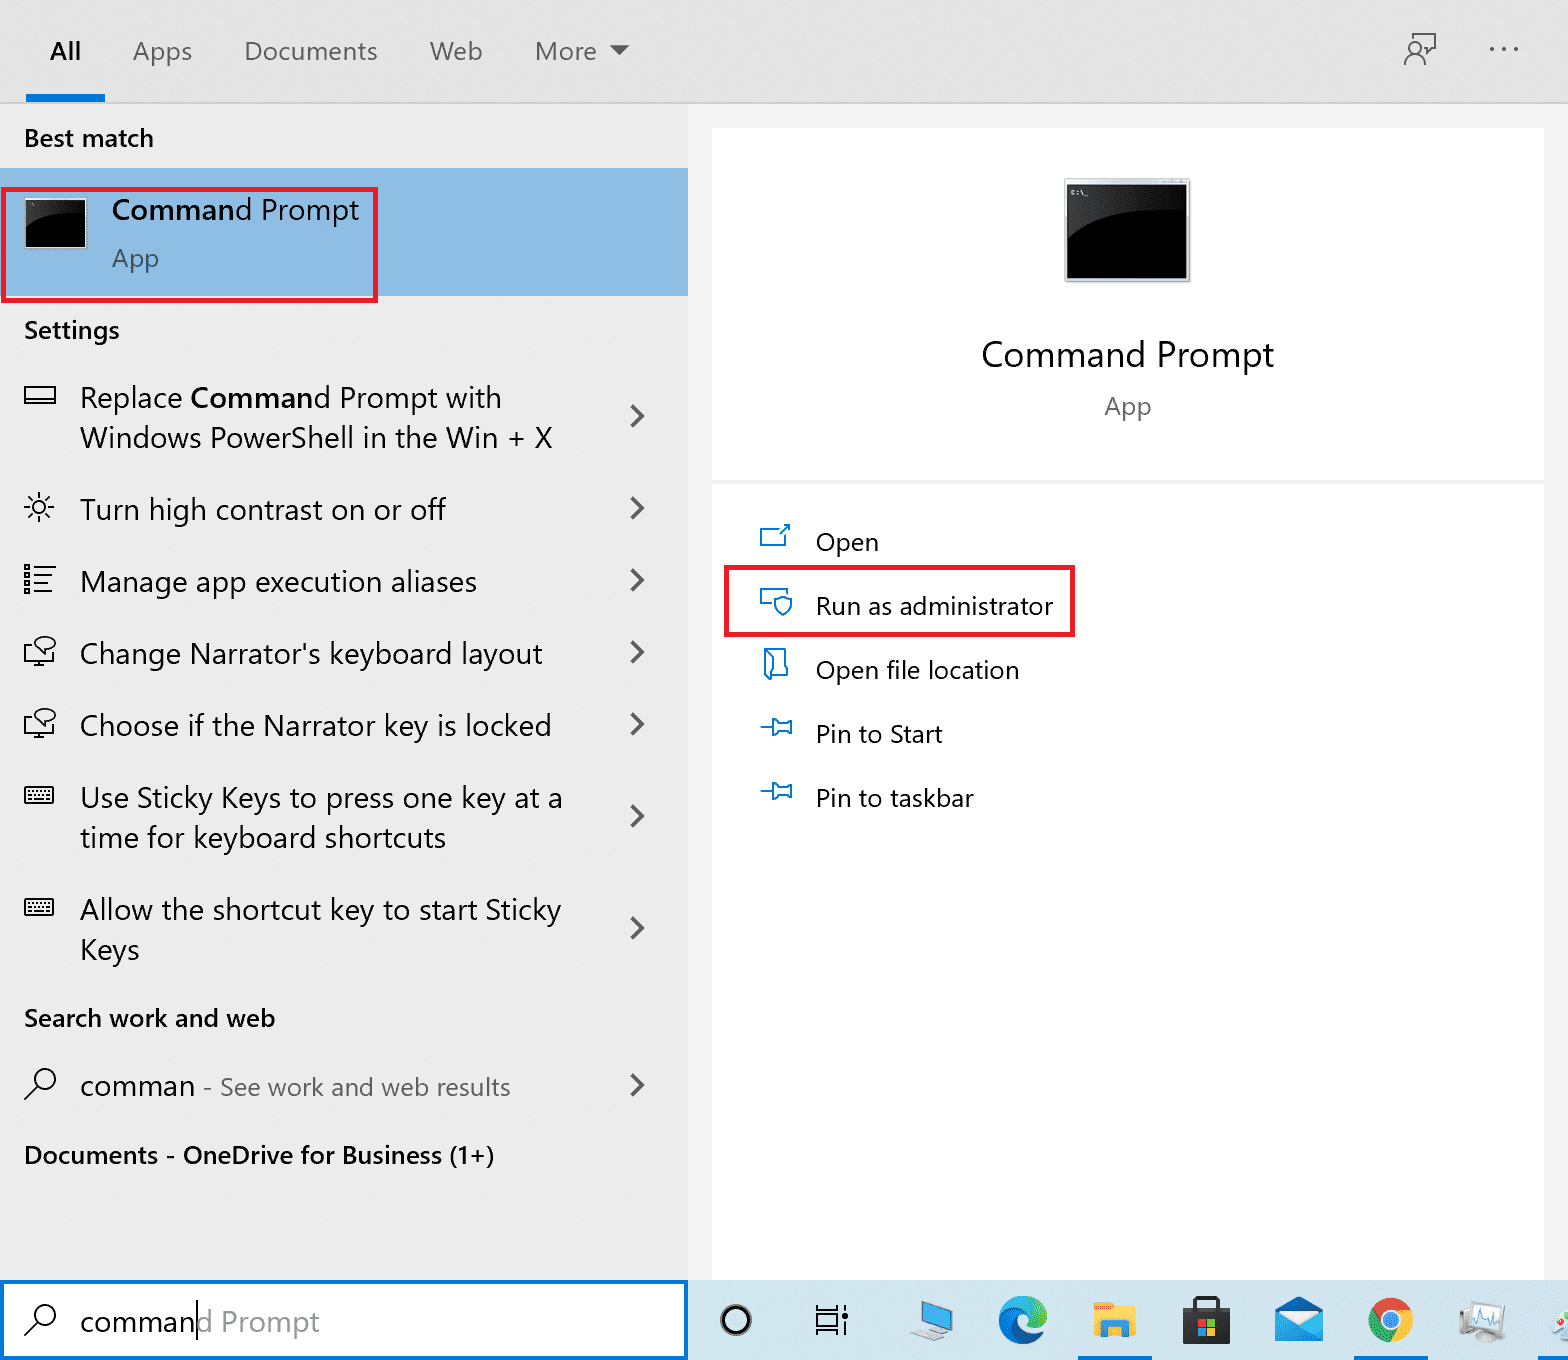
2. spragtelėjimas taip viduje Vartotojo abonemento valdymo tarnyba greitai.
3. Įveskite komandą „msdt.exe“ -„DeviceDiagnostic“ ir paspauskite įeiti.
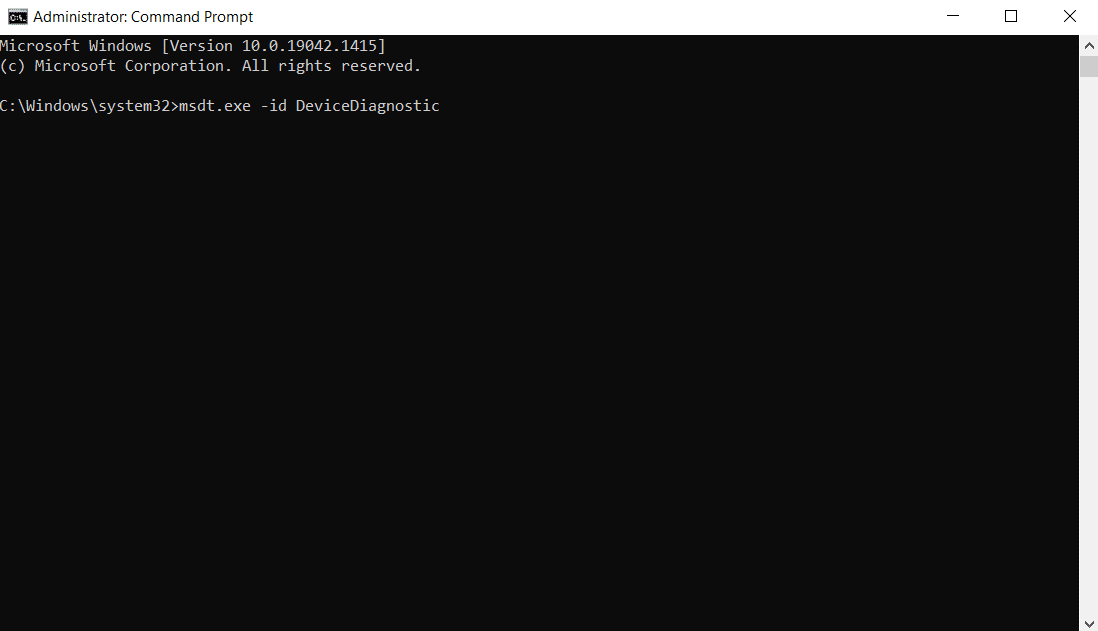
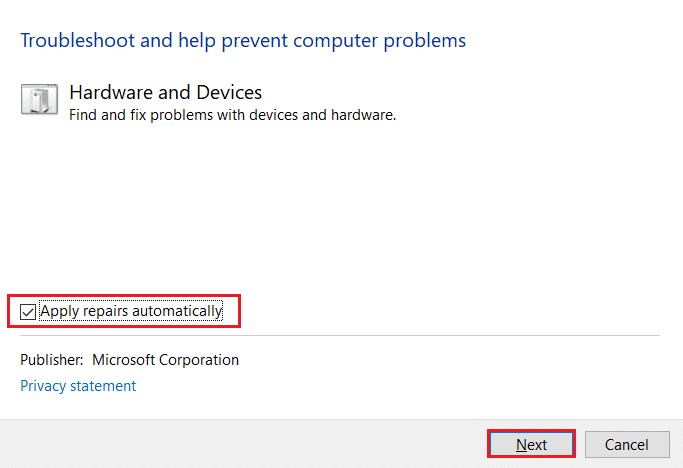
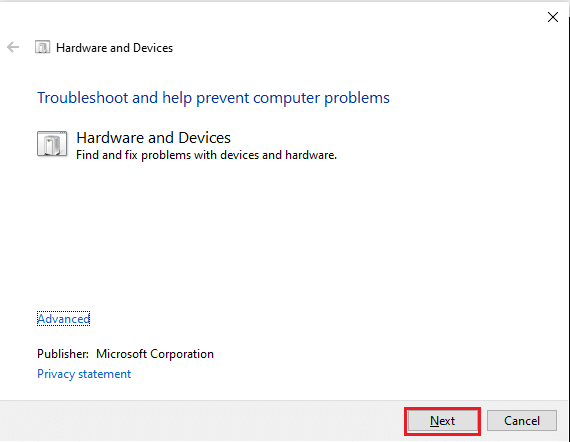
4. Spustelėkite ant pažangus parinktis, kaip parodyta.

5. Patikrink Taikyti remontą automatiškai parinktį ir spustelėkite Sekantis.
6. Spauskite ant Sekantis Pereiti.
7. Dabar veiks trikčių šalinimo įrankis. Jei bus aptikta problemų, bus rodomos dvi parinktys:
- Taikyti šį pataisymą
- Skip this fix
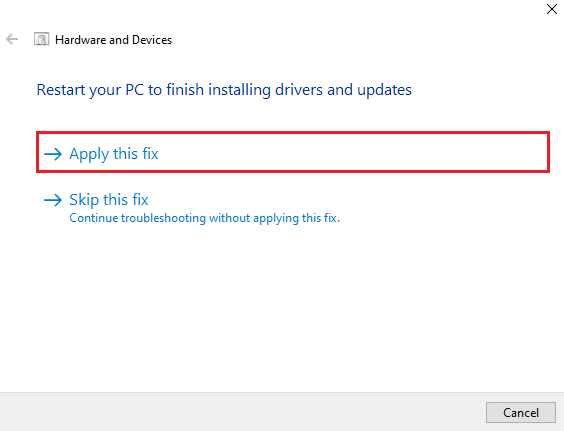
8. Čia spustelėkite Taikyti šį pataisymąir restartas jūsų kompiuteris.
If the issue occurs on your PC even after running the troubleshooter, then you can try updating the video driver.
4 būdas: atnaujinkite ekrano tvarkyklę
Outdated or damaged video drivers can also be one of the reasons behind PC won’t connect to TV issues. Follow the steps below:
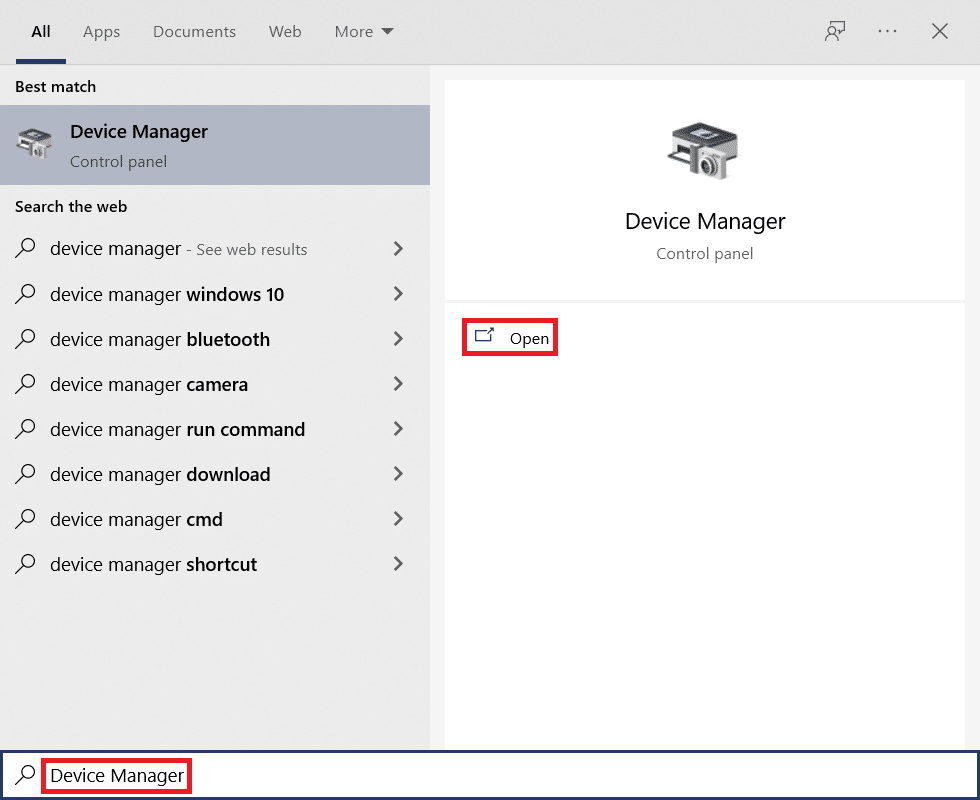
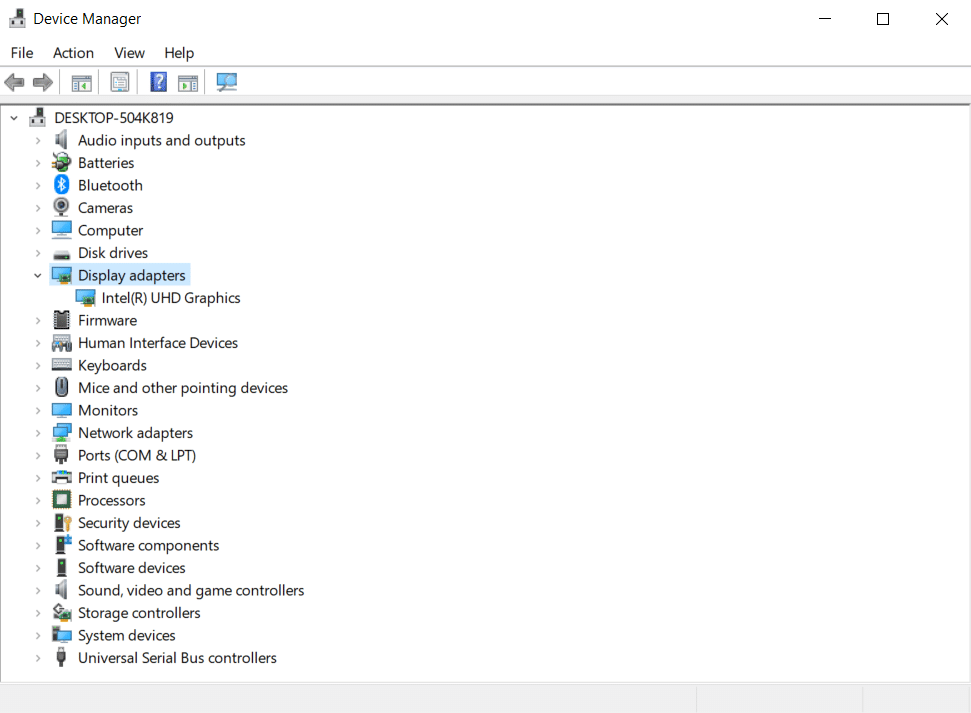
1. Spauskite ant pradžia ir tipas Įrenginių tvarkytuvė. Paspauskite ant Atviras.
2. Dukart spustelėkite Vaizdo adapteriai ją išplėsti.
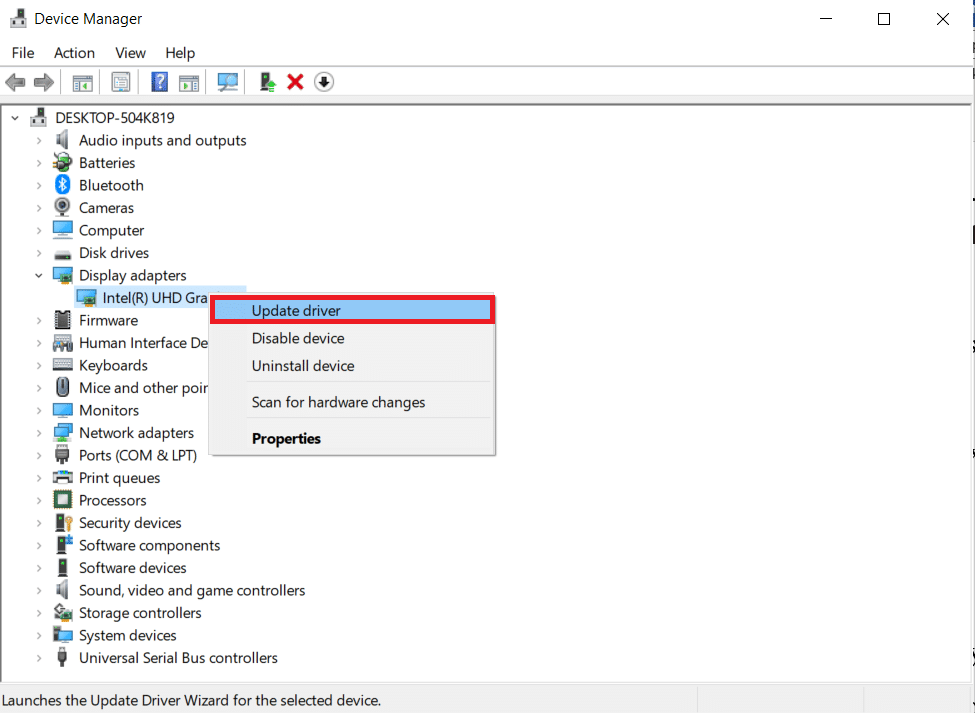
3. Dešiniuoju pelės mygtuku spustelėkite savo ekrano adapteriai ir pasirinkite Atnaujinti tvarkyklę.
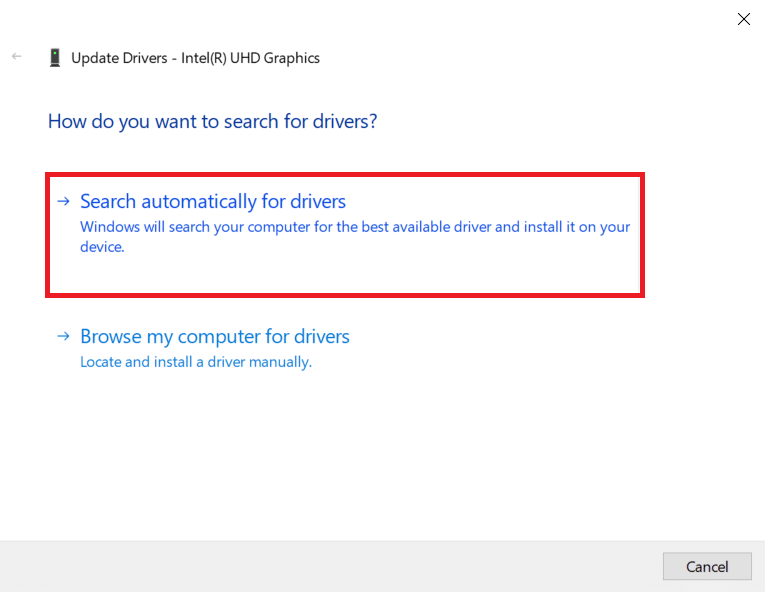
4. Tada pasirinkite Automatiškai ieškokite vairuotojų.
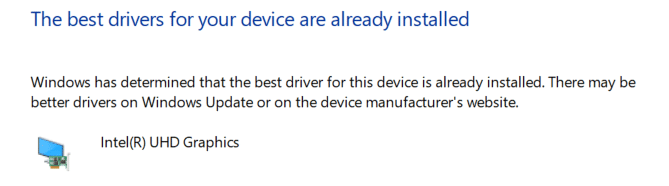
5A. Jei tvarkyklės jau buvo atnaujintos, tai rodoma Geriausios jūsų įrenginio tvarkyklės jau įdiegtos.
5B. If any updates are available then, Windows will install them automatically.
6. After this process, restartas tavo kompiuteris.
Taip pat perskaitykite: Kaip įdiegti „Kodi“ „Smart TV“.
Method 5: Reinstall Driver in Compatibility Mode
If you face PC won’t connect to TV issue, then you have to use the driver in compatibility mode for a previous Windows version. Follow the steps below.
1. Atidaryti Device Manager " ir eik į Vaizdo adapteriai kaip parodyta Metodas 4.
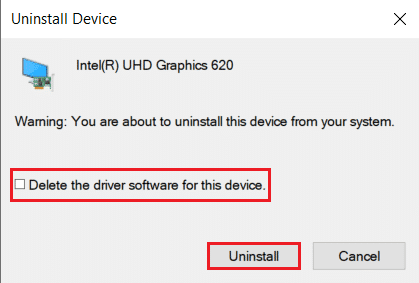
2. Dešiniuoju pelės mygtuku spustelėkite video device ir pasirinkite Pašalinkite įrenginį.

3. Patikrink Ištrinkite šio įrenginio tvarkyklės programinę įrangą option. Then, click on Pašalinti button in the confirmation prompt.
4. Iš naujo paleiskite kompiuterį after uninstalling the driver.
5. Next, download the appropriate driver from the gamintojo svetainė.
Pastaba: Pavyzdžiui, apsilankykite "Intel" Oficiali svetainė to download the latest USB driver for "Intel" grafika.
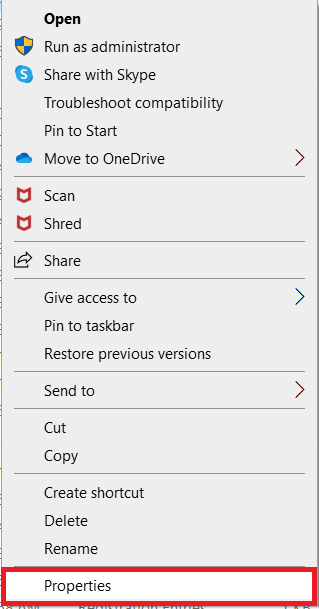
6. Once the file is downloaded, go to the download location and select the sąrankos failą.
7. Dešiniuoju pelės mygtuku spustelėkite Exe setup file and then select Skelbimų iš meniu.
8. Dabar eikite į suderinamumas skirtukas.
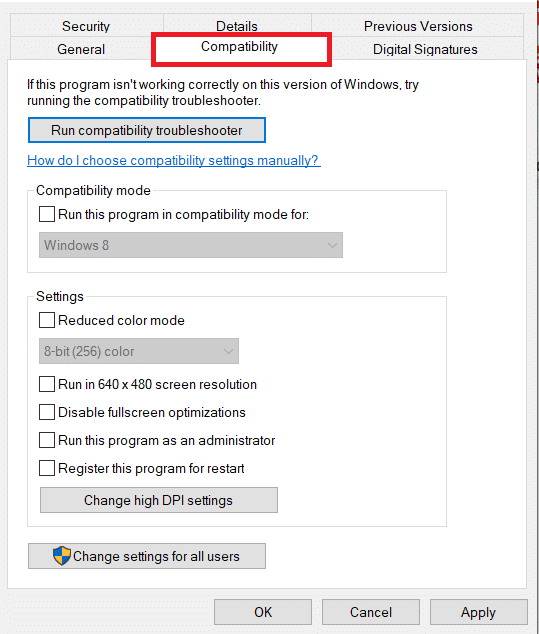
9. Next, check the box next to Vykdykite šią programą suderinamumo režimu.
10. From the drop-down menu, select a previous Windows OS version.
11. spragtelėjimas taikyti ir tada OK išsaugoti pakeitimus.

12. Galiausiai, perkraukite savo kompiuterį dar kartą.
6 būdas: pakeiskite ekrano nustatymus
Changing the display settings to the recommended settings will help resolve computer won’t connect to TV issue. Follow the steps below:
1. Atidaryti Nustatymai paspausdami „Windows + I“ klavišai tuo pačiu metu.
2. Pasirinkite sistema parametrus.
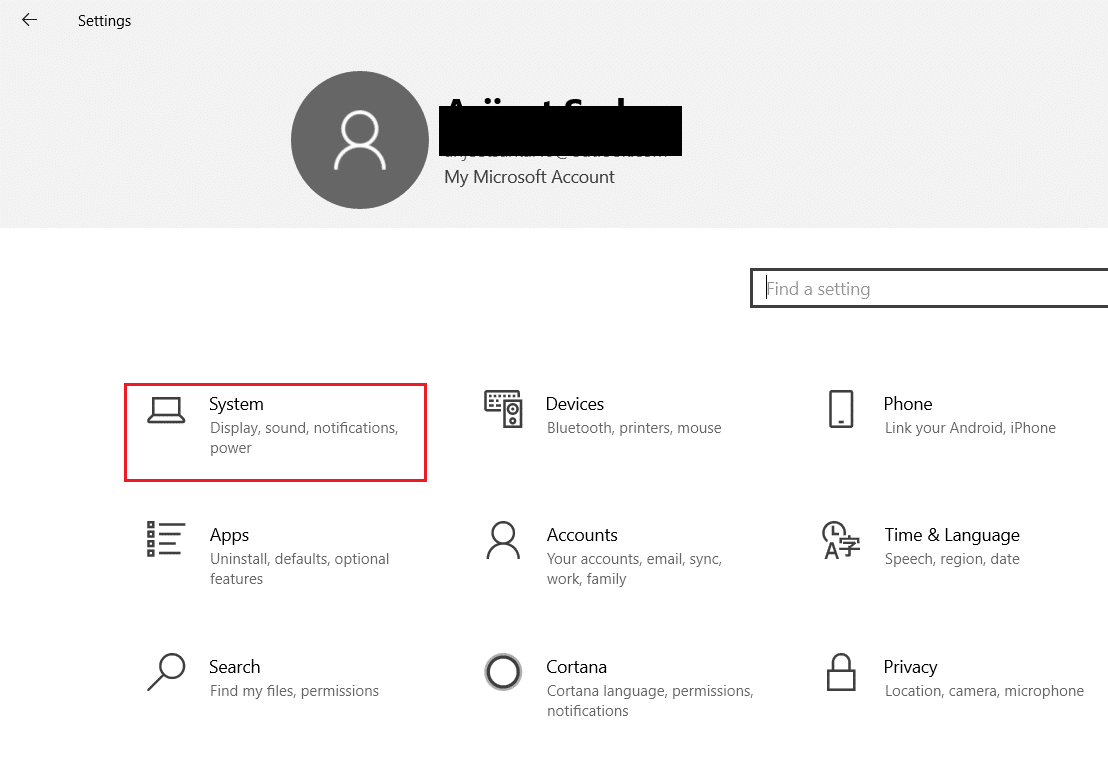
3. In the left-hand menu select displėjus.
4. Čia nustatykite Rekomenduojama parinktys Mastelis ir išdėstymasir Displėjaus rezoliucija.

5. Dabar spustelėkite Išplėstiniai ekrano nustatymai.
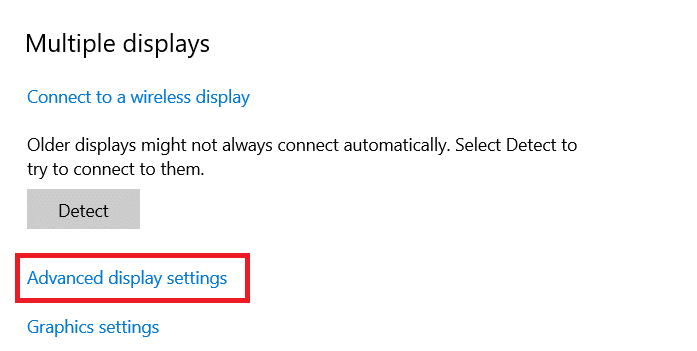
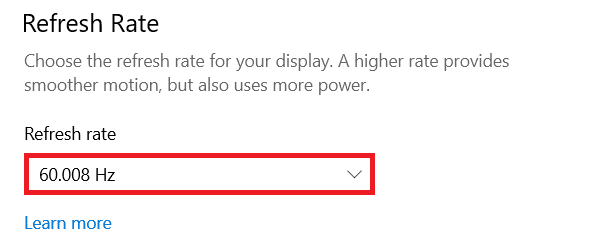
6. Pasirinkite recommended and required rate (pvz 60.008 Hz) pagal SKLEISTINĖS DAŽNIS.
Taip pat perskaitykite: Pataisykite, kad „YouTube TV“ bendrinimas su šeima neveikia
Method 7: Perform Factory Reset on TV
If none of the methods above worked, then factory reset your TV to resolve your PC won’t connect to TV problem. Follow the given steps to perform factory reset on TV.
Pastaba: The settings may vary depending on the manufacturer of the TV. Below settings and methods are based on the Samsung R series.
1. Press the Home button on the TV remote.
2. pasirinkti Nustatymai, Tada Pagalba kairiojoje srityje.
3. Čia pasirinkite Savidiagnostika pasirinkimas.
4. Dabar pasirinkite naujo parinktį ir įveskite PIN.
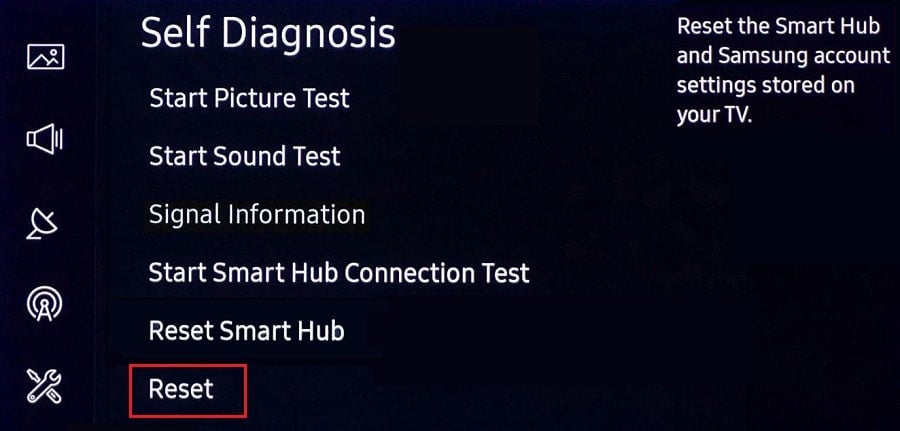
5. Galiausiai pasirinkite taip patvirtinti.
Dažnai užduodami klausimai (DUK)
Q1. How can I check whether my display output is working well?
Ans. Prijungus HDMI kabelis, dešiniuoju pelės mygtuku spustelėkite Stalinis ir pasirinkite Suasmeninkite. Here, you can see your "Smart TV" as a second monitor.
Q2. Do I have to reset my PC to resolve the computer that did not recognize the TV issue?
Ans. Nr, there is no need to factory reset your PC. If none of the troubleshooting methods worked, then you can reset your Smart TV as a last resort.
Q3. What are the different ways to connect a PC to a TV?
Ans. You can connect your computer to the TV using HDMI cable, DVI or VGA, or Wi-Fi. Using Wi-Fi to connect your computer to TV depends on the manufacturer & TV model.
Rekomenduojama:
We hope our article was helpful and you were able to fix Windows PC won’t connect to TV issue was helpful to you. In case, you have any suggestions or queries regarding this article, feel free to reach out to us in the comment section below.