Ippermetti jew Iddiżattiva Credential Guard fil-Windows 10

Enable or Disable Credential Guard in Windows 10: Windows Credential Guard uses virtualization-based security to isolate secrets so that only privileged system software can access them. Unauthorized access to these secrets can lead to credential theft attacks, such as Pass-the-Hash or Pass-The-Ticket. Windows Credential Guard prevents these attacks by protecting NTLM password hashes, Kerberos Ticket Granting Tickets, and credentials stored by applications as domain credentials.
By enabling Windows Credential Guard the following features and solutions are provided:
Is-sigurtà tal-hardware
Sigurtà bbażata fuq il-virtwalizzazzjoni
Better protection against advanced persistent threats
Now you know the importance of the Credential Guard, you should definitely enable this for your system. So without wasting any time let’s see How to Enable or Disable Credential Guard in Windows 10 with the help of the below-listed tutorial.
Ippermetti jew Iddiżattiva Credential Guard fil-Windows 10
Kun żgur li toħloq punt ta 'restawr fil-każ li xi ħaġa tmur ħażin.
Method 1: Enable or Disable Credential Guard in Windows 10 using Group Policy Editor
Nota: This method only works if you have Windows Pro, Education, or Enterprise Edtion. For Windows Home version users skip this method and follow the next one.
1.Agħfas Windows Key + R imbagħad ittajpja regedit u agħfas Enter biex tiftaħ Editur tal-Politika tal-Grupp.

2.Naviga lejn it-triq li ġejja:
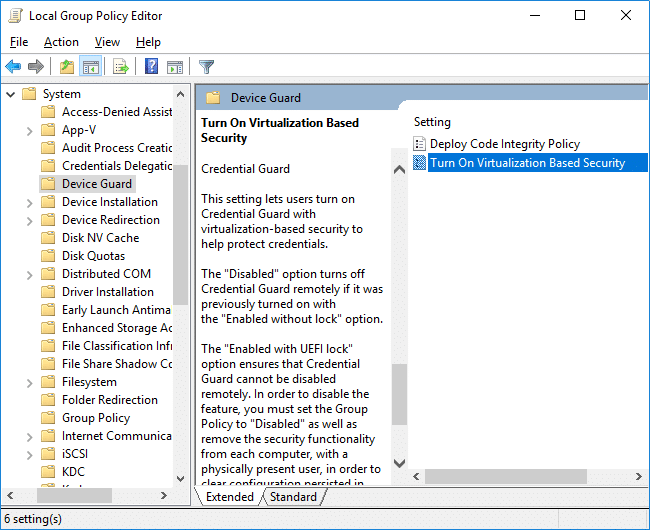
Computer Configuration > Administrative Templates > System > Device Guard
3.Kun żgur li tagħżel Gwardja tal-Apparat than in right window pane double-click on “Turn On Virtualization Based Security” politika.
4.In the Properties window of the above policy make sure to select Attivat.
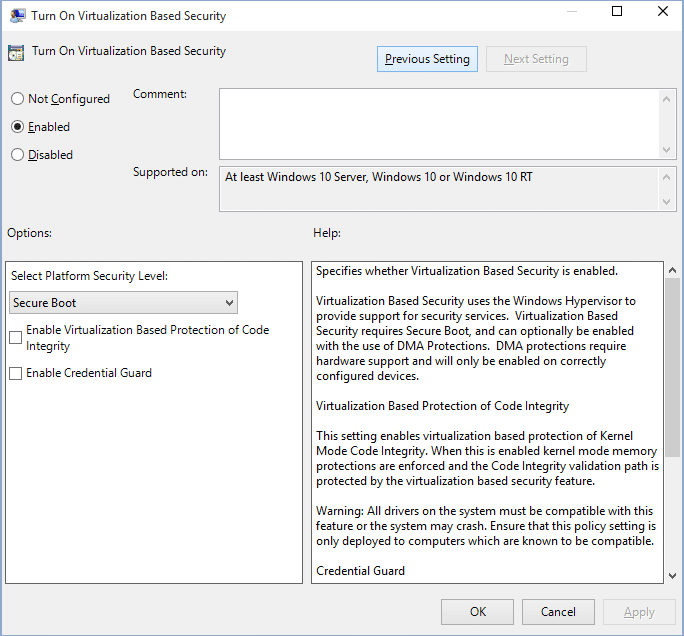
5.Now from the “Select Platform Security Level” drop-down select Secure Boot or Secure Boot and DMA Protezzjoni.
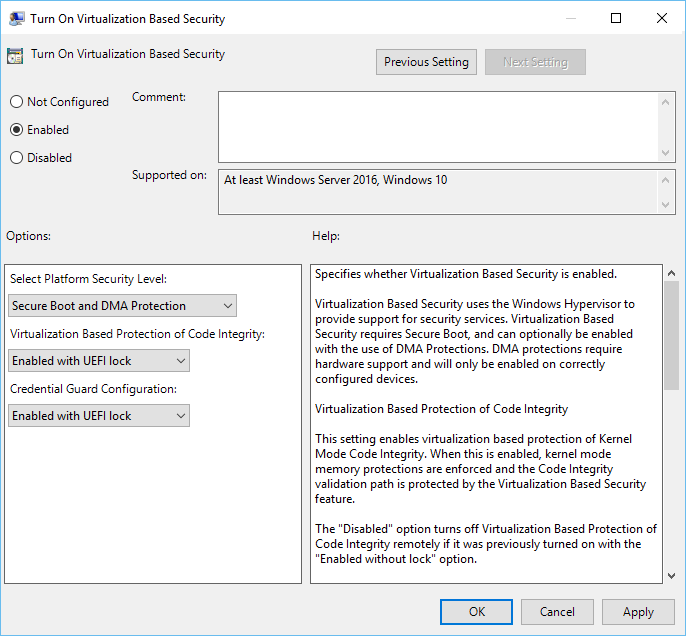
6.Next, from “Credential Guard Configuration” drop-down select Enabled with UEFI lock. If you want to turn off Credential Guard remotely, choose Enabled without lock instead of Enabled with UEFI lock.
7.Once finished, click Apply followed by OK.
8.Reboot PC tiegħek biex issalva l-bidliet.
Method 2: Enable or Disable Credential Guard in Windows 10 using Registry Editor
Credential Guard uses virtualization-based security features which have to be enabled first from Windows feature before you can enable or disable Credential Guard in Registry Editor. Make sure to only use one of the below-listed methods to enable virtualization-based security features.
Add the virtualization-based security features by using Programs and Features
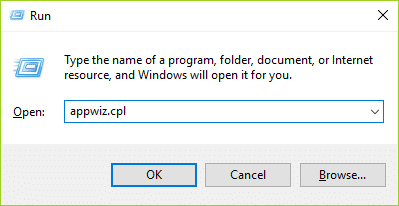
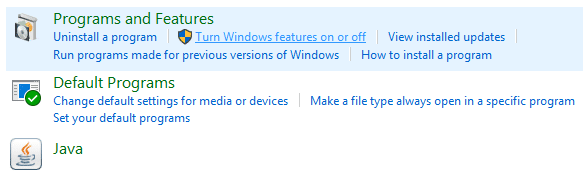
1.Agħfas Windows Key + R imbagħad ittajpja appwiz.cpl u agħfas Enter biex tiftaħ Program and Features.
2.From the left-hand window click on “Ixgħel jew itfi l-Features tal-Windows".
3.Find and expand Hyper-V then similarly expand Hyper-V Platform.
4.Under Hyper-V Platform checkmark "Hyper-V Hypervisor".
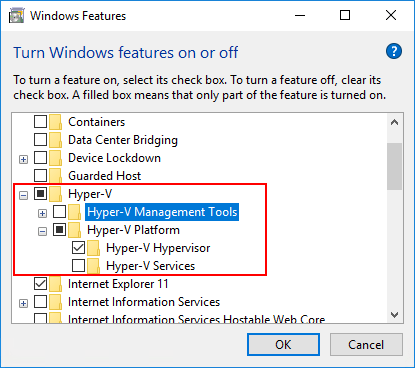
5.Now scroll down and checkmark “Isolated User Mode” u kklikkja OK.
Add the virtualization-based security features to an offline image by using DISM
1.Agħfas Windows Key + X imbagħad agħżel Kmand Prompt (Admin).

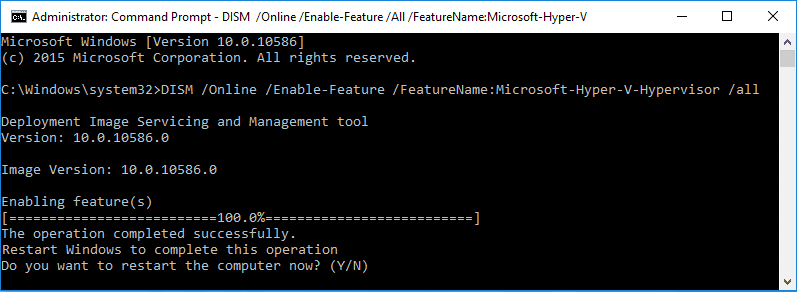
2.Type the following command into cmd to add the Hyper-V Hypervisor and hit Enter:
dism /image:<WIM file name> /Enable-Feature /FeatureName:Microsoft-Hyper-V-Hypervisor /all
OR
dism /Online /Enable-Feature:Microsoft-Hyper-V /All
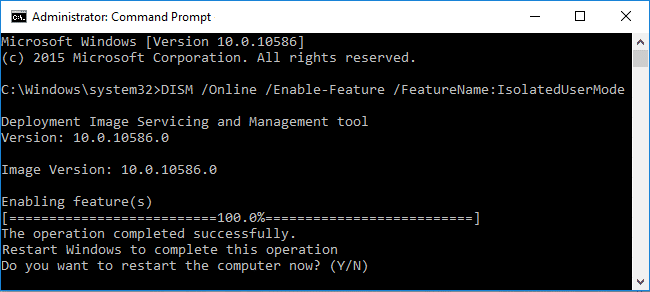
3.Add the Isolated User Mode feature by running the following command:
dism /image:<WIM file name> /Enable-Feature /FeatureName:IsolatedUserMode
OR
dism /Online /Enable-Feature /FeatureName:IsolatedUserMode
4.Once finished, you can close the command prompt.
Ippermetti jew Iddiżattiva Credential Guard fil-Windows 10
1.Agħfas Windows Key + R imbagħad ittajpja regedit u agħfas Enter biex tiftaħ Editur tar-Reġistru.
2.Naviga lejn iċ-ċavetta tar-reġistru li ġejja:
HKEY_LOCAL_MACHINESystemCurrentControlSetControlDeviceGuard
3.Ikklikkja bil-lemin fuq DeviceGuard imbagħad agħżel Ġdid > Valur DWORD (32-bit).
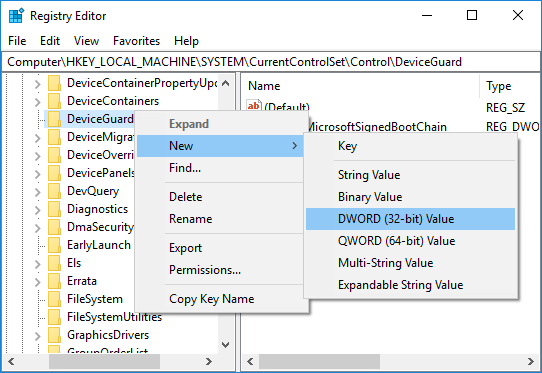
4.Semmi din id-DWORD maħluqa ġdida bħala EnableVirtualizationBasedSecurity u hit Enter.
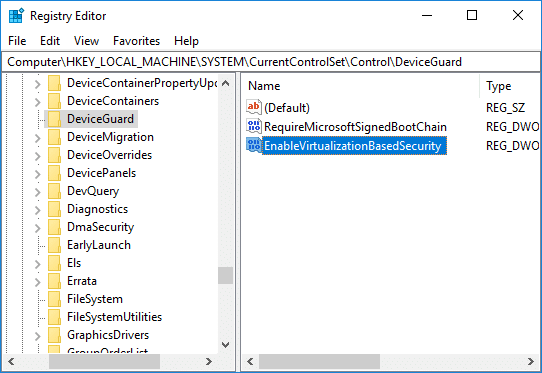
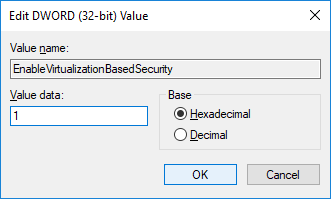
5.Double-click on EnableVirtualizationBasedSecurity DWORD then change its value to:
To Enable Virtualization-based Security: 1
To Disable Virtualization-based Security: 0
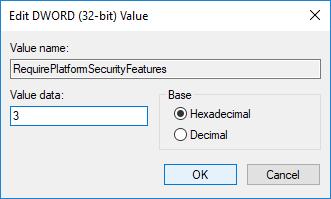
6.Now again right-click on DeviceGuard then select Ġdid> Valur DWORD (32-bit) u semmi din id-DWORD bħala RequirePlatformSecurityFeatures imbgħad Ikteb.
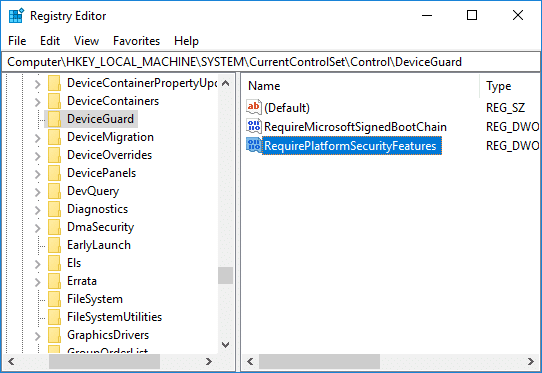
7.Double-click on RequirePlatformSecurityFeatures DWORD and change it’s value to 1 to use Secure Boot only or set it to 3 to use Secure Boot and DMA protection.
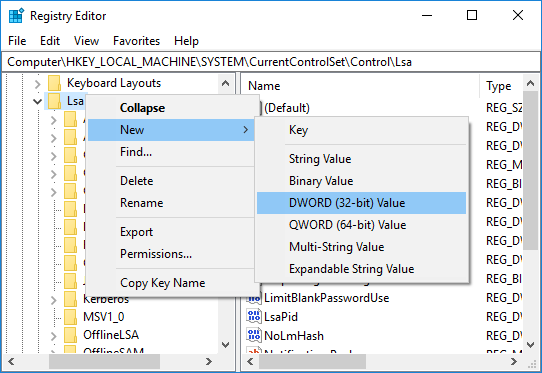
8.Issa innaviga lejn iċ-ċavetta tar-reġistru li ġejja:
HKEY_LOCAL_MACHINESystemCurrentControlSetControlLSA
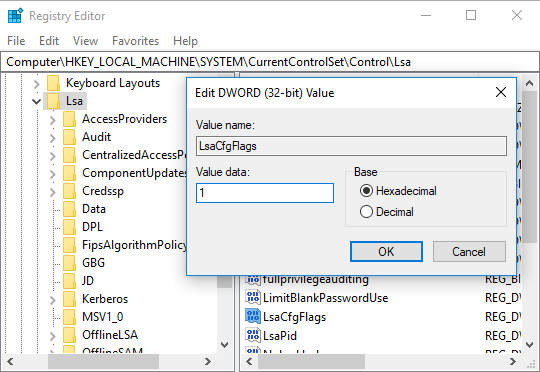
9.Right-click on LSA then select Ġdid> Valur DWORD (32-bit) then name this DWORD as LsaCfgFlags u hit Enter.
10.Double-click on LsaCfgFlags DWORD and change its value according to:
Disable Credential Guard: 0
Enable Credential Guard with UEFI lock: 1
Enable Credential Guard without lock: 2
11.Once finished, close Registry Editor.
Disable Credential Guard in Windows 10
If Credential Guard was enabled without UEFI Lock then you can Disable Windows Credential Guard tuża l- Device Guard and Credential Guard hardware readiness tool or the following method:
1.Agħfas Windows Key + R imbagħad ittajpja regedit u agħfas Enter biex tiftaħ Editur tar-Reġistru.
2.Navigate and delete the following registry keys:
HKEY_LOCAL_MACHINESystemCurrentControlSetControlLSALsaCfgFlags
HKEY_LOCAL_MACHINESoftwarePoliciesMicrosoftWindowsDeviceGuardEnableVirtualizationBasedSecurity
HKEY_LOCAL_MACHINESoftwarePoliciesMicrosoftWindowsDeviceGuardRequirePlatformSecurityFeatures

3.Delete the Windows Credential Guard EFI variables by using bcdedit. Press Windows Key + X then select Kmand Prompt (Admin).
4. Ittajpja l-kmand li ġej f'cmd u agħfas Enter:
mountvol X: /s
copy %WINDIR%System32SecConfig.efi X:EFIMicrosoftBootSecConfig.efi /Y
bcdedit /create {0cb3b571-2f2e-4343-a879-d86a476d7215} /d "DebugTool" /application osloader
bcdedit /set {0cb3b571-2f2e-4343-a879-d86a476d7215} path "EFIMicrosoftBootSecConfig.efi"
bcdedit /set {bootmgr} bootsequence {0cb3b571-2f2e-4343-a879-d86a476d7215}
bcdedit /set {0cb3b571-2f2e-4343-a879-d86a476d7215} loadoptions DISABLE-LSA-ISO
bcdedit /set {0cb3b571-2f2e-4343-a879-d86a476d7215} device partition=X:
mountvol X: /d
5.Once finished, close command prompt and reboot your PC.
6.Accept the prompt to disable Windows Credential Guard.
Rakkomandata:
Dak hu li tgħallimt b'suċċess How to Enable or Disable Credential Guard in Windows 10 imma jekk għad għandek xi mistoqsijiet dwar dan it-tutorja imbagħad tħossok liberu li tistaqsihom fit-taqsima tal-kumment.