Momwe Mungadulire Screenshot pa Mac

In 2007, the screenshot option was introduced to the iPhone. For the old versions of iOS, one was required to press the volume up and power buttons simultaneously to take a screenshot. The first computer screenshots were created in 1980, and the first mac screenshots were taken on the first mac computer in 1984. Since then, taking screenshots has only simplified. With just the click of a few buttons and a few milliseconds, one can screenshot anything present on the screen. If you want to learn how to crop a screenshot on Mac, stay tuned till the end of this article. You will get to learn how to crop a Mac screenshot with the detailed steps and illustrations to your aid.
Momwe Mungadulire Screenshot pa Mac
You can crop any screenshot on Mac from the Preview app. Keep reading to find out the detailed steps later in this article with the illustrations to understand the procedure better.
Is There a Snip Tool on Mac?
inde, there is a snipping tool on Mac. The flexibility and versatility of that snipping tool make it very user-friendly, even for beginners who have just started learning the features of their MacBook. It easily allows you to drag the crosshair and snip as per your wish. Just by pressing Shit + Command +4, you can drag and select the area of the screenshot, picture, or webpage you want to snip or crop.
What is Mac Screenshot Shortcut?
The mac screenshot shortcuts make it very convenient to take screenshots with the snap of a finger. There are basically three shortcuts za zomwezo:
- Press sinthani+lamulo+3 at the same time to take a screenshot of the whole screen.
- Dinani sinthani+lamulo+4 to take a screenshot of a small portion of the screen.
- Sankhani Shift+Command+4+Space Bar simultaneously to take a screenshot of a window or menu.
Where Do Cropped Screenshots Go?
Screenshots are saved to your kompyuta as image files in the .png format. Those screenshots are saved as Screen Shot [date] at [time].png by default. Once they are edited and cropped, they can be saved anywhere. And like other files, be renamed as per your liking.
Can I Edit a Mac Screenshot?
inde, you can edit a mac screenshot with great efficiency and very little time. You have to press sinthani+lamulo+3 kutenga a chithunzi. This screenshot will get saved to your desktop as Screen Shot [date] at [time].png, by default. You can open the file from there in Default Preview ndipo pangani zida to edit the screenshot.
Komanso Werengani: How to Take an iPhone Screenshot Without Buttons
How to Crop a Screenshot on Mac? How to Crop a Mac Screenshot on Macbook Pro & Macbook Air?
Cropping a screenshot is simple and time-efficient, irrespective of your Macbook Pro or Macbook Air. The steps to take and edit a screenshot remain the same. Follow the steps below to crop a full screenshot with a specific key combination.
1. To take a screenshot, press the sinthani+lamulo+3 at the same time from the keyboard.
Zindikirani: The screenshot will be saved on your kompyuta mwachinsinsi.
2. Once saved on your desktop, double click on the desired saved screenshot to open it in the chithunzithunzi app.

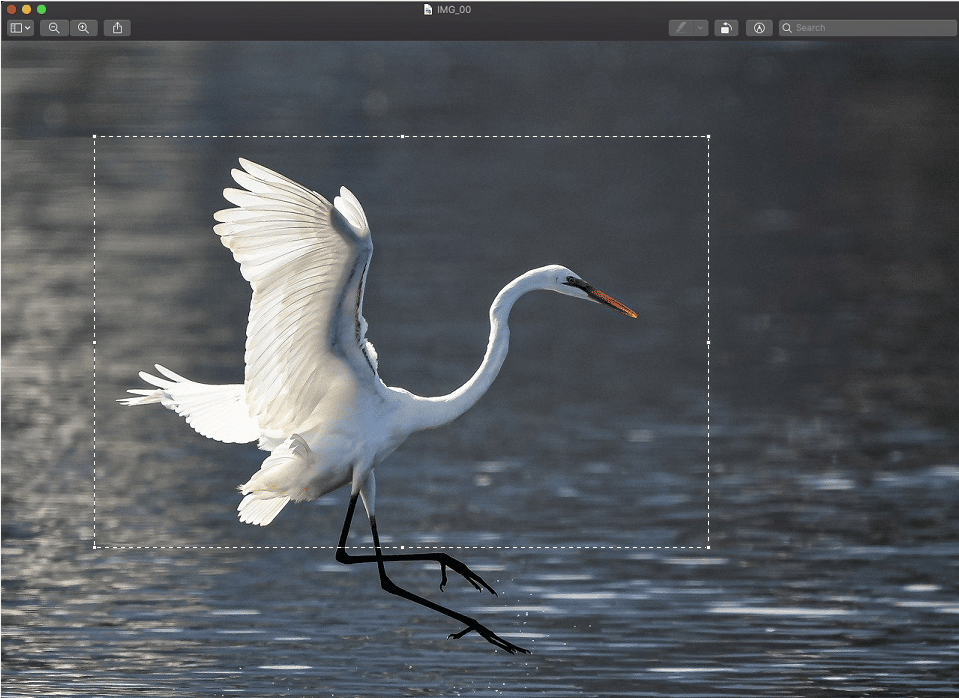
3. Now with the help of the Precision Pointer, select the dera lofunidwa to crop the screenshot.
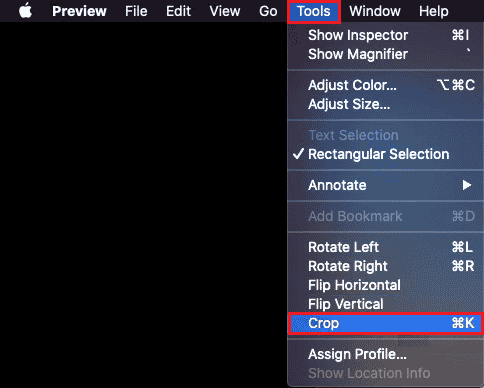
4. Dinani pa zida option from the top bar, as shown below.
5. From the drop-down menu, click on Mbewu.
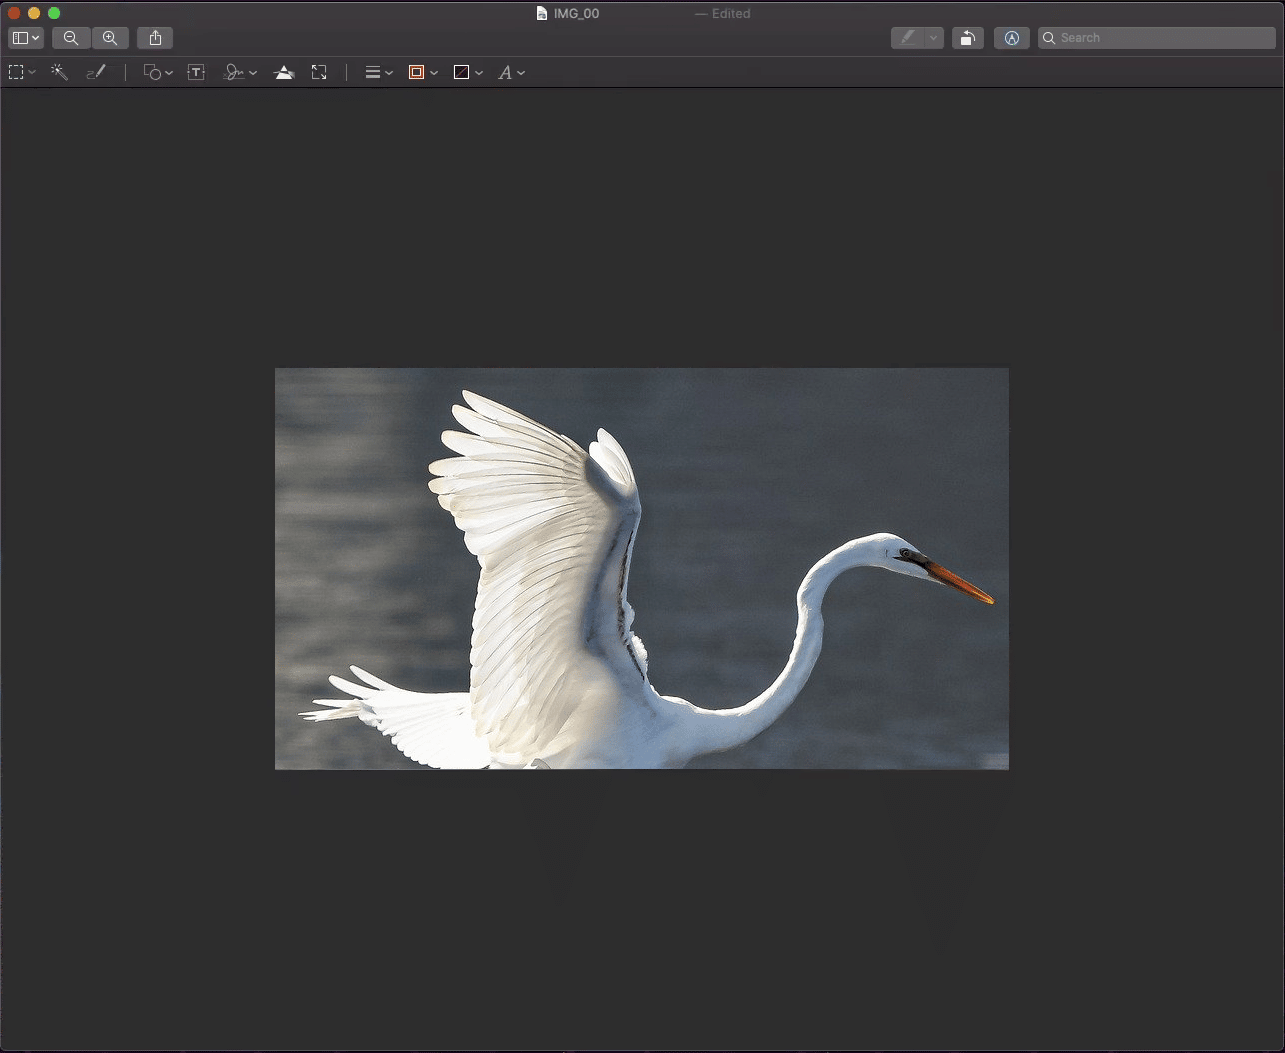
6. The screenshot will get cropped according to the selected area.
Komanso Werengani: How to Convert Image to Grayscale Paint
How Do I Crop a Screenshot on Mac After Saving It?
If you want to know how to crop a screenshot on Mac, follow our step-by-step guide underneath:
1. Kanikizani sinthani+lamulo+3 simultaneously from the keyboard to take a screenshot.
Zindikirani: Muthanso kugwiritsa ntchito sinthani+lamulo+4 or Shift+Command+4+Space Bar shortcuts to take different types of screenshots.
2. Dinani kawiri pa desired screenshot kuchokera pa desktop.
3. Mu chithunzithunzi app, use the Precision Pointer to select the dera lofunidwa of the screenshot image.
4. Dinani Tools > Crop, monga tawonetsera pansipa.
You will get the cropped screenshot saved on your Mac desktop.
Komanso Werengani: Kodi Chotsani Angapo iMessages pa Mac
Why Can’t I Crop a Screenshot on Mac?
Below are some of the reasons why you can’t crop the screenshots on Mac:
How to Crop a Screenshot on iPhone?
Cropping a screenshot on the iPhone is child’s play. Follow the steps below to do that:
1. Kanikizani Power + Home button nthawi yomweyo kutenga skrini.
Zindikirani: Kanikizani Voliyumu yowonjezera + Power buttons together to take a screenshot that doesn’t have the home button.
2. Dinani pa chithunzithunzi of the screenshot immediately after taking it from the bottom left corner, as shown below.
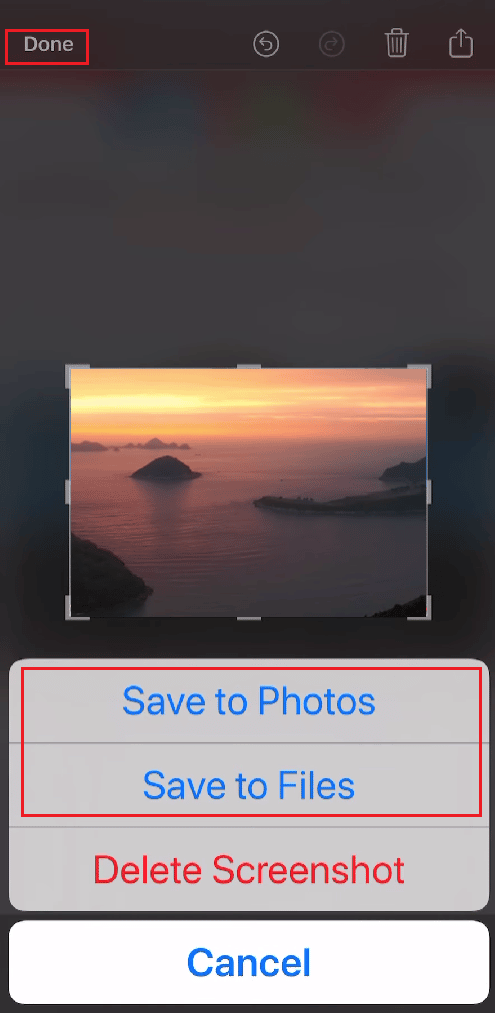
3. Select and adjust the dera lofunidwa you want to crop from that screenshot. Then, tap on Zatheka.
4. Dinani Sungani ku Zithunzi or Sungani ku Mafayilo to save the cropped screenshot in the Gallery.
akulimbikitsidwa:
Tikukhulupirira kuti bukuli linali lothandiza ndipo munaphunzira how to crop a screenshot on Mac. Khalani omasuka kutifikira ndi mafunso ndi malingaliro anu kudzera mu gawo la ndemanga pansipa. Tiuzeni nkhani imene mukufuna kuphunzira m’nkhani yotsatirayi.