If you are a person who loves to play around with the programs on your phone, you might be aware of the TWRP mount internal storage. This is an official app from the Google Play Store and can help in installing third-party apps and software.
One of the issues with the mode is TWRP internal storage 0MB. Though you might have enough space to flash new files on your phone, you may see this error message pop up on your phone. In this case, you might be unable to mount storage TWRP on your Android phone. There are various reasons for this issue and you might be denied access to the unofficial software files and other custom ROMs. You can use the method in the article to fix TWRP unable to mount storage issue.
How to Fix Unable to Mount Storage TWRP on Android
TWRP Recovery mode is used to install and back up the files on your phone instantly. It is available as an app in the Google Play Store and is a trusted app.
Uwaga: The steps mentioned correspond to the Samsung Galaxy A21 s model and the settings are bound to differ according to the phone model and manufacturer.
How to Install TWRP Recovery Mode App
Here are the steps to install TWRP recovery mode application.
Zobacz także:
Napraw Zdjęcia Google, które nie przesyłają zdjęć na Androida
Napraw zniknięcie dopasowań Tinder na Androidzie
10 sposobów naprawienia błędu logowania Spotify Nie można się zalogować
Napraw błąd Netflix 5.7 na Androidzie
Jak sprawdzić, czy AirPods ładują się na Androidzie
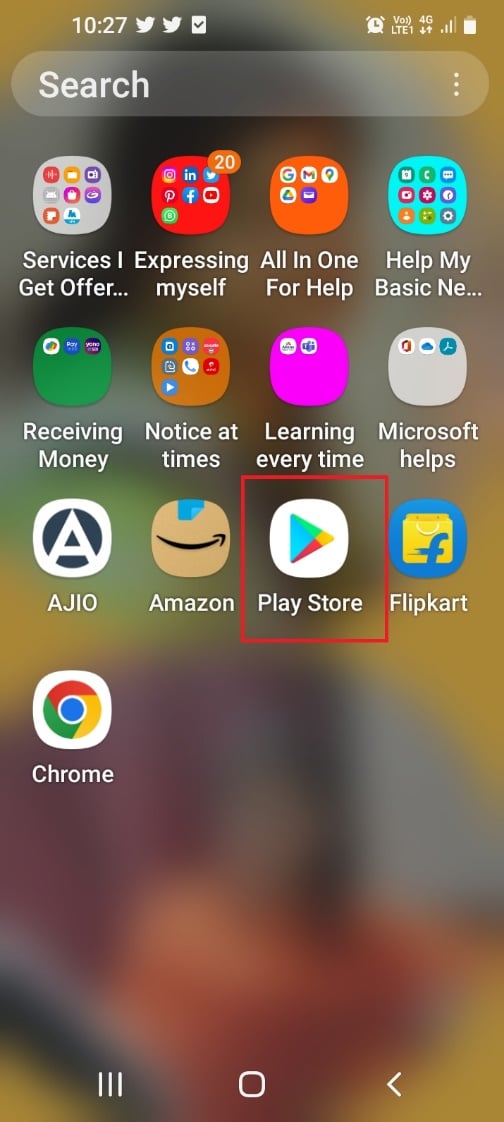
1. From the menu, open the Play Store app.
2. Stuknij w Pasek wyszukiwania u góry strony głównej.
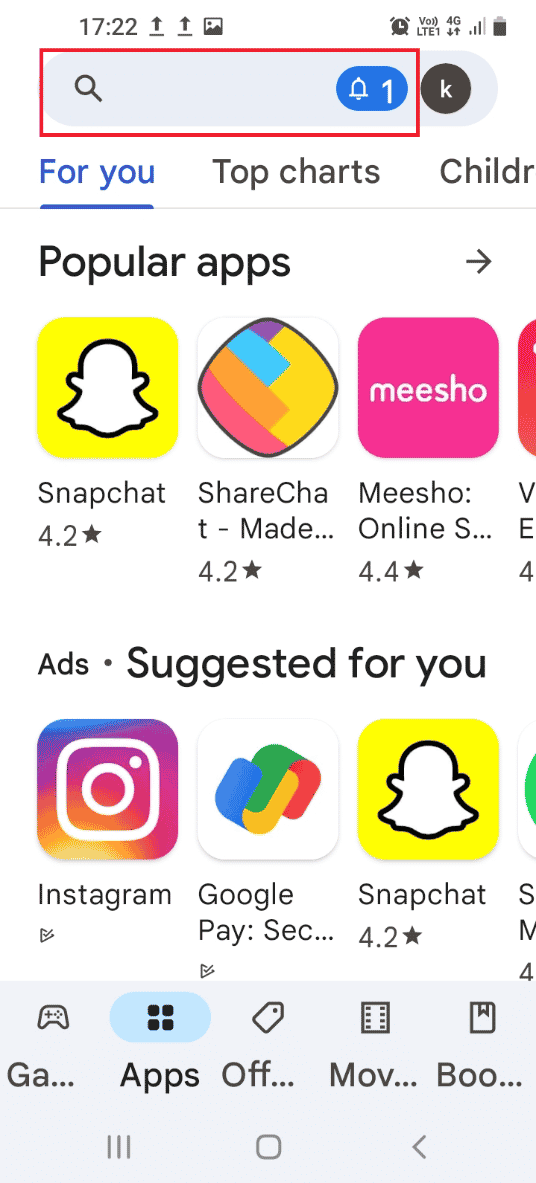
3. Wyszukaj TWRP recovery mode i dotknij szukanie icon.
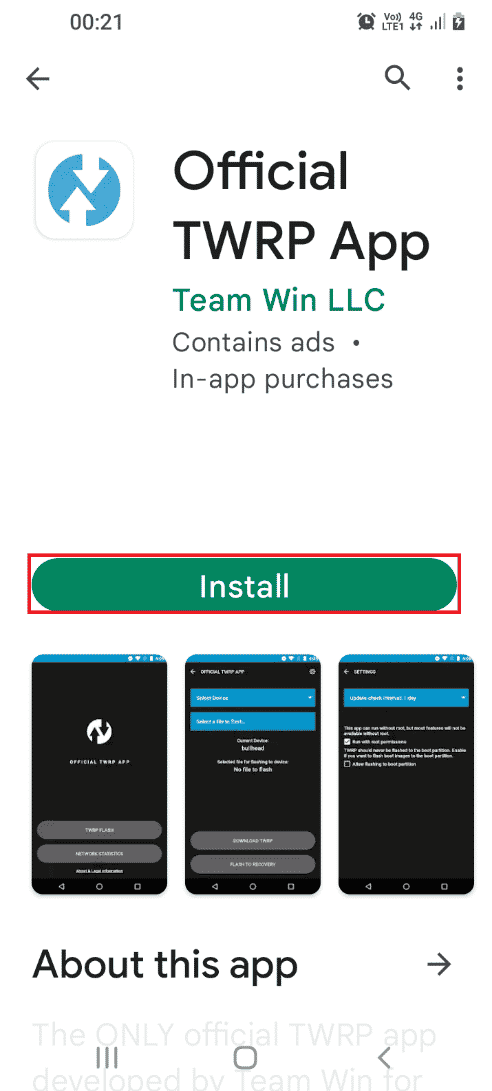
4. Stuknij w Zainstalować przycisk Oficjalna aplikacja TWRP.
What Causes TWRP Unable to Mount Storage Issue?
The issue of being unable to mount internal storage may be due to the following reasons as below.
- Security Password- The security password or the lock password on your phone may not allow you to mount the storage files.
- Unsupported File is installed- A zip file that is unsupported with your phone model installed on your phone may be a reason for this issue.
- Unable to decrypt files in partition- Your phone may not able to decrypt the files in the Partition drives on your phone.
- Flashing a wrong file in Partition drive- An incorrect or wrong file may be flashed to the Partition drives on your phone.
- Corrupt Files in Partition drive- The files in the partition drives on your Phone may be corrupt or have some malware.
- Factory reset option is corrupt- The issue may occur if the Factory reset option on your phone is corrupt.
Przeczytaj także: Napraw system Android rozpoczyna optymalizację aplikacji 1 z 1
Following are the troubleshooting methods to fix unable to mound storage TWRP on your Android device.
Method 1: Change Screen Security Password
The simplest approach to fix the unable to mount storage TWRP issue is to change the security password of your phone.
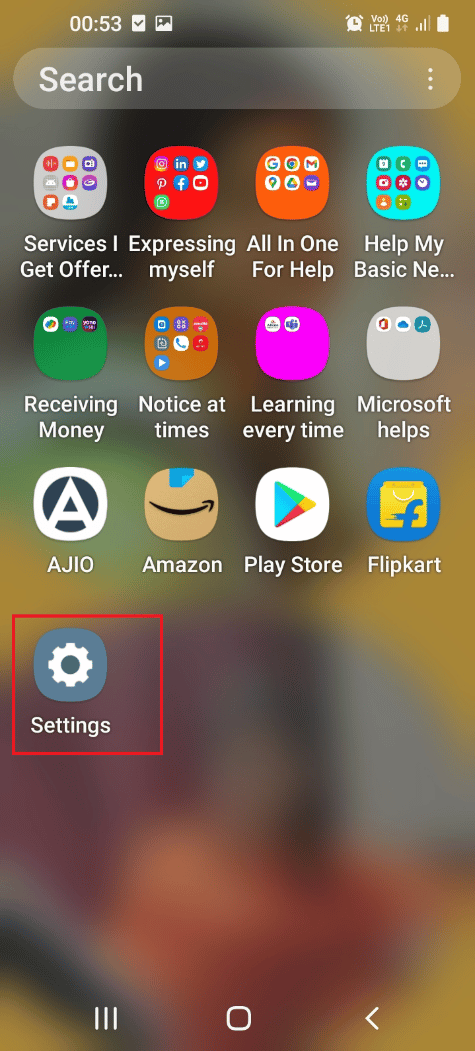
1. From the menu, open the Ustawienia app.
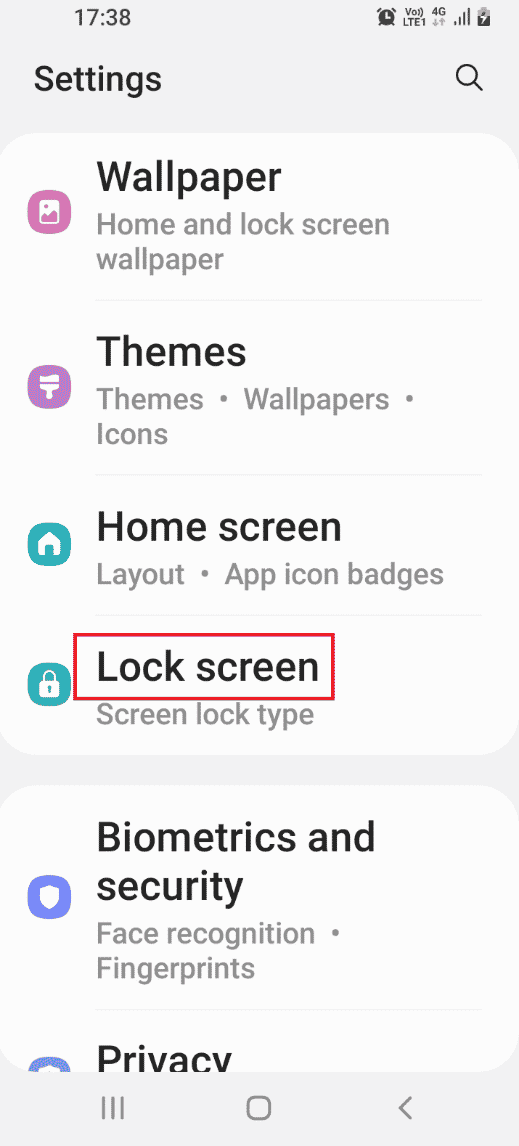
2. Stuknij w ekran blokady patka.
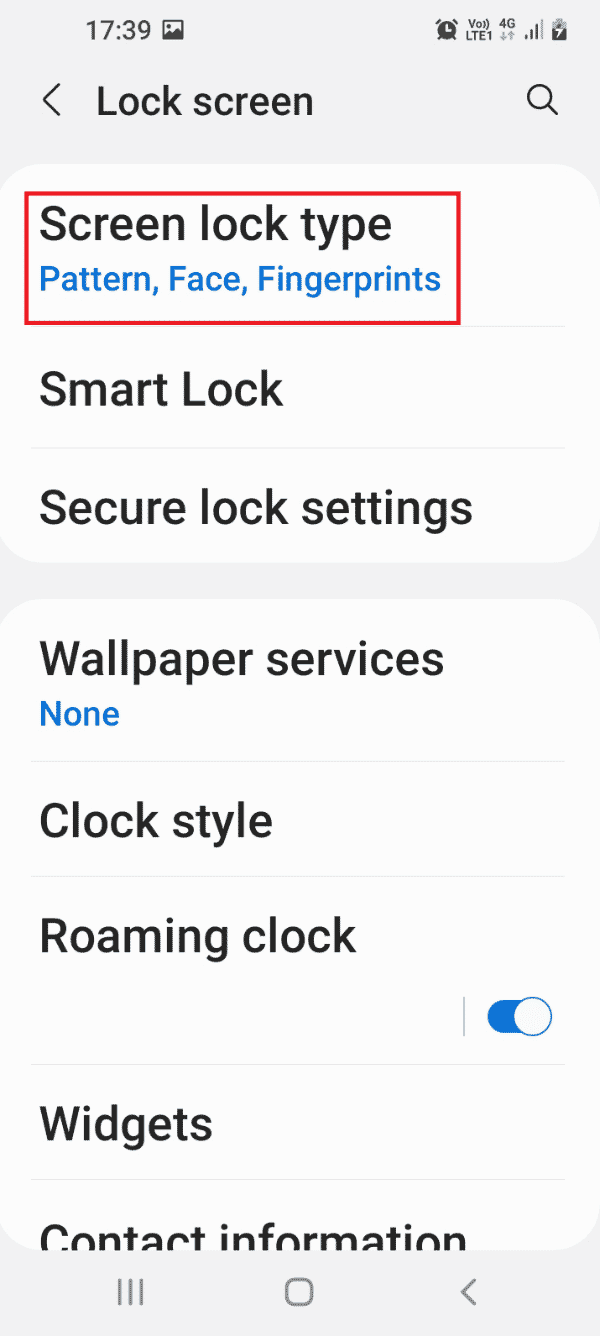
3. Stuknij w Typ blokady ekranu patka.
4. Enter your current password or draw your current pattern on the confirmation screen.
5. Stuknij w Hasło patka.
Uwaga: Alternatywnie możesz dotknąć przycisku PIN patka.

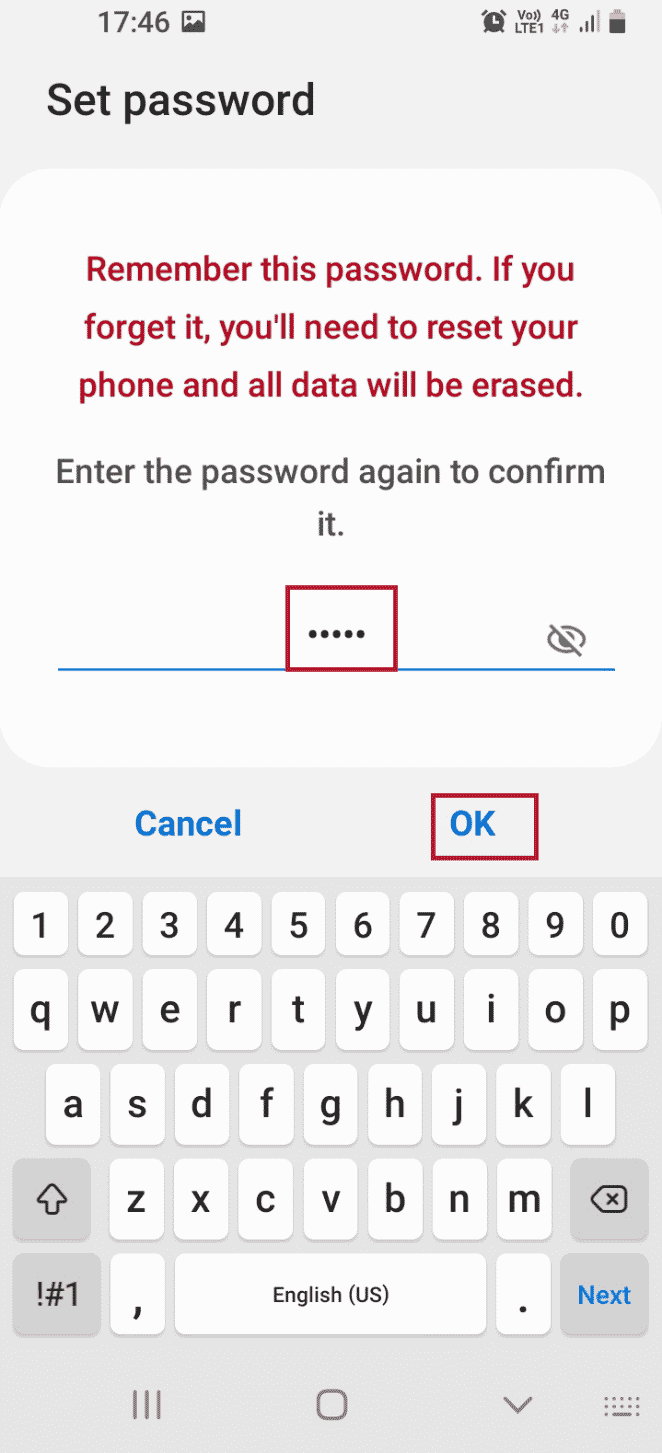
6. Type any alpha-numeric password and tap on the KONTUNUUJ opcja.

7. Type the same alpha-numeric password and tap on the OK opcja.
Now, check if TWRP internal storage 0mb is resolved.
Method 2: Use Micro SD Card
This method is a little workaround but can be used to fix the issue of TWRP mount internal storage. Using this method, you can move the files of the partition drives to a Micro SD Card on your phone.
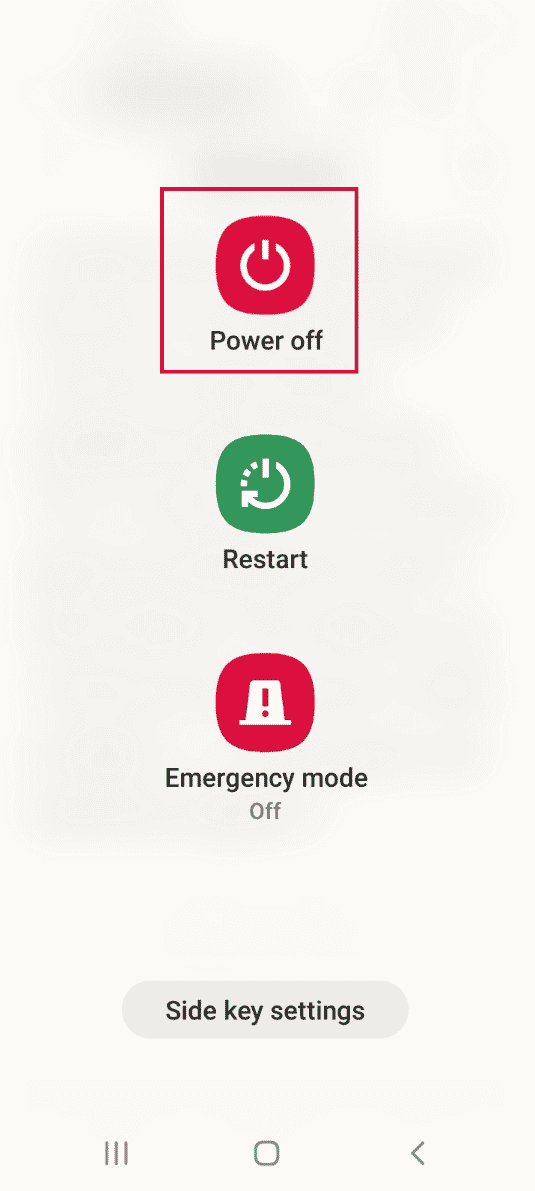
1. Długo naciśnij Power przycisk i stuknij w Wyłączanie zasilania opcja.
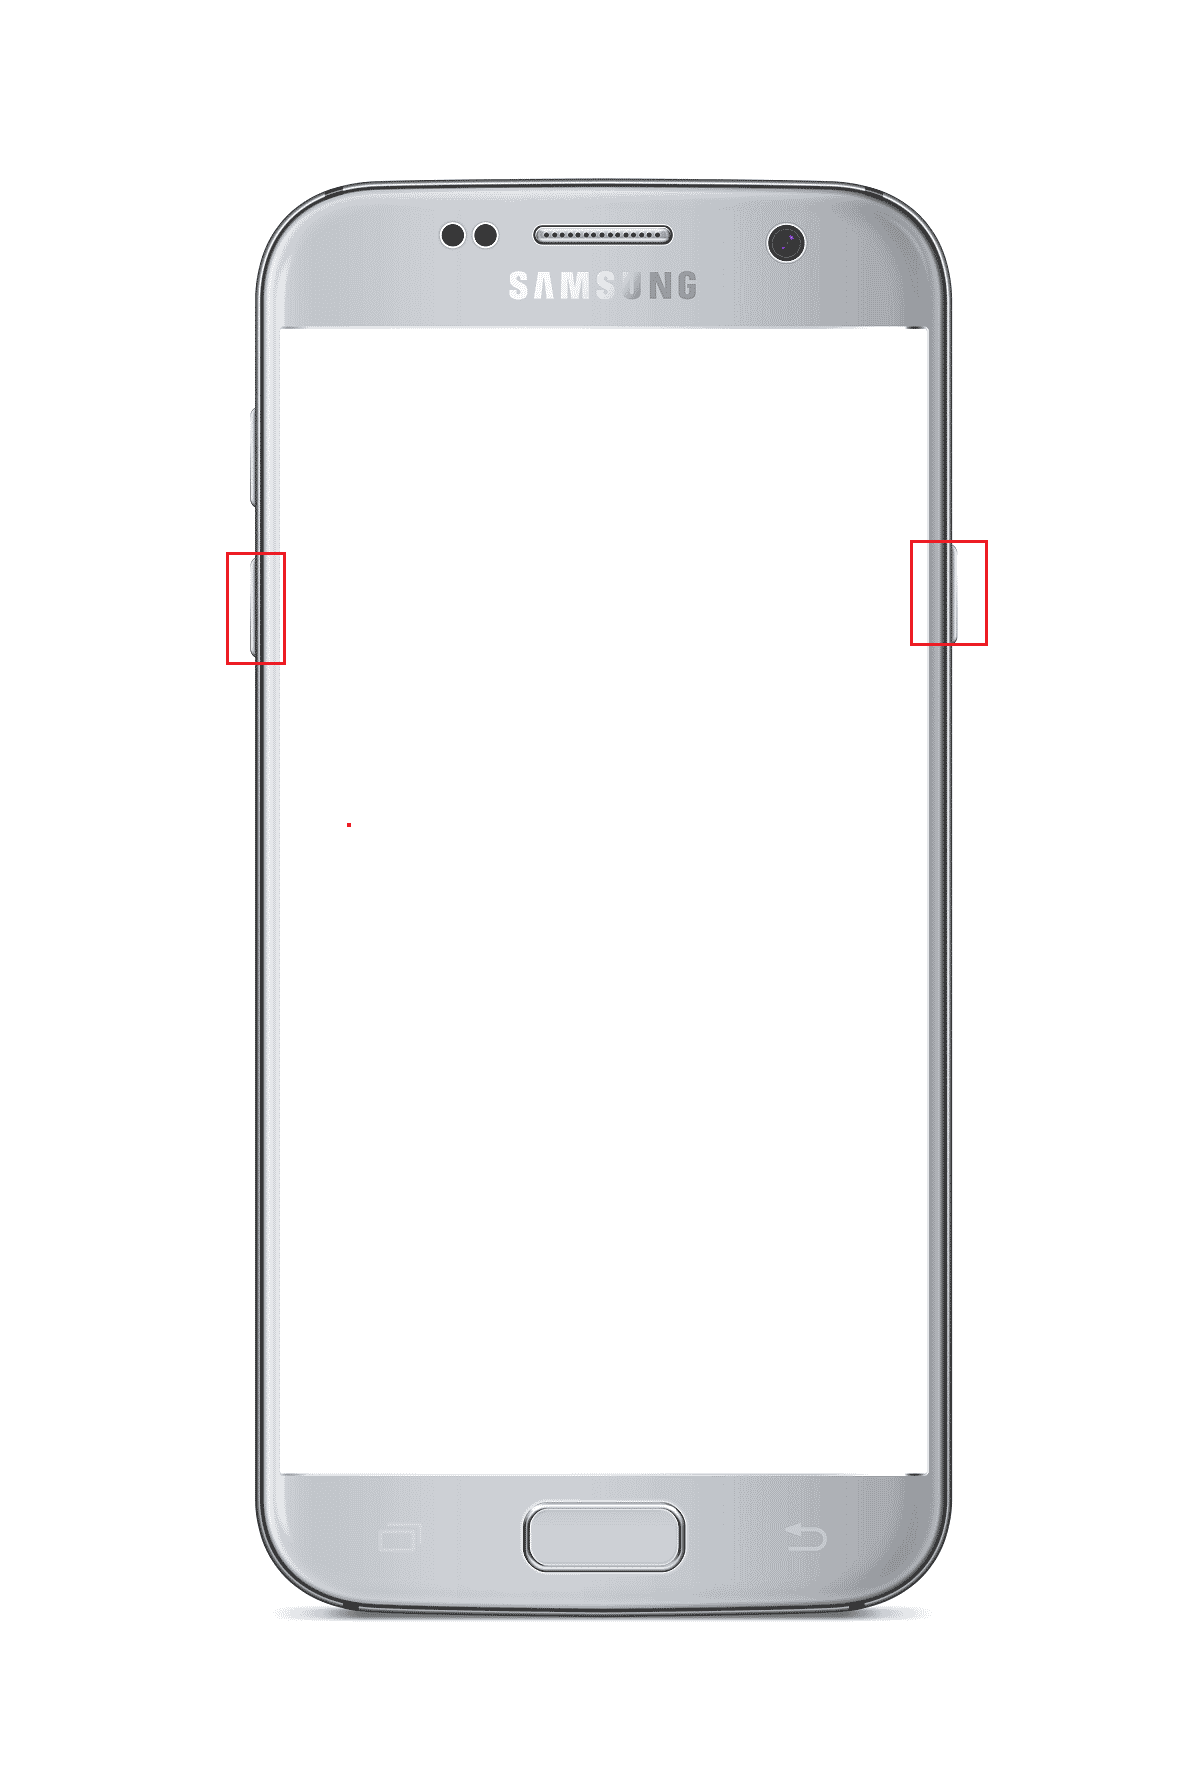
2. wciśnij Zasilanie + Obniżenie głośności buttons to boot into the TWRP Recovery mode.
3. Stuknij w Keep Read Only button and swipe the triple arrow icon or the Swipe to Allow Modifications opcja po prawej stronie.
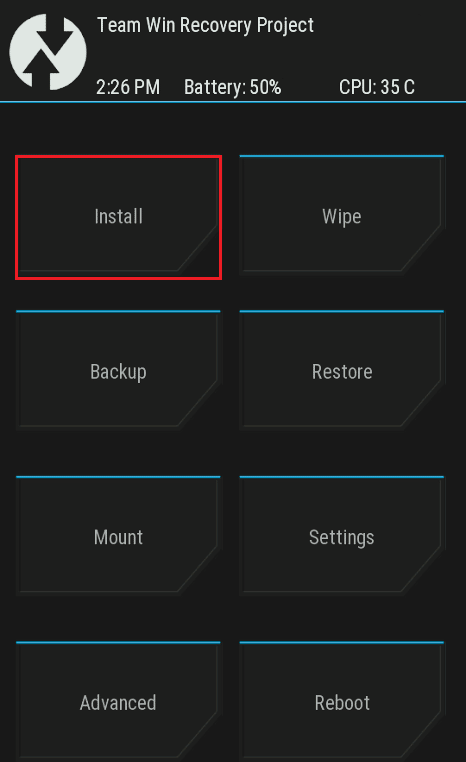
4. Następnie dotknij Zainstalować opcja w Zespół projektowy Win Odzyskiwanie ekran.
5. Następnie dotknij Wybierz pamięć patka.
6. Wybierz Micro SD Card option in the menu. Then, check if TWRP unable to mount storage is resolved.
Przeczytaj także: Jak zmienić numer IMEI na Androidzie bez rootowania
Method 3: Format Data
If you are not able to fix unable to mount storage TWRP issue, you can format the data on your phone in the Team Win Recovery Project mode.
Uwaga: You can back up the files on your Phone to Google Drive before proceeding with this method to avoid loss of data.
1. Trzymaj Power przycisk i stuknij w Wyłączanie zasilania opcja.

2. wciśnij Moc + Ciszej . buttons to boot into the TWRP Recovery mode.
3. Stuknij w Keep Read Only button and swipe the triple arrow icon or the Swipe to Allow Modifications opcja po prawej stronie.
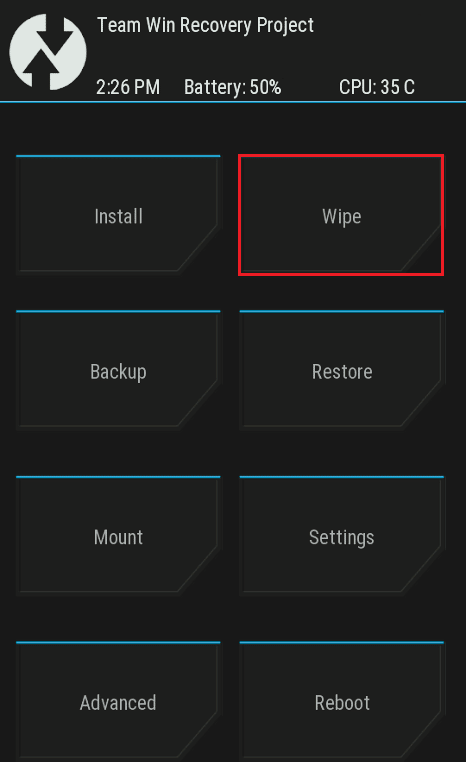
4. Stuknij w wycierać opcja w Zespół projektowy Win Odzyskiwanie ekran.
5. Stuknij w Formatuj dane przycisk.
6. Rodzaj tak Wipe Format Data ekranu i dotknij Wchodzę opcja.
7. Wróć do Zespół projektowy Win Odzyskiwanie ekranu i dotknij Reboot opcja.
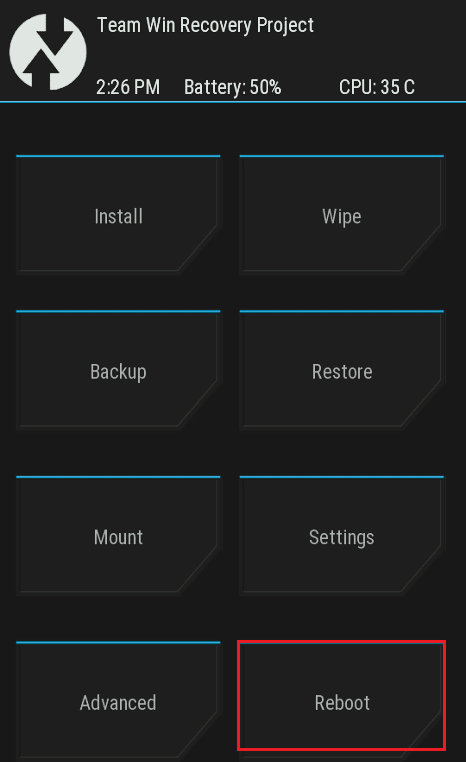
8. Stuknij w Konfiguracja option to turn on your phone.
Finally, check if TWRP internal storage 0mb issue is resolved.
Method 4: Format Internal Storage
Another option to fix unable to mount storage TWRP issue is to format the internal storage on your phone.
Step I: Backup Files on Internal Storage
The first step is to back up the files on your Internal Storage partition drive in the twrp recovery mode.
1. wciśnij Power przycisk i stuknij w Wyłączanie zasilania opcja.

2. wciśnij Zasilanie + Obniżenie głośności buttons to boot into the TWRP Recovery mode.
3. Stuknij w Keep Read Only button and swipe the triple arrow icon or the Swipe to Allow Modifications opcja po prawej stronie.
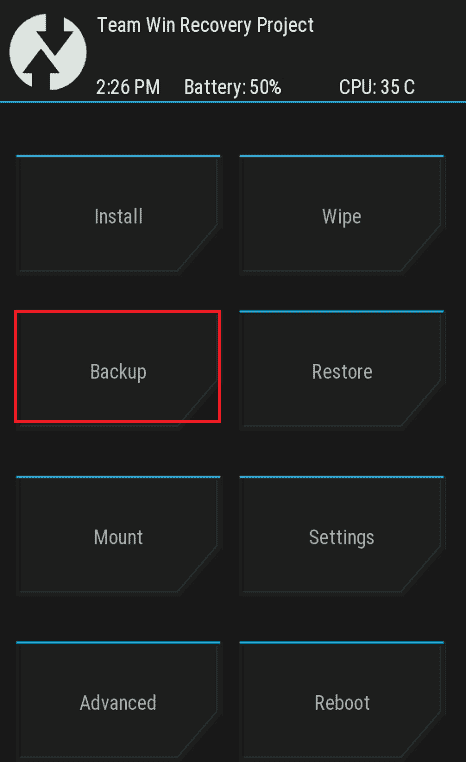
4. Następnie dotknij backup opcja w Zespół projektowy Win Odzyskiwanie ekran.
5. Wybierz Pamięć wewnętrzna opcja w Wybierz pamięć ekranu i dotknij OK przycisk.
6. Select all the partitions and swipe the triple arrow icon or the Przesuń, aby wymazać option to the right to confirm the selection.
Step II: Format Internal Storage
The next step is to format the files on the Internal Storage partition drive in the TWRP recovery mode.
1. Otworzyć Zespół projektowy Win Odzyskiwanie aplikacja i dotknij wycierać opcja.
2. Stuknij w Zaawansowane czyszczenie opcja.
3. Wybierz Pamięć wewnętrzna opcja w Select Partition to Wipe section and swipe the triple arrow icon or the Przesuń, aby wymazać option to the right to confirm the selection.
Przeczytaj także: Co to jest HTC S-OFF?
Metoda 5: Napraw pliki systemowe
To fix the unable to mount storage TWRP issue, you can repair the system files on your phone in the TWRP recovery mode.
1. Trzymaj Power przycisk i stuknij w Wyłączanie zasilania opcja.

2. Następnie naciśnij Zasilanie + Obniżenie głośności buttons to boot into the TWRP Recovery mode.
3. Stuknij w Keep Read Only button and swipe the triple arrow icon or the Swipe to Allow Modifications opcja po prawej stronie.
4. Stuknij w wycierać opcja w Zespół projektowy Win Odzyskiwanie ekran.
5. Stuknij w Zaawansowane czyszczenie opcja.
6. Wybierz Dane opcja w Select Partition to Wipe sekcję i dotknij opcji Repair or Change File System opcja.
7. Stuknij w Change File System przycisk.
8. Stuknij w exFAT option and swipe the triple arrow icon or the Swipe to Change option to the right on the screen.
If TWRP mount internal storage issue is still not resolved, you can follow the steps below to repair further files (Optional).
9. Wróć do Repair or Change File System ekranu i dotknij Change File System opcja.
10. Wybierz WEW 2 option in the menu and swipe the triple arrow icon or the Swipe to Change option to the right to confirm the selection.
11. Return to the menu, select the WEW 4 option, and swipe the triple arrow icon or the Swipe to Change option to the right to confirm the selection.
12. Wróć do Zespół projektowy Win Odzyskiwanie ekranu i dotknij wierzchowiec opcja.
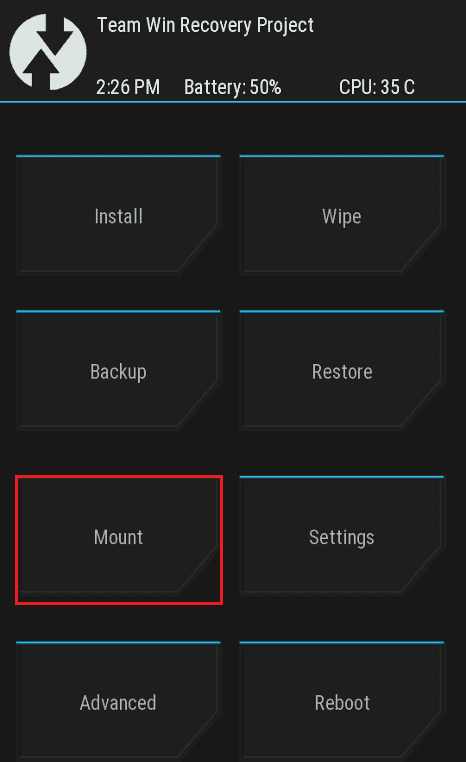
13. Wybierz Dane i Micro SD Card opcje w Select Partition to Mount section and flash the files.
Method 6: Use ADB Command
The final resort to fix unable to mount storage TWRP issue is to use the ADB or Android Debug Bridge commands on your Windows PC.
Option I: Use Fastboot Command
The first option to fix TWRP internal storage 0mb issue is to use the fastboot command and format data on your phone.
Step I: Enable ADB devices on your PC
As a first step, you have to enable the ADB devices on your Windows PC using the official ADB tool.
1. Za pomocą kabel USB, connect your phone to your Windows PC.
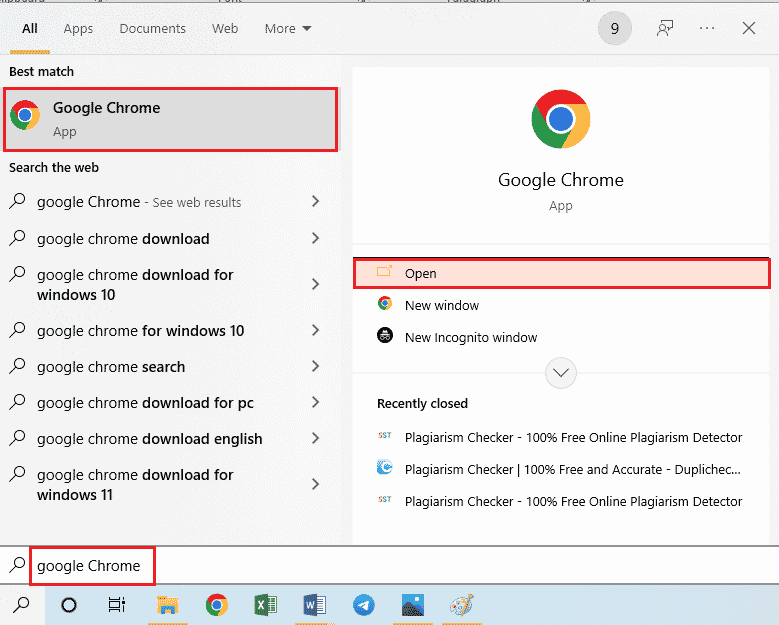
2. Hit Klawisz Windowstyp Google Chromei kliknij Otwarte.
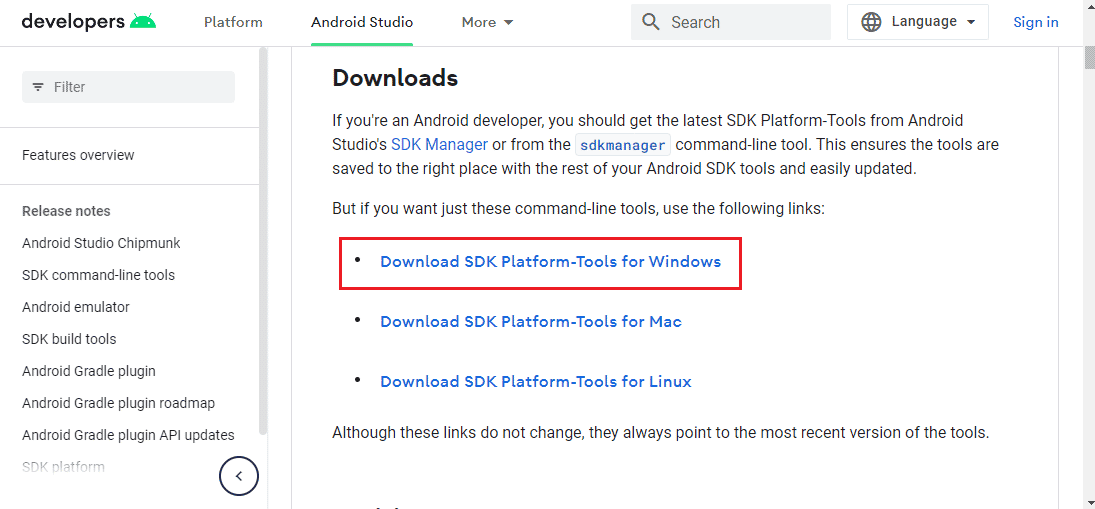
3. Otworzyć Narzędzia platformy Android SDK i kliknij Download SDK Platform- Tools for Windows ogniwem Pliki do Pobrania
4. Using a data compression utility like WinZip, extract all the files of the ADB tool to the Dysk lokalny (C :) jazdy.

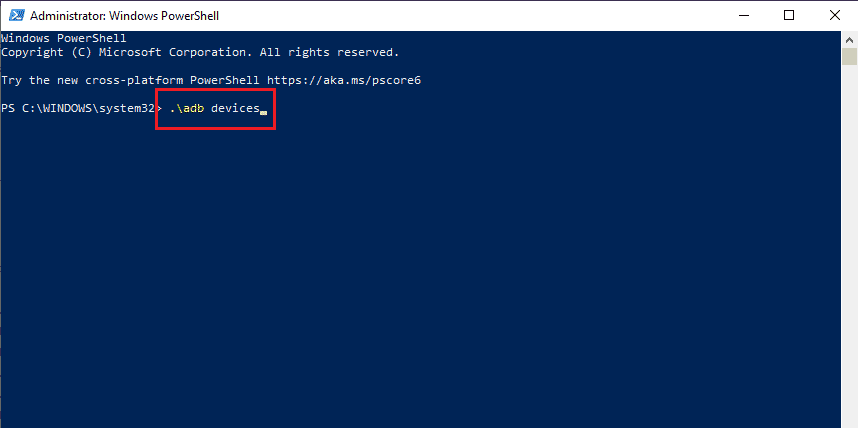
5. wciśnij Klawisz Windowstyp Windows PowerShell, a następnie kliknij Uruchom jako administrator.

6. Wpisz Urządzenia ./adb polecenie i naciśnij klawisz Przycisk ENTER to check the connected devices.
7. Stuknij w Akceptuj opcja w telefonie.
Przeczytaj także: Napraw interfejs systemowy, który zatrzymał czarny ekran na Androidzie
Step II: Enable USB Debugging
To enable the USB debugging option, you have to enable the Developer mode on your phone as follows.
1. From the home menu, open the Ustawienia app.

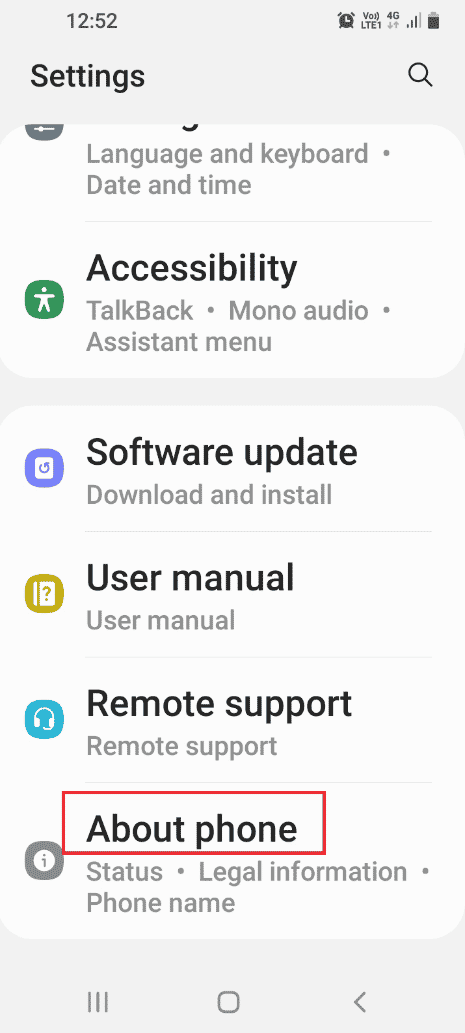
2. Tap on the tab O telefonie.
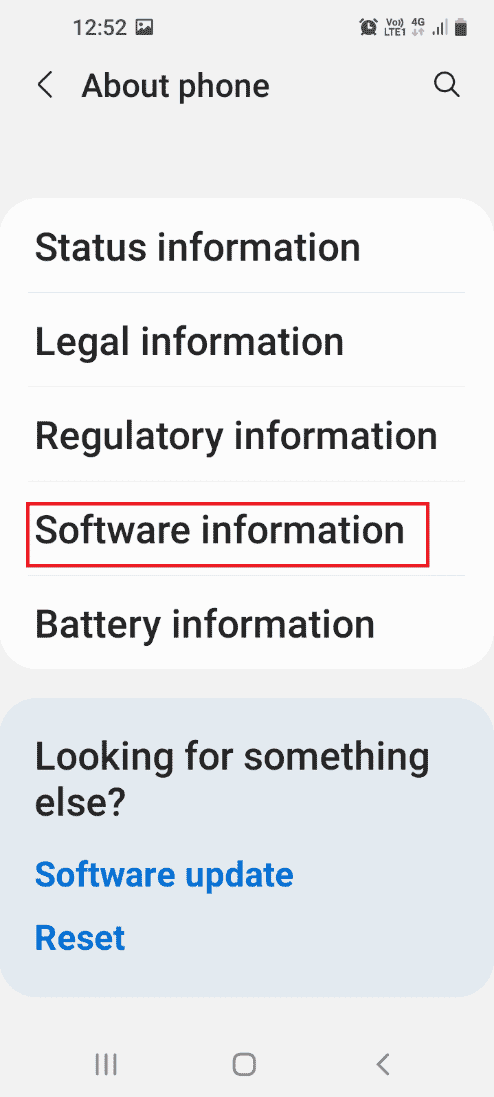
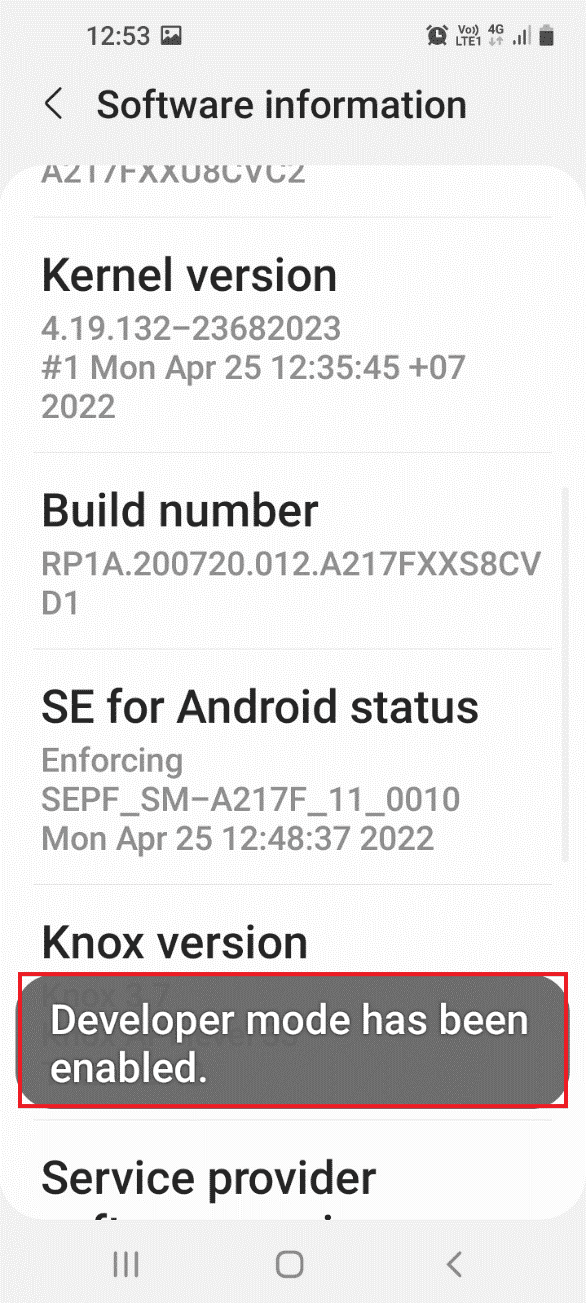
3. Tap on the tab Informacje o oprogramowaniu.
4. Tap on the tab Numer kompilacji 7 razy.
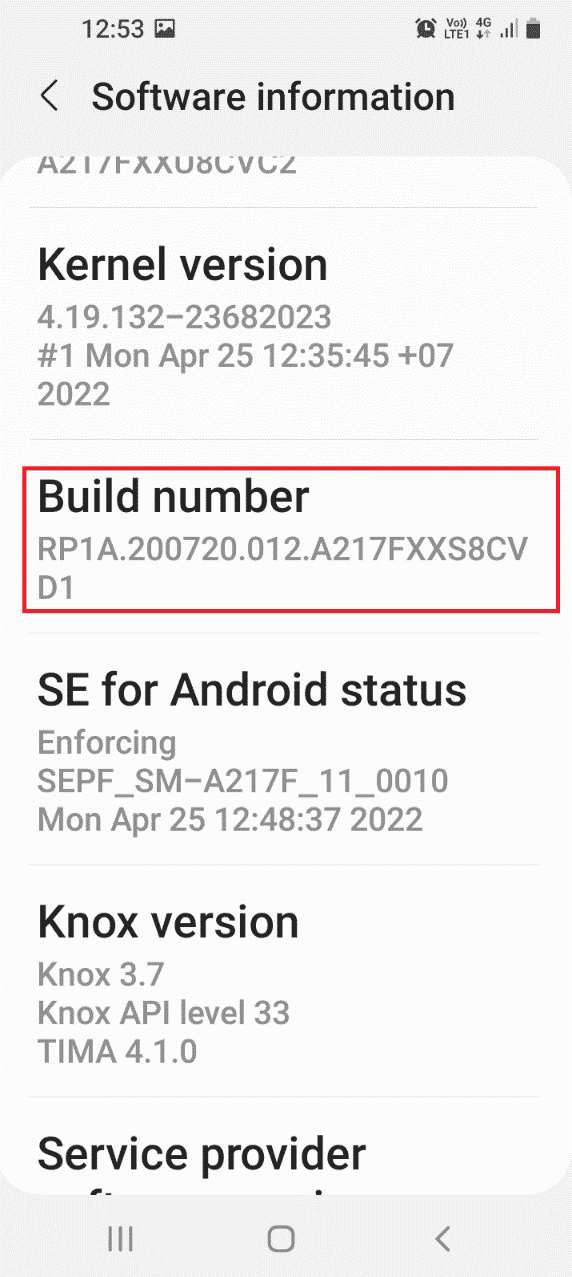
5. Wiadomość Developer mode has been enabled byłby wyświetlany.
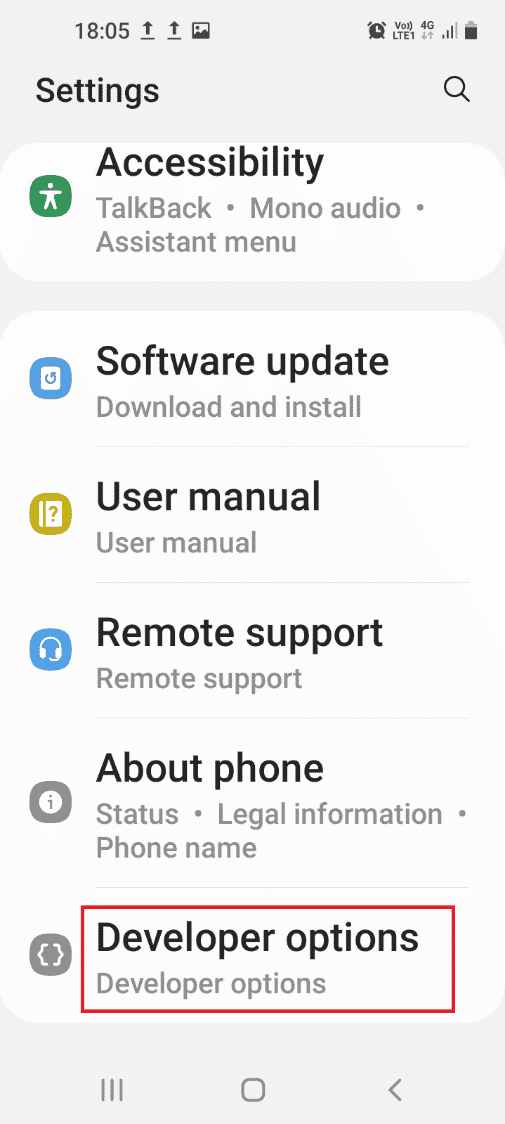
6. Wróć do Ustawienia main page and tap on the tab Opcje programistyczne.
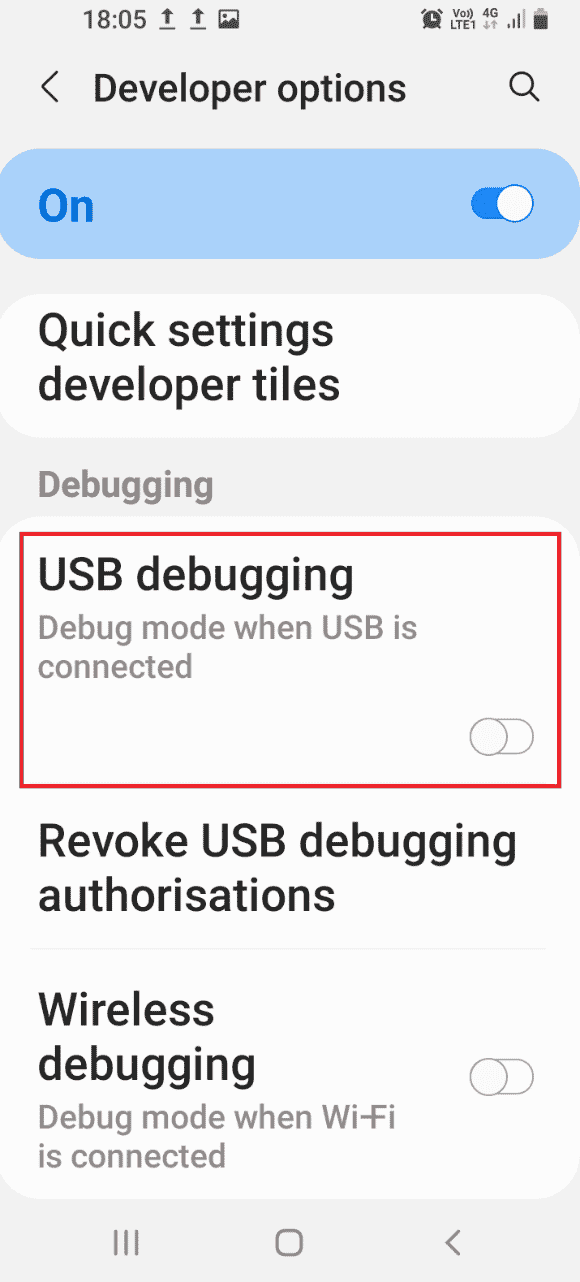
7. w Debugowanie sekcji, przełącz na debugowanie USB opcja.
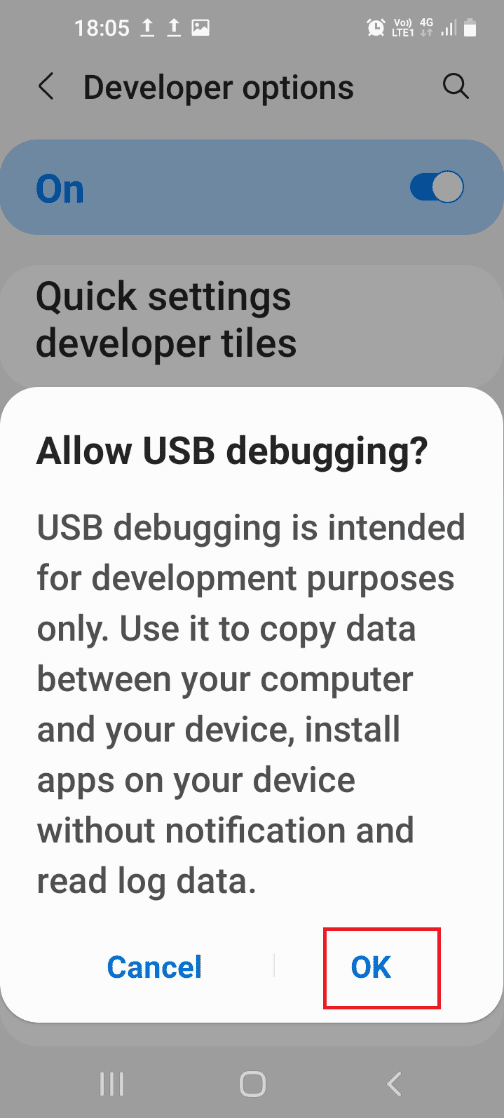
8. w Pozwól na debugowanie USB? confirmation message, tap on the OK opcja.
Przeczytaj także: What is Odin Mode on Samsung Phone?
Step III: Enable Node Tree Debugging
To enable the Windows PC to make changes to the Android phone, you have to enable the additional feature called Node Tree Debugging as follows.
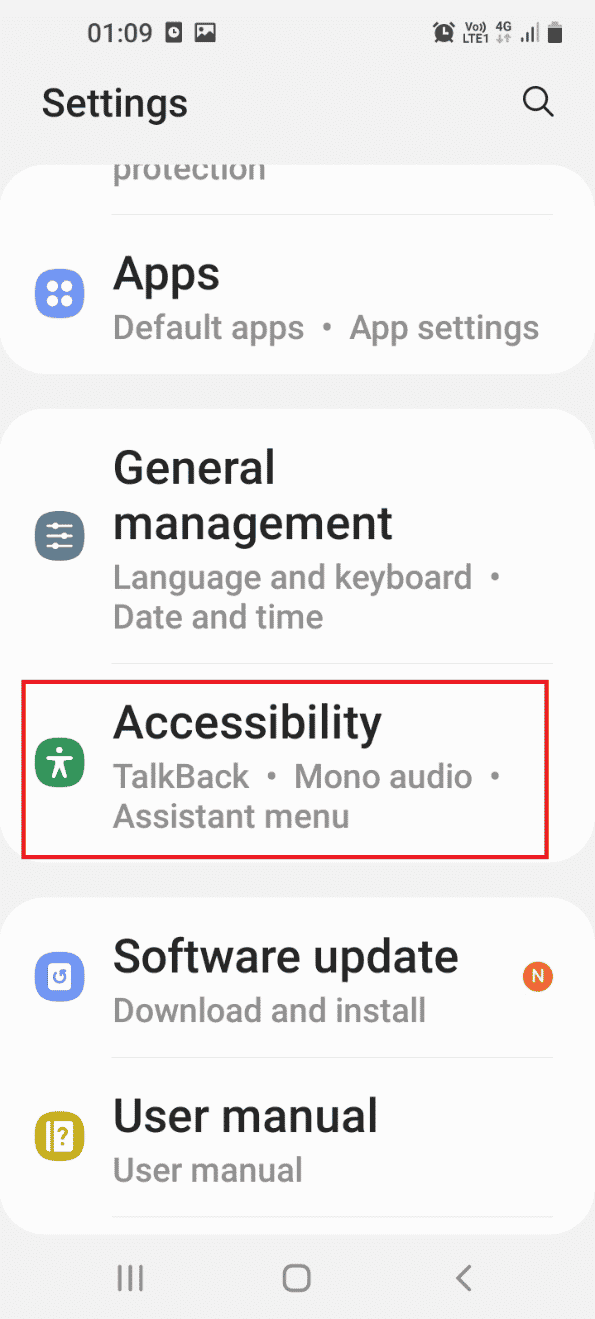
1. Wróć do Ustawienia main page and tap on the tab dostępność.
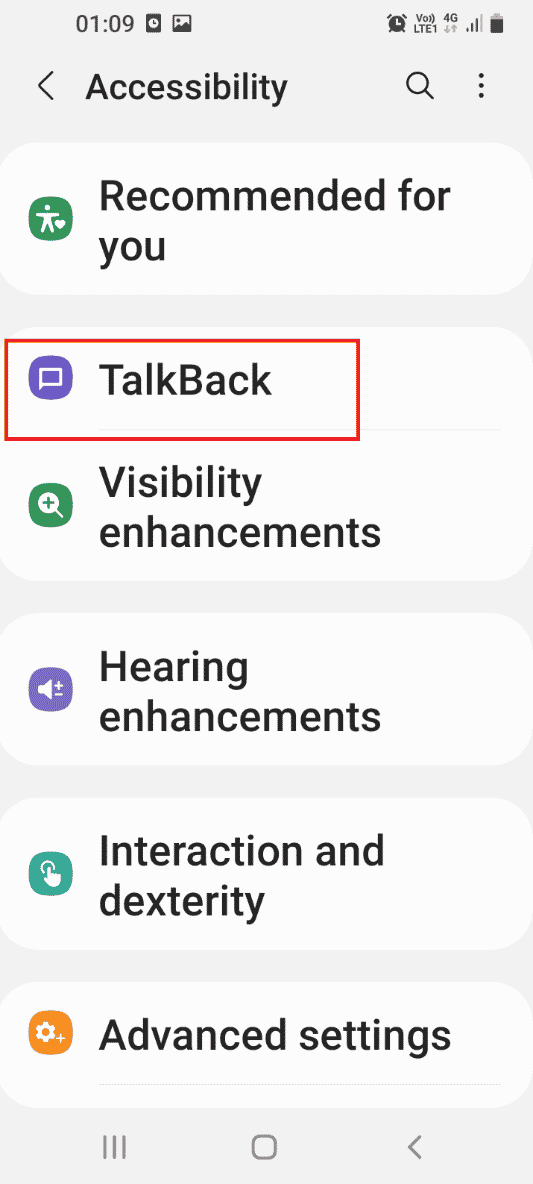
2. Stuknij w TalkBack opcja.
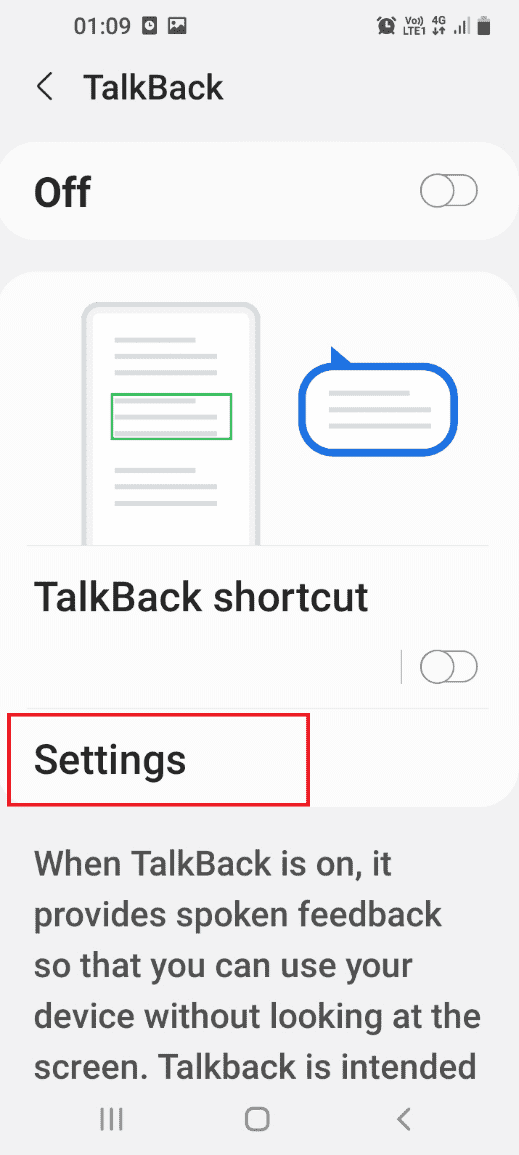
3. Następnie dotknij Ustawienia opcja.
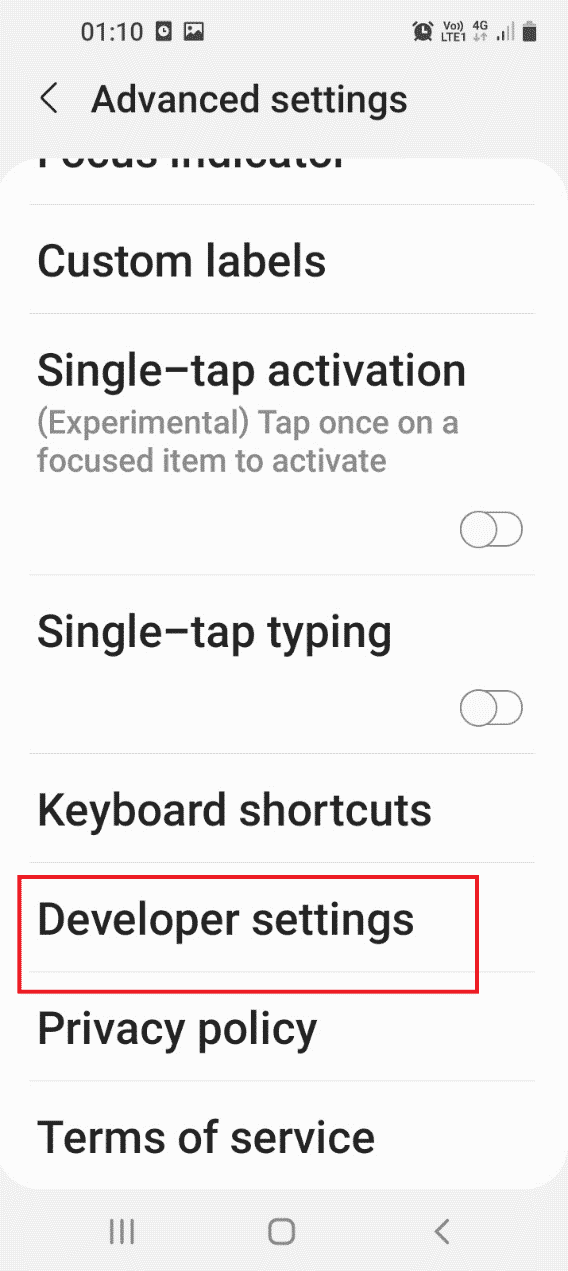
4. Następnie dotknij ustawienia zaawansowane opcja.

5. Stuknij w Ustawienia programisty opcja.
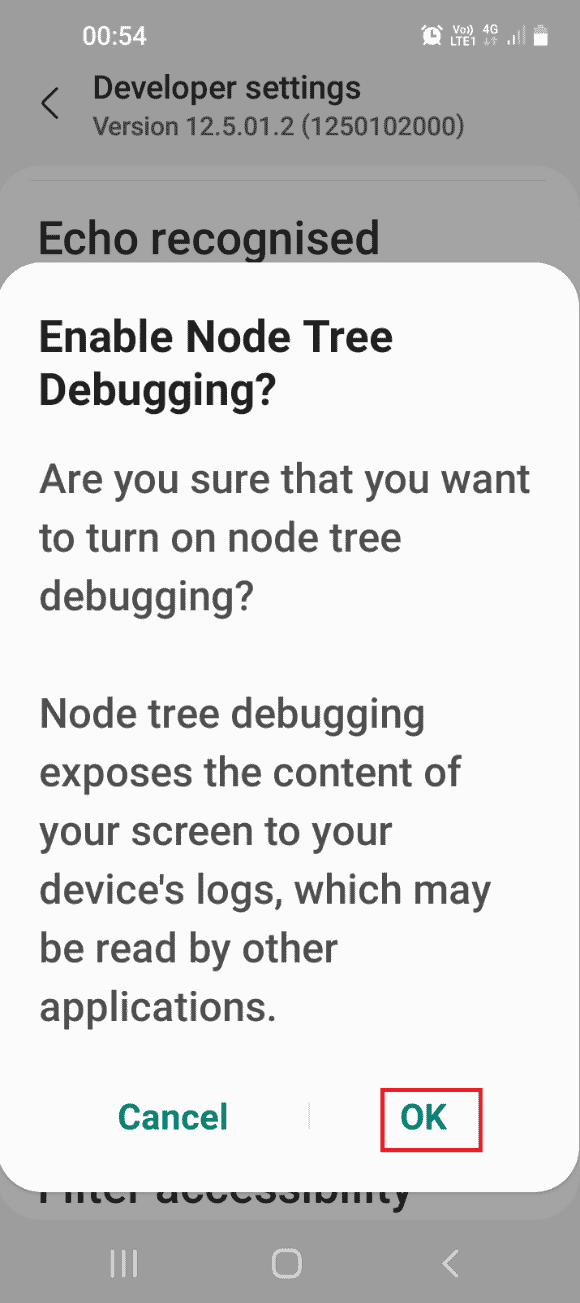
6. Włącz Enable node tree debugging opcja.
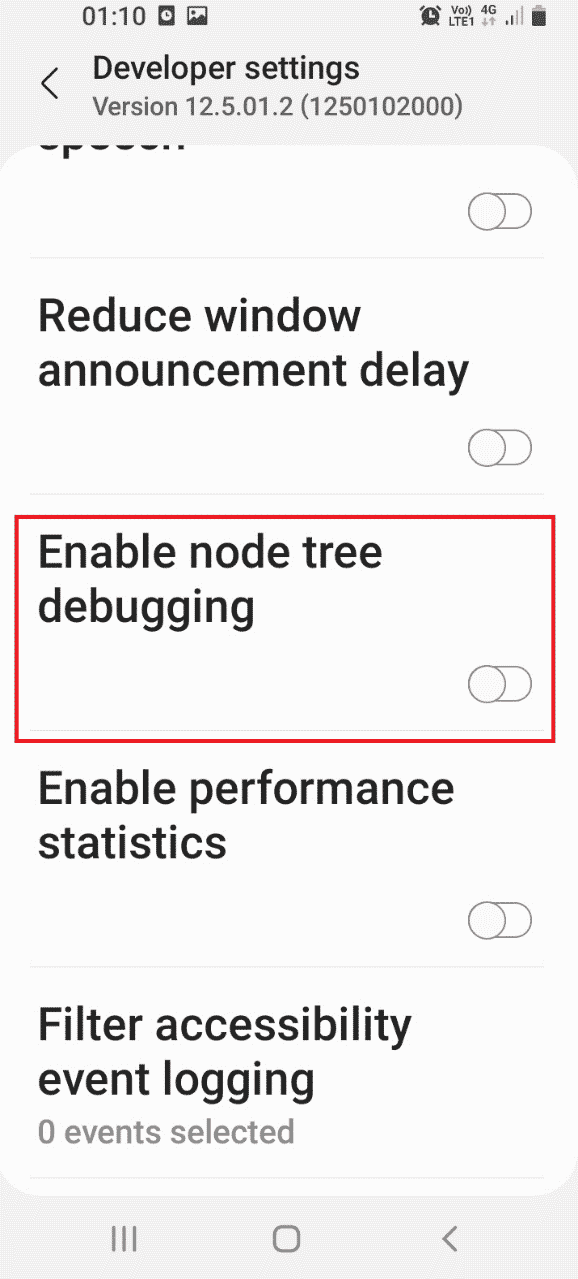
7. w Enable Node Tree Debugging? confirmation window, tap on the OK opcja.

Step IV: Format Data Using Windows PowerShell
The last step to fix the unable to mount storage TWRP issue is to format the data on your phone using the Windows PowerShell app.
1. Hit Klawisz Windowstyp Windows PowerShelli kliknij Uruchom jako administrator.

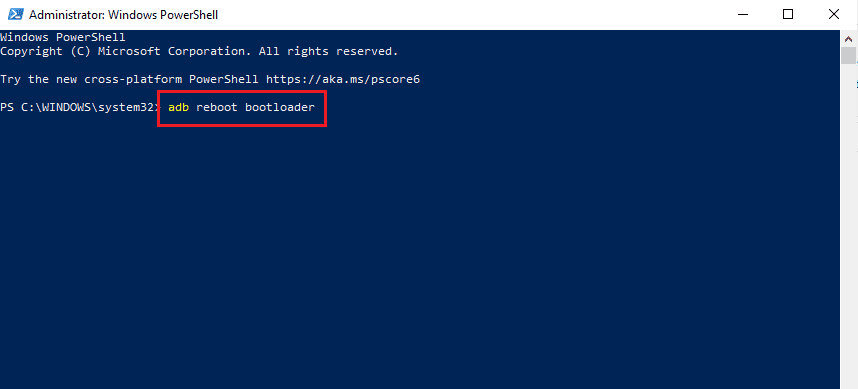
2. Wpisz podane komenda i naciśnij Przycisk ENTER to reboot your phone into TWRP tryb.
Adb restart bootloader
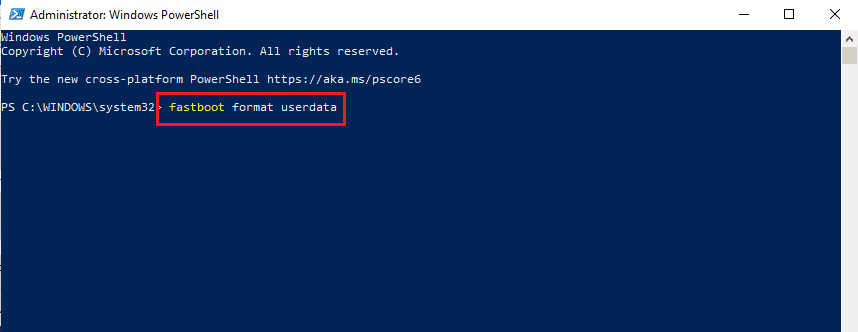
3. Następnie wpisz następujące polecenie komenda i uderzył Przycisk ENTER to format the user data on your phone.
fastboot format userdata
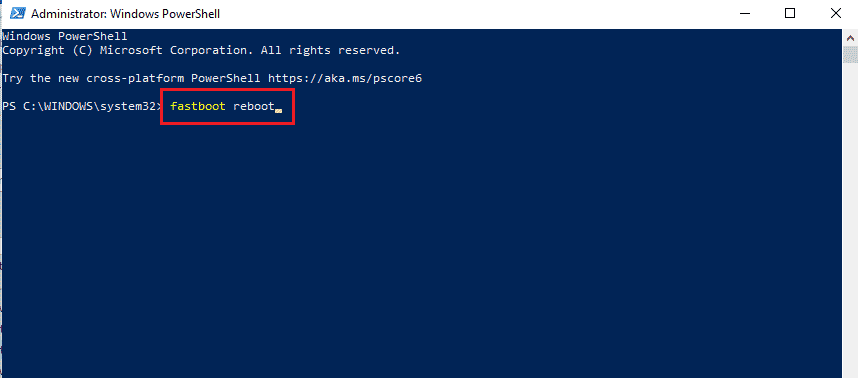
4. Wpisz restart fastboot polecenie i naciśnij klawisz Przycisk ENTER to reboot your phone in Fastboot mode.
Przeczytaj także: Jak odkryć aplikacje na Androida
Option II: Flash Recovery File
The second option to fix the issue is to flash the recovery file to your ADB folder on your Windows PC.
Step I: Rename Recovery File in adb Folder
As a first step, you have to rename the recovery file on the adb folder on your Windows PC to fix compatibility issues.
1. Enable ADB devices using your Windows PC.
2. Włącz USB Debugging i Node Tree Debugging options on your phone.
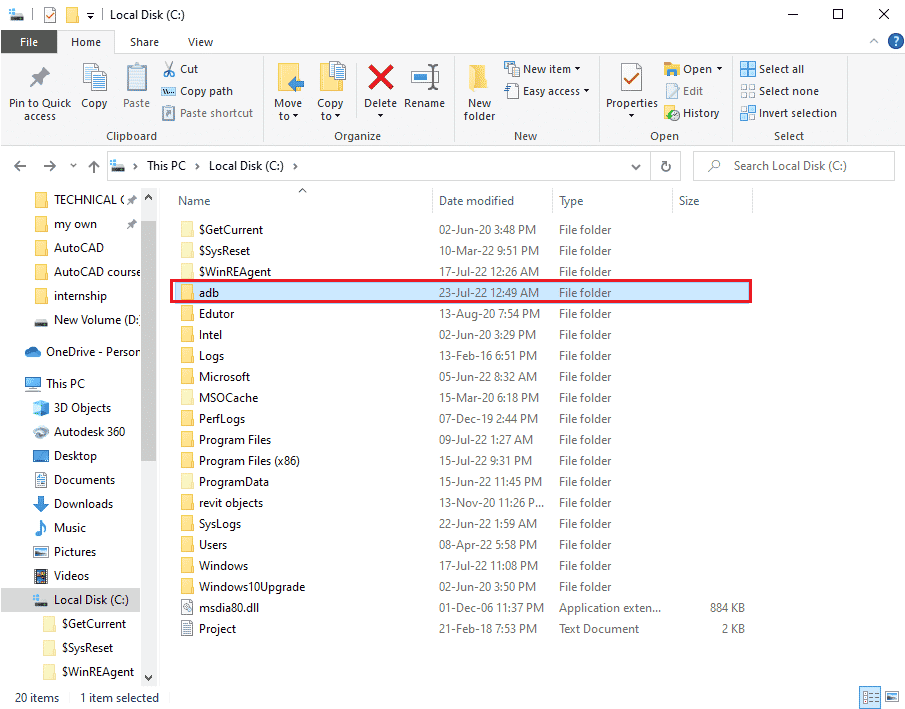
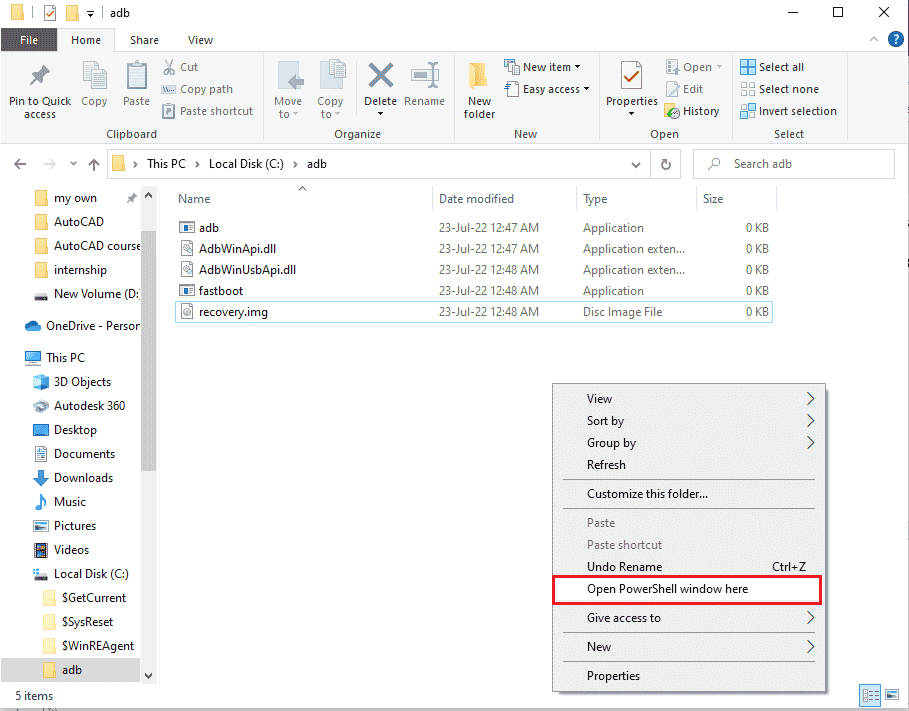
3. otwarte File Explorer używając Windows + E Klawisze simultaneously and navigate to the adb folder using the location path as This PC > Local Disk (C:) > adb.
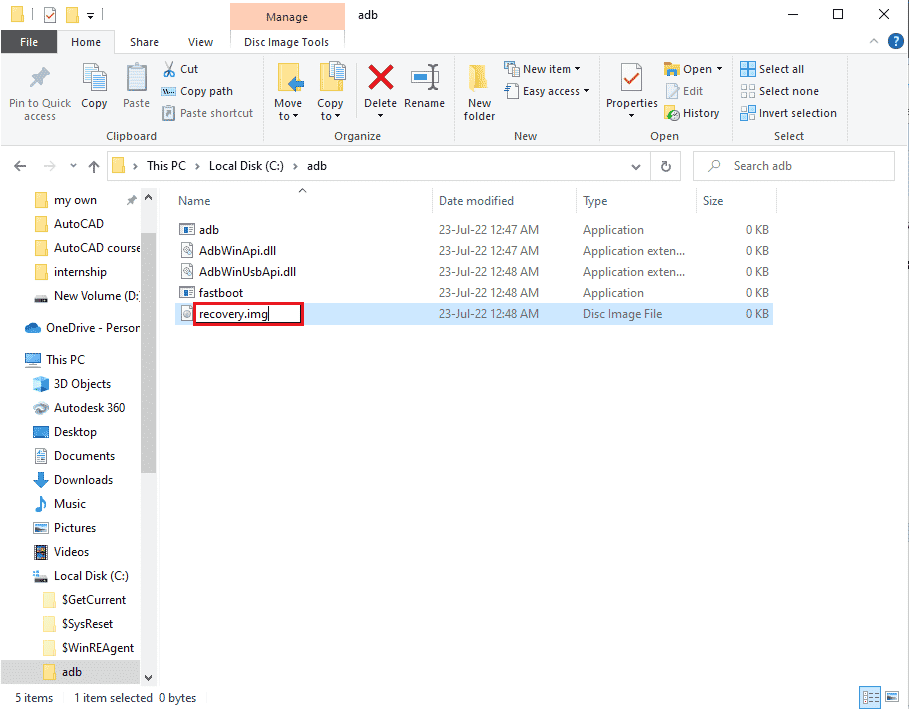
4. Right-click on the TWRP file and click on the przemianować opcja.
5. Rodzaj Recovery.img i naciśnij Przycisk ENTER.
Uwaga: You have to copy the name of the recovery file on your phone and rename the file accordingly.
Step II: Flash Recovery File
The next step is to flash the recovery file on your phone using the Windows PowerShell app.
1. wciśnij Klawisz Shift, right-click on a space, and click on the Open Windows PowerShell window here opcja.
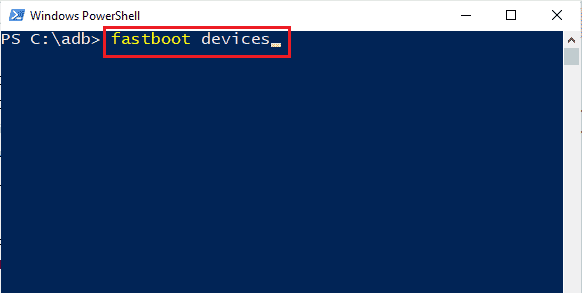
2. Wpisz polecenie urządzenia fastboot i uderzył Przycisk ENTER to check for adb devices in the fastboot mode.
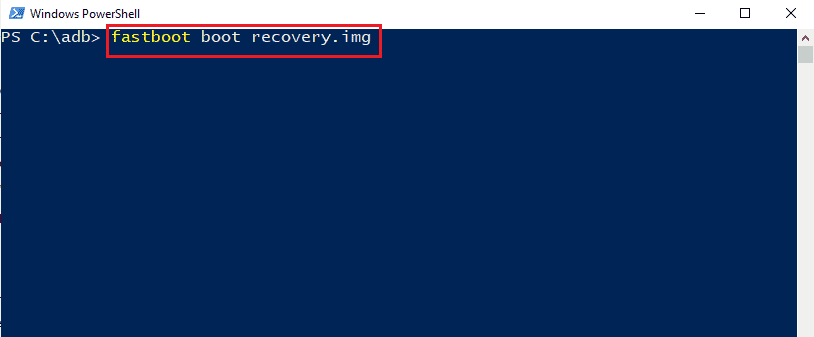
3. Wpisz polecenie fastboot recovery.img i naciśnij Wchodzę key to flash the recovery file on the fastboot mode on your phone.
Polecamy:
The methods to fix the issue of being unable to mount storage TWRP are discussed in the article. Please let us know your suggestions and queries on the topic in the comments below for us to heed your doubts.

