Fix Computer does not start until restarted multiple times

Fix Computer does not start until restarted multiple times: There seems to be a new issue with PC users, which is when they first turn ON their PC the power comes ON, fans start to spin but everything suddenly stops and PC never gets a display, in short, PC automatically turned OFF without any warning. Now if the user, powers off the PC and then turned it back ON, the computer boots normally without any additional issues. Basically, Computer does not start until restarted multiple times which is very annoying for basic Windows users.
Sometimes you need to boot up to 4-5 time before you could see the display or even boot your PC, but there is no guarantee that it will boot. Now living in this uncertainty, that you may or may not be able to use your PC next day is not such a good thing, so you need to address this problem immediately.
Now there are only a few issues which can cause this problem, so you can definitely troubleshoot this issue easily. The problem sometimes can be related to software like the main culprit seems to be Fast Startup in many cases and disabling it seems to fix the issue. But if this doesn’t fix the issue then you can be sure that the issue is related to hardware. In hardware, this can be a memory issue, faulty power supply, BIOS Settings or CMOS battery dried up, etc. So without wasting any time let’s see how to Fix Computer does not start until restarted multiple times with the help of the below-listed guide.
Fix Computer does not start until restarted multiple times
Asigurați-vă că ați creat un punct de restaurare, în cazul în care ceva nu merge bine.
Notă: Some of the methods require expert supervision as you can seriously damage your PC while performing the steps, so if you don’t know what you’re doing then take your laptop/PC to a service repair center. If your PC is under warranty then opening the case can temper/void the warranty.
Metoda 1: Opriți pornirea rapidă
1.Apăsați tasta Windows + R, apoi tastați control și apăsați Enter pentru a deschide Panoul de control.

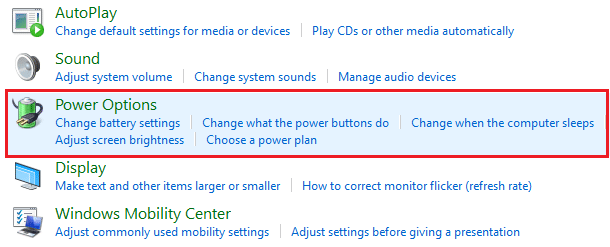
2.Click pe Hardware și sunet apoi faceți clic pe Opțiuni de alimentare.
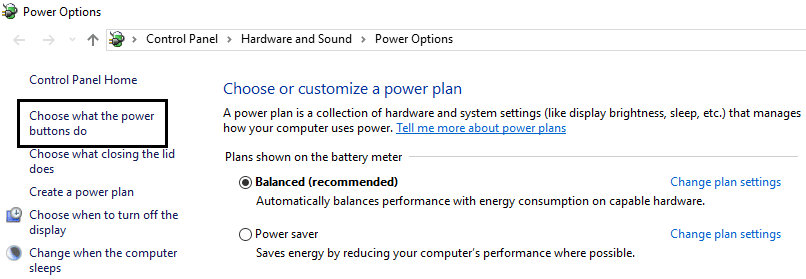
3. Apoi din panoul din stânga ferestrei selectați „Alegeți ce fac butoanele de alimentare.
4. Acum faceți clic pe „Schimbați setările care în prezent nu sunt disponibile.

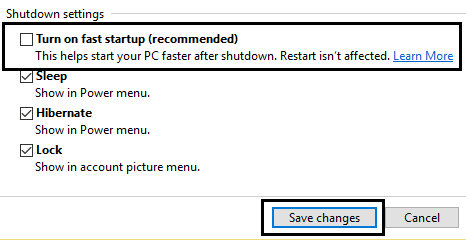
5. Debifați „Porniți pornirea rapidă” și faceți clic pe Salvare modificări.
Metoda 2: Rulați reparația automată
1.Introduceți DVD-ul de instalare bootabil Windows 10 și reporniți PC-ul.
2.When prompted to apasa orice tasta pentru a porni de pe CD sau DVD, apăsați orice tastă pentru a continua.

3.Selectați preferințele de limbă și faceți clic pe Următorul. Faceți clic pe Reparare computerul dvs. din stânga jos.

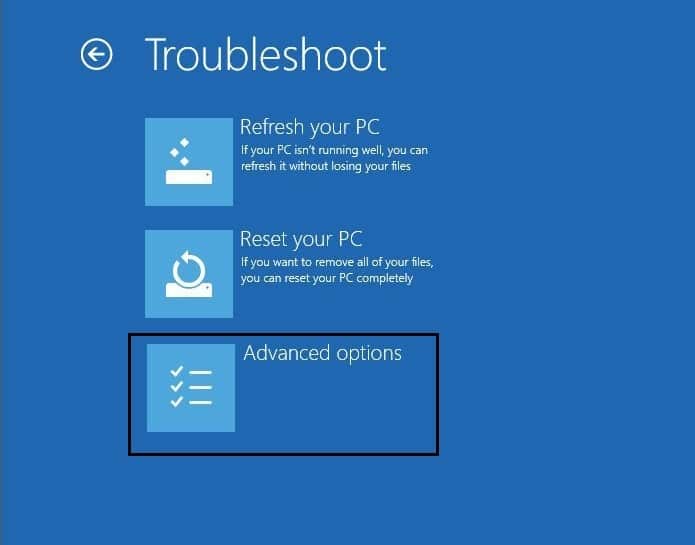
4.La alegerea unui ecran de opțiuni, faceți clic Depanarea.

5. Pe ecranul Depanare, faceți clic pe Optiuni avansate.
6. În ecranul Opțiuni avansate, faceți clic pe Reparație automată sau reparație la pornire.
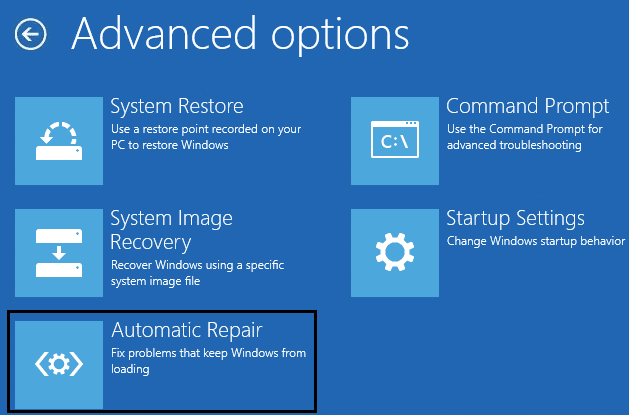
7. Așteptați până când Reparații automate/pornire Windows complet.
8.Reporniți și aveți succes Fix Computer does not start until restarted multiple times issue, daca nu, continua.
De asemenea, citiți Cum să remediați Repararea automată nu v-a putut repara computerul.
Metoda 3: Resetați BIOS-ul la setările implicite
1.Opriți laptopul, apoi porniți-l și simultan apăsați F2, DEL sau F12 (în funcție de producătorul dvs.) pentru a intra în Configurarea BIOS-ului.

2.Now you’ll need to find the reset option to încărcați configurația implicită și poate fi numit Resetare la valorile implicite, Încărcare setări implicite din fabrică, Ștergere setări BIOS, Încărcare setări implicite sau ceva similar.

3.Select it with your arrow keys, press Enter, and confirm the operation. Your BIOS-ul acum îl va folosi setări implicite.
4.Once you’re logged into Windows see if you’re able to Fix Computer does not start until restarted multiple times issue.
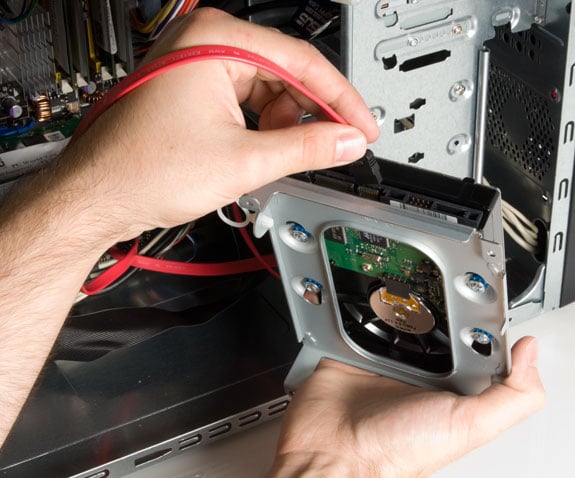
Method 4: Check if hard disk is failing
In many cases, the issue occurs because of the failing hard disk and to check if this is the problem here you need to disconnect the hard disk from your PC and connect it to another PC and try to boot from it. If you can boot from the hard disk without any issue on the other PC then you can be sure that the issue is not related to it.
Another way to test your hard disk is download and burn the SeaTools for DOS on a CD then run the test to check if your hard disk is failing or not. You will need to set the first boot to CD/DVD from BIOS in order for this to work.
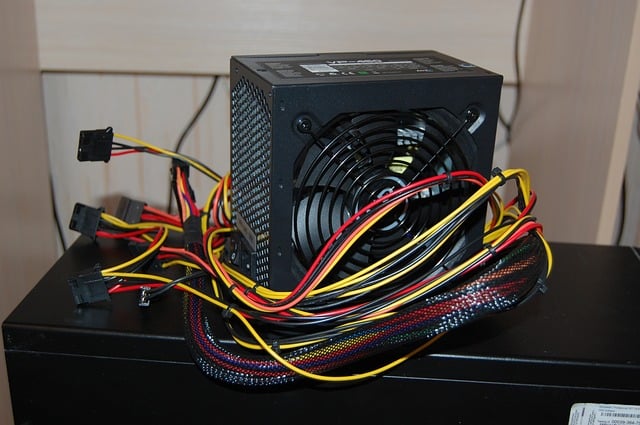
Metoda 5: Verificați sursa de alimentare
A faulty or failing Power Supply is generally the cause for PC not starting at the first boot. Because if the power consumption of hard disk is not met, it won’t get enough power to run and subsequently you may need to restart the PC several times before it can take the adequate power from PSU. In this case, you may need to replace the power supply with a new one or you could borrow a spare power supply to test if this is the case here.
If you have recently installed a new hardware such as video card then chances are the PSU is not able to deliver the necessary power needed by the graphic card. Just temporary remove the hardware and see if this fixes the issue. If the issue is resolved then in order to use the graphic card you may need to purchase a higher voltage Power Supply Unit.
Method 6: Replace CMOS battery
If CMOS battery has dried up or no longer deliver powers then your PC won’t start and after few days it will eventually start hanging up. In order to fix the issue, it’s advised to replace your CMOS battery.
Metoda 7: Resetare ATX
Notă: Acest proces se aplică în general laptopurilor, așa că dacă aveți un computer, lăsați această metodă.
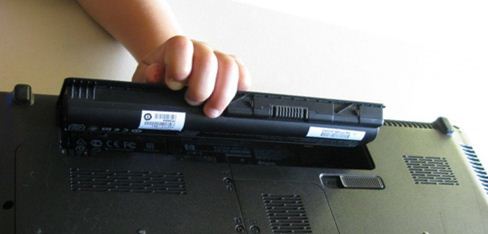
1.Power off your laptop then remove the power cord, leave it for few minutes.
2.Acum scoateți bateria din spate și țineți apăsat butonul de pornire timp de 15-20 de secunde.
Notă: Nu conectați încă cablul de alimentare, vă vom spune când să faceți asta.
3.Now plug in cablul dvs. de alimentare (bateria nu trebuie introdusă) și încercați să porniți laptopul.
4.If it’s boot properly then again turn off your laptop. Put in the battery and again start your laptop.
If the problem is still there again turn off your laptop, remove power cord & battery. Press & hold the power button for 15-20 seconds and then insert the battery. Power on the laptop and this should fix the issue.
Now if any of the above methods weren’t helpful then it means the problem is with your motherboard and unfortunately, you need to replace it in order to fix the issue.
Recomandat:
Asta ai cu succes Fix Computer does not start until restarted multiple times issue dar dacă mai aveți întrebări cu privire la acest ghid, atunci nu ezitați să le întrebați în secțiunea de comentarii.