Cum se remediază conectarea eșuată la serviciul Windows

Fix failed to connect to Windows service: The main cause of this error is when Windows is unable to start or connect to required Windows Services to carry out the system operations. This error can be caused by Windows Font Cache Service, Windows Event Logs Service, System Event Notification Service, or any other service. You can’t possibly figure out the service causing this problem so troubleshooting will largely depend on trying to fix all the possible issues. So without any further ado, let’s see how to fix failed to connect to Windows service.
Depending upon the system user’s may receive one of the following error messages:
Windows could not connect to the System Event Notification Service service. This problem prevents standard users from logging on to the system. As an administrative user, you can review the System Event Log for details about why the service didn’t respond

Windows could not connect to the Group Policy Client service. This problem prevents standard users from logging on to the system. As an administrative user, you can review the System Event Log for details about why the service didn’t respond.
Cum se remediază conectarea eșuată la serviciul Windows
So without wasting any time let’s see resolve Failed to connect to Windows service error in Windows 10 cu ajutorul ghidului de mai jos.
Method 1: Delete Windows Logs File
Sometimes Windows log files are corrupted which causes the error “failed to connect to Windows service.” To fix the issue delete all the log files.
1. Navigați la următorul folder:
C:WindowsSystem32winevt
2. Acum asigurați-vă că rename the Logs folder la altceva.
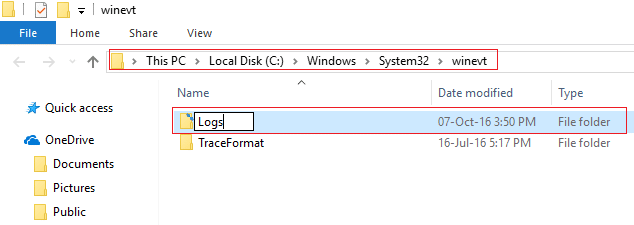
3. If you are unable to rename the folder then you have to stop Windows Event Logs Service.
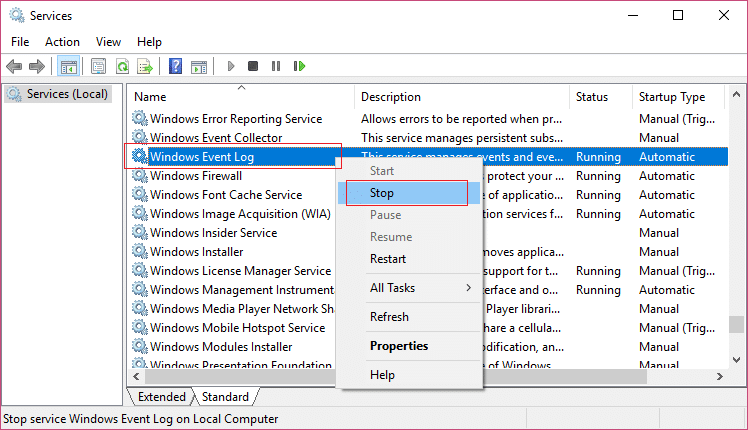
4. To do so press Windows Key + R then type services.msc and then find Windows Event Logs.

5. Faceți clic dreapta pe Windows Event Logs Service și selectați Stop. Minimize the Services window do not close it.
6. Next try to redenumiți folderul, if you are not able to rename then delete everything present inside the Logs folder.
Notă: If you find that you do not have access to all of the logs due to them being locked, you can try Unlocker Assistant, which will allow access to all the locked files and the ability to delete them.
7. Again open the Services window and start the Windows Event Logs Service.
8. Check if the problem is resolved or not.
Method 2: Use netsh winsock reset command
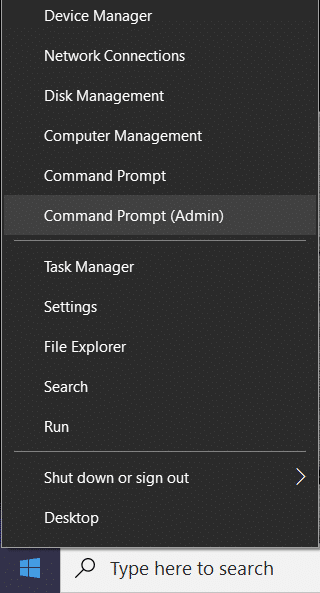
1. Apăsați tasta Windows + X apoi selectați Comandă Prompt (Admin).
2. Now type the following command in the cmd and hit enter:
netsh winsock resetare

3. Close the command prompt window then restart your PC and see if you were able to fix Failed to connect to Windows service issue.
Citeste si: Remediați eroarea de conexiune L2TP eșuată pe Windows 10
Method 3: Fix the error using Registry Editor
1. Apăsați tasta Windows + R apoi tastați „regedit” (fără ghilimele) și apăsați Enter pentru a deschide Editorul Registrului.

2. Now navigate to the following key in the Registry Editor:
ComputerHKEY_LOCAL_MACHINESYSTEMCurrentControlSetServicesgpsvc
3. Next, find the value of imagepath key and check its data. In our case, its data is svchost.exe -k netsvcs.
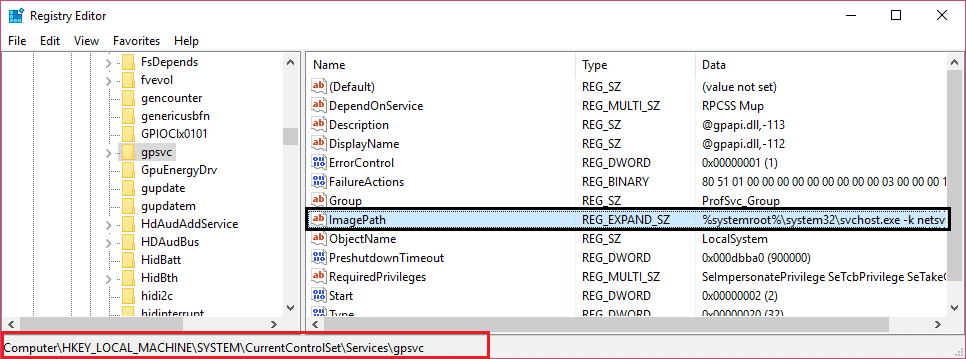
4. This means the above data is in charge of the gpsvc service.
5. Now navigate to the following path in the Registry Editor:
HKEY_LOCAL_MACHINESOFTWAREMicrosoftWindows NTCurrentVersionSvcHost
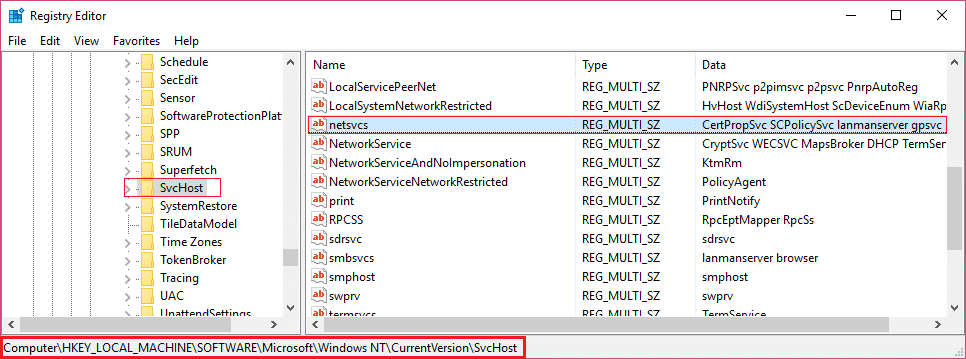
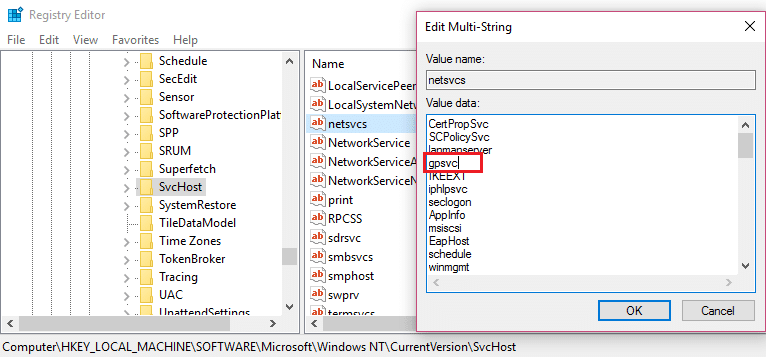
6. In the right window pane, locate netsvcs and then double click on it.
7. Verifică Value data field and make sure gpsvc is not missing. If it’s not there then add the gpsvc value and be very careful in doing so because you don’t want to delete anything else. Click Ok and close the dialog box.
8. Next, navigate to the following folder:
HKEY_LOCAL_MACHINESOFTWAREMicrosoftWindows NTCurrentVersionSvcHostnetsvcs
Notă: This is not the same key present under SvcHost, it’s present under the SvcHost folder in the left window pane)
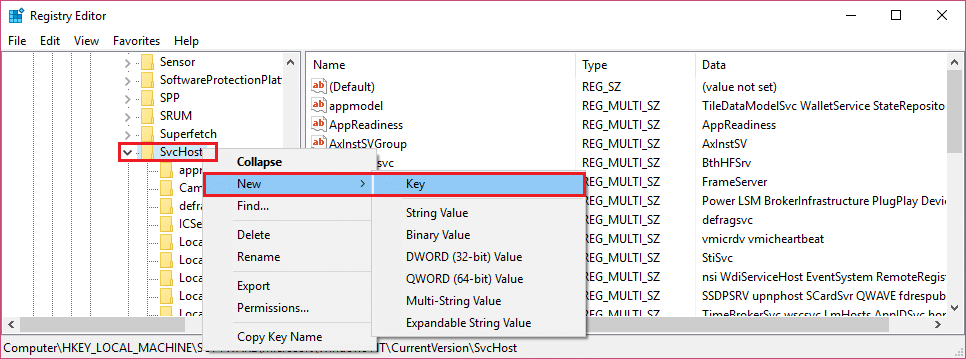
9. If netsvcs folder is not present under the SvcHost folder then you need to manually create it. To do so, right-click on the SvcHost folder și selectați Nou> Cheie. Next, enter netsvcs as the name of the new key.
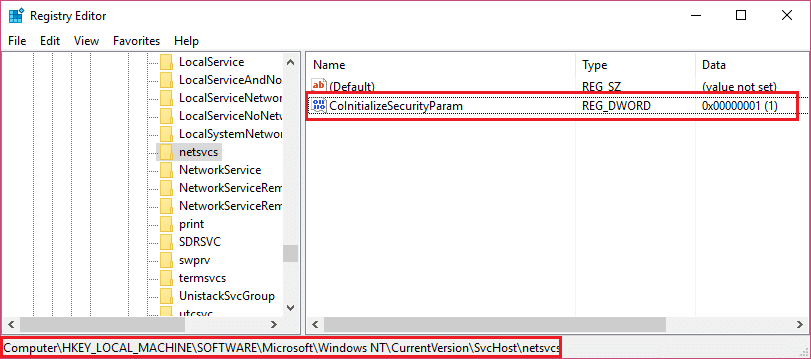
10. Select the netsvcs folder which you just created under SvcHost and in the left window pane then right-click and select Nou > valoare DWORD (32 de biți)..
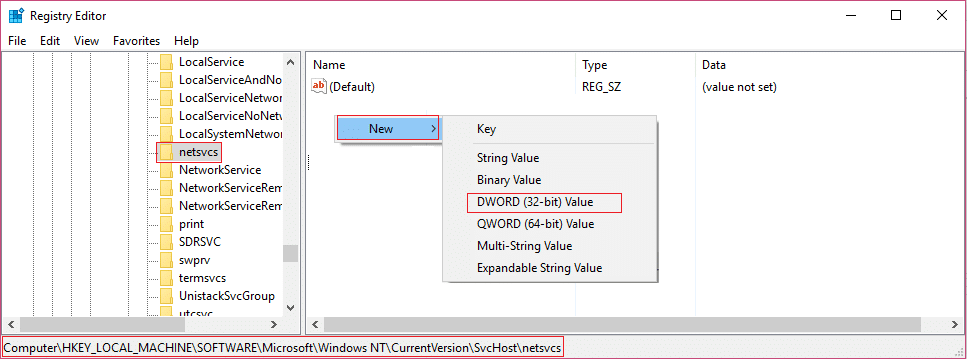
11. Now enter the name of the new DWORD as CoInitializeSecurityParam și faceți dublu clic pe el.
12. Set Value data to 1 and click OK to save changes.
13. Now similarly create the following three DWORD (32-bit) Value under netsvcs folder and enter the value data as specified below:
Name of the DWORD                                    Value Data

CoInitializeSecurityAllowLowBox:                        1
CoInitializeSecurityAllowInteractiveUsers:              1
AuthenticationCapabilities:                            3020
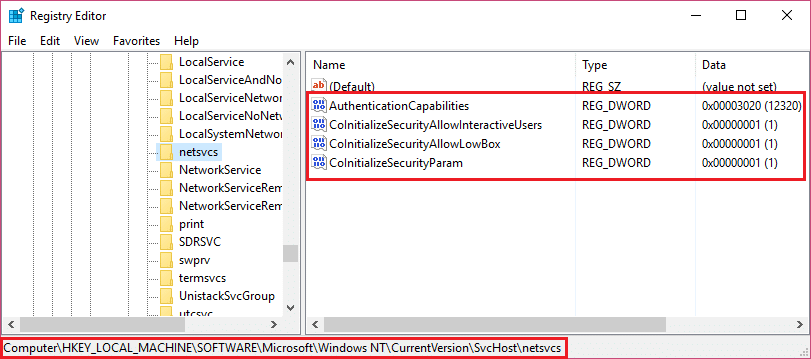
14. clic OK after setting the value of each of them and close the Registry Editor.
Method 4: Stop Windows Font Cache Service
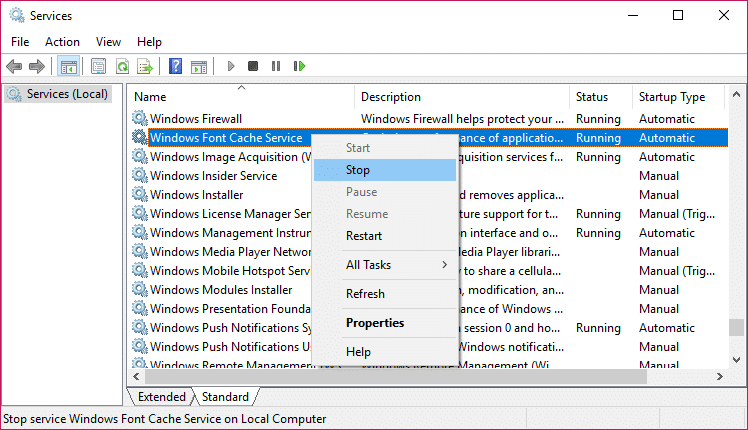
1. Apăsați tasta Windows + R apoi tastați services.msc și apăsați Enter.

2. In the Services window that opens, find Serviciul Windows Font Cache and right-click on it then select Stop.
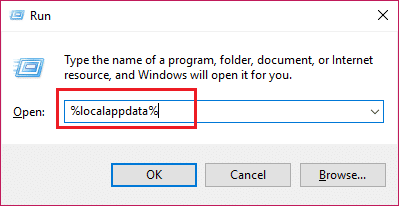
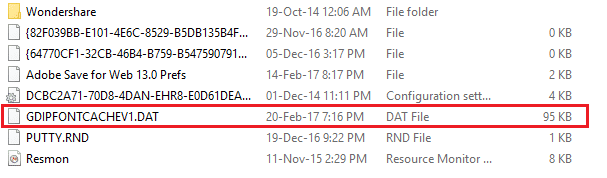
3. Now minimize the Services window as you are going to need it later and again press Windows Key + R then type % Localappdata% și apăsați Enter.
4. Apoi, localizați FontCache DAT files and delete them. For example, in my case the file name was GDIPFONTCACHEV1.
5. Again go back to Services window and right-click on Serviciul Windows Font Cache apoi choose Start.
6. Restart your PC to save changes and this may help you Fix Failed to connect to Windows service issue, is not the continue.
Metoda 5: Dezactivați pornirea rapidă
Pornirea rapidă combină caracteristicile ambelor Oprire la rece sau completă și Hibernează. When you shut down your PC with a fast startup feature enabled, it closes all the programs and applications running on your PC and also logged out all the users. It acts as a freshly booted Windows. But Windows kernel is loaded and system session is running which alerts device drivers to prepare for hibernation i.e. saves all current applications and programs running on your PC before closing them.
This can sometimes cause an issue with the programs which can lead to the “Failed to connect to Windows service error“. In order fix the issue you need to disable the Fast Startup feature which seems to be working for other users.

Method 6: Clean boot your system
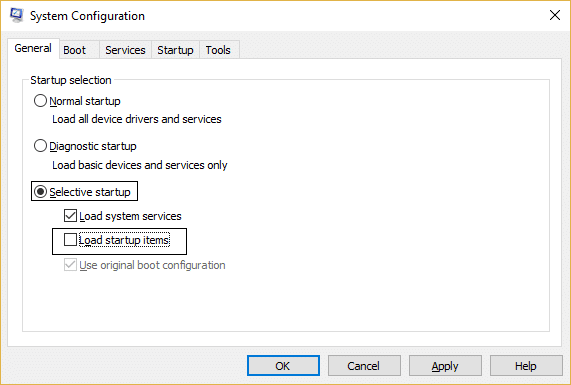
1. Apăsați tasta Windows + R apoi tastați msconfig și apăsați enter la Configurarea sistemului.

2. On the General tab, choose Startup selectiv iar sub ea asigurați-vă că opțiunea „încărcați elementele de pornire” este nebifat.
3. Navigate to the Services tab and checkmark the box that says “Ascunde toate serviciile Microsoft.
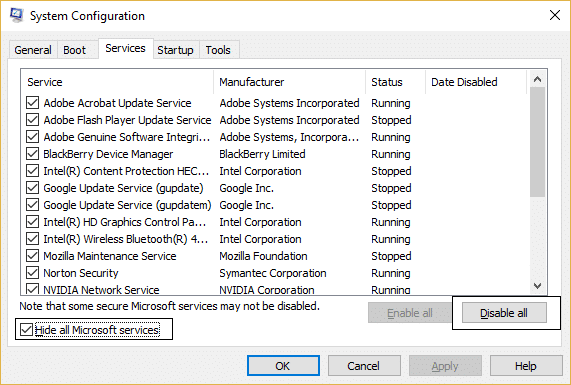
4. Apoi, faceți clic Dezactivați toate of which would disable all the other remaining services.
5. Restart your PC check if the problem persists or not.
6. After you had finish troubleshooting make sure to undo the above steps in order to start your PC normally.
Metoda 7: Rulați CCleaner și Malwarebytes
Efectuați o scanare completă antivirus pentru a vă asigura că computerul este securizat. În plus, rulați CCleaner și Malwarebytes Anti-malware.
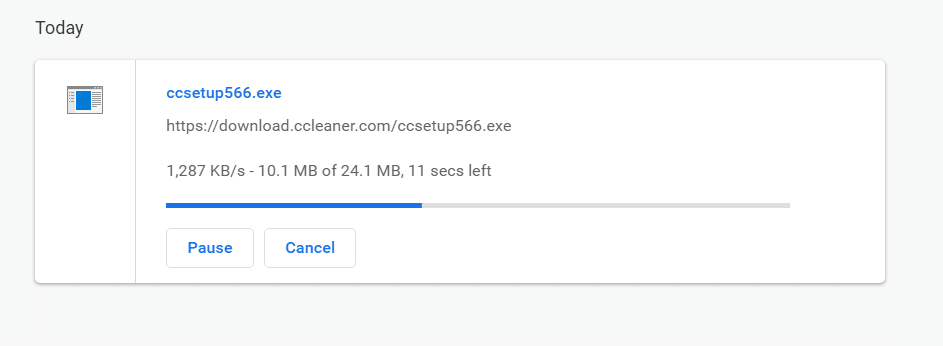
1. Descărcați și instalați CCleaner.
2. Faceți dublu clic pe setup.exe pentru a începe instalarea.
3. Faceți clic pe Buton Instalare to start the installation of CCleaner. Follow on-screen instructions to complete the installation.
4. Lansați aplicația și din meniul din stânga, selectați Personalizat.
5. Now see if you need to checkmark anything other than the default settings. Once done, click on Analyze.
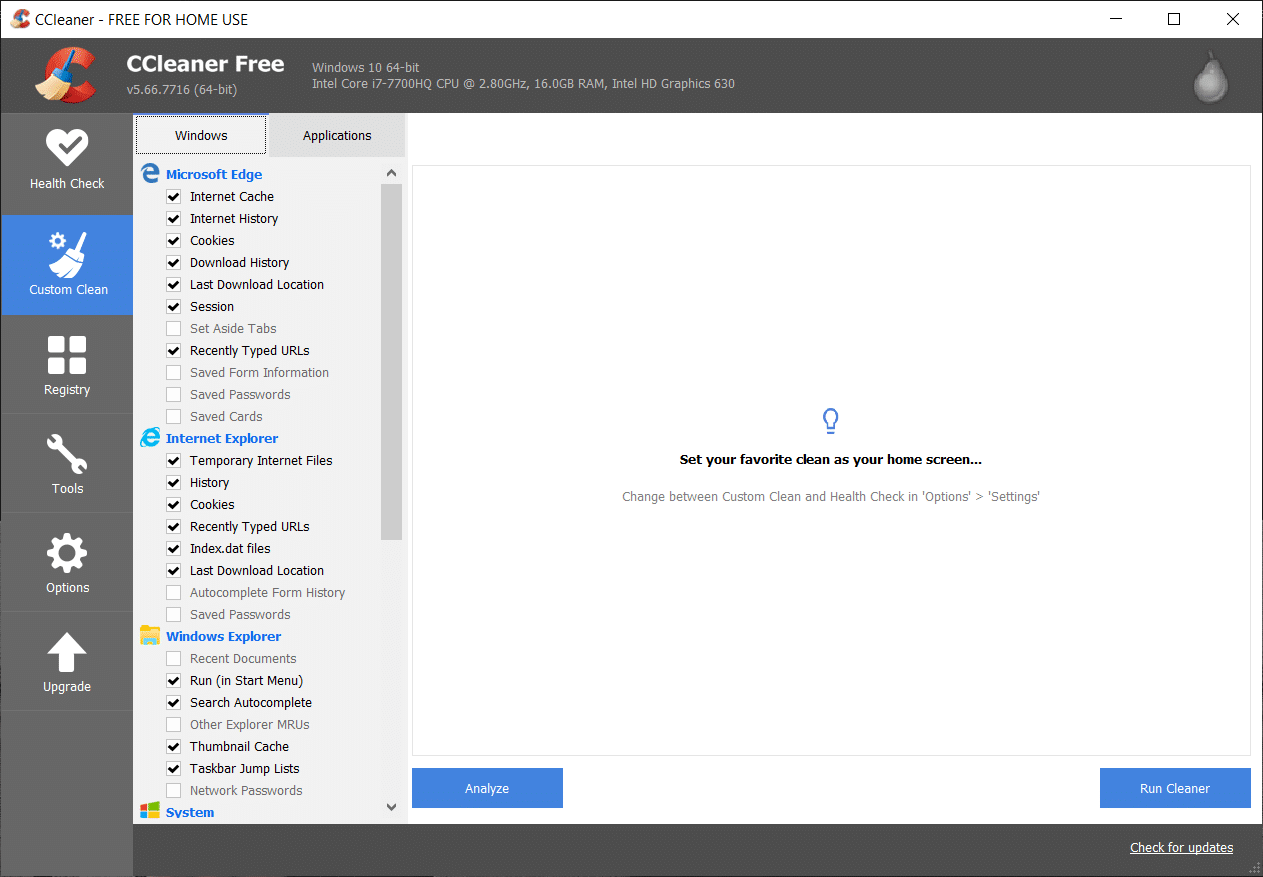
6. Odată ce analiza este finalizată, faceți clic pe butonul „Rulați CCleaner"Buton.

7. Let CCleaner run its course and this will clear all cache and cookies on your system.
8. Acum, pentru a vă curăța sistemul în continuare, selectați fila Registry, și asigurați-vă că sunt verificate următoarele.

9. După ce ați terminat, faceți clic pe „Scaneaza pentru probleme” și permiteți CCleaner să scaneze.
10. CCleaner will show the current issues with Windows Registry, simply click on Remediați problemele selectate butonul.
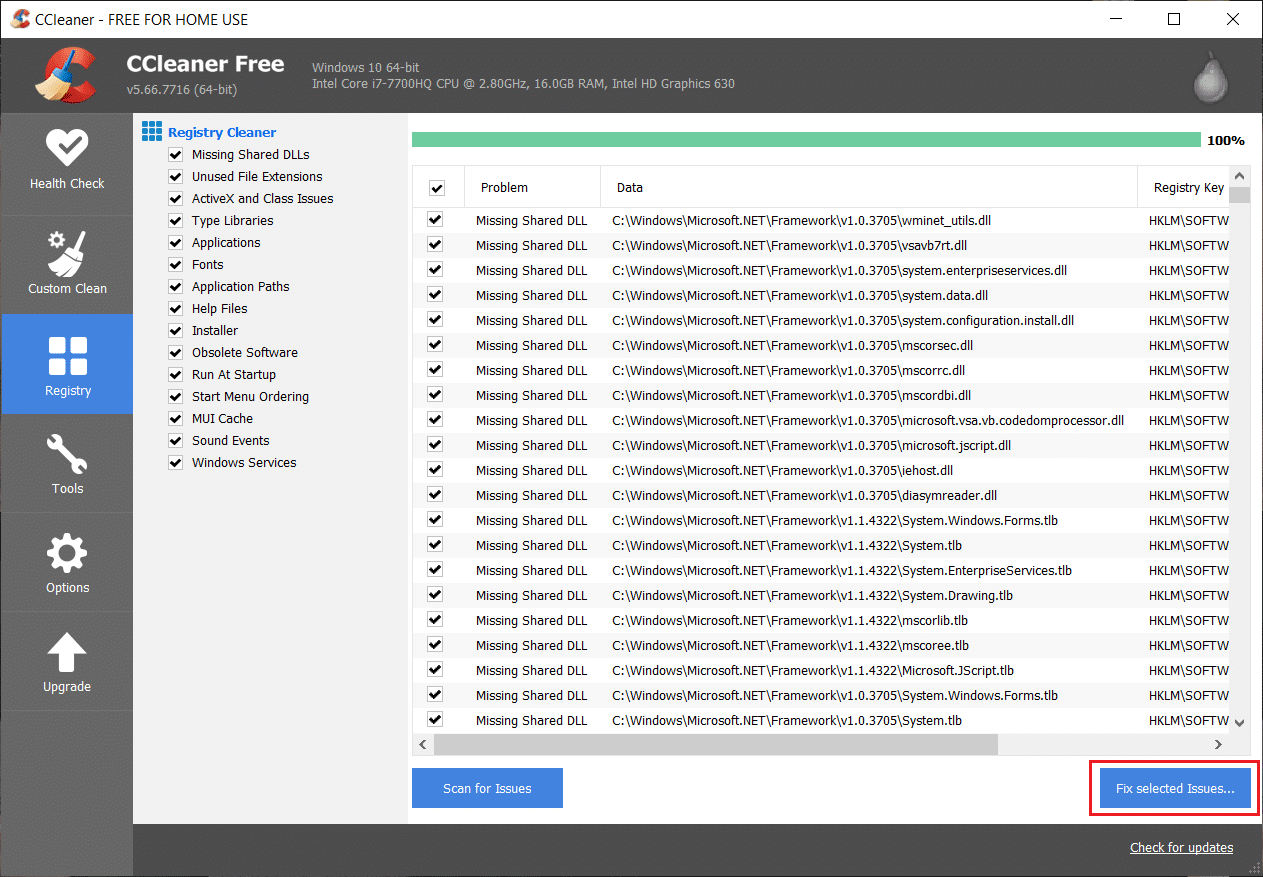
11. Când CCleaner întreabă „Doriți modificări de rezervă ale registrului?" Selectați Da.
12. După finalizarea copiei de rezervă, selectați Remediați toate problemele selectate.
13. Reporniți computerul pentru a salva modificările.
If this doesn’t fix the issue then run Malwarebytes and let it scan your system for harmful files.
Metoda 8: Dezactivați controlul contului de utilizator
1. Tip Panou de control in the Windows Search then click on the top of the search result.
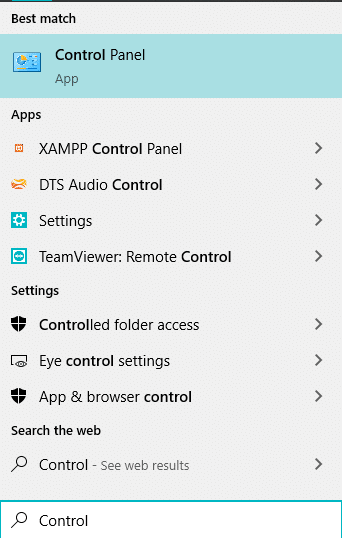
2. Apoi, selectați User Accounts > User Accounts > Change User Account Control Settings.
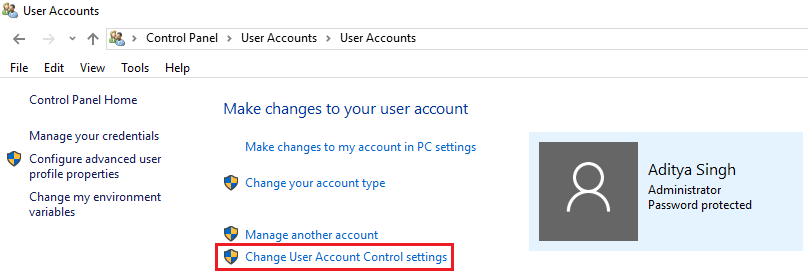
3. Move the slider all the way down to Never notify.
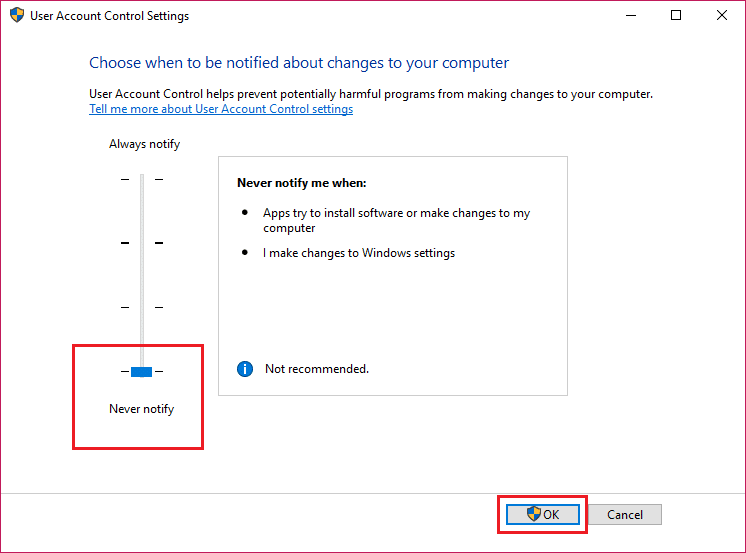
4. Click Ok to save changes and reboot your system. The above method may help you fix failed to connect to Windows service error, dacă nu, continuă.
Metoda 9: Rulați System File Checker (SFC) și Check Disk (CHKDSK)
1. Press Windows Key + X then click on Command Prompt(Admin).
2. Acum tastați următoarele în cmd și apăsați enter:
Sfc / scannow
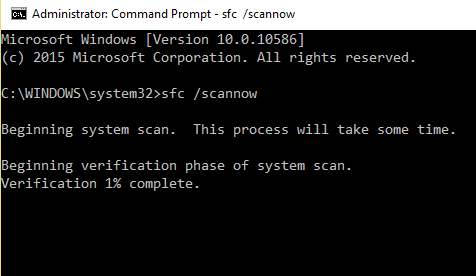
3. Așteptați ca procesul de mai sus să se termine și, odată terminat, reporniți computerul.
4. Next, run CHKDSK which can fix bad sectors in your hard disk.
5. Lăsați procesul de mai sus să se termine și reporniți din nou computerul pentru a salva modificările.
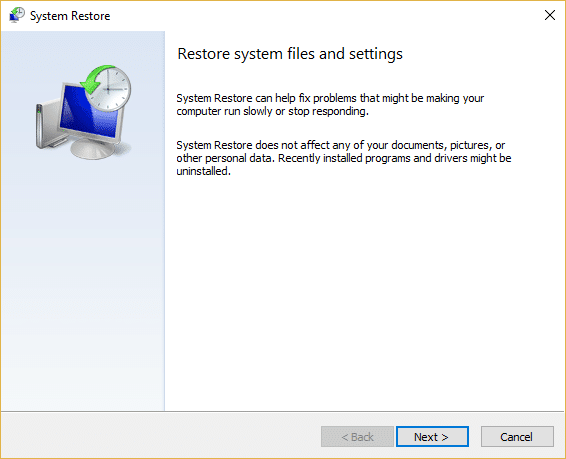
Metoda 10: Efectuați Restaurarea sistemului
When none of the above methods works in resolving the error then System Restore can definitely help you in fixing this error. So without wasting any time run system restore in order to fix failed to connect to Windows service error.
Asta ai cu succes Fix Failed to connect to Windows service error but if you still have any queries regarding this article feel free to ask them in the comment’s section.