Поправите Мицрософт Теамс видео позив који не ради

If your camera is not working with Teams, don’t worry! This is a common issue faced by most users who handle meetings and conferences. Despite the fact that Microsoft Teams is one of the best video conferencing and chatting applications, it is not perfect at times. Suddenly, you may detect Microsoft Teams video call not working issue, so you will be struck with paused video or black screen only. This problem may be associated with an in-built camera or an external web camera. Also, if you cannot start the camera, incompatible app settings may contribute to Teams video not working problem. We bring to you a perfect guide that will teach you how to fix Microsoft Teams video call not working issue. So, continue reading the article.
How to Fix Microsoft Teams Video Call Not Working
Before you get into the troubleshooting section, you must learn the reasons that cause this issue. And so, you can easily resolve the same appropriately.
- Corrupt/incompatible camera drivers.
- Additional camera devices are configured to your Windows 10 PC.
- Camera permission is not granted on your computer.
- A third-party antivirus program or Firewall is interfering with the Teams software.
- Some other applications in your device are using your inbuilt camera.
- VPN/Proxy interference.
- Застарели оперативни систем.
Now, move ahead to the next section to resolve this issue. Analyze the reason to implement selective troubleshooting methods to attain quick results.
We have compiled a list of methods that will help you fix this problem in this section. The methods are arranged from basic to advanced steps to attain easier and faster results. Follow them in the same order to attain perfect results.
Основно решавање проблема
Before trying the advanced troubleshooting methods, here are some simple hacks that will resolve all temporary glitches associated with Microsoft Teams application.
1. Replug Webcam
- If you are using an external web camera, the first thing you have to do is to Искључи the web camera from the USB port, рестарт your computer, and поново укључите it again after some time.
- If you are using an inbuilt camera, ensure it is out of hardware glitches and failure.
2. Remove Other Hardware Devices
- Some other hardware devices plugged into your PC may interfere with the inbuilt camera or webcam. Temporarily, disable all other devices and check if this helps you.
- If you do not face this issue after disconnecting all other hardware devices, then plug them one by one to sort out the culprit.
- Always buy genuine peripherals from official or reliable stores for your Windows 10 computer.
3. Затворите позадинске апликације
1. метод: Покрените алатку за решавање проблема са хардвером и уређајима
Windows 10 computers come with inbuilt troubleshooter tools to fix any problems associated with all of their components. The functionality of your camera can be affected by numerous factors. So, we recommend troubleshooting hardware and devices as instructed below.
КСНУМКС. Притисните Виндовс + Р тастери заједно да покрену трчање Дијалог.
КСНУМКС. Тип мсдт.еке -ид ДевицеДиагностиц и погоди унети.
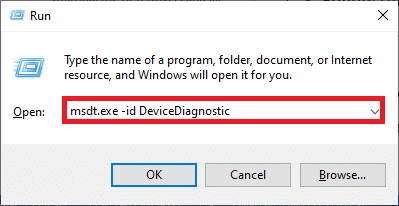
3. Затим кликните на Следећа.

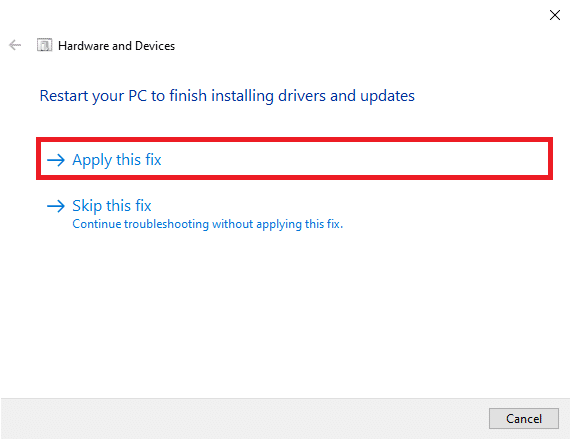
4A. If there is an issue and your device is not set up with the latest drivers, you will receive the following prompt. Select Примени овај поправак and follow the on-screen instructions. Then, покренути Твој уређај.
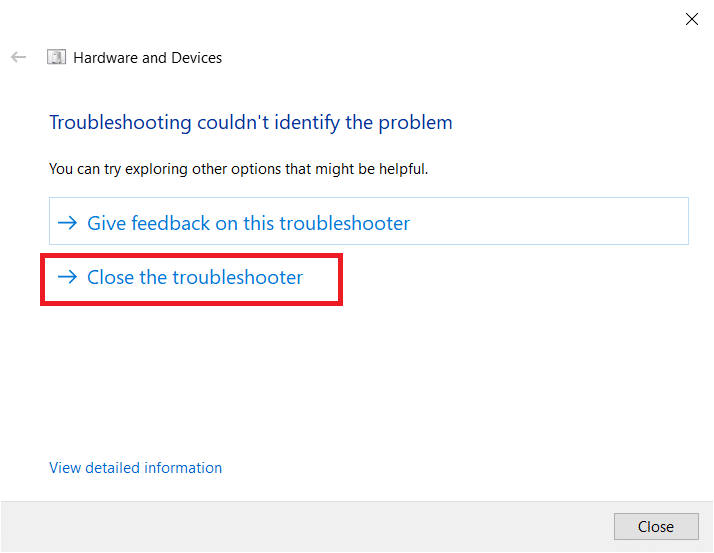
4B. If there is no issue with the drivers, click Затворите решавање проблема на следећем екрану.
Method 2: Choose the Right Camera in Teams
Teams must access your camera, and for that, you have to choose the correct camera. If Teams faces any issue while accessing the camera, you will face so many conflicts. For the Desktop version of Teams, follow the below-mentioned steps to choose the right camera in your Windows 10 PC.
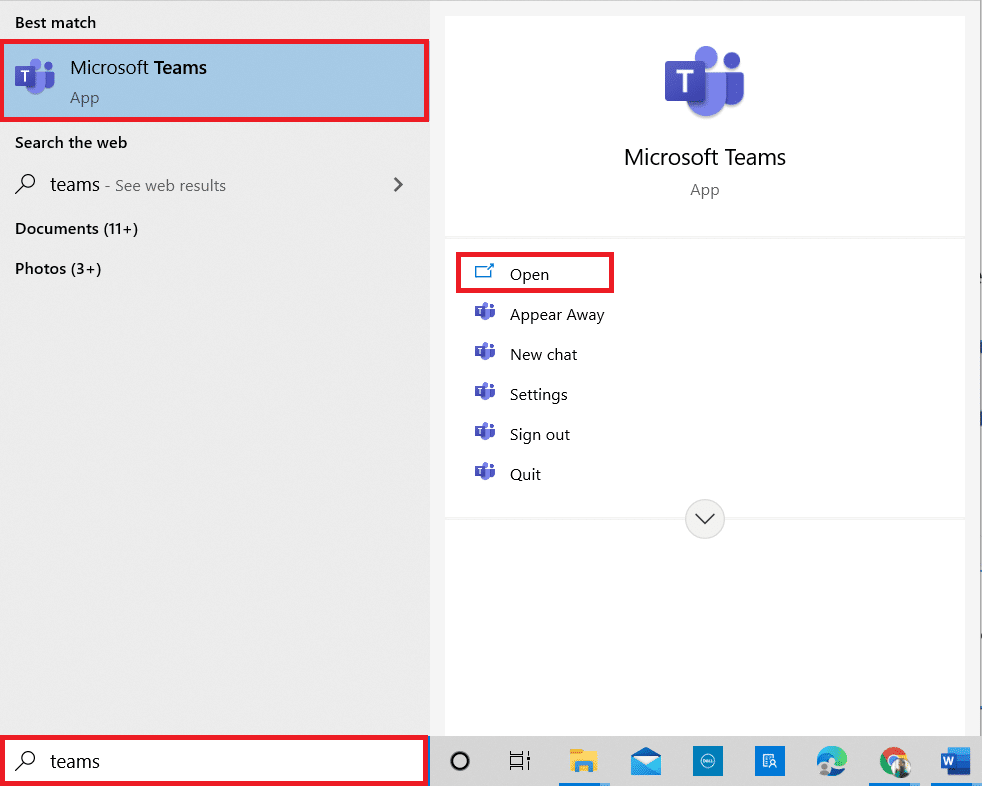
1. Притисните windows тастер. Тип Microsoft Teams и покрените га.
КСНУМКС. Кликните на икона са три тачке поред вашег Слика профила у тимовима.
![]()
3. Пребаците се на Уређаји tab in the left pane and scroll down the right screen.
4. Сада, у Krema za sunčanje i šešir menu, expand the drop-down menu.
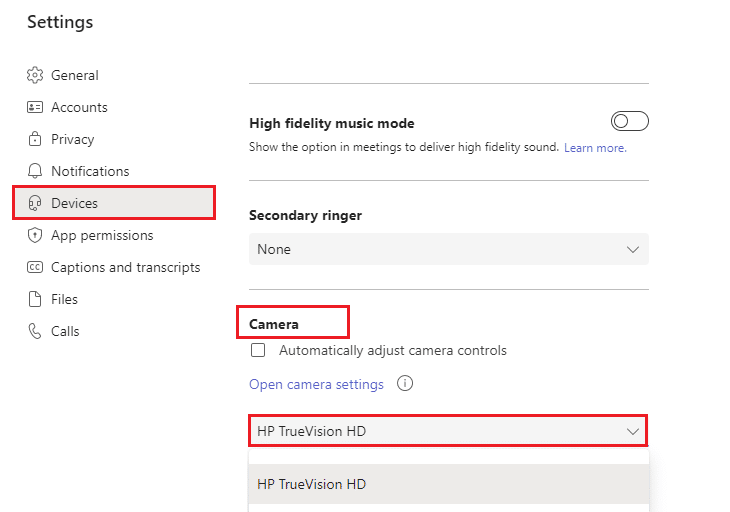
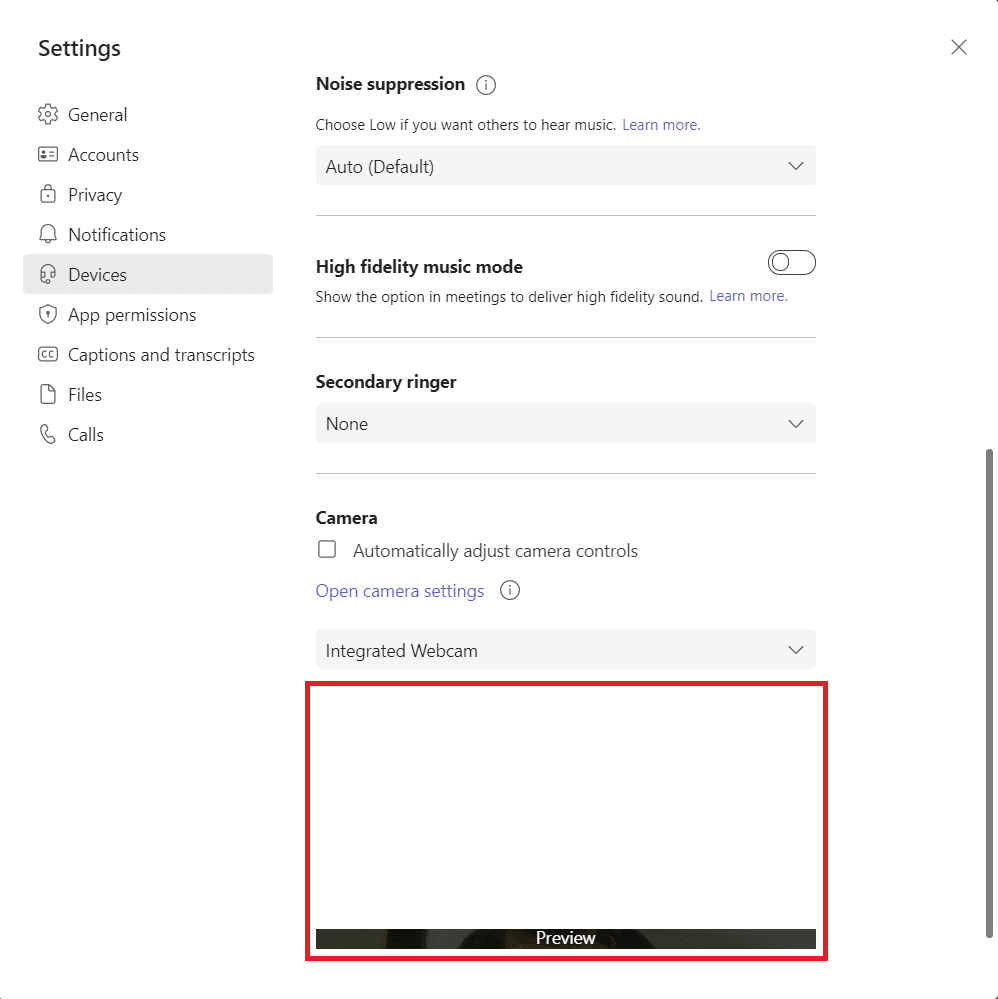
5. Затим изаберите камера you want to use and make sure you save the changes. Check if you have fixed the Microsoft Teams video call not working issue by confirming the video in the preview space.
Такође читајте: Како променити аватар профила на Мицрософт Теамс-у
Method 3: Clear Microsoft Teams Cache
Teams collect temporary memory in the form of a cache to process the tasks easily within the app. If this temporary memory is over bulged or corrupt in your Windows 10 PC, then it might interfere with its main functions like camera, voice, noise, and a lot more. To solve the Teams video not working issue, consider clearing the cache as instructed below.
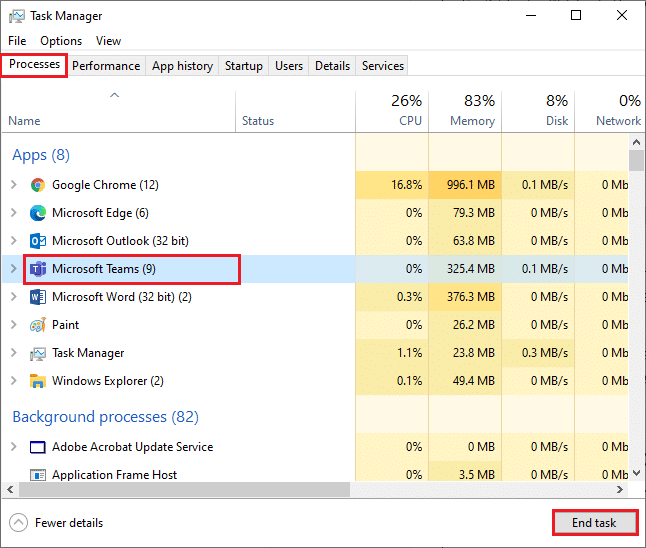
1. Излаз timovi и лансирање таск манагер притиском Тастери Цтрл + Схифт + Есц истовремено.
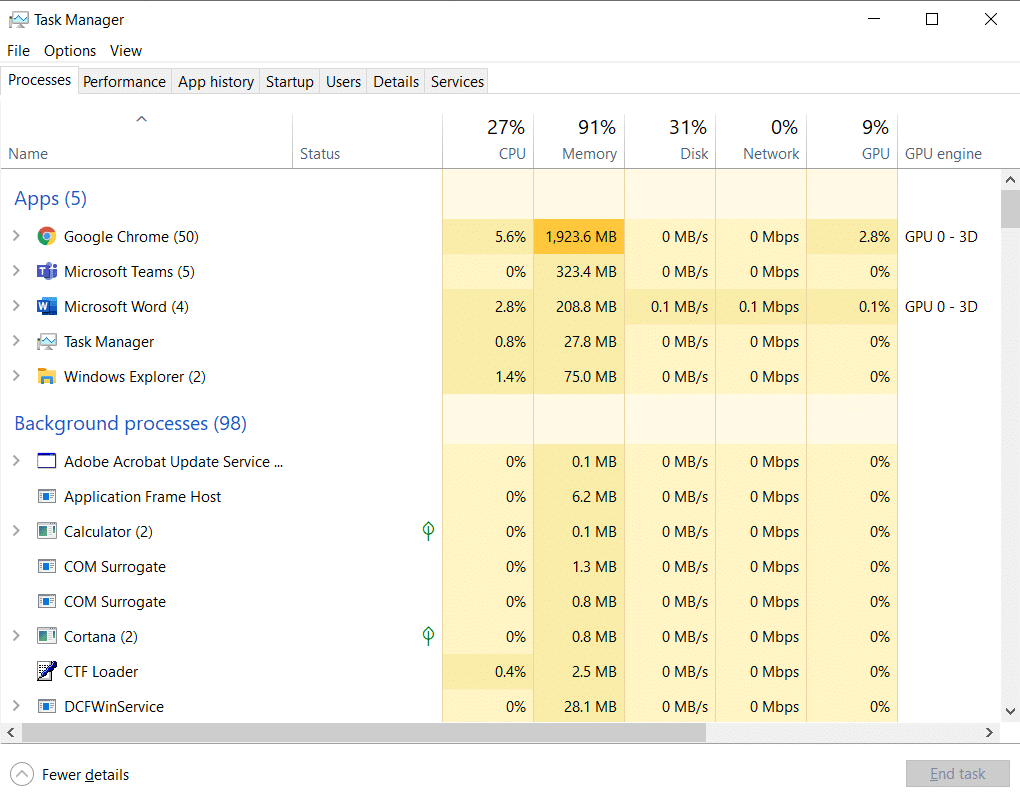
КСНУМКС. У procesi изаберите картицу Microsoft Teams programs that are running in the background and select Крај Задатак.
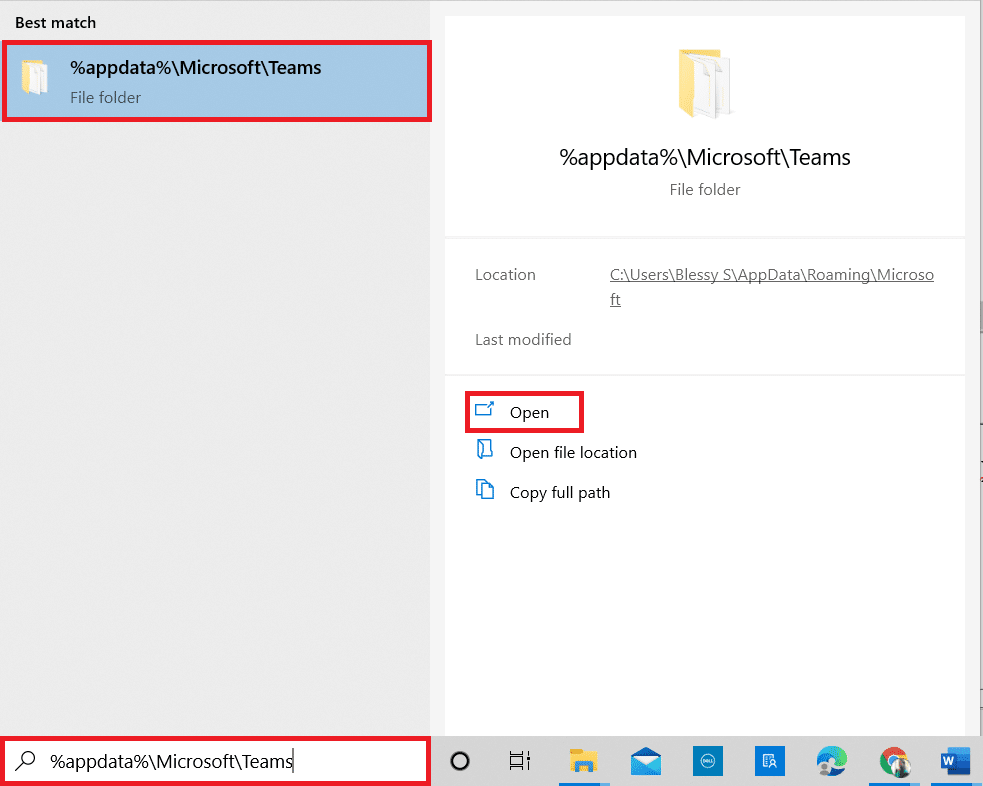
3. Затим притисните windows тастер и тип % аппдата% МицрософтТеамс у траци за претрагу.
КСНУМКС. Кликните на отворен као што је приказано.
5. Сада одаберите all the files and folders within the folder and select the Избрисати опција.
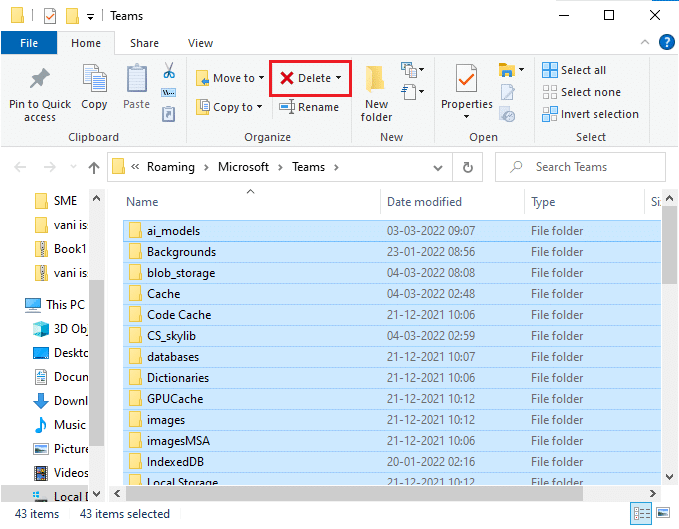
6. Ребоот ваш Виндовс 10 рачунар.
Method 4: Disable Other Additional Devices
If you are using an external webcam or two or more cameras, your default camera might interfere with them. To fix the problem, disable all other additional devices as instructed below.
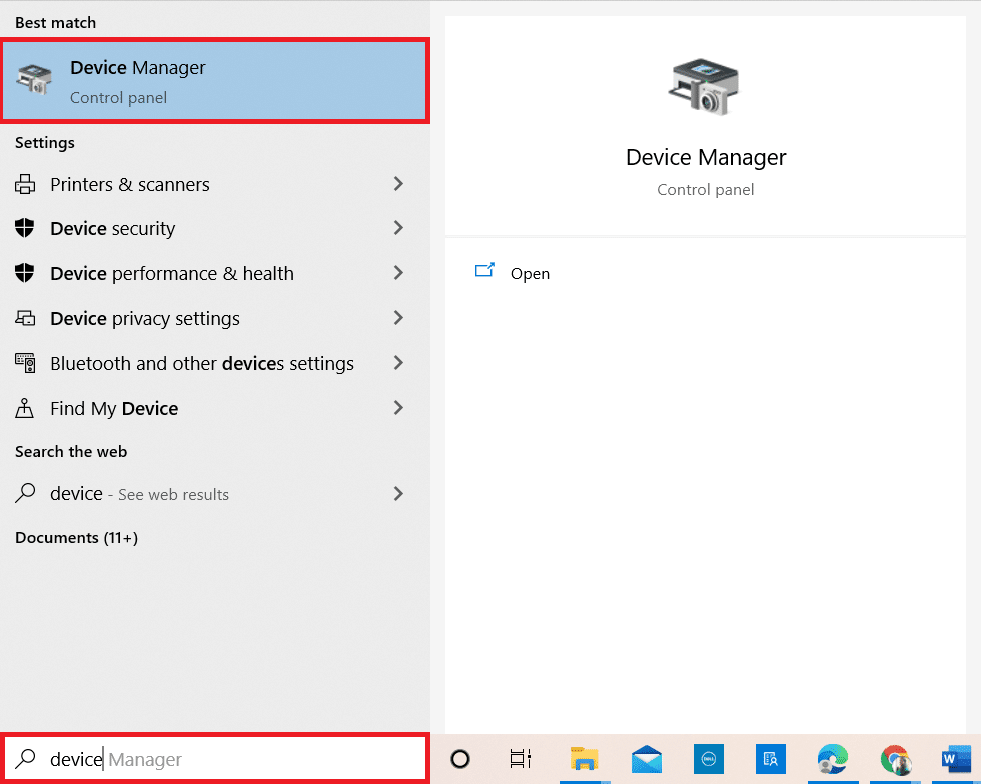
КСНУМКС. Тип Девице манагер у Виндовс 10 мени за претрагу и отвори.
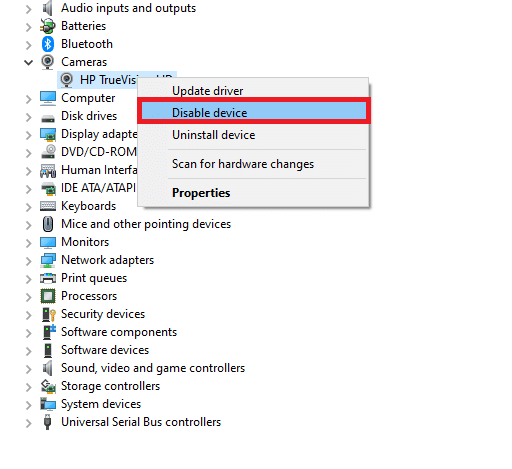
2. Сада двапут кликните Камере да га прошири.

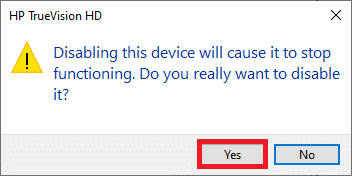
3. Затим кликните десним тастером миша на camera device (ХП ТруеВисион ХД, for example) and select the Онемогући уређај опција као што је приказано.
Белешка: Ensure you select a camera that you are not currently using in Teams.
4. Потврдите упит кликом на да.
5. Follow these steps for all other additional devices and check if you have resolved Teams video call not working issue.
Белешка: Make sure you re-enable the default camera adapter again after fixing the issue.
Такође читајте: Како омогућити или онемогућити Мицрософт Теамс Пусх то Талк
Method 5: Allow Camera Permissions for Browsers
If you are using the browsing version of Teams, check if you have appropriate permissions for camera access. If not, you cannot access the camera for any browser-related applications, or you will be prompted for the same. Here are a few instructions to allow camera permissions for browsers. Google Chrome is taken as an example.
КСНУМКС. притисните виндовс кључ. Тип гоогле цхроме и покрените га.

КСНУМКС. Кликните на икона са три тачке и изаберите Подешавања опција.
![]()
3. Сада одаберите Сигурност и приватност in the left pane and choose Поставке локације са главне странице.
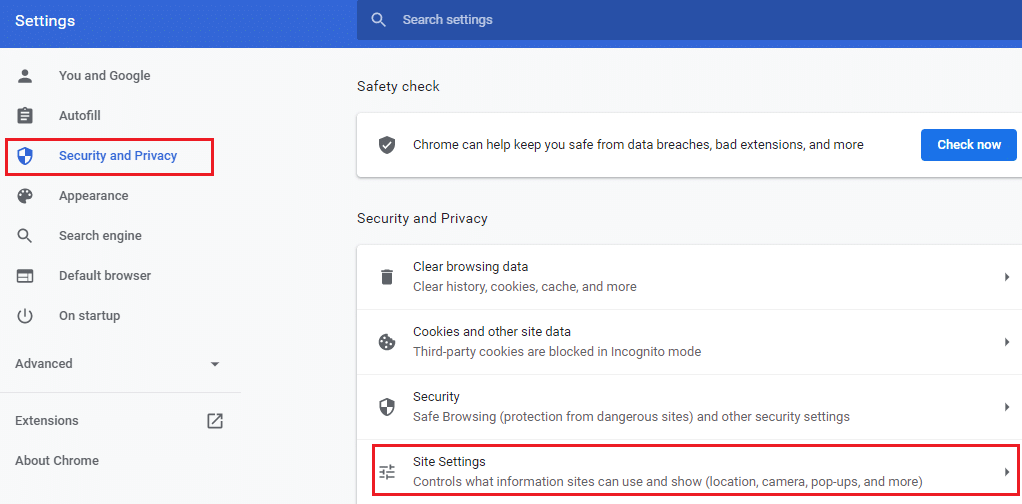
4. Scroll down the main screen and select the Krema za sunčanje i šešir опција испод Дозволе мени као што је приказано.
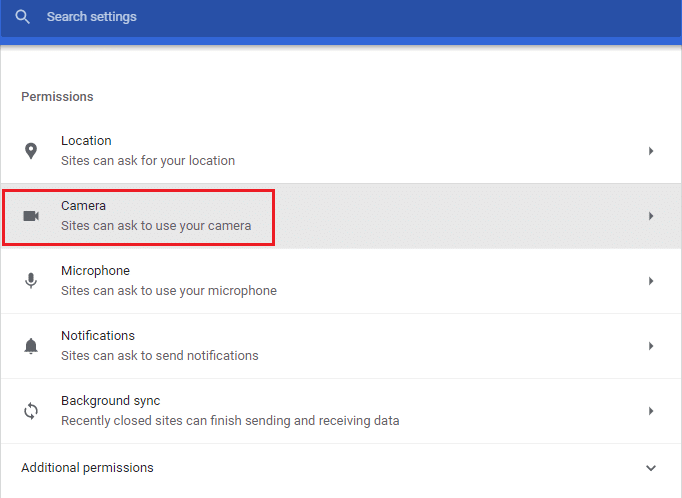
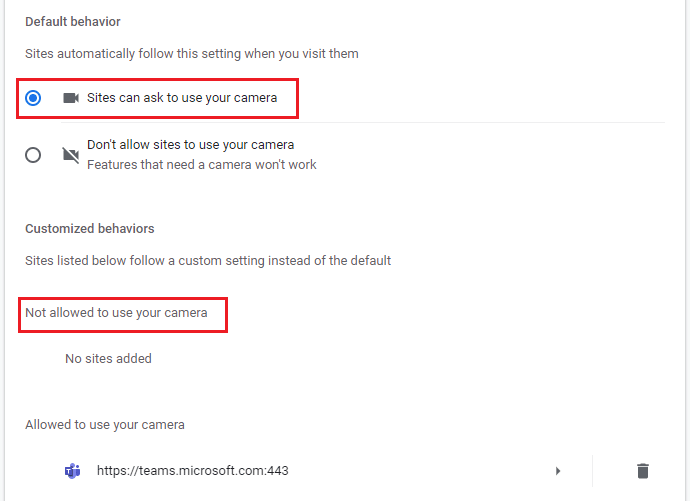
5. Овде изаберите Сајтови могу тражити да користе вашу камеру option and make sure timovi is not added in Not allowed to use your camera листа.
6. Relaunch your претраживач and check if you have fixed the Teams video not working issue.
Метод 6: Ажурирајте Виндовс
If you are using an outdated version of Windows 10 PC, then you may face common hardware problems in it, especially for cameras. Fortunately, you can update your Operating System with these simple steps.
КСНУМКС. притисните Виндовс + И тастери заједно да се отвори Подешавања На вашем рачунару.
2. Сада одаберите Ажурирање и сигурност.
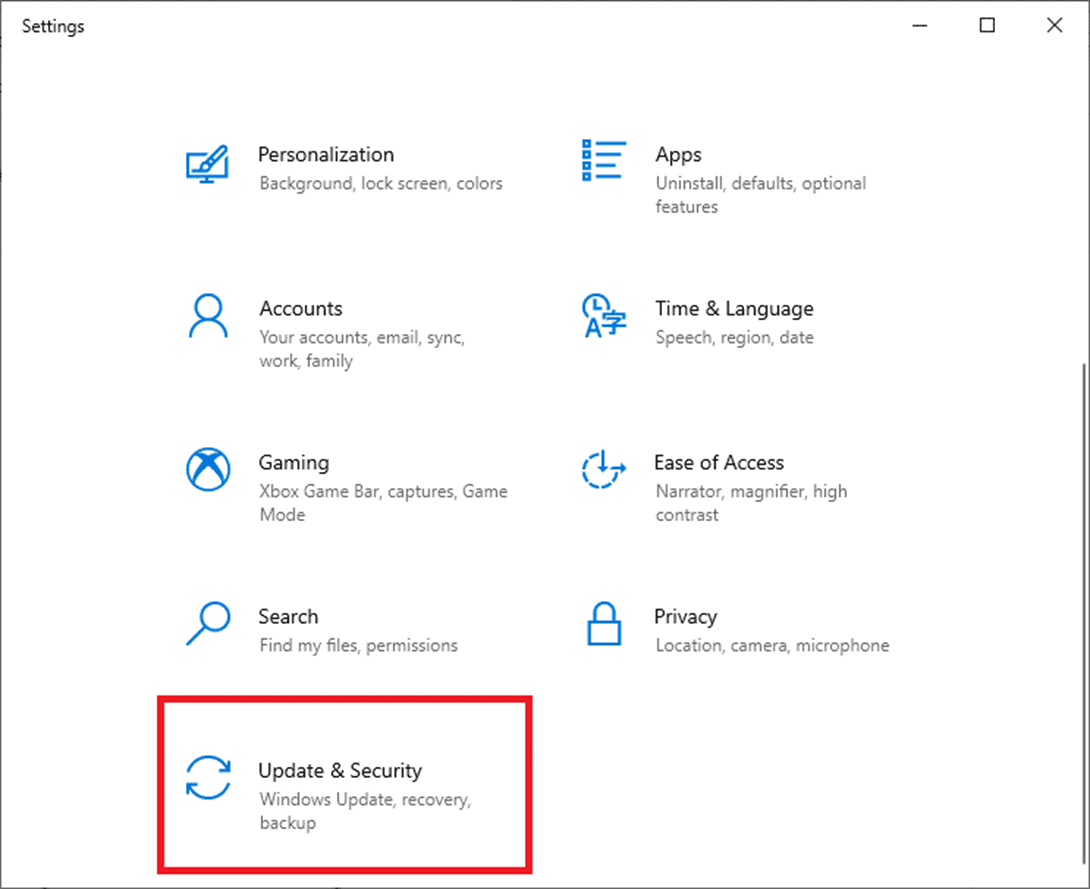
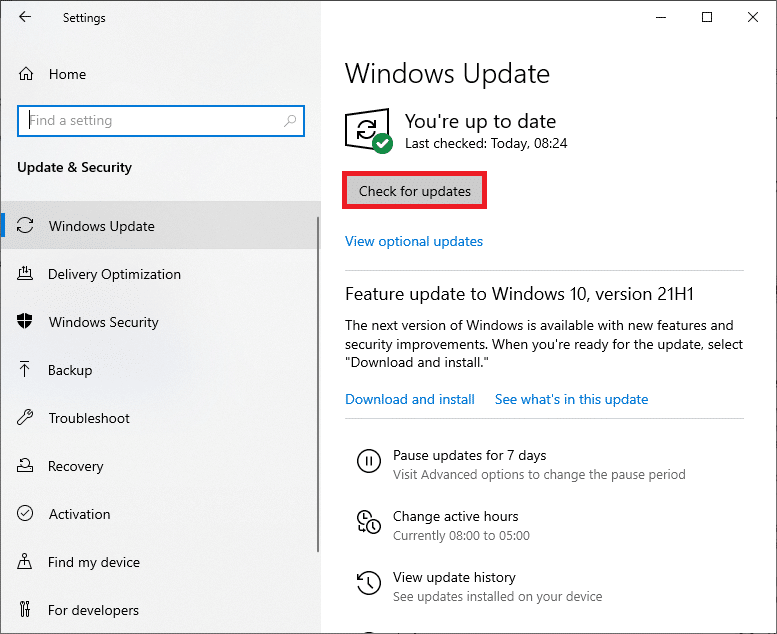
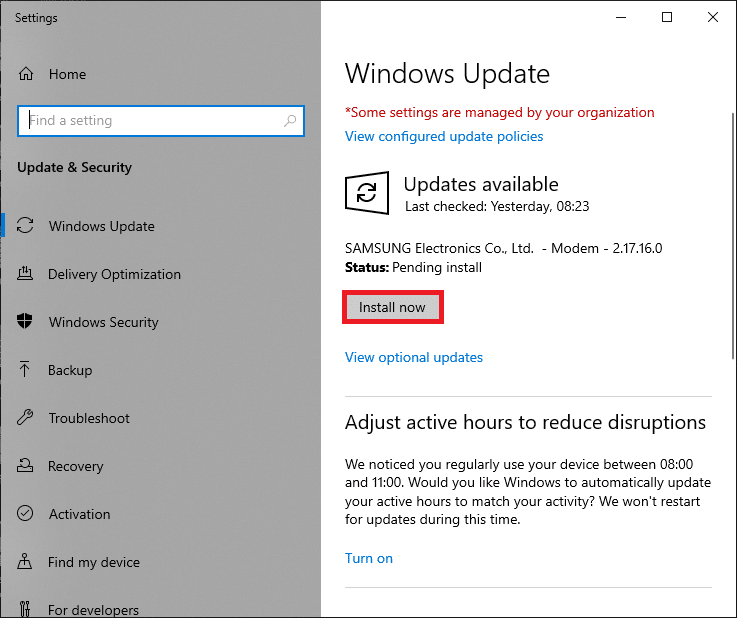
КСНУМКС. Изаберите Цхецк фор Упдатес са десног панела.
4A. If your system is outdated, click Инсталирај одмах да преузмете и инсталирате најновију верзију.
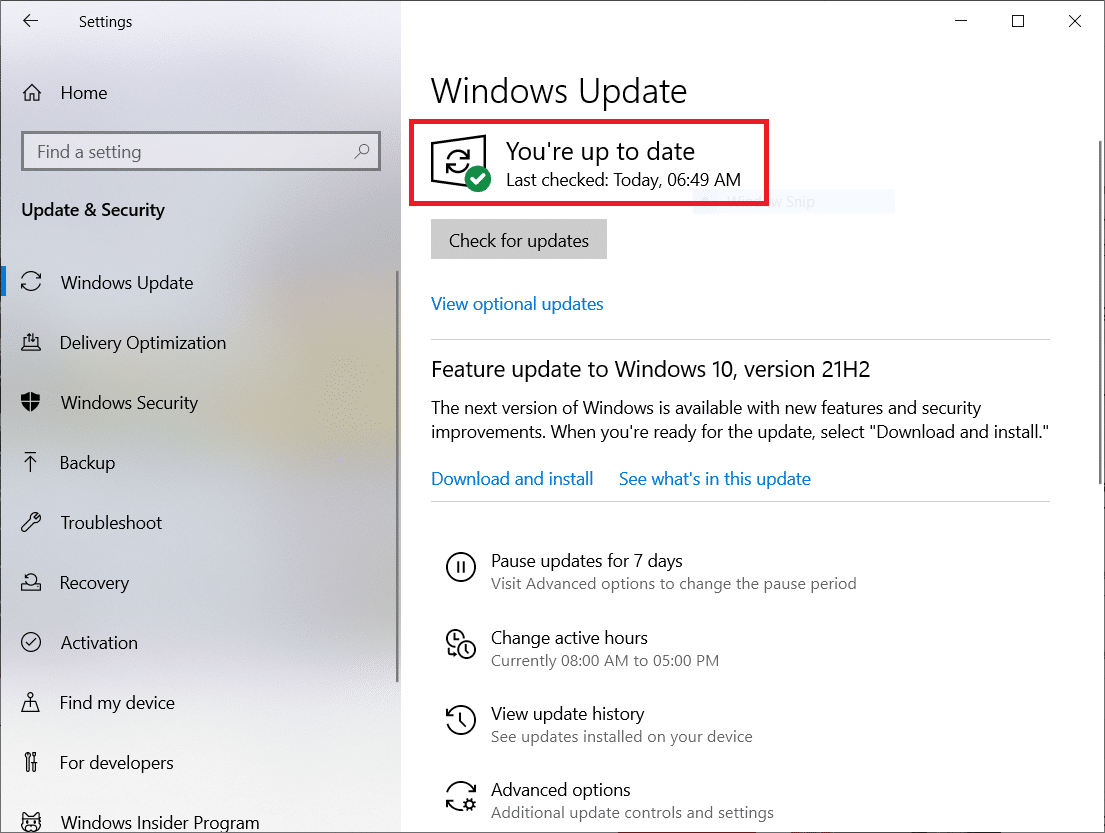
4Б. Ако је ваш систем већ ажуриран, онда ће се приказати Ви сте у току порука.
Такође читајте: Where are Microsoft Teams Recordings Stored?
Method 7: Disable Firewall (Not Recommended)
If the security suite of Windows Defender Firewall is blocking the camera access of Microsoft Teams, here are a few options to deal with the issue.
Option I: Whitelist Teams in Firewall
1. Притисните windows тастер и тип Виндовс Дефендер Фиревалл. Open the best results.
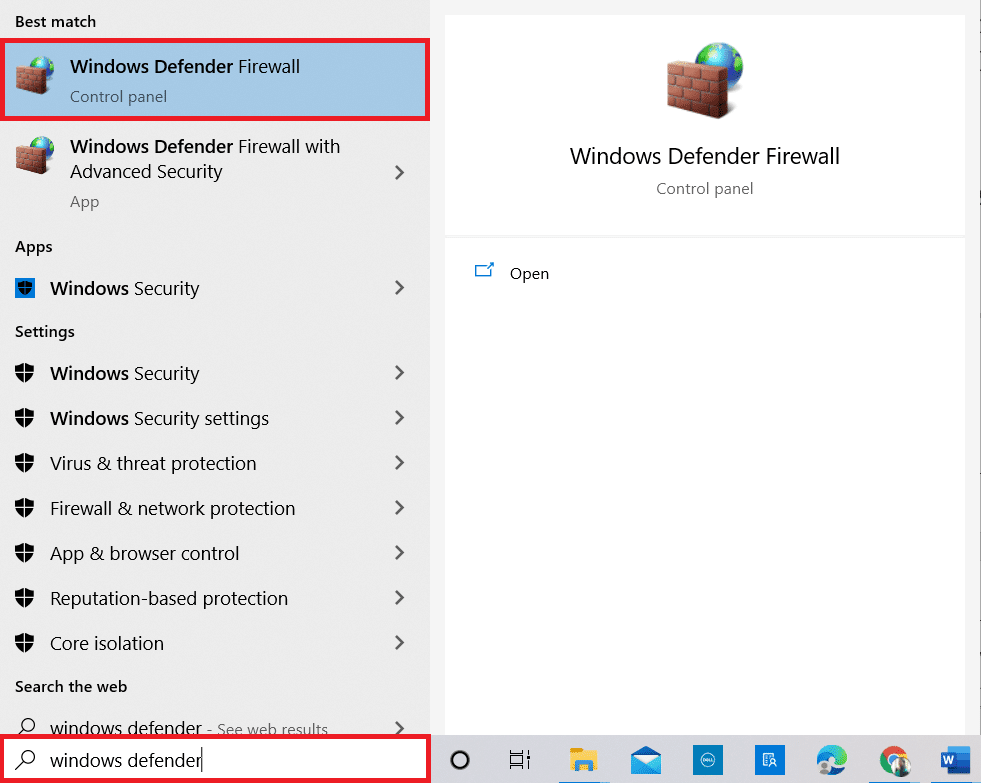
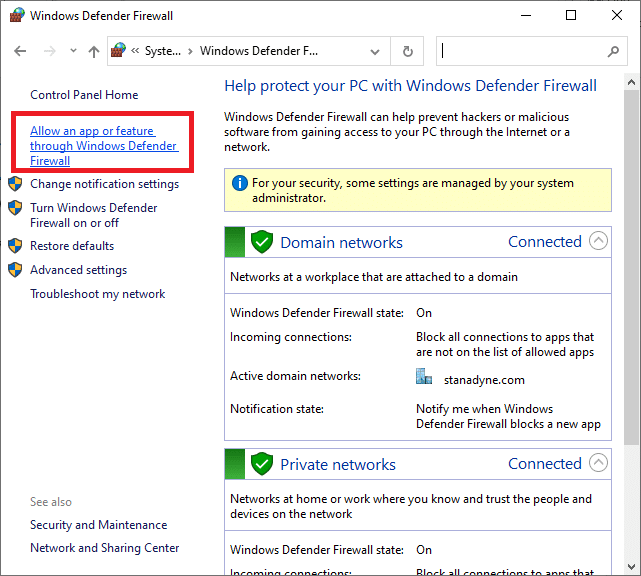
2. In the pop-up window, click on Дозволите апликацију или функцију путем заштитног зида Виндовс Дефендер.
3. Затим кликните Промени подешавања. Finally, check for Microsoft Teams to allow through the Firewall.
Белешка: Можете да користите Дозволи другу апликацију… to browse your program if your desired application or program does not exist in the list.
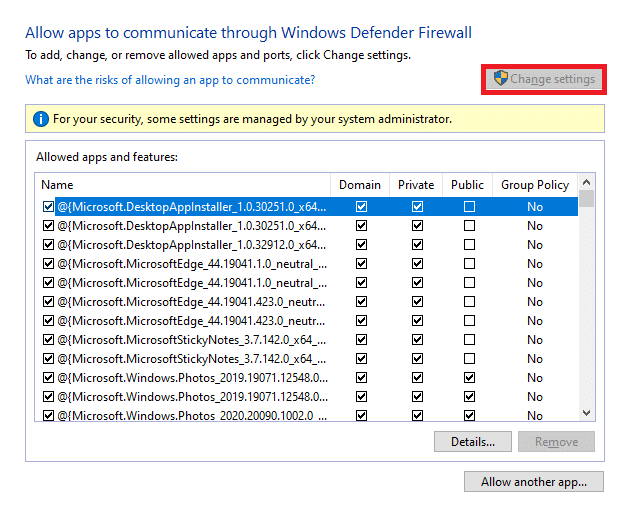
4. На крају кликните OK да сачувате промене.
Option II: Disable Firewall Temporarily
Белешка: If you disable the Firewall, it makes your computer more vulnerable to malware or virus attacks. Hence, if you choose to do so, make sure to enable it soon after fixing the issue.
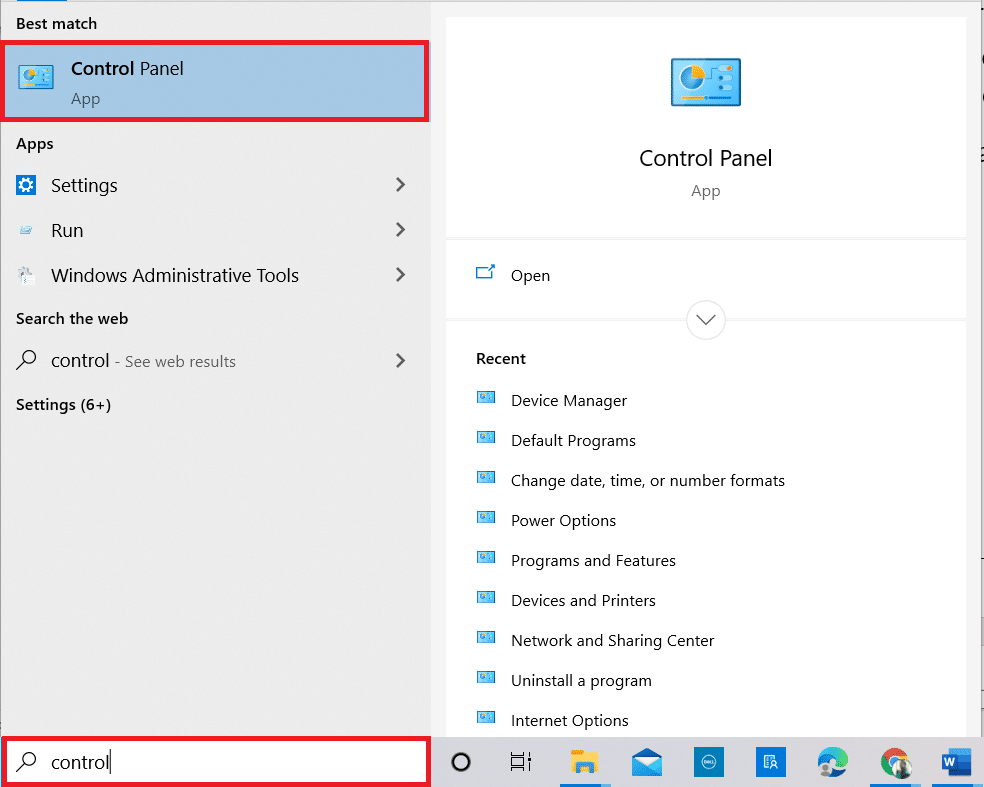
КСНУМКС. притисните виндовс кључ. Тип Цонтрол panel и отвори.
КСНУМКС. Комплет Приказ по as Категорија и изаберите Систем и безбедност.
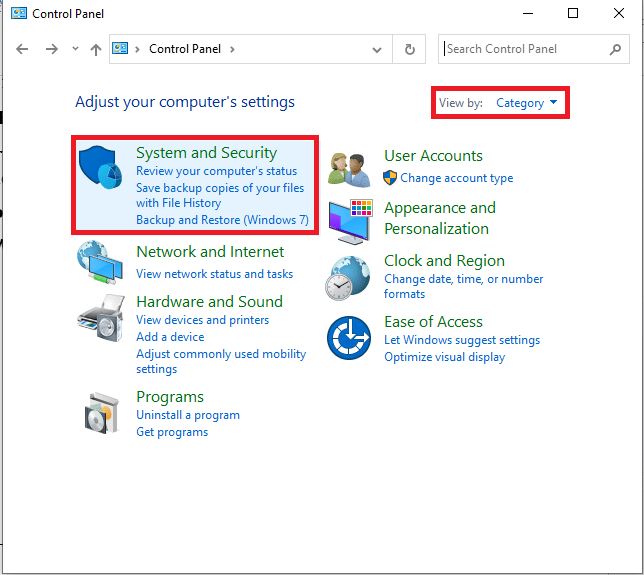
3. Сада кликните на Windows Defender Firewall, као што је овде приказано.
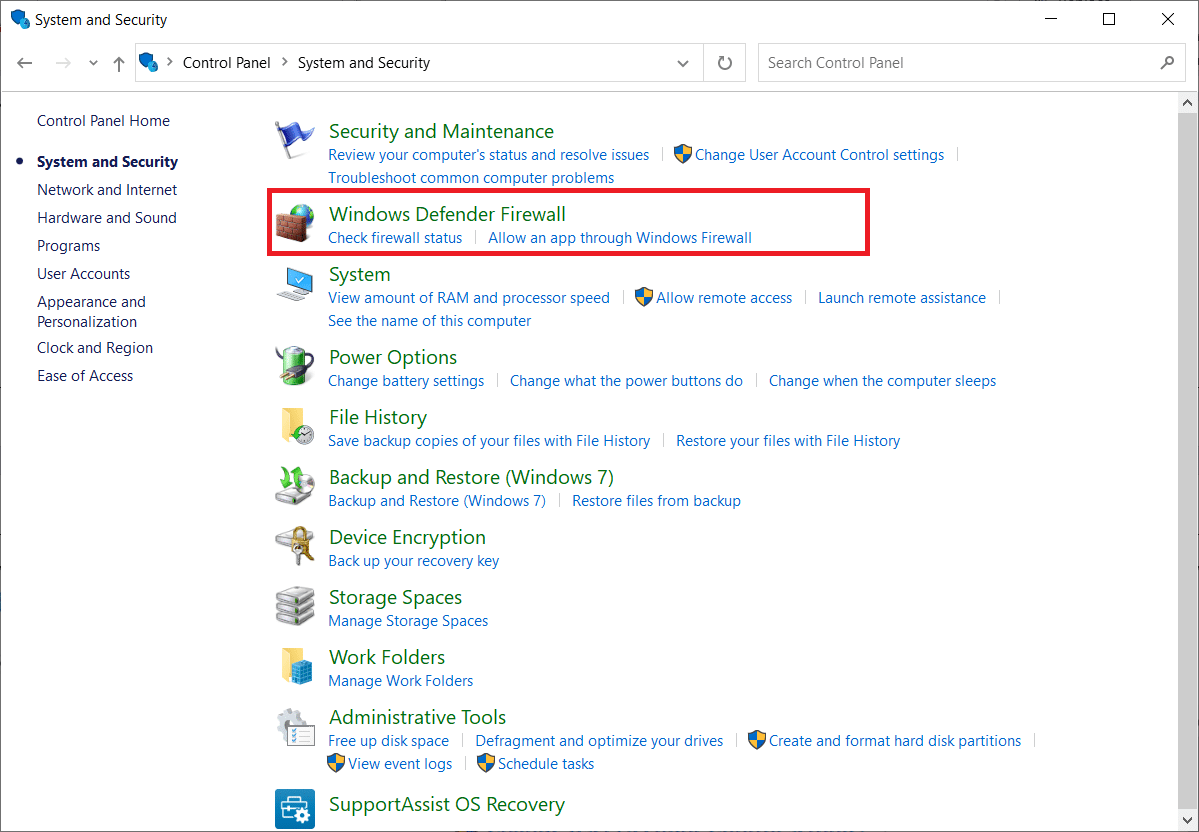
КСНУМКС. Изаберите Укључите или искључите заштитни зид Виндовс Дефендер опцију из левог менија.
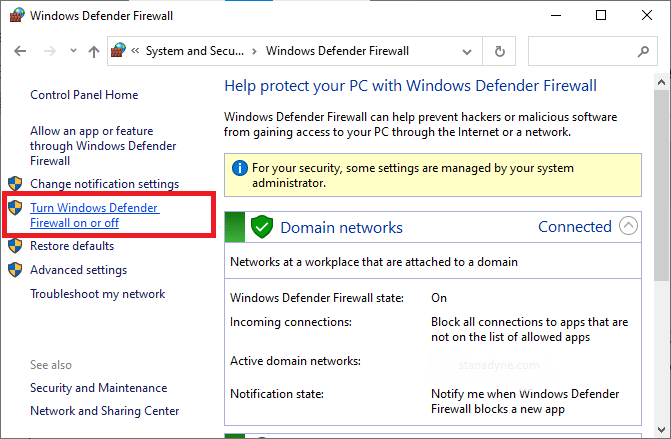
5. Now, check the boxes next to the Искључите заштитни зид Виндовс Дефендер (не препоручује се) option wherever available on this screen.
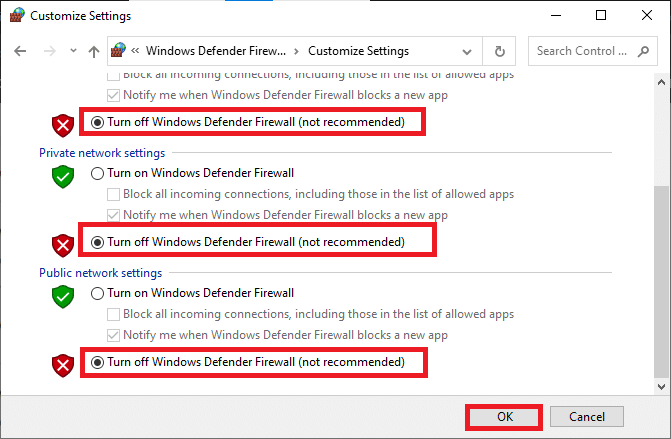
КСНУМКС. клик OK Ребоот свој рачунар.
Метод 8: Онемогућите ВПН
Virtual Private Networks are used to prevent data stealing from a private network, and it is used as a gateway between the client and the server. Sometimes, using VPN servers might cause issues in online video conferencing applications. We recommend you disable the VPN client as instructed below.
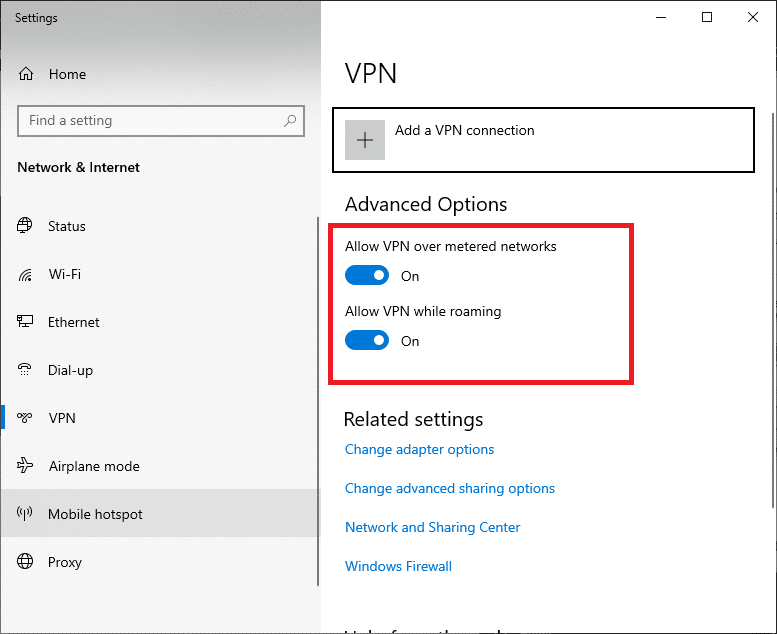
1. Притисните windows тастер и тип ВПН подешавања у траци за претрагу.
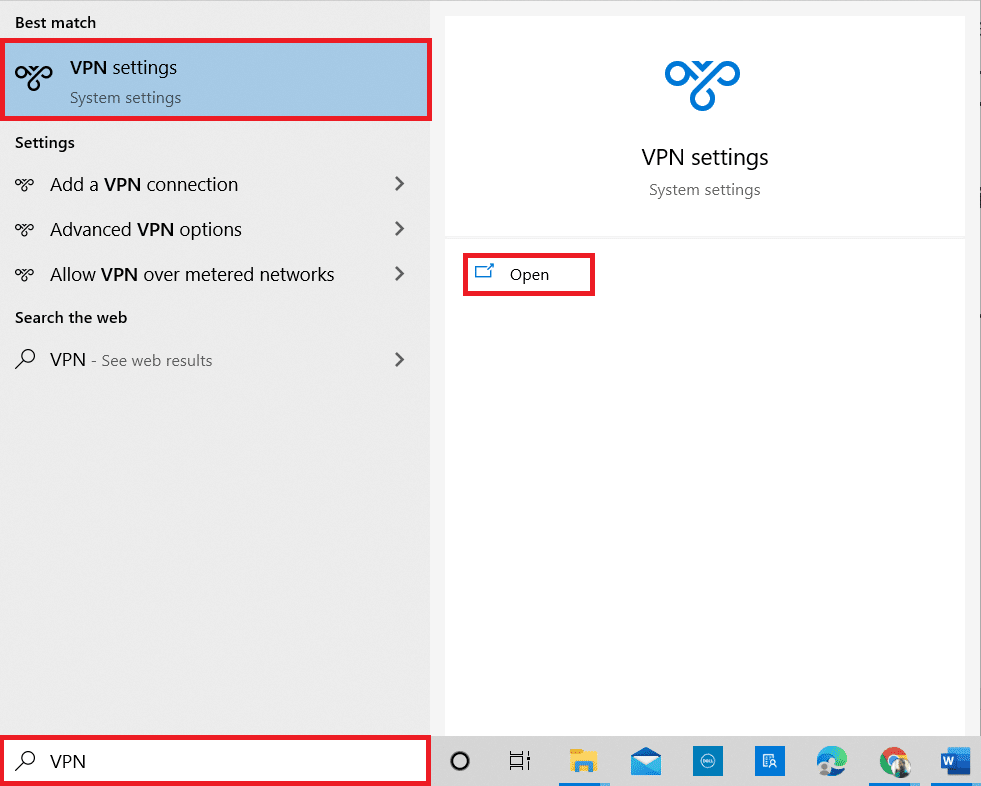
КСНУМКС. У Подешавања прозору, искључите активни ВПН сервис.
3. Искључите ВПН опције под Напредне опције.
Такође читајте: Поправите Мицрософт Теамс се стално поново покреће
Method 9: Reinstall Camera Drivers
The old and incompatible camera drivers you use will often lead to Microsoft Teams video call not working issue. To remain on the safer side, always ensure you use an updated version of drivers. Here are a few instructions to reinstall camera drivers.
КСНУМКС. Покрените Девице манагер using the steps mentioned above and expand the Камере двоструким кликом на њега.
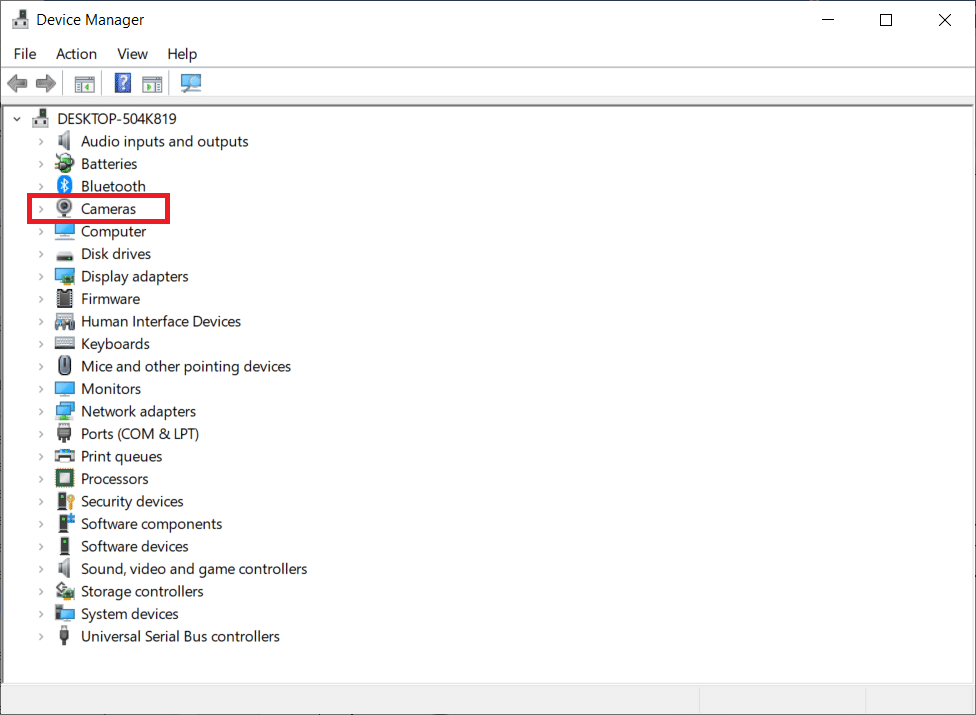
2. Сада, кликните десним тастером миша на возач и изаберите Унинсталл уређај.
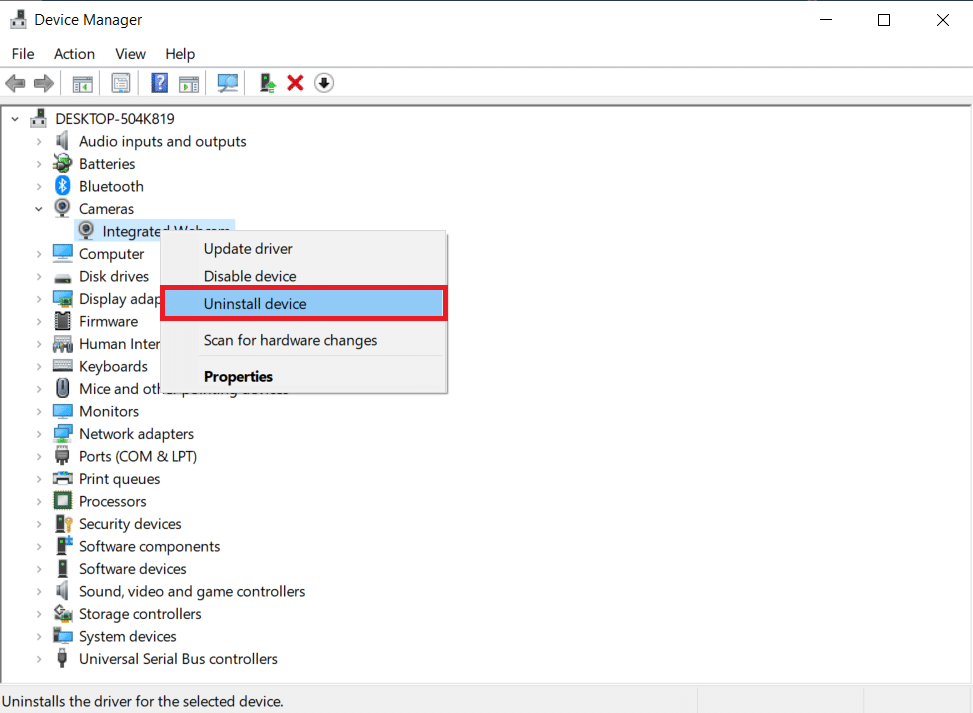
КСНУМКС. клик Деинсталирај у промпту.
4. Now, visit the manufacturer’s website (e.g. леново).
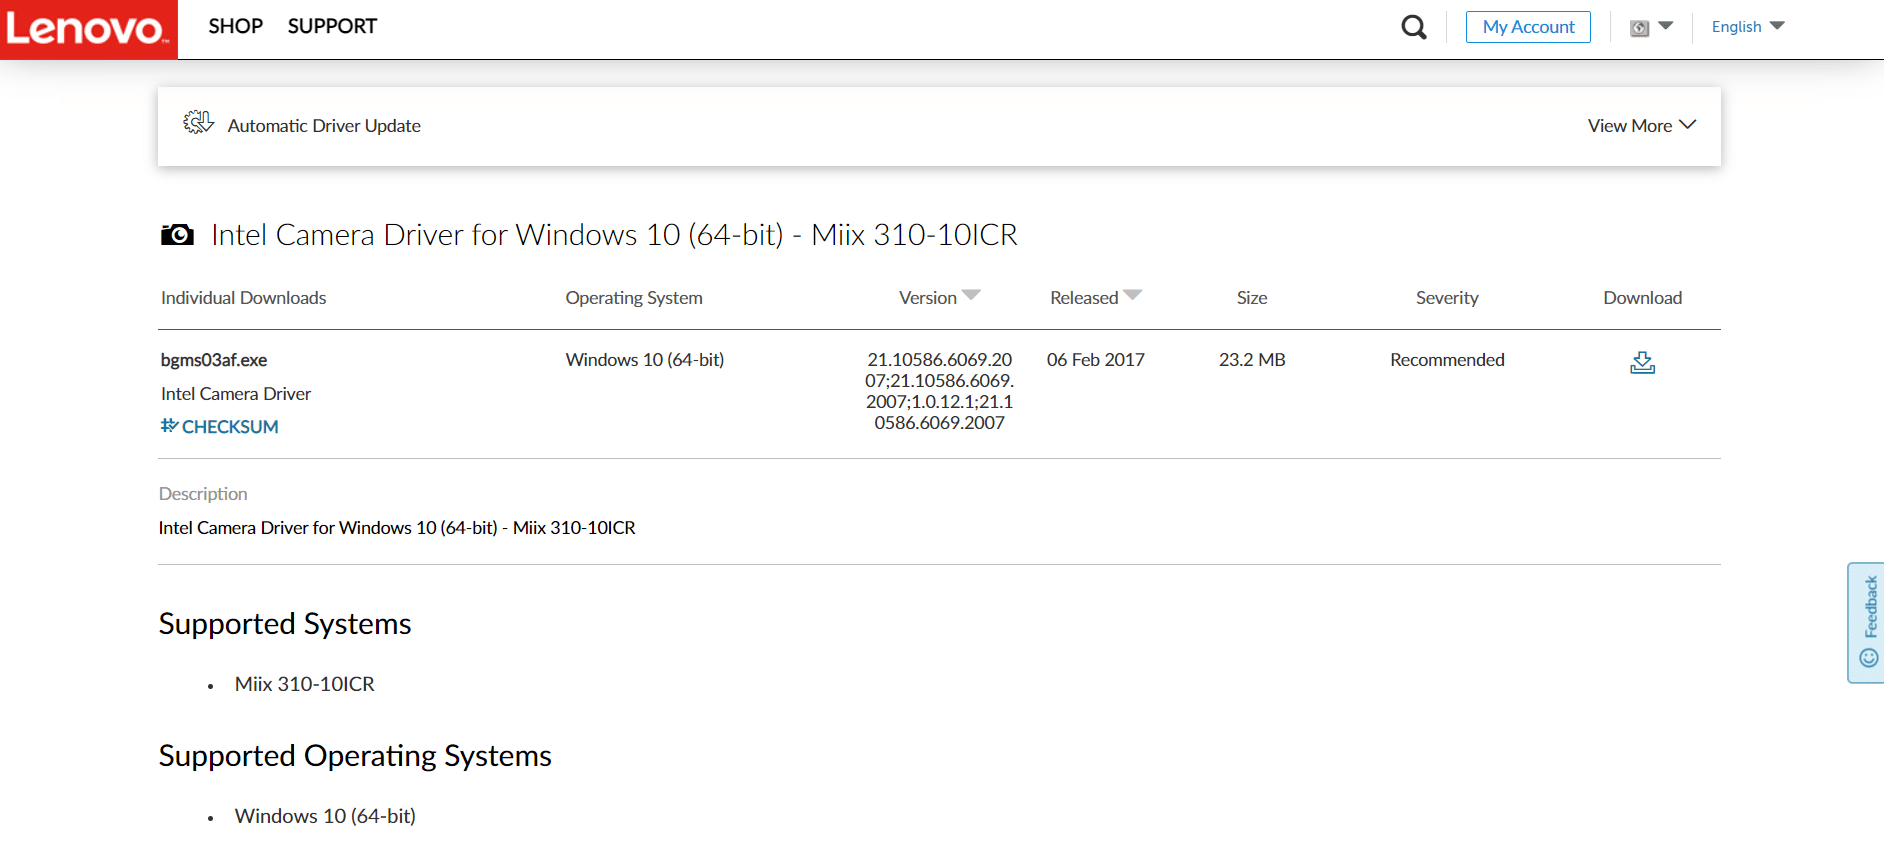
5. Наћи Преузимање драјвере који одговарају верзији оперативног система Виндовс на вашем рачунару.
6. Након преузимања, двапут кликните на преузета датотека и пратите упутства на екрану да бисте га инсталирали.
Method 10: Use Browser Version of Teams
If you have not attained any fix for this Microsoft Teams video call not working issue in the desktop version of Teams, then you can try a browser of Teams. This is an alternative to the issue and makes sure you have enabled access to media services enabled in your Windows 10 PC.
- If you are using the browsing version of Teams, check if you have appropriate permissions for camera access as done in Метод КСНУМКС.
- If not, you cannot access the camera for any browser-related applications, or you will be prompted for the same.
Такође читајте: How To Set Microsoft Teams Status As Always Available
Method 11: Contact Microsoft Teams Technical Support
Still, if you cannot access Teams in both desktop and web versions of Teams, then take the last chance to submit a query on the official Microsoft support page.
КСНУМКС. Иди на Мицрософтова страница за подршку.
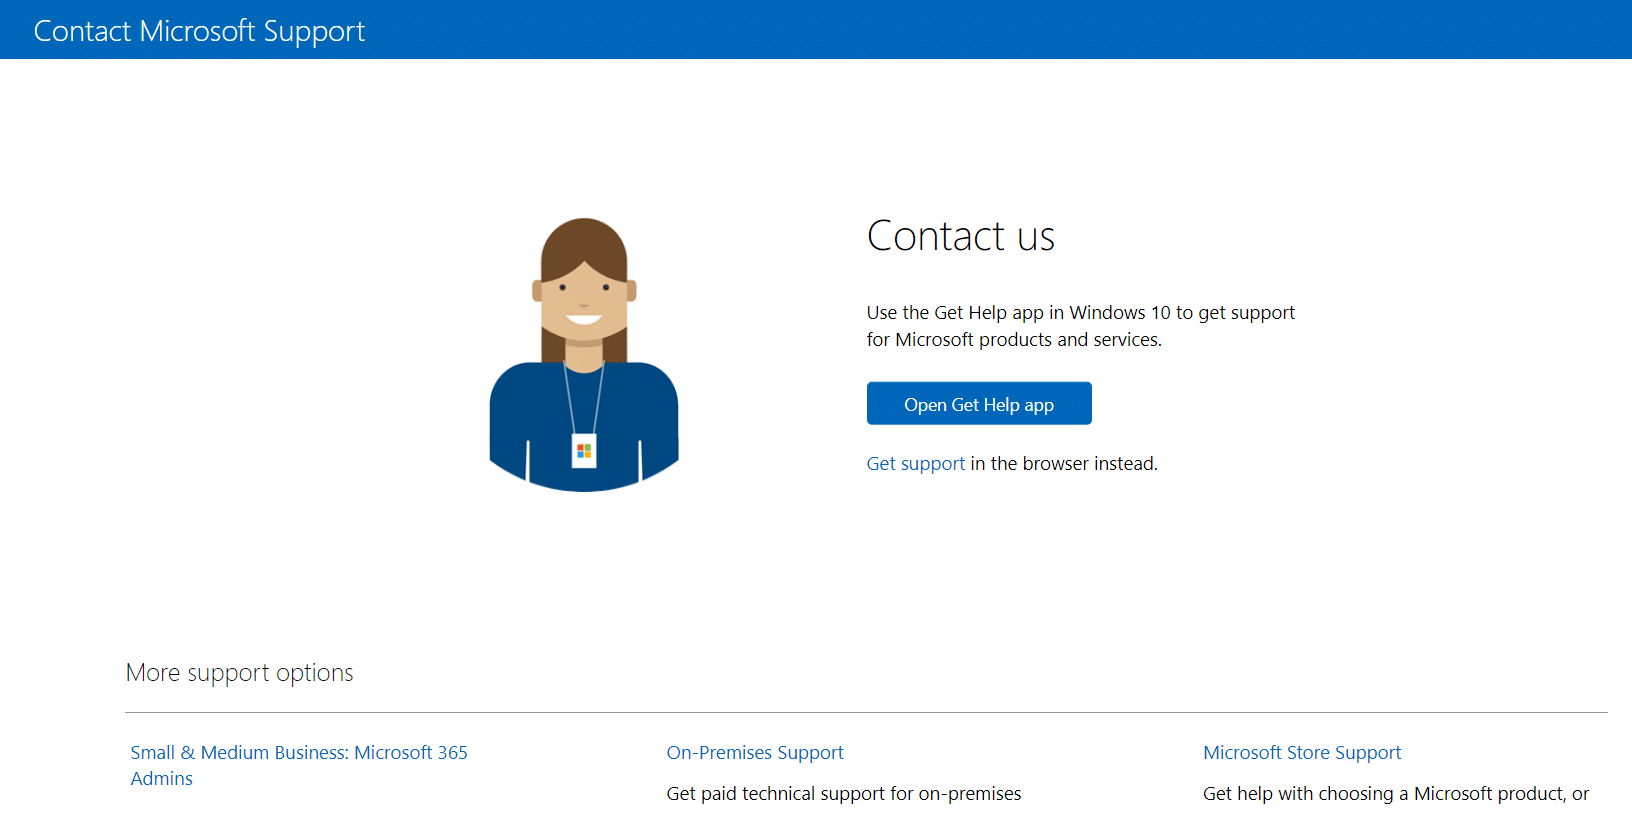
2A. You can use the Преузмите апликацију за помоћ in your Windows 10 system to submit your query. For this, click on the Open Get Help app button and confirm the prompt by clicking on the Отворите Гет Хелп дугме.
2B. Also, you could use the верзија претраживача to submit your problem. To do so, click on the Добити подршку линк.

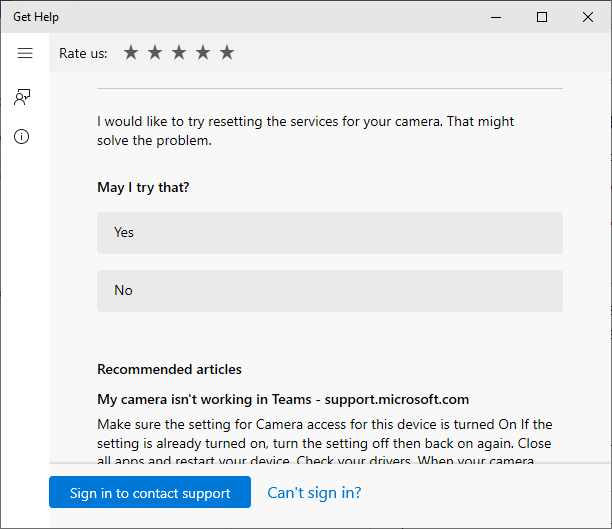
3. Сада, откуцајте your problem у Tell us your problem so we can get you the right help and support поље и погоди унети.
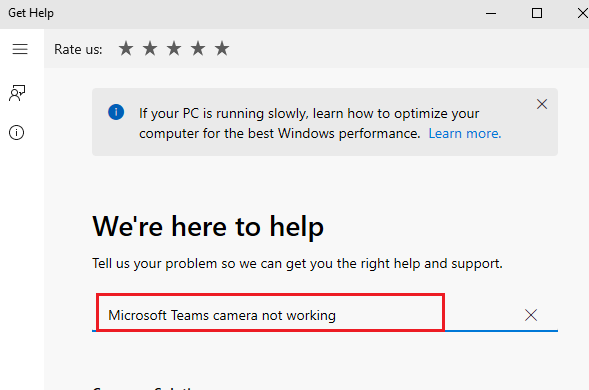
4. Then, answer the questions according to your convenience, and finally, you would have resolved the Microsoft Teams video call not working issue.
Препоручује се:
Надамо се да је овај водич био од помоћи и да сте могли да поправите Microsoft Teams video call not working. Feel free to reach out to us with your queries and suggestions. Keep visiting our page for more cool tips & tricks, and leave your comments below. Let us know what you want to learn next.