Rekebisha Kifaa cha KFAUWI cha Amazon kinachoonyeshwa kwenye Mtandao

Windows 10 updates are notorious for prompting new problems followed by a severe headache to its users. After installing one of these problematic updates, you may notice an unknown device named Austin- Amazon of KFAUWI listed among your Network devices. It is natural for you to get worried upon noticing something fishy, be it an application or a physical device. What is this strange device? Should you be alarmed by its presence and has your PC security been compromised? How to fix Amazon KFAUWI device showing up on network issue? We will be answering all of these questions in this article.
How to Fix Amazon KFAUWI Device Showing up on Network in Windows 10
You may come across a device named Austin-Amazon KFAUWI in your list of network devices. The situation is worsened by the fact that while checking the Austin- Amazon of KFAUWI Properties, it does not provide any significant information. It only reveals the Manufacturer name (Amazon) and the Model name (KFAUWI), while all the other entries (Serial Number, Unique identifier, and the Mac & IP address) read unavailable. Because of this, you may think that your PC has been hacked.
What is Austin-Amazon of KFAUWI?
- Firstly, as obvious from the name itself, the network device is related to Amazon and its wide range of devices such as Kindle, Fire, etc., and Austin is the name of the motherboard used in these devices.
- Finally, KFAUWI is a LINUX-based PC employed by developers for device detection among other things. A quick search for the term KFAUWI also reveals that it is associated with the Amazon Fire 7 tablet iliyotolewa nyuma katika 2017.
Why is Austin-Amazon of KFAUWI Listed in Network Devices?
To be honest, your guess is as good as ours. The obvious answer seems to be that:
- Your PC might have detected an Amazon Fire device connected to the same network and hence, the said listing.
- The Samsung TV Wi-Fi connection issue might be prompted by WPS or Wi-Fi Protected Setup settings of the router and Windows 10 PC.
However, if you do not own any Amazon devices or no such devices are currently connected to your Wi-Fi network, it might be best to get rid of Austin-Amazon of KFAUWI. Now, there are only two ways to remove Amazon of KFAUWI from Windows 10. The first is by disabling the Windows Connect Now service, and the second is by resetting the network. Both of these solutions are quite easy to execute as explained in the following segment.
Njia ya 1: Zima Huduma ya Windows Connect Now
Windows Unganisha Sasa (WCNCSVC) service is responsible for automatically connecting your Windows 10 PC to peripheral devices such as printers, cameras, and other PCs available on the same network to allow data exchange. The service is imezimwa kwa chaguo-msingi but the Windows update or even a rogue application may have modified the service properties.
If you indeed have an Amazon device connected to the same network, Windows will try to communicate with it. However, the connection would not be established due to compatibility issues. To disable this service and fix Amazon KFAUWI device showing up on network problem,
1. Hit Vifunguo vya Windows + R wakati huo huo kufungua Kukimbia sanduku la mazungumzo.
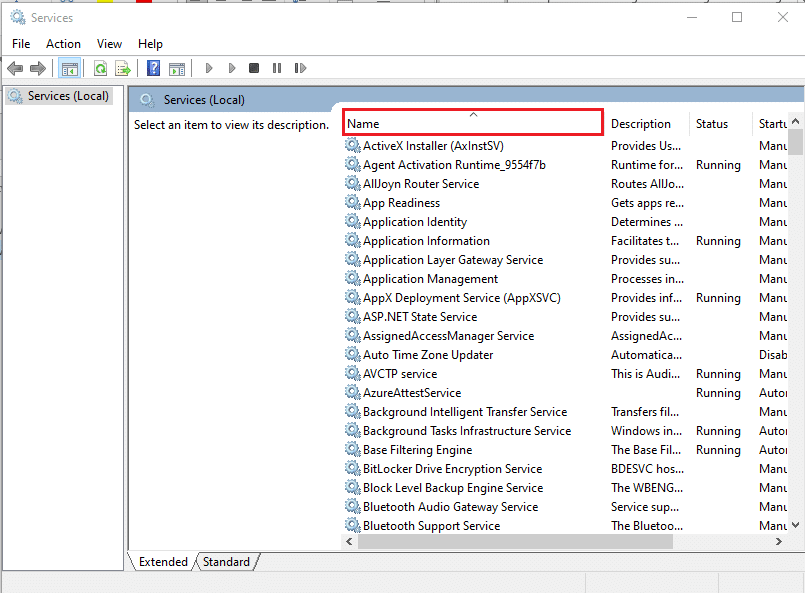
2. Hapa, aina services.msc na bonyeza OK kuzindua Huduma maombi.

3. Bonyeza jina column header, as shown, to sort all the services alphabetically.
4. Tafuta faili ya Windows Unganisha Sasa - Sanidi Msajili huduma.
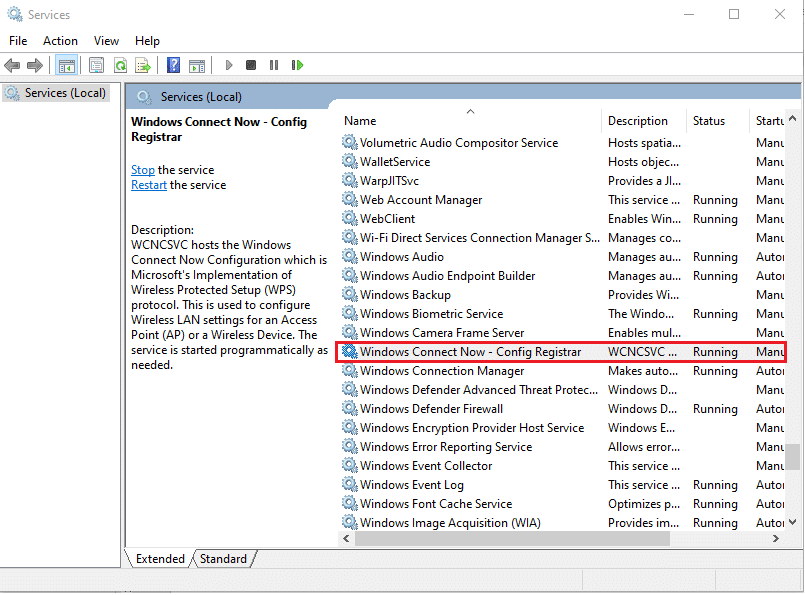
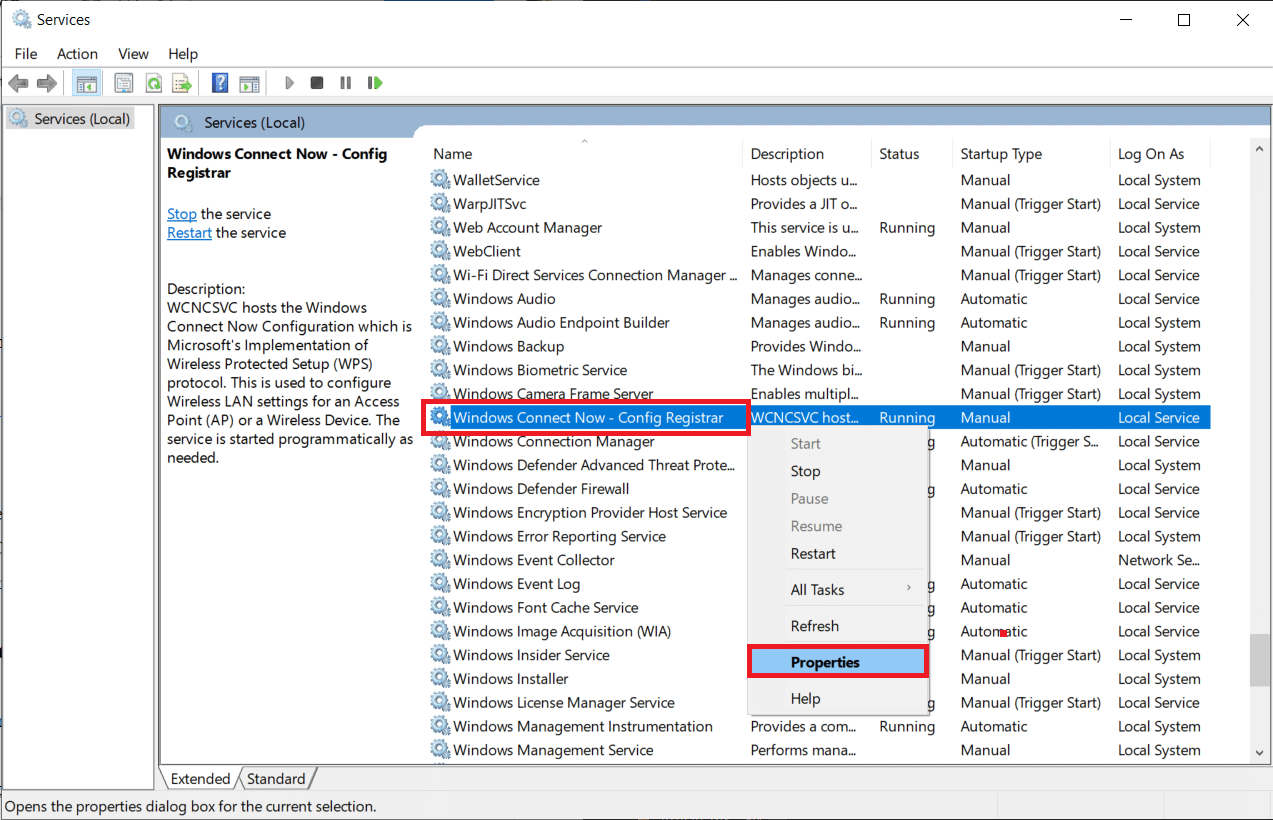
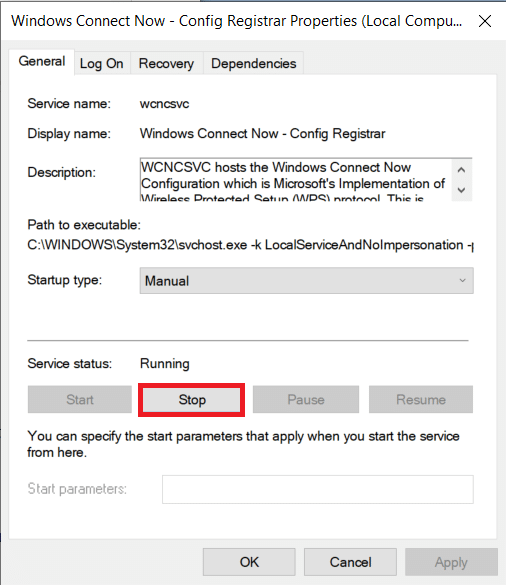
5. Bofya kulia juu yake na uchague Mali from the ensuing context menu, as depicted below.
6. Ndani ya ujumla tab, bofya Aina ya Kuanza: menyu kunjuzi na uchague mwongozo chaguo.
Kumbuka: Unaweza pia kuchagua Walemavu option to turn off this service.
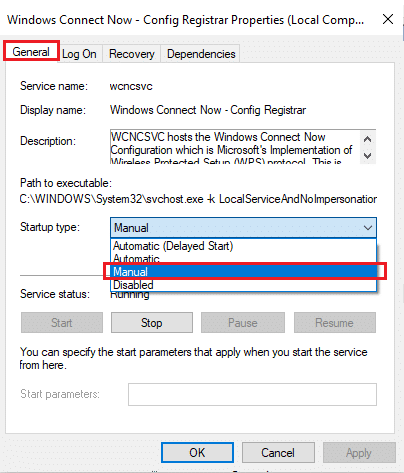
7. Kisha, bofya kwenye Kuacha button to terminate the service.
8. Udhibiti wa Huduma pop-up with the message Windows inajaribu kusimamisha huduma ifuatayo kwenye Kompyuta ya Ndani… will appear, as shown.
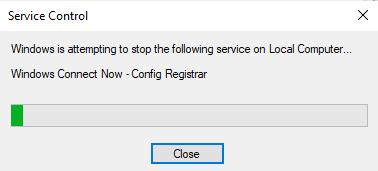
Na Service status: itabadilishwa kuwa Imewekwa in some time.
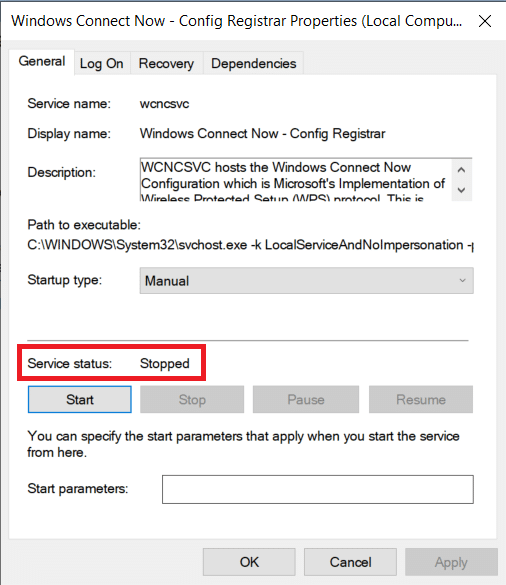
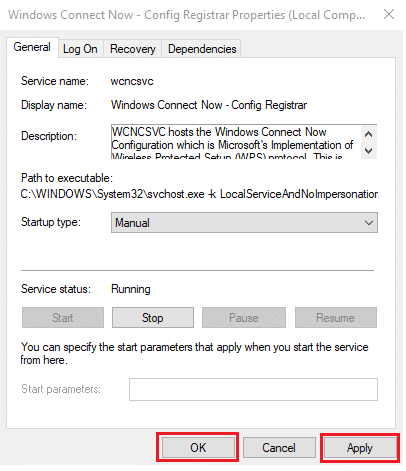
9. Bonyeza Kuomba button to save the changes and then click OK Kutoka kwa dirisha.
10. Mwishowe, fungua tena PC yako. Check whether Amazon KFAUWI device is still appearing in the network list or not.
Pia Soma: Rekebisha Ethernet Haina Hitilafu Sahihi ya Usanidi wa IP
Method 2: Disable WPS & Reset Wi-Fi Router
The above method would have made the KFAUWI device disappear for most users, however, if your network security is indeed compromised, the device will continue to be listed. The only way to get around the issue is to reset the network router. This will revert all the settings to the default state and also kick away freeloaders from exploiting your Wi-Fi connection.
Step I: Determine IP Address
Before resetting, let us try disabling the WPS feature to fix Amazon KFAUWI device showing up on network issue. The first step is to determine router IP address through Command Prompt.
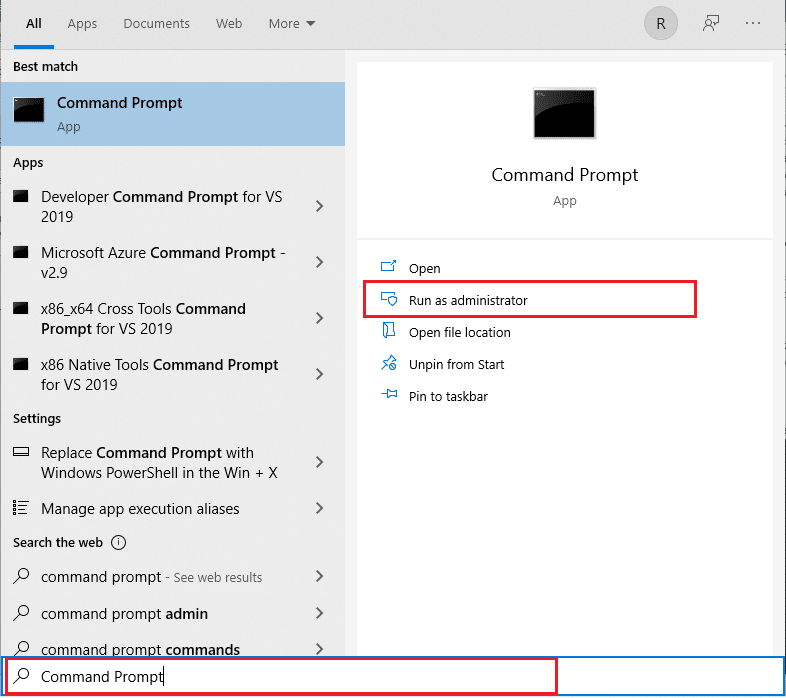
1. Waandishi wa habari Ufunguo wa Windows, aina Amri ya haraka na bonyeza Run kama msimamizi.
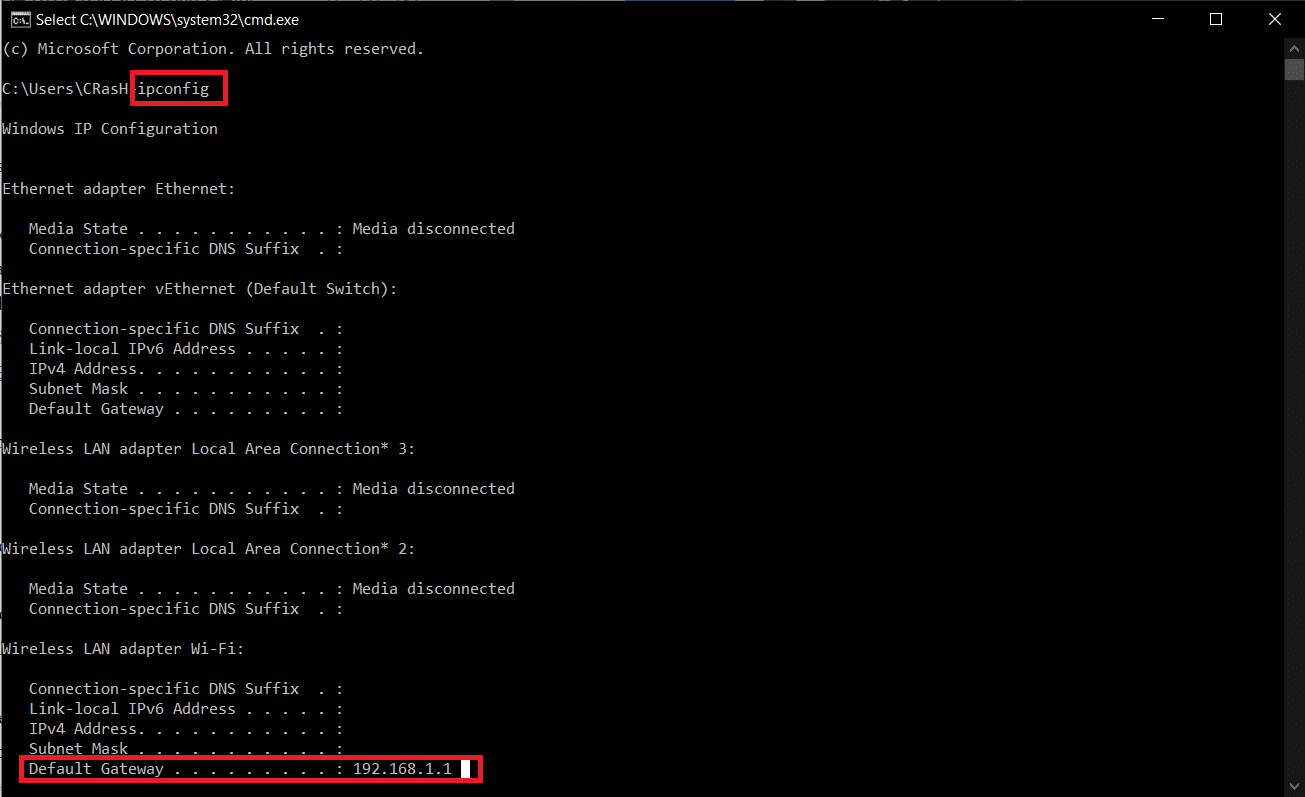
2. Weka ipconfig amri na kugonga Ingiza ufunguo. Here, check your Njia ya Hifadhi anwani.
Kumbuka: 192.168.0.1 na 192.168.1.1 are the most common Router Default Gateway address.
Step II: Disable WPS Feature
Follow the steps listed below to disable WPS on your router:
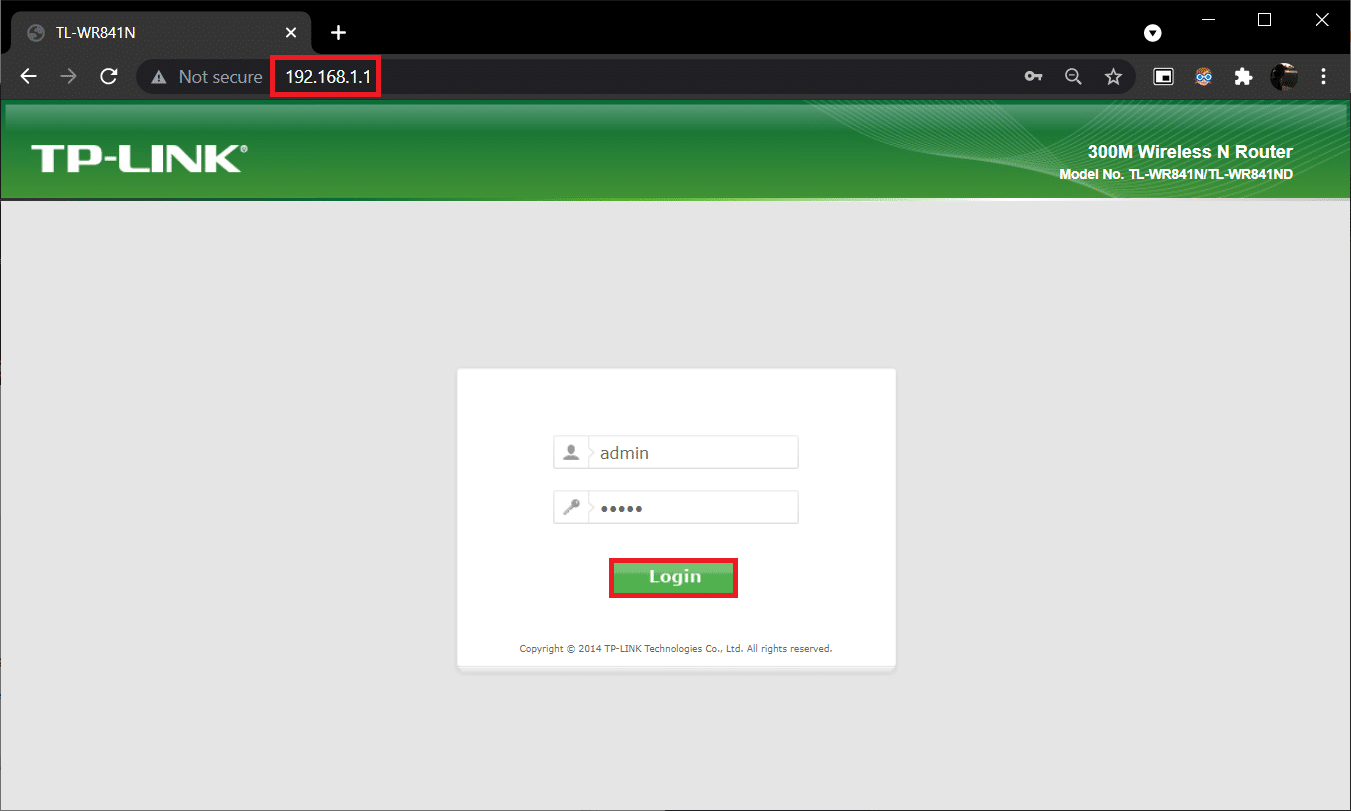
1. Fungua yoyote kivinjari and go to your router Njia ya Hifadhi anwani (km 192.168.1.1)
2. Andika yako username na nywila na bofya Ingia button.
Kumbuka: Check the underside of the router for the login credentials or contact your ISP.
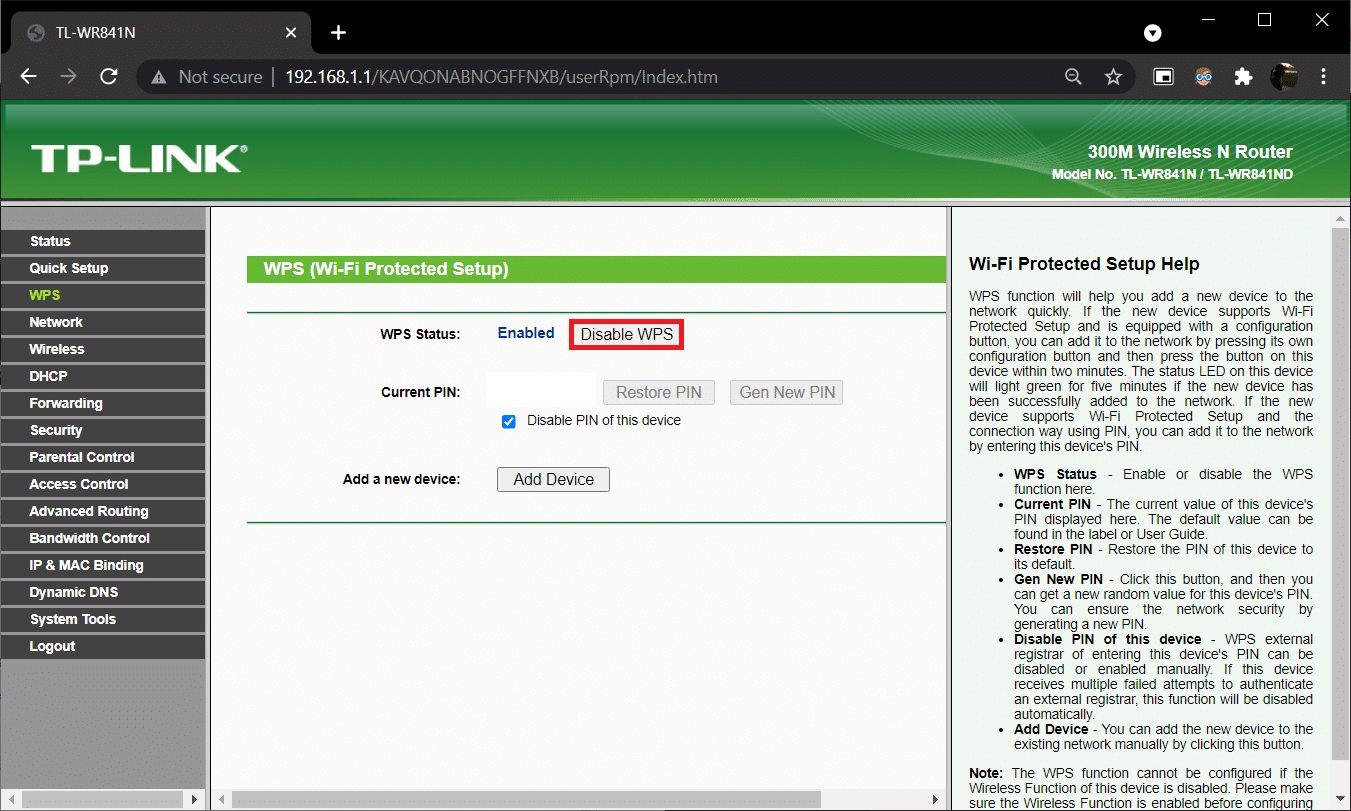
3. Nenda kwa WPS chagua na chagua Lemaza WPS chaguo, iliyoonyeshwa imeangaziwa.
4. Now, go ahead and kuzima router.
5. Wait for a minute or two and then iwashe tena tena.
Pia Soma: Rekebisha Adapta ya Wi-Fi Haifanyi kazi katika Windows 10
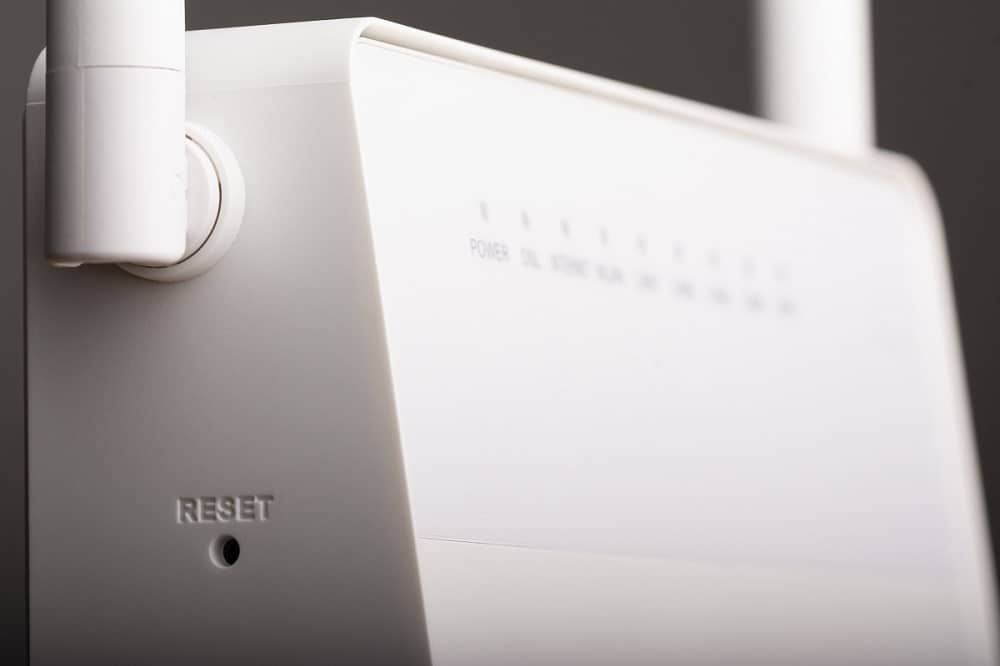
Step III: Reset Router
Check if the KFAUWI is device showing up on network issue has been resolved. If not, reset the router entirely.
1. Kwa mara nyingine tena, fungua mipangilio ya router kutumia default gateway IP address, Basi Login.
2. Kumbuka yote mipangilio ya usanidi. You will require them after resetting the router.
3. Bonyeza na ushikilie kitita Weka upya kifungo kwenye kipanga njia chako kwa sekunde 10-30.
Kumbuka: Lazima utumie vifaa vya kuashiria kama a pini, or kidole cha meno to press the RESET button.
4. The router will automatically zima na uwashe tena. Unaweza toa kitufe wakati taa zinaanza kuwaka.
5. Ingiza tena the configuration details for the router on the webpage and fungua tena router.
Make sure to set a strong password this time around to avoid Amazon KFAUWI device showing up on the network issue altogether.
Ilipendekeza:
Similar to Amazon KFAUWI device showing up on network, some users have reported the sudden arrival of an Amazon KFAUWI device associated with Amazon Fire HD 8, in their networks list after updating Windows. Execute the same solutions as mentioned above to get rid of it. If you have any queries/suggestions regarding this article, then feel free to drop them in the comments section.