Jinsi ya kufunga Zana ya Picha kwenye Windows 11

DirectX Graphics Tools is not installed by default in Windows 11. But, it can be added via operating system Optional features. Today, we bring to you a helpful guide that will teach you how to install or uninstall Graphics Tool in Windows 11, as need be. A few noteworthy features of this tool include:
- It is essential for performing graphics diagnostics and other related functions.
- Inaweza pia kutumika create Direct3D debug devices.
- Moreover, it can be used to develop DirectX games & applications.
- In addition to 3D-related functions, this technology also allows you to track real-time GPU consumption and when & which apps or games employ Direct3D technology.
How to Install In-built DirectX Graphics Tool in Windows 11
Follow the given steps to install Graphics Tool on Windows 11 PC:
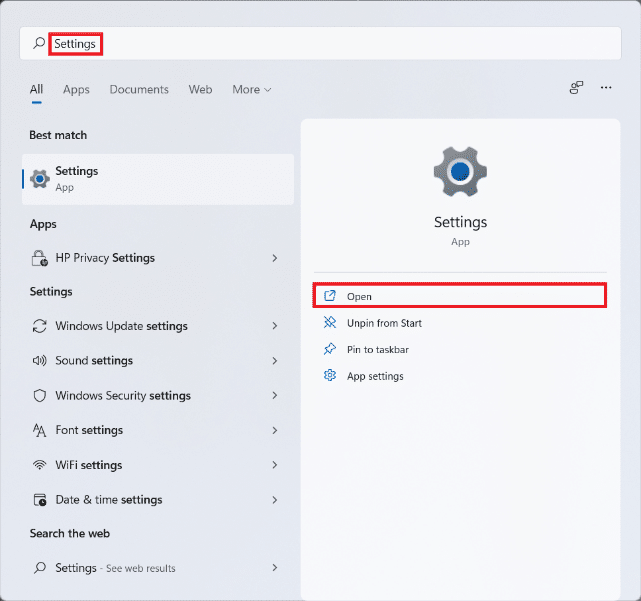
1. Bonyeza Tafuta icon na weka Mazingira, kisha bofya Open, kama inavyoonekana.
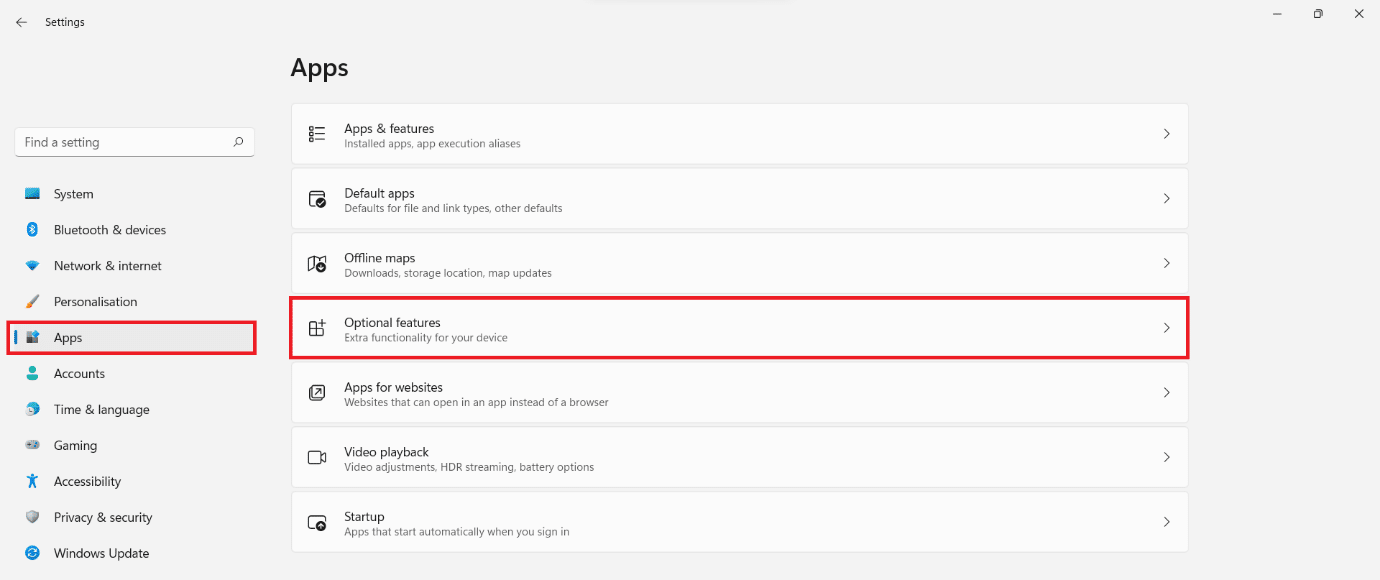
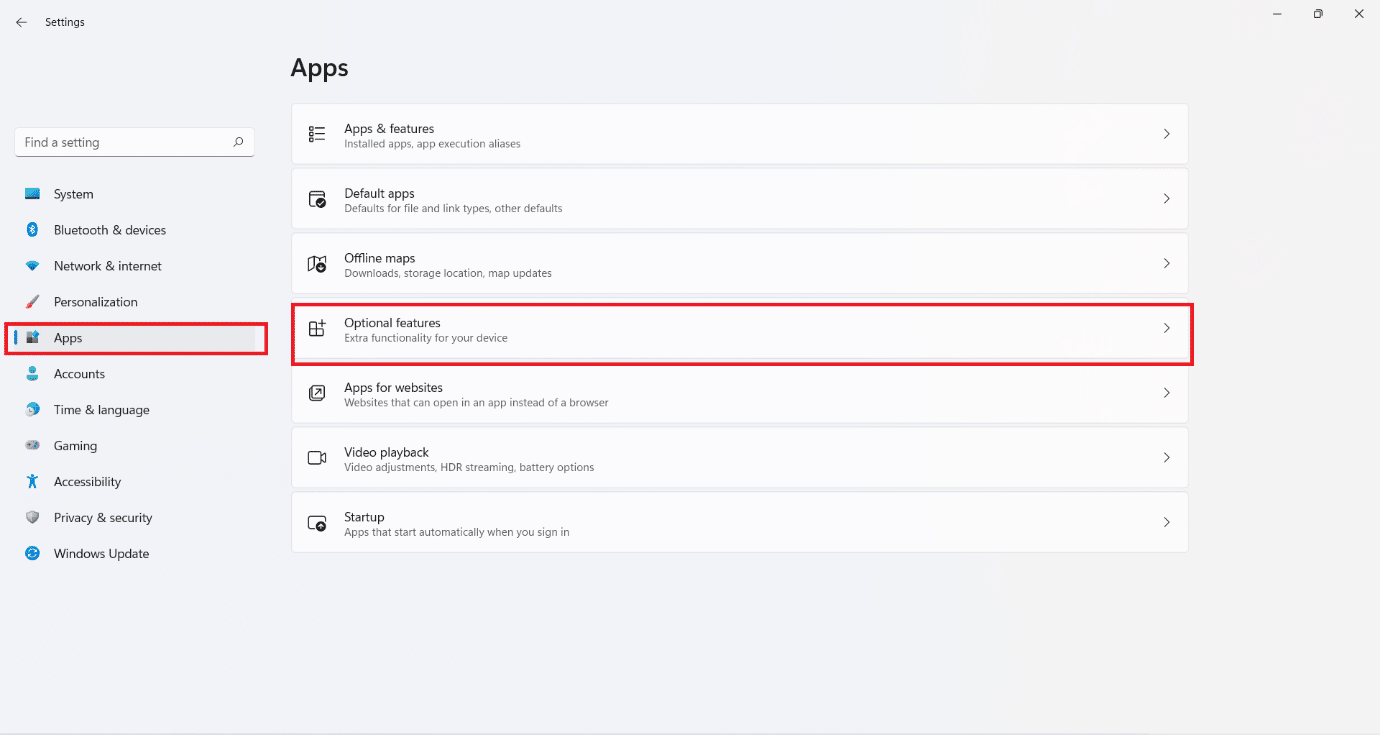
2. Bonyeza juu ya Apps katika sehemu ya kushoto.
3. Kisha, bonyeza Hiari vipengele, kama inavyoonyeshwa hapa chini.
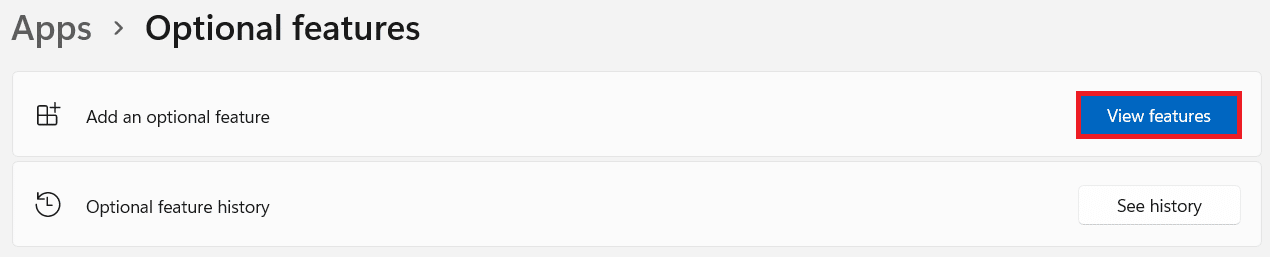
4. Ifuatayo, bonyeza Angalia vipengele.
5. Weka graphics tools in the search bar provided in the Ongeza kipengele cha hiari dirisha.
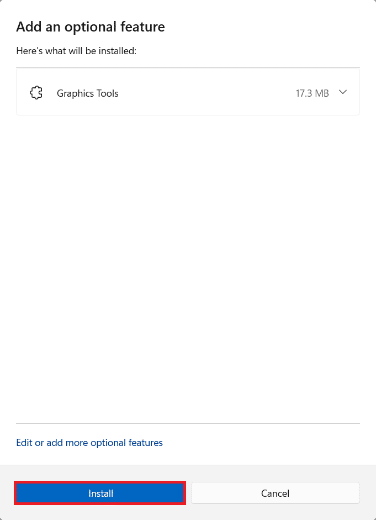
6. Angalia kisanduku kilichowekwa alama Graphics Tools na bonyeza Inayofuata, kama ilivyoonyeshwa hapa chini.

7. Sasa, bofya kwenye Kufunga button.
8. Acha Graphics Tools be Imewekwa. You can see the progress under vitendo hivi karibuni sehemu.

Pia Soma: How to Install XPS Viewer in Windows 11
How to Use DirectX Graphics Tools on Windows 11
Microsoft hosts a dedicated page on DirectX Programming. Here are the steps to use Windows 11 Graphics Diagnostic Tools:
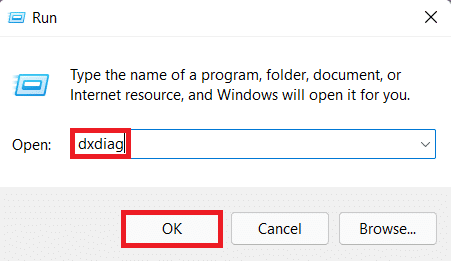
1. Bonyeza Vifunguo vya Windows + R wakati huo huo kufungua Kukimbia sanduku la mazungumzo.
2. Weka dxdiag na bonyeza OK kuzindua Zana ya Utambuzi ya DirectX dirisha.
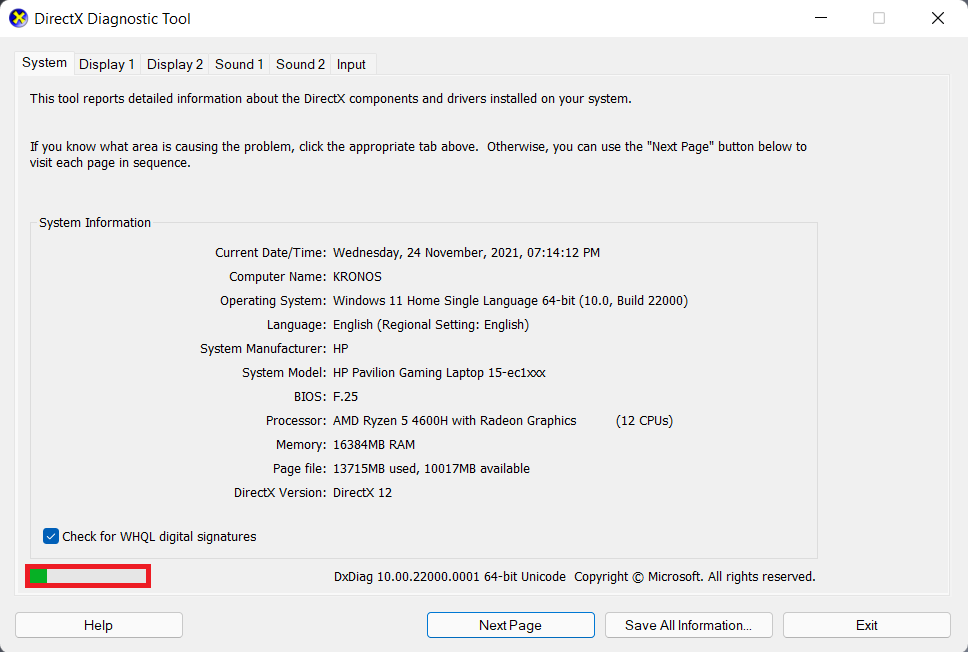
3. You may notice a green progress bar at the bottom left corner, shown highlighted. This means that the diagnostic process is active. Wait for the process to be completed.
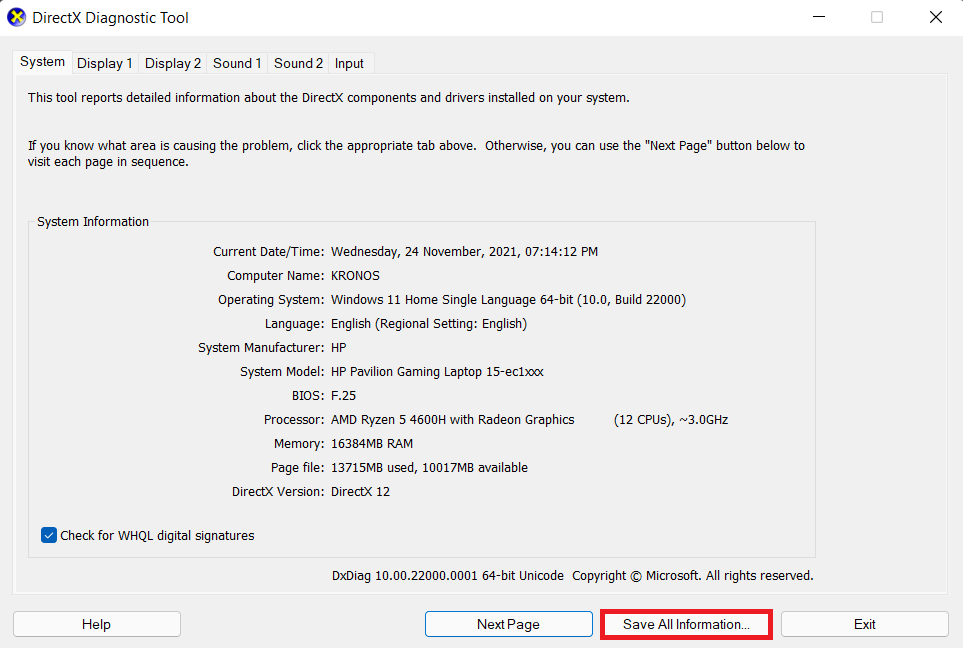
4. When the diagnosis is complete, the green progress bar will disappear. Click on Save All Information… kitufe kama inavyoonyeshwa hapa chini.
Pia Soma: Jinsi ya kutumia PowerToys kwenye Windows 11
How to Uninstall DirectX Graphics Tools
To uninstall Windows 11 Graphics Tools, follow the steps mentioned below:
1. Uzindua Mazingira kama inavyoonekana.
2. Enda kwa Apps > Hiari Features, kama inavyoonyeshwa.
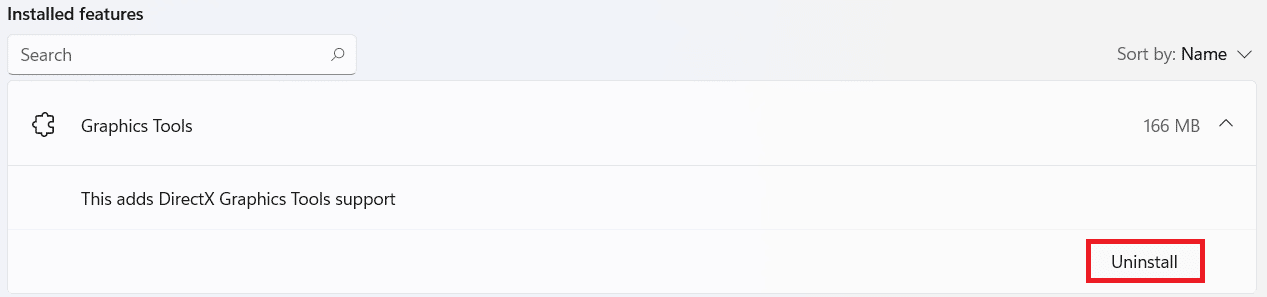
3. Scroll down the list of Vipengele vilivyowekwa au utafute Graphics Tools in the search bar provided to locate it.
4. Bonyeza downward-pointing arrow katika Graphics Tools tile and click on Kufuta, kama inavyoonekana.
5. Once the uninstallation process is finished, you will see Imeondolewa tag under vitendo hivi karibuni sehemu.

Ilipendekeza:
We hope you found this article helpful about how to install, use or uninstall DirectX Graphics Tool in Windows 11. Drop your suggestions and queries in the comment section below. We would love to hear from you. Stay tuned for more such info!