- in หน้าต่าง by ผู้ดูแลระบบ
How to Add a Picture Password in Windows 10

Windows 10 has a lot of security features which are very useful for all users. Still, today we are talking about a particular feature which makes it easier for users to authenticate themselves while logging into their PC. With the introduction of Windows 10, you could now use password, PIN or picture password to log in to your computer. You could also set all three of them and then from the sign-in screen, and you could switch between any of these options to authenticate yourself. The only problem with these sign-in options is that they don’t work in Safe Mode and you have to only use the traditional password to login to your computer in safe mode.
But in this tutorial, we would be talking specifically about Picture Passwords and how to set it up in Windows 10. With picture password, you don’t need to remember the long password instead you sign in by drawing different shapes or making the right gesture over an image to unlock your PC. So without wasting any time let’s see How to Add a Picture Password in Windows 10 ด้วยความช่วยเหลือของคำแนะนำที่ระบุไว้ด้านล่างนี้
How to Add a Picture Password in Windows 10
ตรวจสอบให้แน่ใจว่าได้สร้างจุดคืนค่าในกรณีที่มีสิ่งผิดปกติเกิดขึ้น
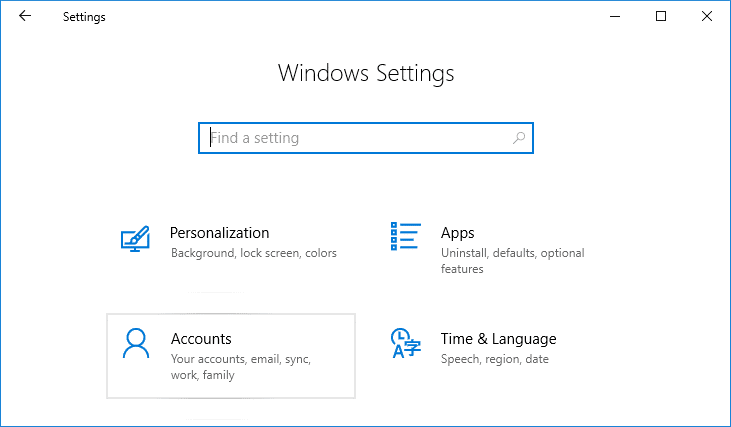
1. กด Windows Key + I เพื่อเปิด Settings จากนั้นคลิกที่ บัญชี
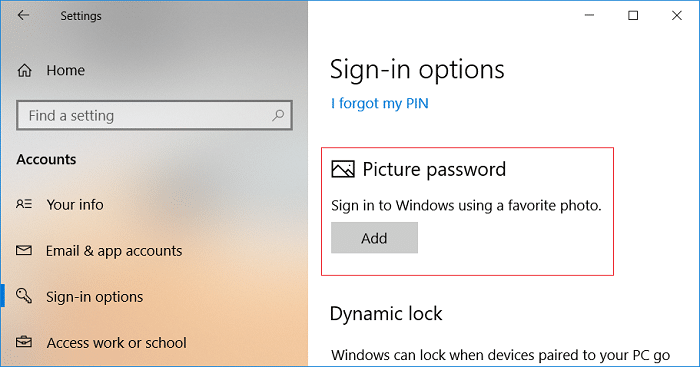
2. จากเมนูด้านซ้ายมือ ให้เลือก ตัวเลือกการลงชื่อเข้าใช้
3. ในบานหน้าต่างด้านขวาให้คลิกที่ “เพิ่ม"ใต้ Picture Password.
หมายเหตุ A local account must have a password to be able to add a picture password. A Microsoft account will be password protected by default.
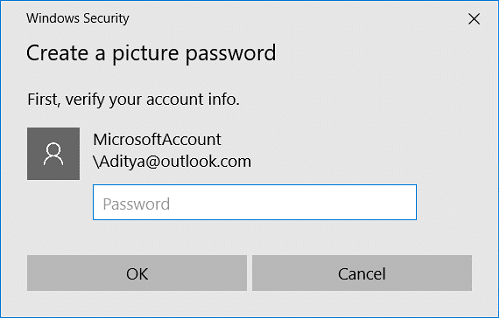
4. Windows will ask you to verify your identity, so Enter your account password and click OK.
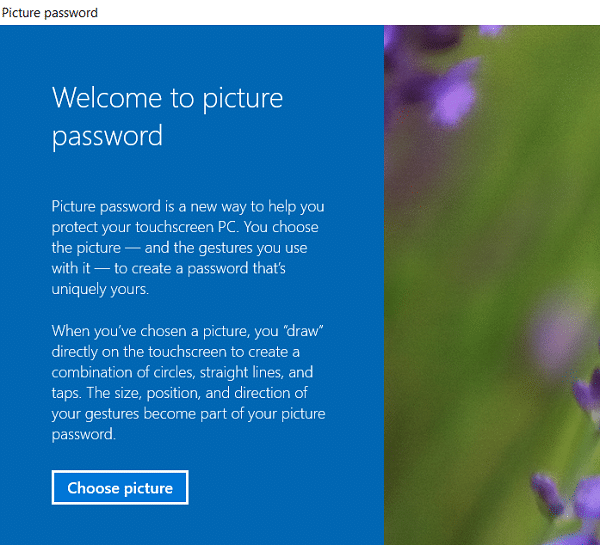
5. A new picture password window will open, คลิกที่ "เลือกรูปภาพ"
6 ต่อไป, navigate to the picture’s location in Open dialog box then select the picture and click เปิด
7. Adjust the image by dragging it to position it the way you want then click “ใช้ภาพนี้"
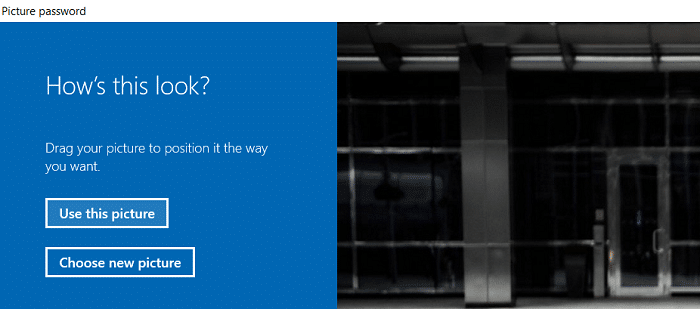
หมายเหตุ If you want to use a different picture, click on “Choose new picture” then repeat the steps from 5 to 7.
8. ตอนนี้คุณต้อง draw three gesture one by one on the picture. As you draw each gesture, you will see the numbers will move from 1 to 3.
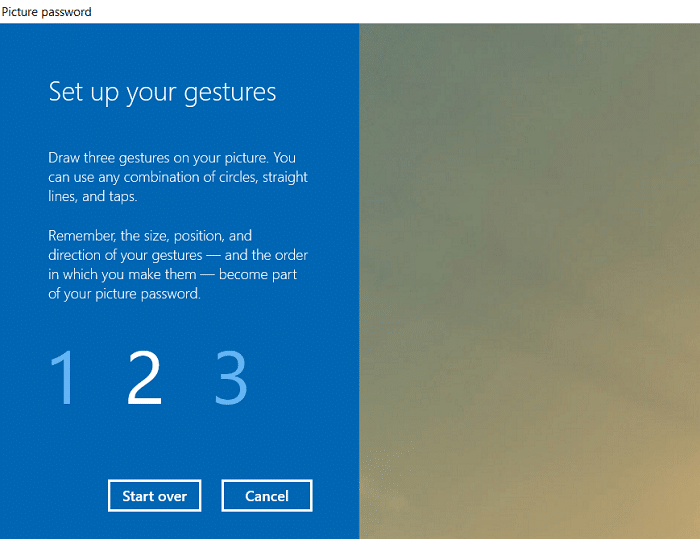
หมายเหตุ You can use any combination of circles, straight lines, and taps. You can click & drag to draw a circle or triangle or any shape you like.
9. Once you draw all the three gestures, you will be asked to draw them all again to confirm your password.
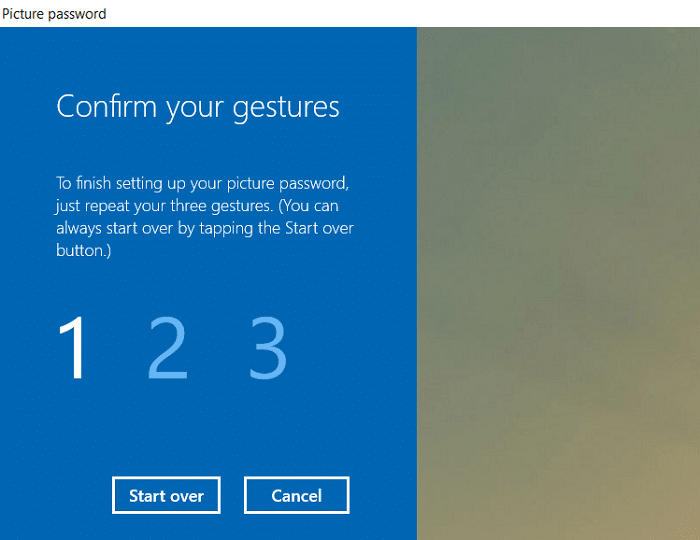
10. If you mess up your gestures, you could click on “เริ่มต้นใหม่” to start the process again. You would need to draw all the gestures from the beginning.
11. สุดท้าย after adding all the gestures click Finish.
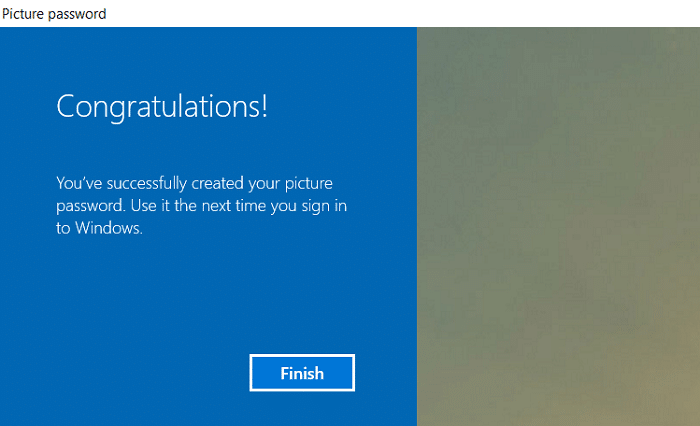
12. That’s it, your picture password has now been added as a sign-in option.
How to Change Picture Password in Windows 10
1. กด Windows Key + I เพื่อเปิด Settings จากนั้นคลิกที่ บัญชี
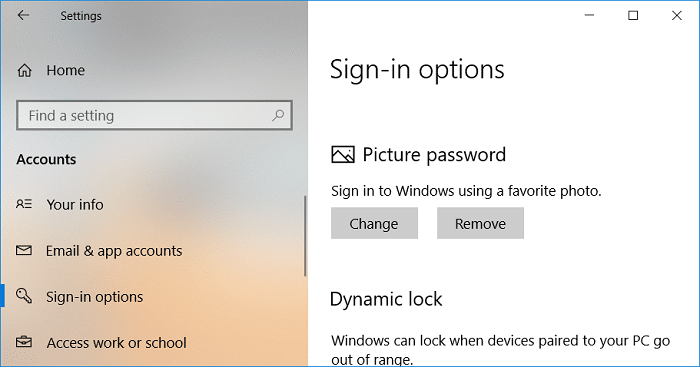
2. จากเมนูด้านซ้ายมือ ให้เลือก ตัวเลือกการลงชื่อเข้าใช้
3. ในบานหน้าต่างด้านขวาให้คลิกที่ “เปลี่ยนแปลง” ด้านล่าง Picture Password.
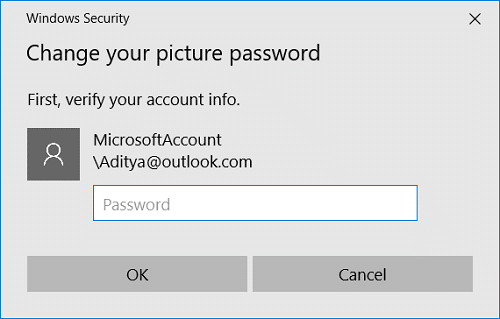
4. Windows will ask you to verify your identity, so ป้อนรหัสผ่านบัญชีของคุณ และคลิกตกลง
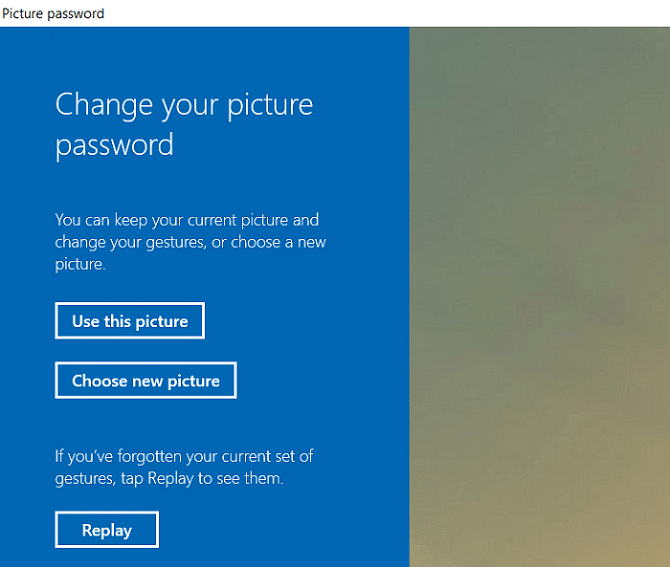
5 ตอนนี้ you have two options, either you could change the gestures of your current picture, or you could use a new picture.
6. To use the current picture, click on “ใช้ภาพนี้” and if you want to use a new image, click “เลือกภาพใหม่"
หมายเหตุ If you click “Use this picture” then skip the steps 7 and 8.
7. Navigate to and select the picture file you want to use then click เปิด
8. Adjust the image by dragging it to position it the way you want then click “ใช้ภาพนี้"
9. ตอนนี้คุณต้อง draw three gesture one by one on the picture.
หมายเหตุ You can use any combination of circles, straight lines, and taps. You can click & drag to draw a circle or triangle or any shape you like.
10. Once you draw all the three gestures, you will be asked to draw them all again to confirm your password.
11. Finally, after adding all the gestures click เสร็จสิ้น
12. รีบูทพีซีของคุณเพื่อบันทึกการเปลี่ยนแปลง
How to Remove a Picture Password in Windows 10
1. กด Windows Key + I เพื่อเปิด Settings จากนั้นคลิกที่ บัญชี
2. จากเมนูด้านซ้ายมือ ให้เลือก ตัวเลือกการลงชื่อเข้าใช้
3. ในบานหน้าต่างด้านขวาให้คลิกที่ “ลบรายการออกจากรถเข็น” ด้านล่าง Picture Password.
4. That’s it, your picture password has now been removed as a sign-in option.
5. ปิดทุกอย่างแล้วรีบูทพีซีของคุณเพื่อบันทึกการเปลี่ยนแปลง
ที่แนะนำ:
นั่นคือคุณได้เรียนรู้สำเร็จแล้ว How to Add a Picture Password in Windows 10 แต่ถ้าคุณยังมีคำถามใดๆ เกี่ยวกับบทช่วยสอนนี้ โปรดอย่าลังเลที่จะถามพวกเขาในส่วนความคิดเห็น