Paano i-install ang Internet Explorer sa Windows 10

How to install Internet Explorer on Windows 10: Bagaman Microsoft Edge is the default browser that is pre-installed on Windows 10 but many users still prefer to use Internet Explorer over other web browsers. As a user, you cannot uninstall Internet Explorer because it’s a Windows feature. But there are ways to turn on and off IE on Windows 10. If Internet Explorer is turned off in the Windows feature then you won’t be able to use IE on your system. IE will essentially be hidden until you again turn on Internet Explorer. In this article, you will learn about how to install/uninstall Internet Explorer in Windows 10.
Internet Explorer is Missing on Windows 10?
Users are reporting that they are not being able to open Internet Explorer on their Windows 10 PC. Another case is when users are doing a clean installation of Windows 10 they are unable to find Internet Explorer. In reality, Internet Explorer is turned off in Windows feature, although you can’t uninstall Internet Explorer, but you can turn it off or on.
Paano i-install ang Internet Explorer sa Windows 10
Tiyaking gumawa ng restore point kung sakaling may magkamali.
Method 1: Pin the IE to your Taskbar in Windows 10
This Internet Explorer will most likely be installed on your system, so you have to search it and then pin it to your taskbar so that it becomes easily available. To do this the steps are –
1. Pindutin Windows Key+S to bring up the search then type “internet Explorer".
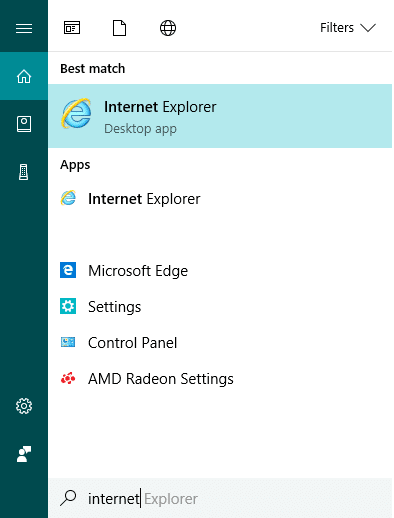
2.You will see that Internet Explorer will come in the top result of the search list.
3.Right-click on IE and choose the option “I-pin sa taskbar".
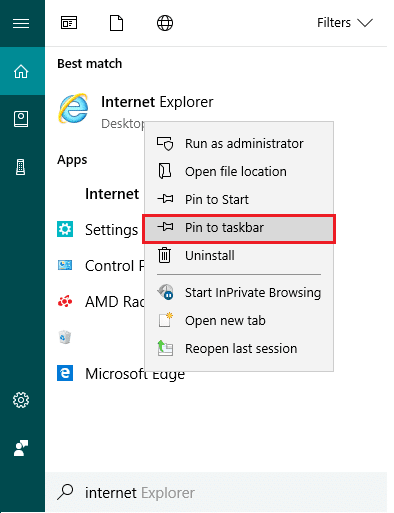
4.Now, you will see the Internet Explorer icon on your taskbar using which you can easily access IE anytime you want.
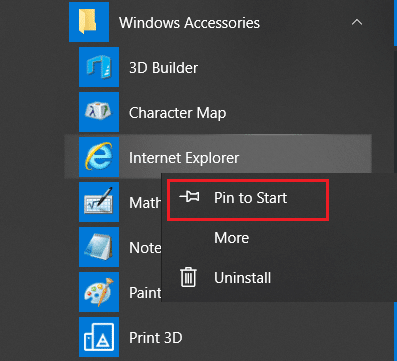
Method 2: Find Internet Explorer using Windows Accessories
Another way to find & pin Internet Explorer on Desktop is by using Windows 10 Settings:
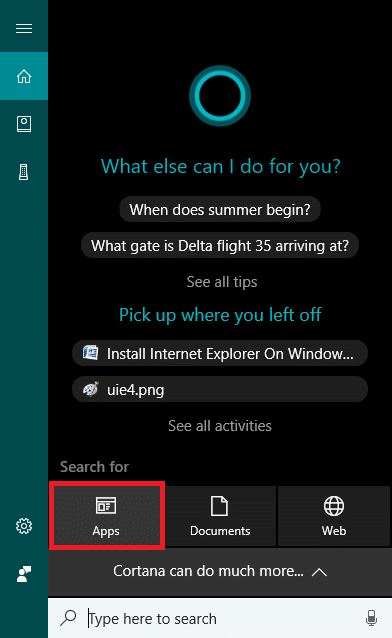
1.Go to the Start button then click on “Lahat ng Apps“. Or you can click on Apps under the Cortana search.

2.From there, you have to scroll down until you find the “Mga Kagamitan sa Windows"Folder.
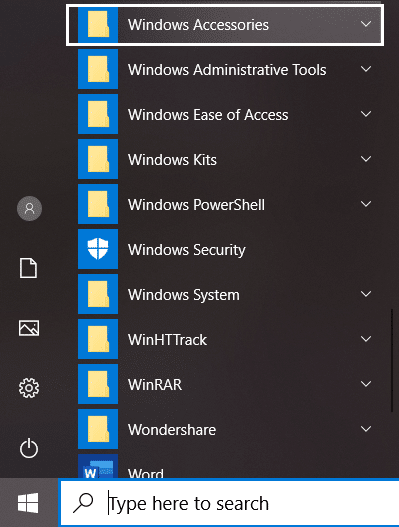
3.Click on it and you will find Internet Explorer in the list.
5.Right-click on Internet Explorer & choose the option “I-pin sa taskbar".
Method 3: Turn On/Off Internet Explorer
In this step, we will learn how you can Turn On or Off Internet Explorer on your PC. To do this the steps are –
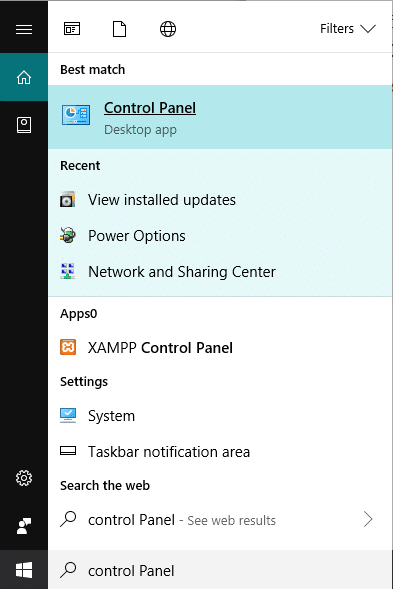
1. Uri kontrol sa Windows Search pagkatapos ay mag-click sa Control Panel mula sa resulta ng paghahanap.
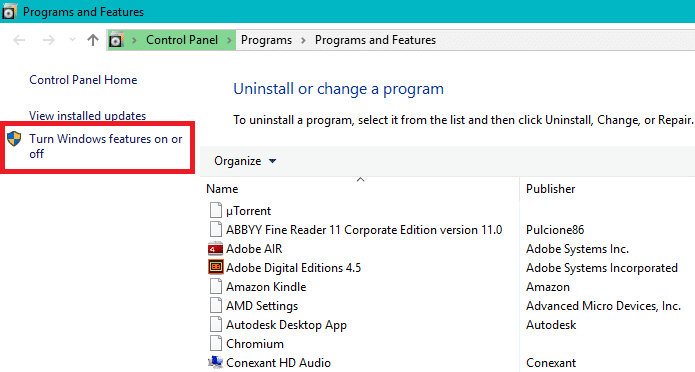
2. Mag-click sa “I-uninstall ang isang programa” under Control Panel.

3.From the left-hand menu click on “I-on o i-off ang feature ng Windows".
4.You will see a new pop up window will open (which is Windows Feature Window).
5.In the list, checkmark the box next to the Internet Explorer. This will turn ON the Internet Explorer on your system.
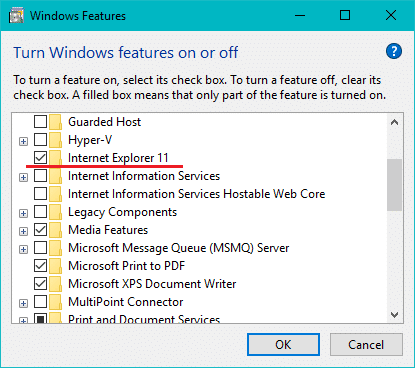
6.One done, click OK to save changes.
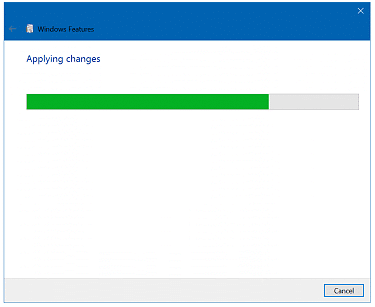
tandaan: It will take some time for Windows to apply the changes.
7. I-reboot ang iyong PC upang i-save ang mga pagbabago.
Once the PC restart, you will notice that Internet Explorer is easily accessible through Windows search.
Method 4: Install or Uninstall Internet Explorer on Windows 10
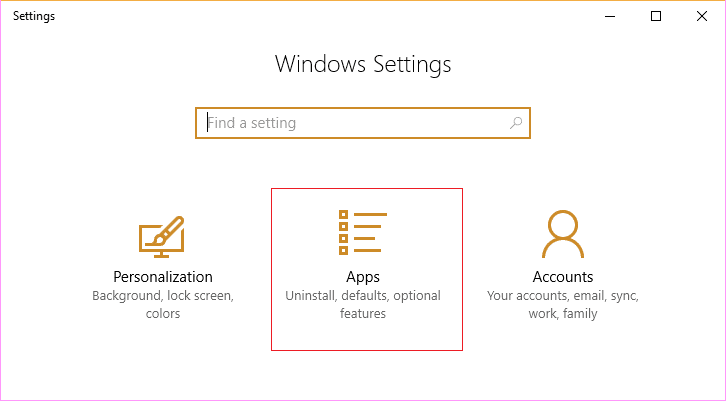
1. Pindutin ang Windows Key + I para buksan ang Mga Setting pagkatapos ay mag-click sa Apps.
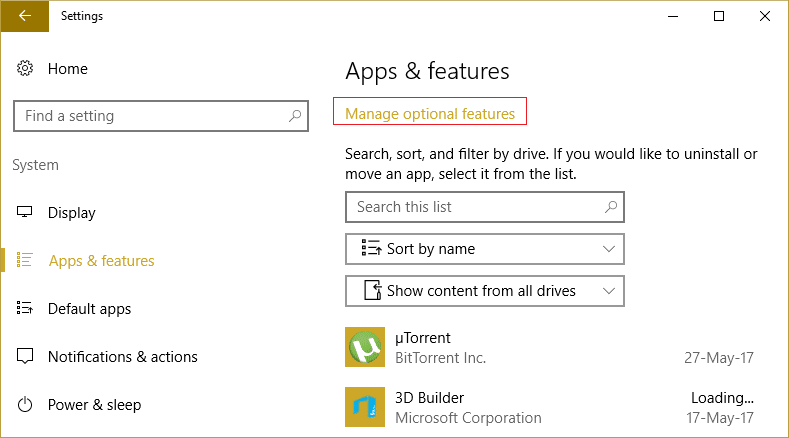
2.Mula sa kaliwang bahagi ng menu, mag-click sa Mga app at feature.
3.Now under Apps & features, click on “Pamahalaan ang Mga Opsyonal na Tampok"O"Opsyonal Tampok ng".
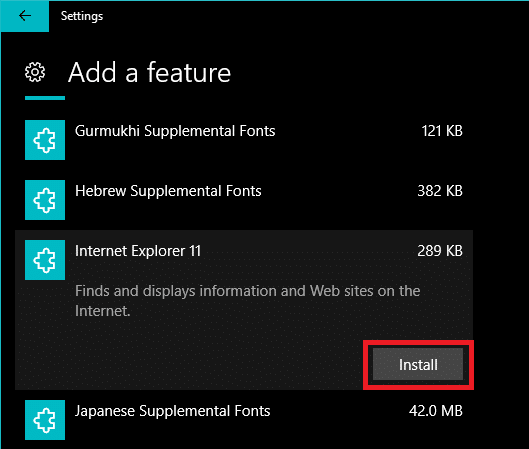
4.Scroll down the list and look for Internet Explorer.
5.Once you find it, you can either Uninstall Internet Explorer (if IE is installed) or i-install ito (if IE is uninstalled) on your system.
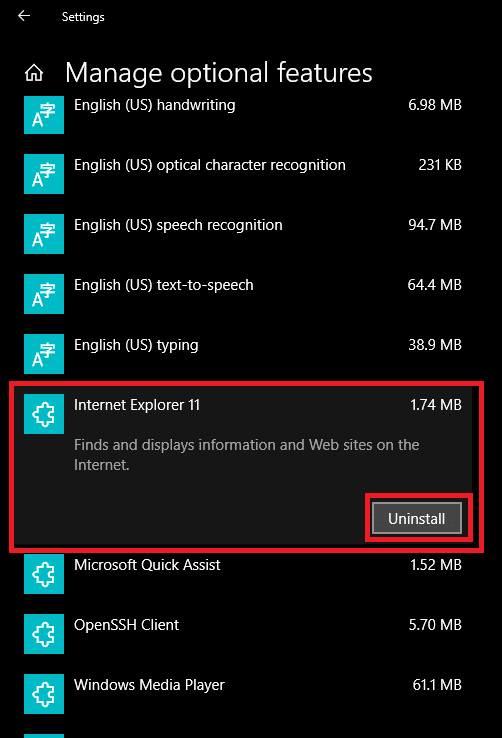
6. Ngayon i-click Install or Uninstall button depending upon the status of IE on your system.
7.Once finished, reboot your PC to save changes.
Method 5: Use PowerShell to Install or Uninstall Internet Explorer
Another way to Install or Uninstall Internet Explorer on Windows 10 is via PowerShell. To do this the steps you need to follow are –
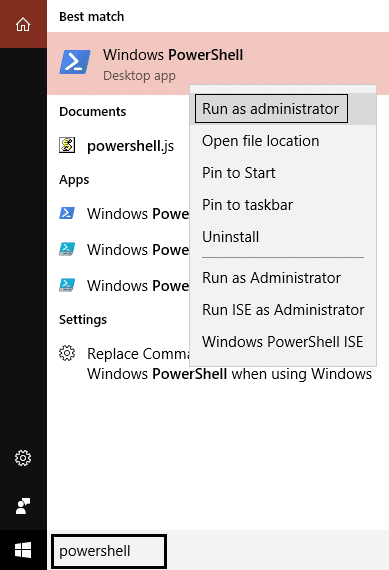
1.Click the Start and search the term “PowerShell ".
2.Right-click the PowerShell application, and open it as “Patakbuhin bilang administrator"Mode.
3.Type the following command depending on your choice:
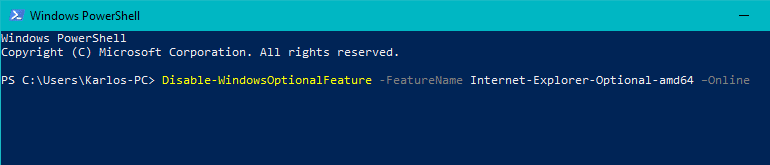
To Uninstall Internet Explorer:
Disable-WindowsOptionalFeature –FeatureName "Internet-Explorer-Optional-amd64" -Online

To Install Internet Explorer:
Enable-WindowsOptionalFeature –FeatureName "Internet-Explorer-Optional-amd64" -All –Online
4.Once you type any one of the above commands and hit Enter, it will then prompt you to restart your system. You have to uri Y at pindutin ang Enter.
5.Your system will reboot to apply changes.
Inirerekomenda:
Iyon ay kung matagumpay mong natutunan kung Paano Uninstall or Install Internet Explorer on Windows 10 ngunit kung mayroon ka pa ring mga katanungan tungkol sa artikulong ito, mangyaring huwag mag-atubiling tanungin sila sa seksyon ng komento.