Paano mag-convert ng Photoshop sa RGB

Adobe Photoshop offers many interesting & useful features to edit photos. Professional photographers utilize this software to edit their captured images. If you too want your pictures to have a professional touch, then editing them in Photoshop is the best choice. You can download Adobe Photoshop and use it for free for a week. After that, you need to pay US $19.99 bawat buwan to continue using its services. Today, we will discuss how to Photoshop convert image to RGB color mode to edit. Also read How to Convert Image to Grayscale Paint.. Also read How to Convert Image to Grayscale Paint..
How to Convert Image to RGB Mode using Adobe Photoshop
While editing an image in Adobe Photoshop, Photoshop convert to RGB is one of the simplest things to do. Here, you get only three color modes to edit an image. They are RGB, CMYK & Grayscale. Pictures that are to be published online are edited using RGB and photos that are for print are edited using CMYK. It makes your image bright and attractive. This mode utilizes the RGB model, selecting an intensity value for every pixel. In 8 bits per channel picture, the intensity values vary from 0 to 255 for each RGB (green, blue, red) segment in a color image.
tandaan: Dito, Adobe Photoshop CC 2019 is used to illustrate the required steps.
Method 1: Use Adobe Photoshop App Settings
RGB images look great on digital media and websites. So, here are the steps to convert image to RGB color mode to edit these:
1. Ilunsad Adobe Photoshop app on Windows Desktop.
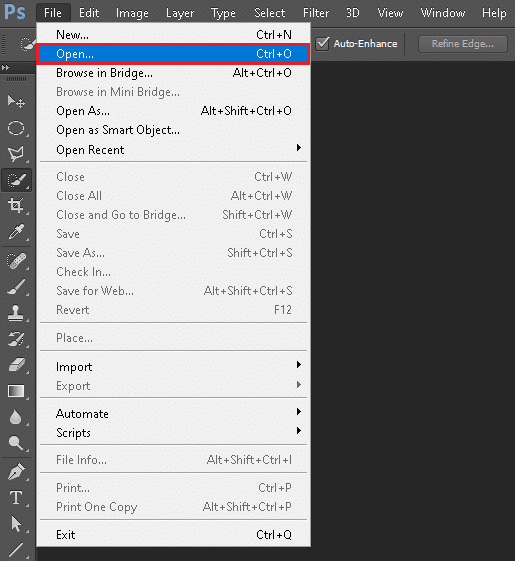
2. Mag-click sa talaksan sa kaliwang sulok sa itaas ng screen.

3. Susunod, mag-click sa Pagbubukas, ipinapakitang naka-highlight.
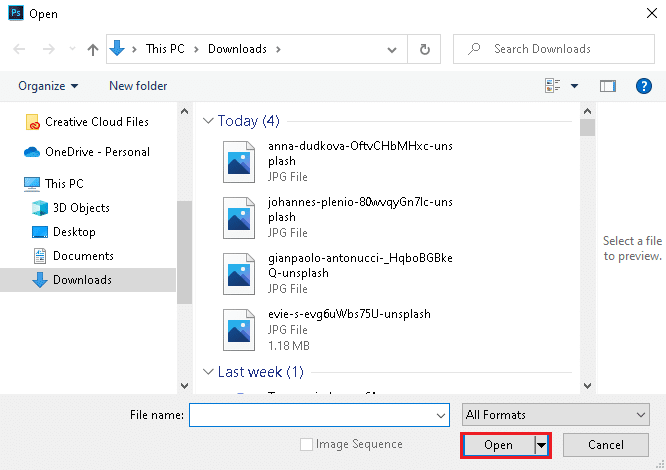
4. Ngayon, piliin ang larawan you want to convert to RGB and click Buksan.
5. Once the picture opens in photoshop, click on Imahen sa tuktok na menu.

6. Piliin ang paraan > Kulay ng RGB tulad ng inilalarawan sa ibaba.
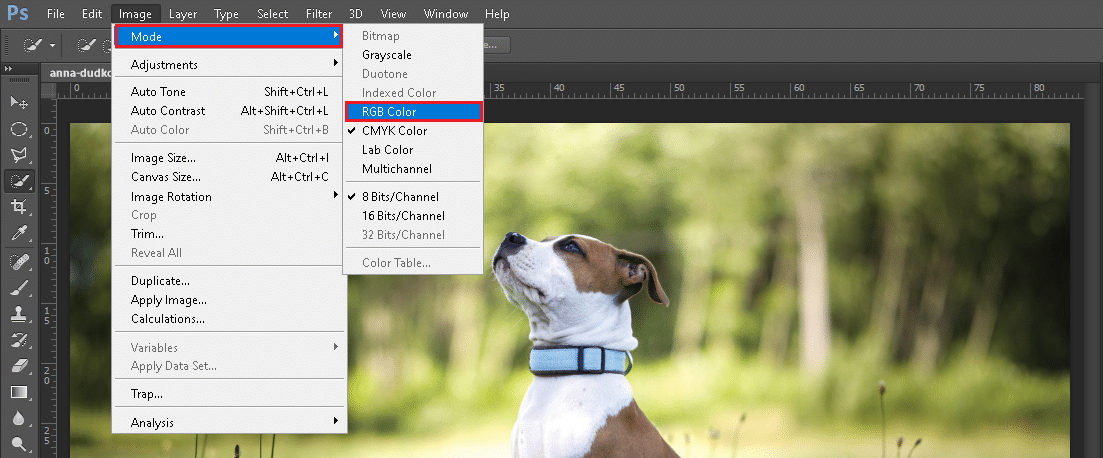
tandaan: You might see an on-screen prompt from Adobe Photoshop. Mag-click sa Patagin na pindutan upang magpatuloy.
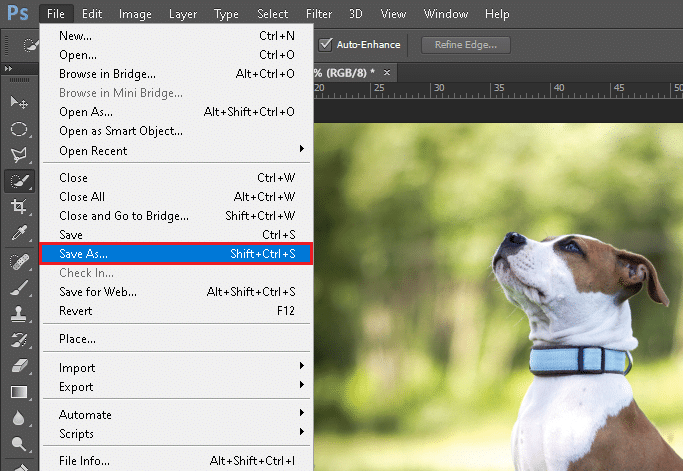
7. Susunod, pumunta sa talaksan at mag-click sa I-save Bilang opsyon mula sa listahan.
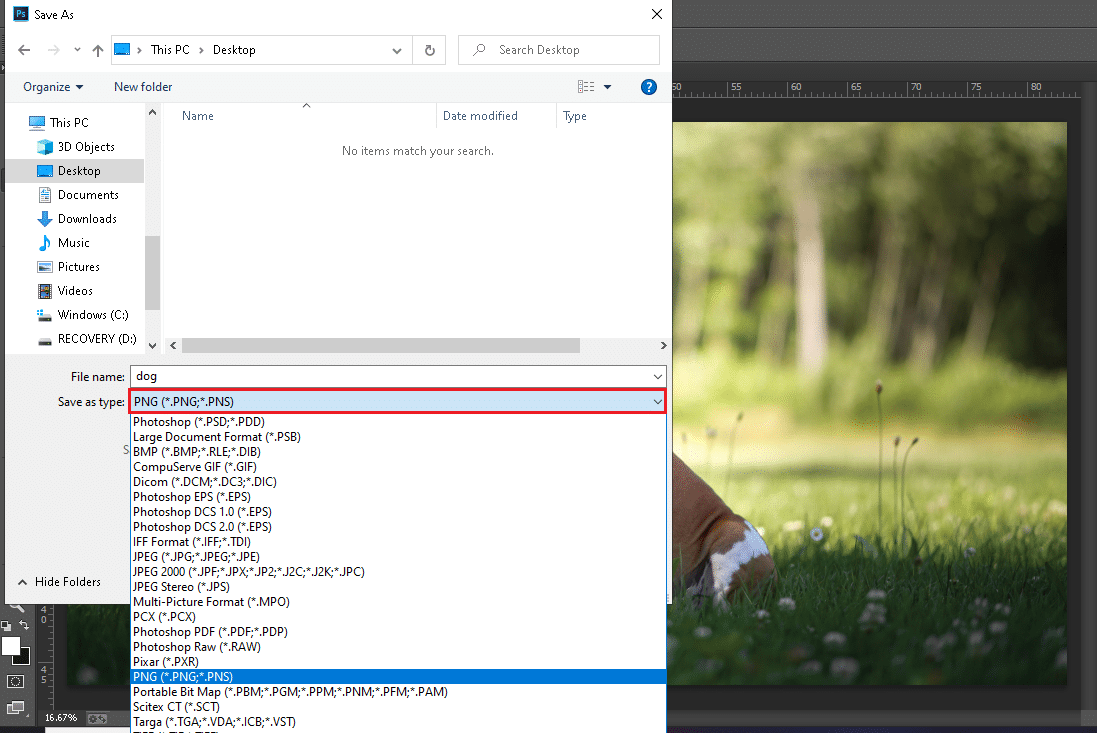
8. Ngayon, pumili uri ng file (e.g. PNG,JPG, JPEG etc.) from I-save bilang uri drop-down na menu. Bigyan ng ibang pangalan the file if needed.
9. Panghuli, mag-click sa I-save.
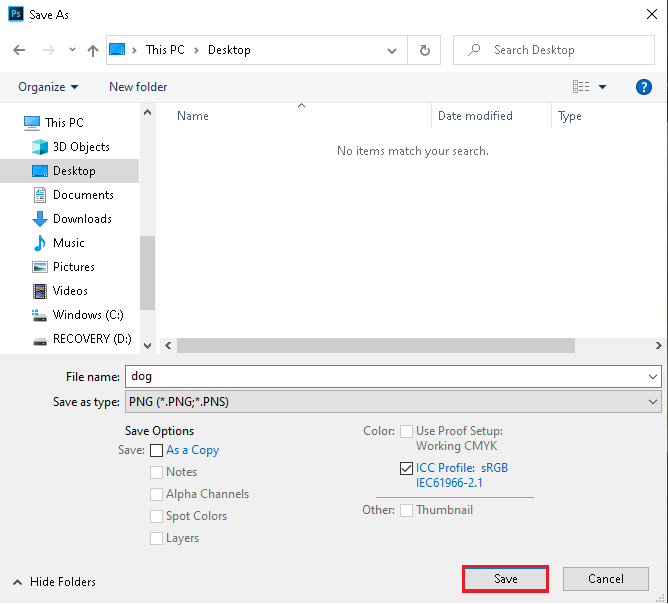
Now, your CMYK mode image is successfully converted into RGB mode.
Gayundin Basahin: Paano Ayusin ang Mga Scratch Disk ay Ganap na Error sa Photoshop
Method 2: Use CMYK to RGB Shortcut Keys
While editing a picture in Photoshop, it is tiresome to navigate to menus and options. So, using shortcut keys in Photoshop saves your time. Fortunately, there are shortcut keys to convert CMYK to RGB mode and vice-versa.
Method 2A: For Windows PC
If you are using Photoshop on Windows laptop/desktop, then follow the steps listed below:
1. click on File > Open, ipinapakitang naka-highlight.
2. Piliin ang larawan you want to convert to RGB and click Buksan.
3. Kapag ang CMYK Mode Image opens in Adobe Photoshop, press Alt + I + M + R keys simultaneously. This is Photoshop CMYK to RGB shortcut key.

Now, your CMYK mode image will change into an RGB mode image.
nota: To convert an image from RGB mode to CMYK mode, press Alt + I + M + C keys sama-sama.
Basahin din: How to Convert PNG to JPG without Losing Quality
Method 2B: For MacOS
If you are using Photoshop on Mac, then follow the given steps:
1. bukas CMYK mode image sa iyong Mac.
2. Pindutin ang Option + I + M + R keys Photoshop shortcut to convert CMYK to RGB mode.
nota To convert RGB mode to CMYK mode, press Option + I + M + C susi magkasama.
Pro Tip: Check if the image has converted or not by repeating hakbang 5 at 6 of Pamamaraan sa 1 and see if the option Kulay ng RGB is ticked or not.
Inirerekomenda:
We hope that this guide on how to Photoshop convert to RGB color mode was helpful. Let us know which method worked for you best. If you have any queries or, suggestions then feel free to drop them in the comment section below.