Google Photos is a handy pre-installed cloud storage app that allows you to backup your photos and videos. As far as Android users are concerned, there is hardly any need to look for an alternative app for saving their precious photos and memories. It automatically saves your photos on the cloud and thus ensures that your data remains safe in case of any unforeseen circumstances like theft, loss, or damage.
However, just like every other app, Google Fotoğraflar might act out at times. One of the most concerning problems is times when it stops uploading photos to the cloud. You wouldn’t even be aware that the automatic upload feature has stopped working, and your photos aren’t getting backed up. However, there is no reason to panic just yet as we are here to provide you with a number of solutions and fixes for this problem.
Google Fotoğraflar'ın Android'e fotoğraf yüklememesini düzeltin
1. Enable Auto-Sync Feature for Google Photos
By default, the automatic sync setting for Google Photos is always enabled. However, it is possible that you might have accidentally turned it off. This will prevent Google Photos from uploading photos to the cloud. This setting needs to be enabled in order to upload and download photos from Google Photos. Follow the steps given below to see how:
Ayrıca bakınız:
Android'de Kırık Telefon Ekranını Düzeltmenin Maliyeti Ne Kadar?
Spotify Giriş Yapılamıyor Hatasını Düzeltmenin 10 Yolu
İPhone Takvim Davetiyesi Gönderilemiyor Hatasını Düzeltme
İndirme Hatasında Takılan Android Metin Mesajlarını Düzeltmenin 8 Yolu
Düzeltme Android'de Messenger Profil Resmini Değiştiremiyorum
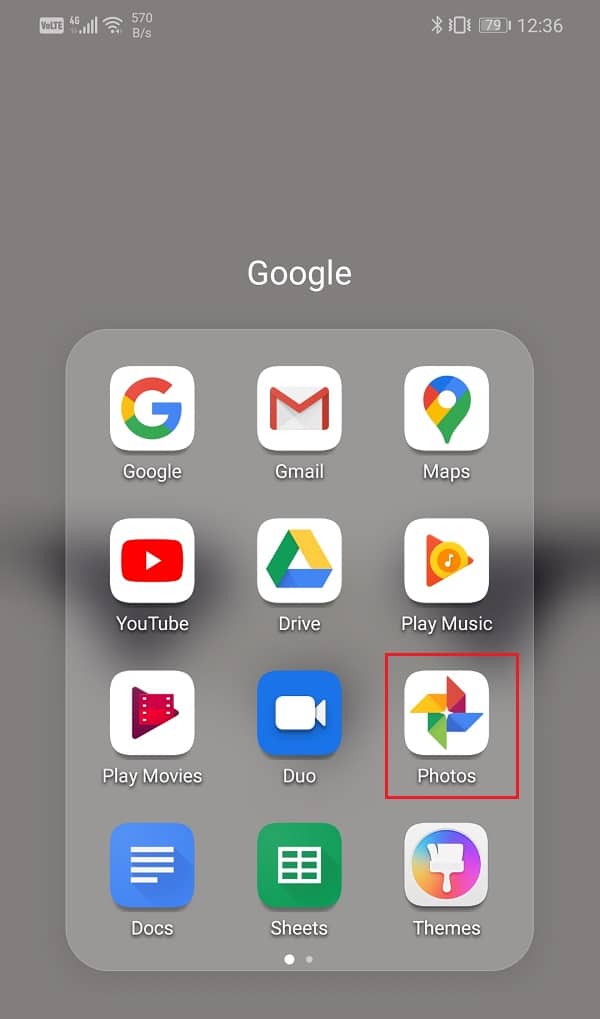
1. Öncelikle açın Google Fotoğraflar cihazınızda.
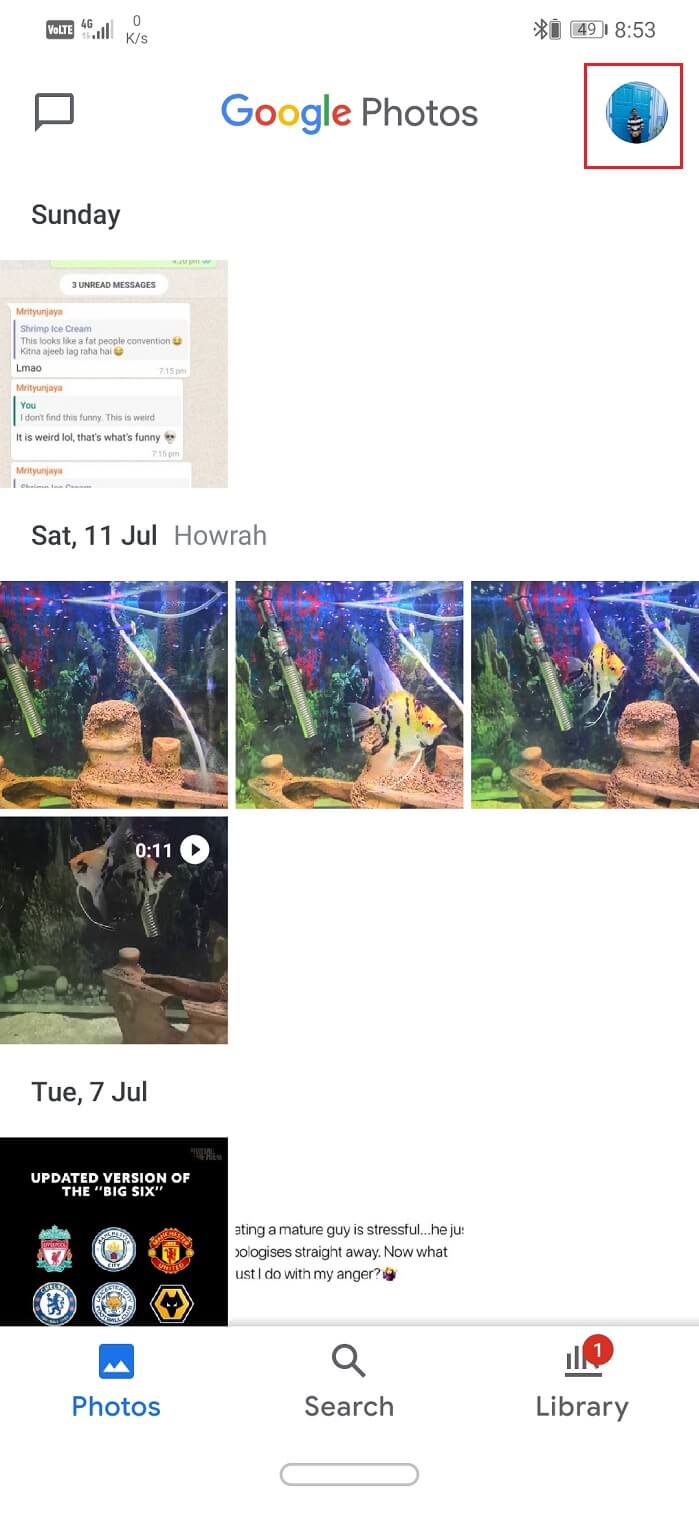
2. Şimdi profil resmi sağ üstte köşe.
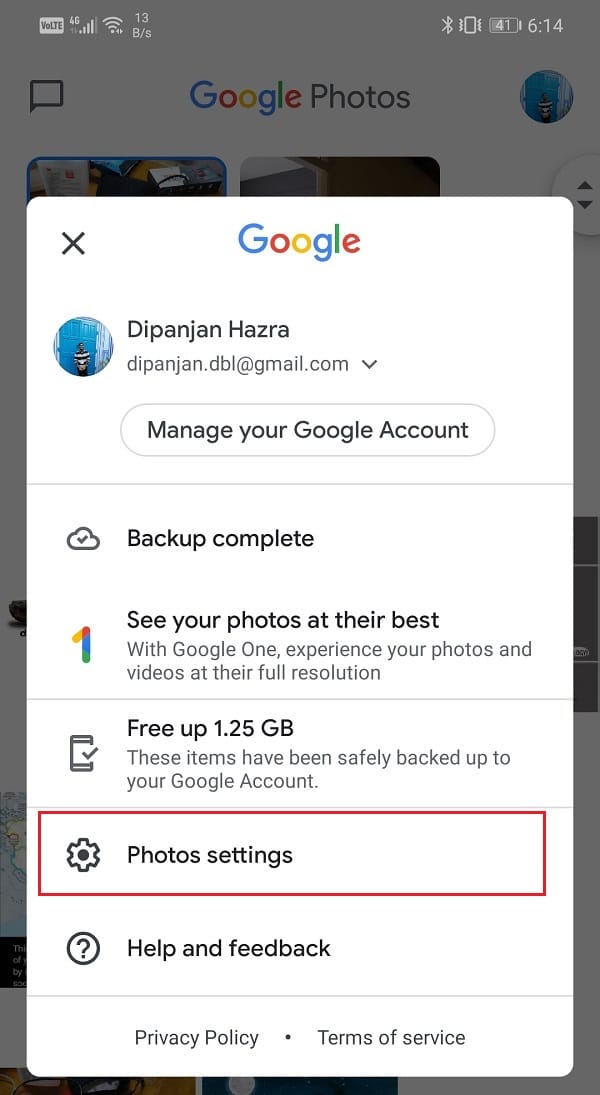
3. Bundan sonra, Fotoğraf Ayarları seçeneği.
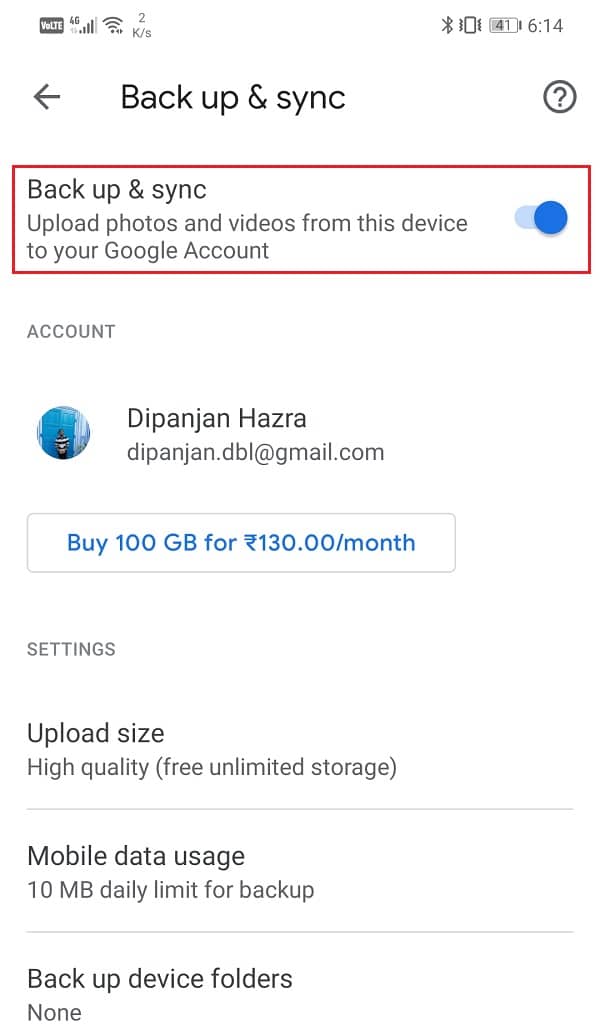
4. Burada, üzerine dokunun. Yedekle ve senkronize et seçeneği.
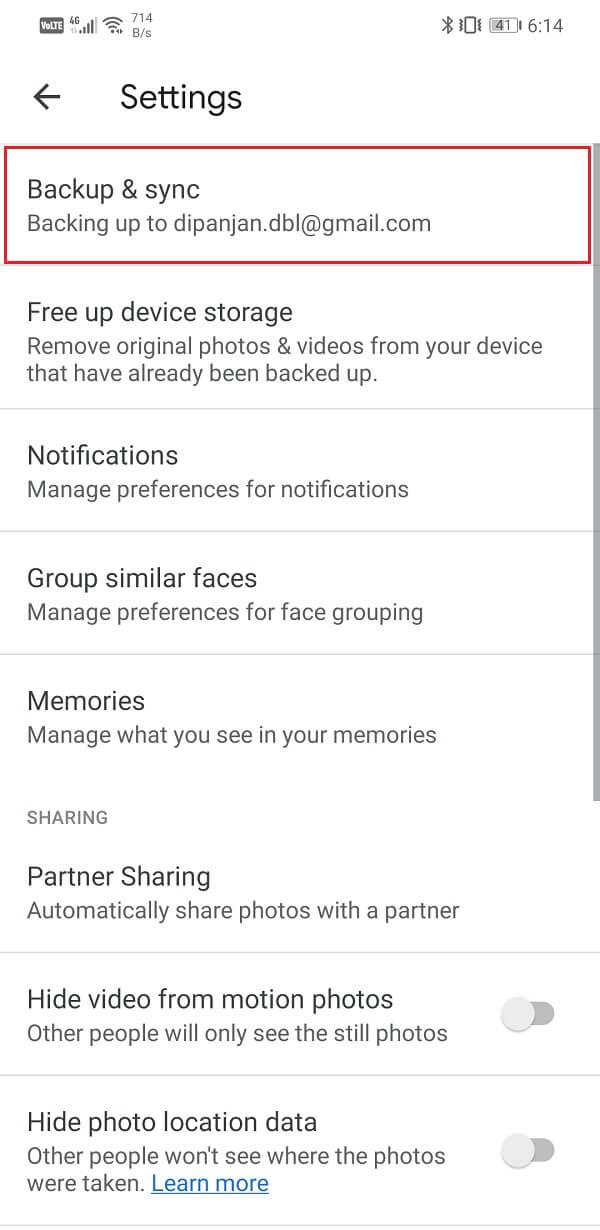
5. şimdi Yedekleme ve senkronizasyonun yanındaki anahtarı AÇIK konuma getirin etkinleştirmek için ayar yapın.
6. See if this fixes Google Photos not uploading photos on Android issue, otherwise, proceed to the next solution in the list.
2. Make sure the Internet is working properly
Google Foto'nun işlevi, cihazda otomatik olarak fotoğraf taraması yapmak ve onu bulut depolama alanına yüklemektir ve bunun için sabit bir internet bağlantısına ihtiyacı vardır. Bağlandığınız Wi-Fi ağının düzgün çalıştığından emin olun. İnternet bağlantısını kontrol etmenin en kolay yolu YouTube'u açmak ve bir videonun ara belleğe alınmadan oynatılıp oynatılmadığını görmektir.
Bunun dışında, hücresel veri kullanıyorsanız Google Foto'nun fotoğraf yüklemek için belirlenmiş bir günlük veri sınırı vardır. Bu veri sınırı, hücresel verinin aşırı tüketilmemesini sağlamak için mevcuttur. Ancak Google Fotoğraflar fotoğraflarınızı yüklemiyorsa her türlü veri kısıtlamasını devre dışı bırakmanızı öneririz. Nasıl yapıldığını görmek için aşağıda verilen adımları izleyin:
1. Açık Google Fotoğraflar cihazınızda.
2. şimdi profil resminize dokunun sağ üst köşede.
3. Bundan sonra, Fotoğraf Ayarları seçeneği.
4. Burada, üzerine dokunun. Yedekle ve senkronize et seçeneği.
5. Şimdi seçin Mobil veri kullanımı seçeneği.
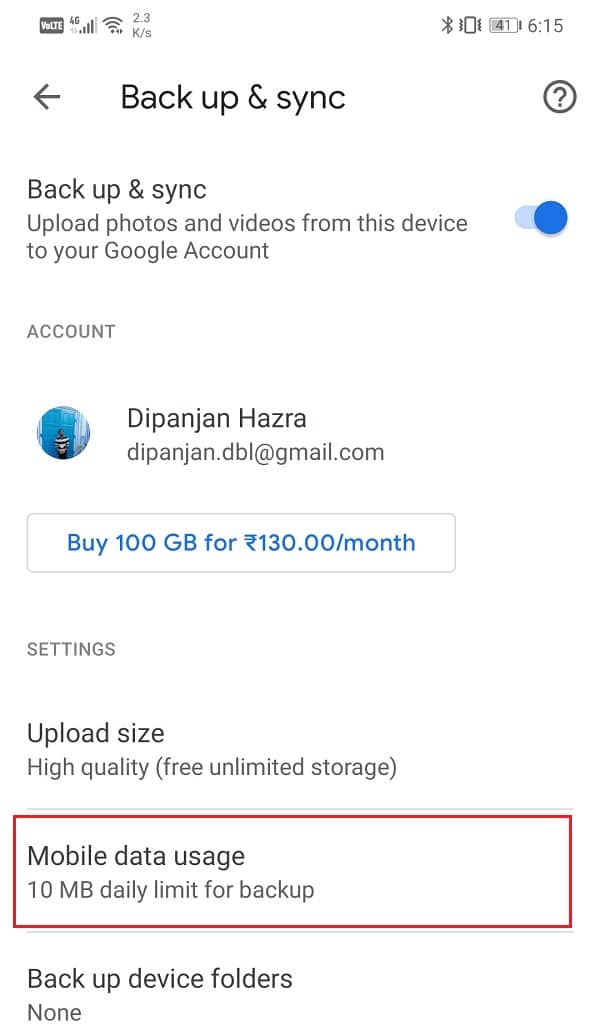
6. Burada, Unknown altında seçenek günlük sınırı Yedekleme sekmesi için.

3. Uygulamayı Güncelleyin
Bir uygulama harekete geçmeye başladığında, altın kural onu güncellemenizi söylüyor. Bunun nedeni, bir hata bildirildiğinde uygulama geliştiricilerinin farklı türdeki sorunları çözmek için hata düzeltmeleri içeren yeni bir güncelleme yayınlamasıdır. Google Fotoğraflar'ı güncellemenin, yüklenmeyen fotoğraf sorununu çözmenize yardımcı olması mümkündür. Google Fotoğraflar uygulamasını güncellemek için aşağıda verilen adımları izleyin.
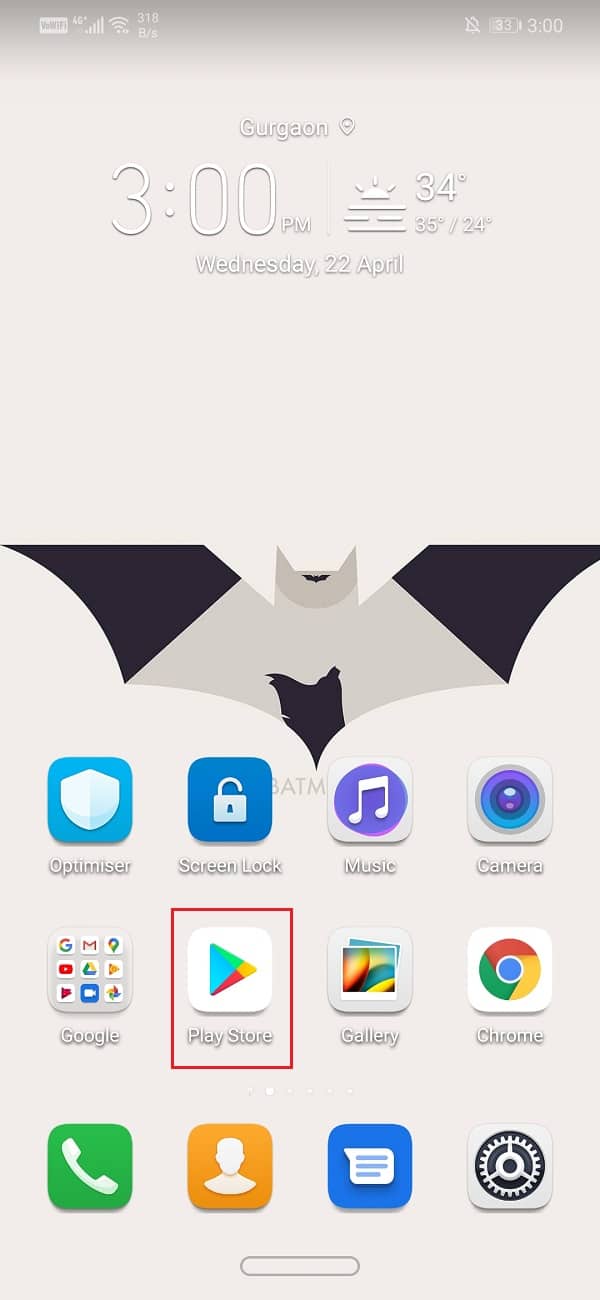
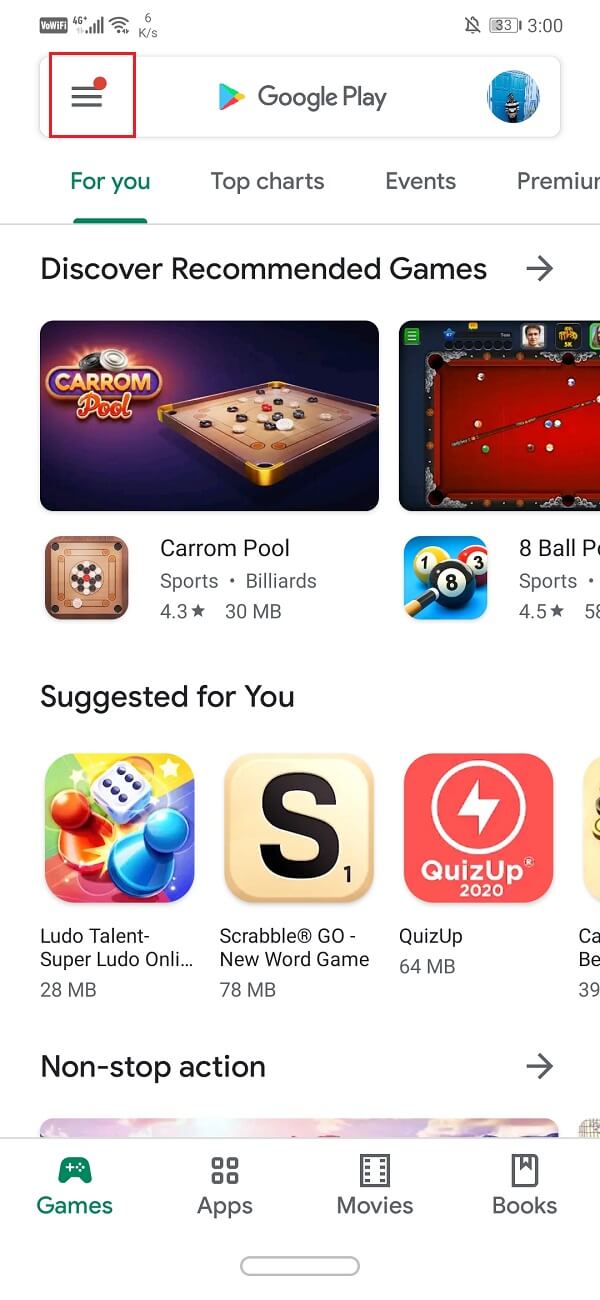
1. Git Google Play Store.
2. Sol üst tarafta şunu bulacaksınız: üç yatay çizgi. Üzerlerine tıklayın.
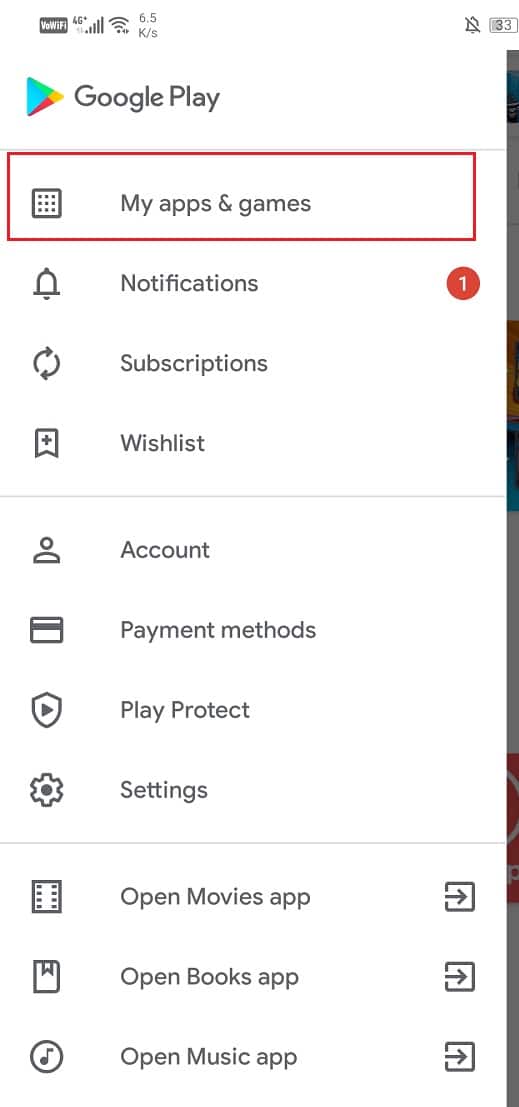
3. Şimdi, üzerine tıklayın “Uygulamalarım ve Oyunlarım” seçeneği.
4. Arayın Google Fotoğraflar ve bekleyen güncelleme olup olmadığını kontrol edin.
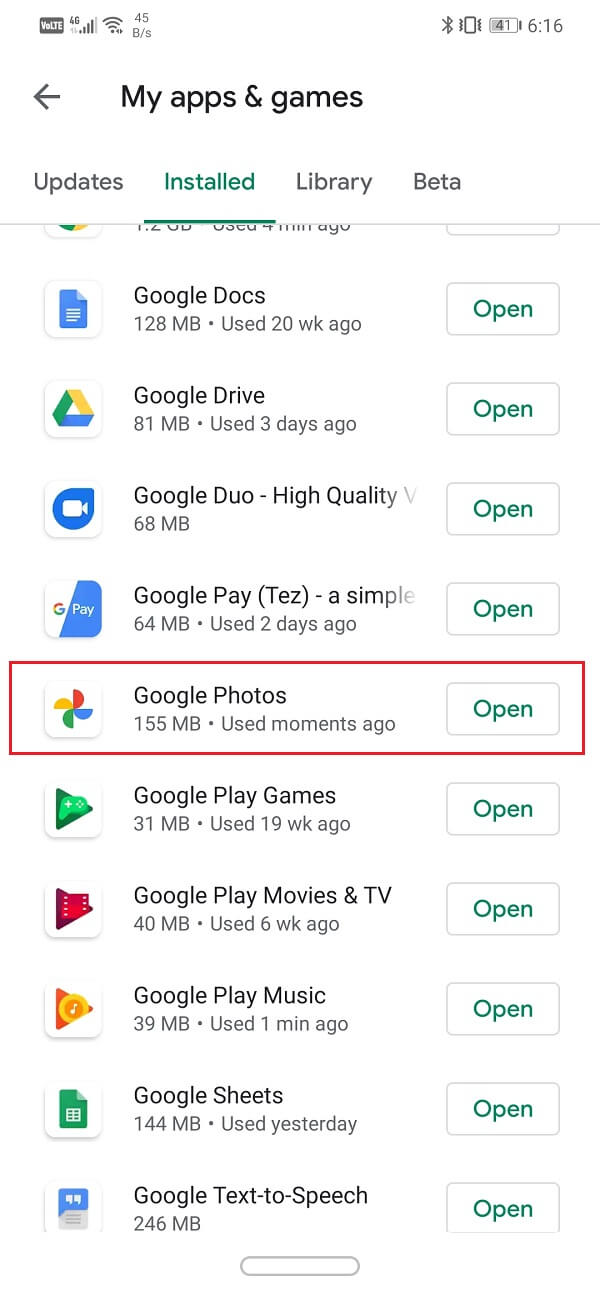
5. Cevabınız evet ise, simgesine tıklayın. güncelleştirme düğmesine basın.
6. Uygulama güncellendikten sonra fotoğrafların her zamanki gibi yüklenip yüklenmediğini kontrol edin.
Ayrıca Oku: How to Delete Apps on your Android phone
4. Clear Cache and Data for Google Photos
Android uygulamasıyla ilgili tüm sorunlara yönelik bir başka klasik çözüm, arızalı uygulamanın önbelleğini ve verilerini temizlemektir. Önbellek dosyaları, ekran yükleme süresini azaltmak ve uygulamanın daha hızlı açılmasını sağlamak için her uygulama tarafından oluşturulur. Zamanla önbellek dosyalarının hacmi artmaya devam ediyor. Bu önbellek dosyaları sıklıkla bozulur ve uygulamanın arızalanmasına neden olur. Eski önbellek ve veri dosyalarını zaman zaman silmek iyi bir uygulamadır.
Bunu yapmak, bulutta kayıtlı fotoğraflarınızı veya videolarınızı etkilemeyecektir. Bu, eski dosyalar silindikten sonra oluşturulacak olan yeni önbellek dosyalarına yer açacaktır. Google Fotoğraflar uygulamasının önbelleğini ve verilerini temizlemek için aşağıdaki adımları izleyin.
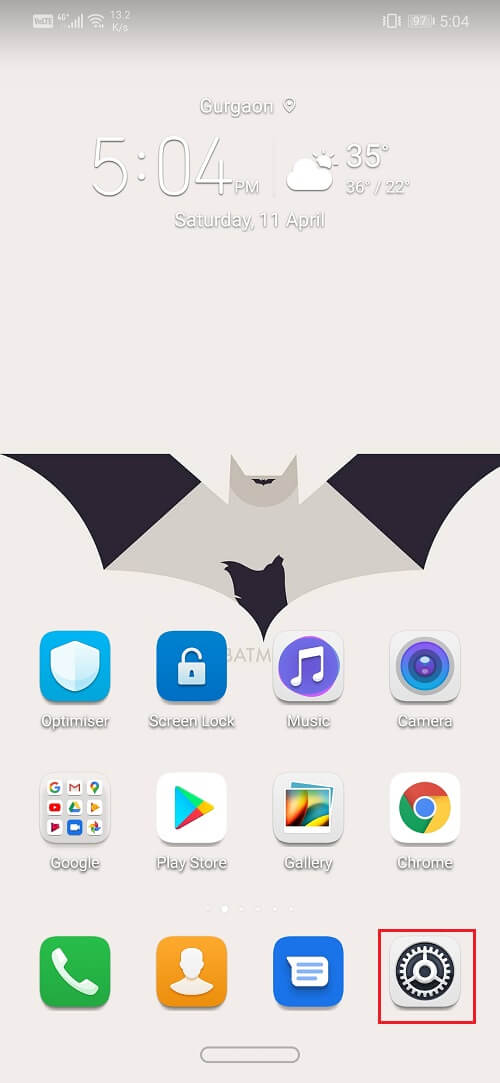
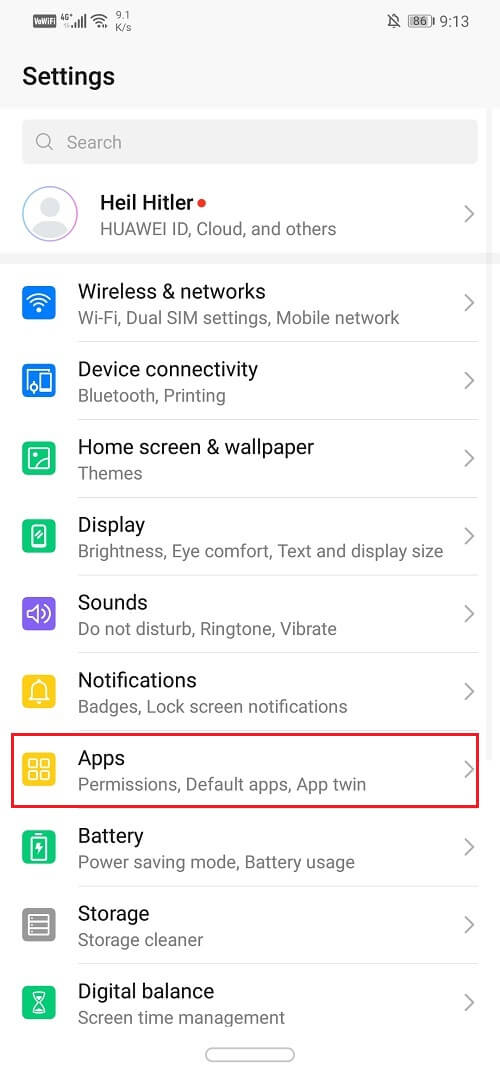
1. Git Ayarlar telefonunda.
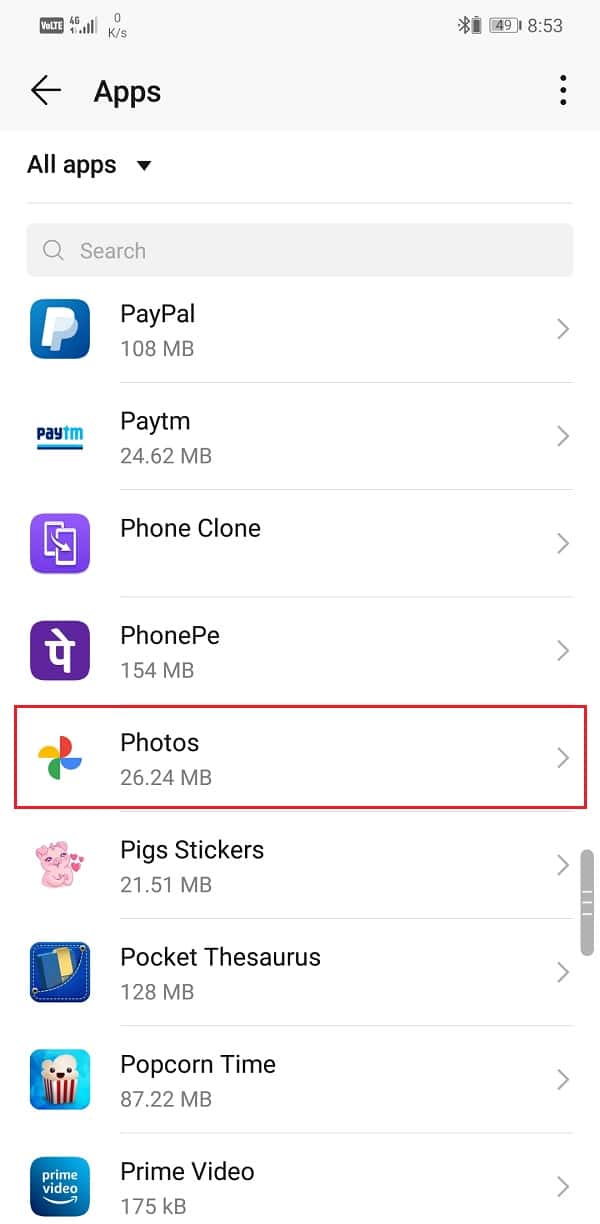
2. Tıklayın Apps Cihazınızda yüklü uygulamaların listesini görüntüleme seçeneği.
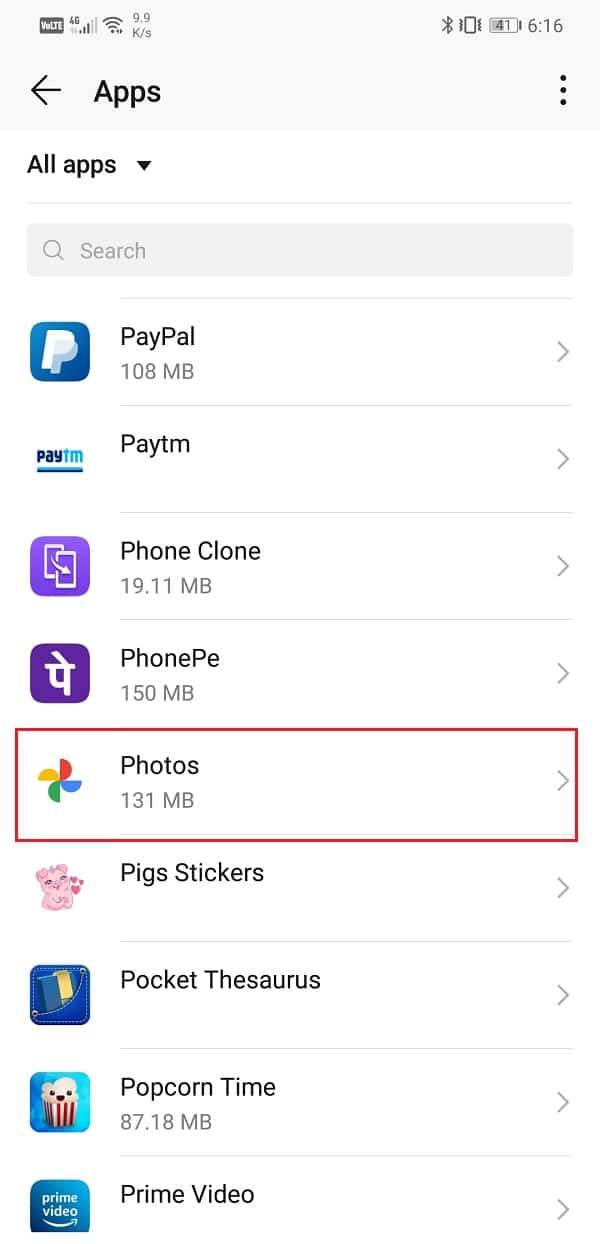
3. Şimdi arayın Google Fotoğraflar and tap on it to open the app settings.
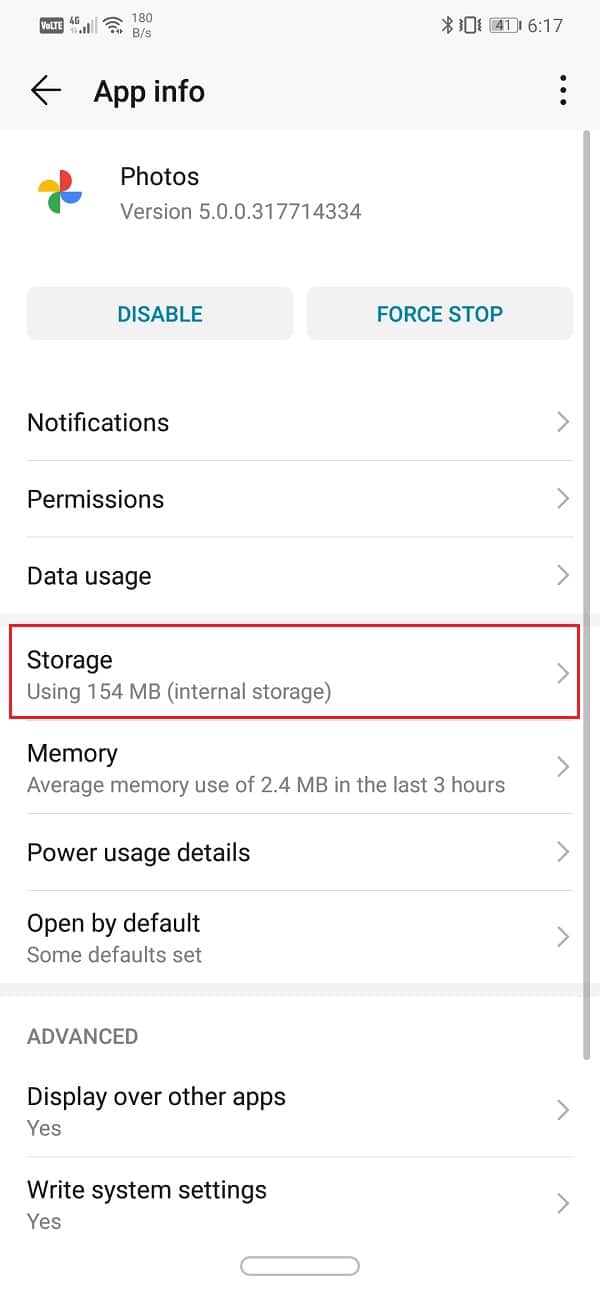
4. Tıklayın Depolama seçeneği.
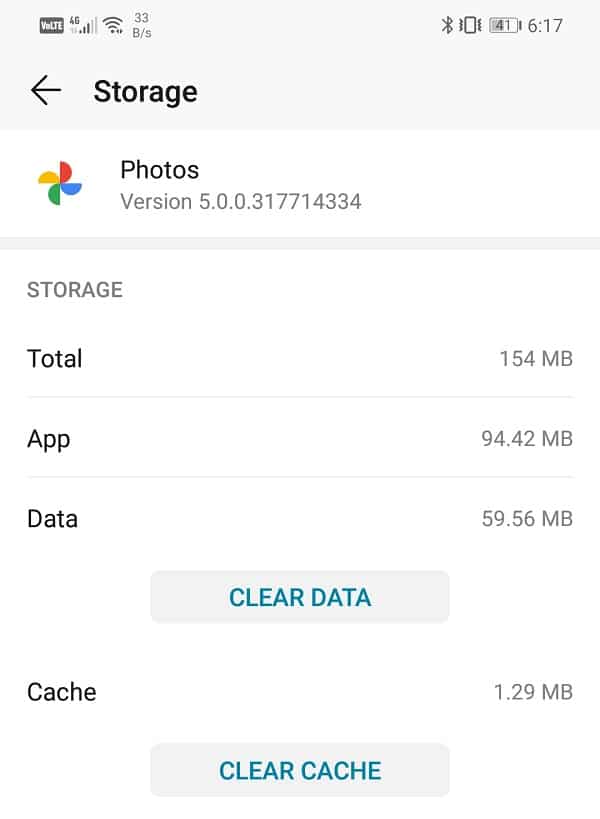
5. Burada şu seçeneği bulacaksınız: Önbelleği Temizle ve Verileri Temizle. İlgili düğmelere tıkladığınızda Google Fotoğraflar'ın önbellek dosyaları silinecektir.
5. Change the Upload Quality of Photos
Just like every other cloud storage drive, Google Photos has certain storage restrictions. You are entitled to free 15 GB depolama alanı Fotoğraflarınızı yüklemek için bulutta. Bunun ötesinde, kullanmak istediğiniz ek alan için ödeme yapmanız gerekir.
Ancak bu, fotoğraflarınızı ve videolarınızı orijinal kalitesinde, yani dosya boyutunun değişmeden yüklenmesine ilişkin şartlar ve koşullardır. Bu seçeneği tercih etmenin faydası, sıkıştırma nedeniyle kalite kaybının olmaması ve buluttan indirdiğinizde aynı fotoğrafı orijinal çözünürlüğünde elde etmenizdir. Size ayrılan bu boş alan tamamen tükenmiş ve bu nedenle artık fotoğraf yüklenemiyor olabilir.
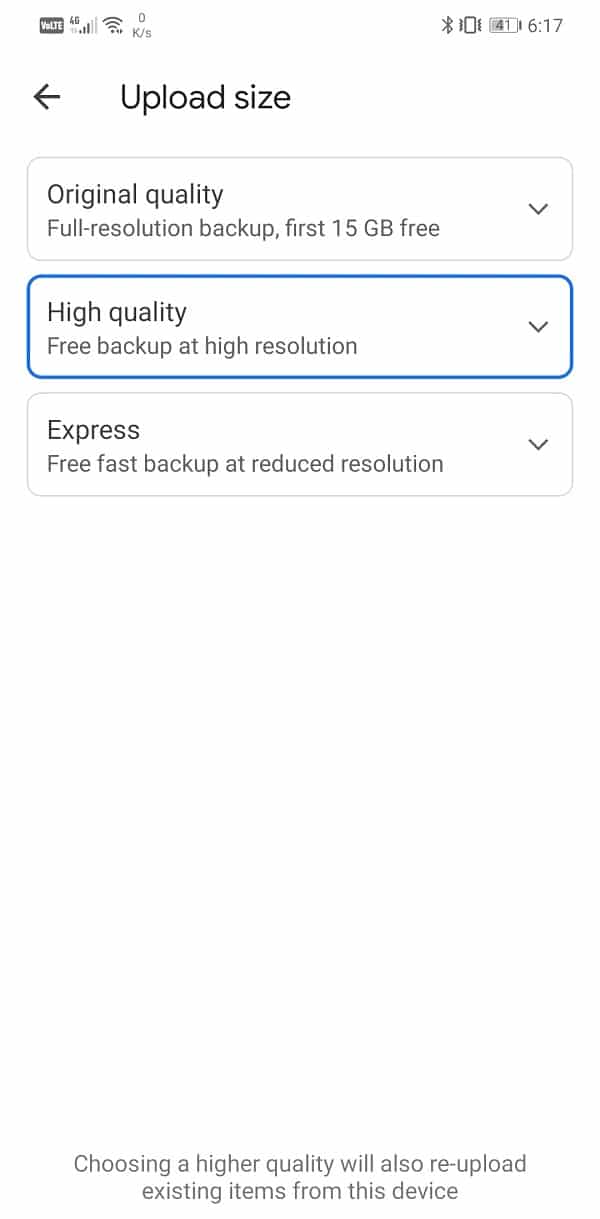
Artık fotoğraflarınızı bulutta yedeklemeye devam etmek için ekstra alan için ödeme yapabilir veya yüklemelerin kalitesinden ödün verebilirsiniz. Google Fotoğraflar'ın Yükleme Boyutu için iki alternatif seçeneği vardır ve bunlar "Yüksek kalite"Ve"Ekspres”. The most interesting point about these options is that they offer unlimited storage space.
If you are willing to compromise a little with the quality of the image, Google Photos will allow you to store as many photos or videos as you want. We would suggest you select a High-Quality option for future uploads. It compresses the image to a resolution of 16 MP, and videos are compressed to high definition. In case you are planning to print these images via Windows 11, then the quality of the print would be good up to 24 x 16 in.
This is quite good a deal in exchange for unlimited storage space. Follow the steps given below to alter your preference for the upload quality on Google Photos.
1. Öncelikle açın Google Fotoğraflar cihazınızda.
2. Şimdi profil fotoğrafı sağ üst köşede.
3. Bundan sonra, Fotoğraf Ayarları seçeneği.
4. Burada, üzerine dokunun. Yedekle ve senkronize et seçeneği.
5. Ayarlar altında adı verilen seçeneği bulacaksınız. “Yükleme boyutu”. Üstüne tıkla.
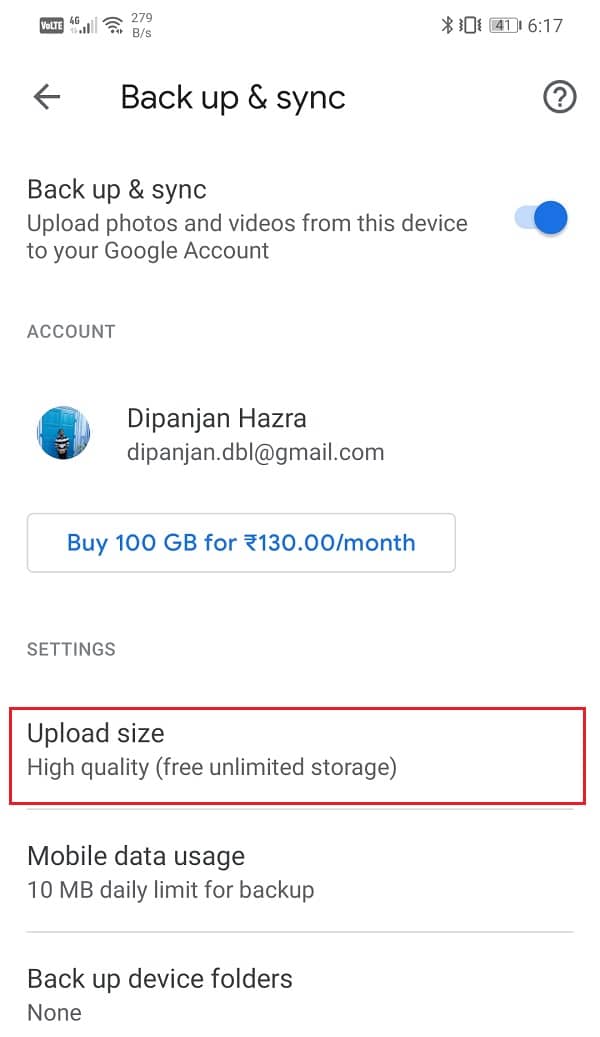
6. Şimdi verilen seçenekler arasından seçim yapın Yüksek kalite gelecekteki güncellemeler için tercih ettiğiniz seçenek olarak.
7. Bu size sınırsız depolama alanı sağlayacak ve fotoğrafların Google Fotoğraflar'a yüklenmemesi sorununu çözecektir.
6. Uninstall the App and then Re-install
If nothing else works, then it is probably time for a fresh start. Now, had it been some third-party app installed from the Play Store, then you could have just uninstalled the app. However, since Google Photos is a pre-installed system app, you can’t simply uninstall it. What you can do is uninstall updated for the app. This will leave behind the original version of the Google Photos app that was installed on your device by the manufacturer. Follow the steps given below to see how:
1. Aç Ayarlar telefonunda.
2. Şimdi, Apps seçeneği.
3. Şimdi, Google Foto uygulaması uygulamalar listesinden.
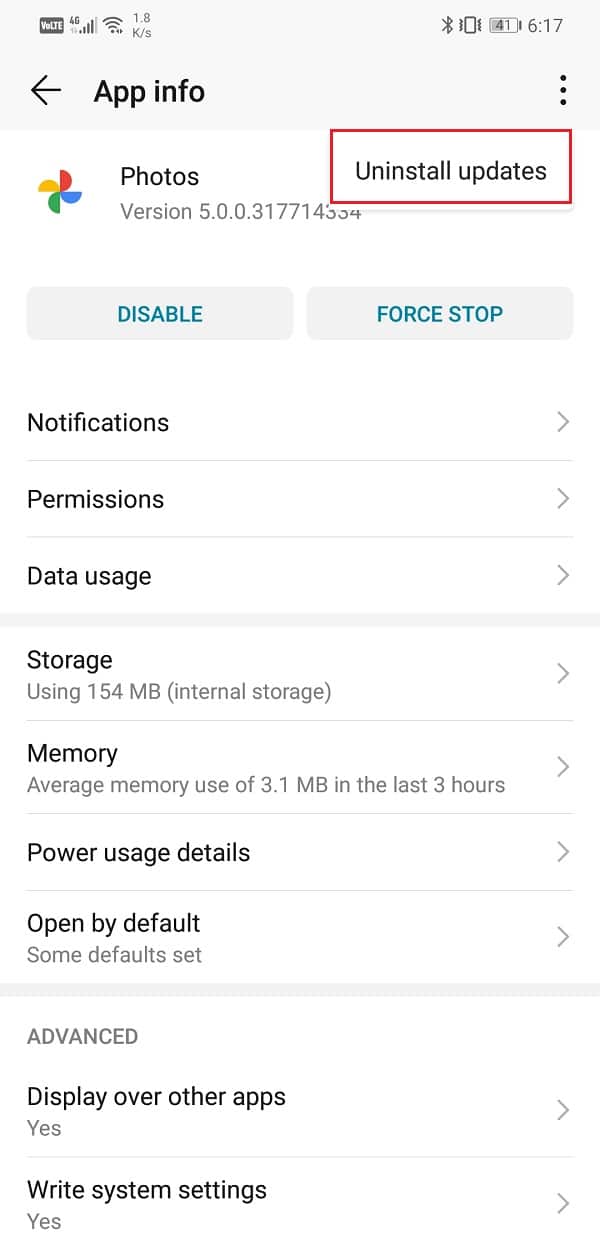
4. On the top right-hand side of the screen, you can see üç dikey nokta, üstüne tıkla.
5. Son olarak, güncellemeleri kaldır düğmesine basın.
6. Now, you may need to cihazını yeniden başlat bundan sonra.
7. When the device starts again, open Google Fotoğraflar.
8. You might be prompted to update the app to its latest version. Do it, and that should solve the problem.
Önerilen:
Well, that’ a wrap. We hope that you were able to find a suitable solution that fixed your problem. However, if you are still facing the same problem, then it is most likely due to server related issues on Google’s side. Sometimes, Google servers are down that prevent apps like Photos or Gmail to malfunction.
Since Google Photos uploads your photos and videos on the cloud, it needs access to the Google servers. If they are not working due to any technical complication, Google Photos will not be able to upload your photos on the cloud. The only thing that you can do is in this situation is to wait for some while and hope that the servers are back up soon. You can also write to Google Customer support to notify them about your problem and hope that they fix it as quickly as possible.

