Bypass ADB Device
Android Debug Bridge (ADB) is a handy tool that lets a user control their android device from a computer or laptop. It provides features such as installing apps through the computer and also lets us debug apps. By default, ADB functionality is disabled on Android phones.
They need to be turned on manually from the Android phone by the User. Android Users report errors in ADB and face issues like ADB device unauthorized messages. If you are searching the internet for an article to explain how to solve this particular problem and/or if you are wondering if is there a way for ADB device unauthorized bypass, then keep reading, Here I will show you the methods and fixes to bypass ADB unauthorized errors and ADBlink device unauthorized. Let’s get started!
Let us see some of the causes of this issue before we move on to the methods to fix the issue
- Faulty USB connection
- RSA fingerprint prompt not appearing
- Incorrect ADB Connection
- USB drivers issue
- ADB drivers issue
نوٹ: Since smartphones do not have the same settings and may vary from device to device hence, ensure the correct settings before changing any. The following methods were tried on Moto g(8) Power lite Android 10 (اسٹاک)
یہ بھی دیکھتے ہیں:
سام سنگ پاس کو کیسے غیر فعال کریں۔
اینڈرائیڈ ڈیوائس پر فی الحال ڈاؤن لوڈ کرنے سے قاصر کو ٹھیک کرنے کے 12 طریقے
8 Ways to Fix Android Text Messages Stuck Downloading Error
ونڈوز 10 پر ایپل موبائل ڈیوائس سپورٹ کیسے انسٹال کریں۔
How to Install APK Using ADB Commands
Method 1: Change USB Connection
Android Users reported they could not receive proper prompts when performing ADB activities, if the USB is interrupted in middle then there is a chance for an ADB device unauthorized message to occur, this could be due to a possible fault in the USB connection (in USB hub or USB cable). Try changing the USB cable and the USB hub to see if that solves your issue.
Method 2: Update USB drivers
When you have connected your mobile with the PC, chances are that it wasn’t recognized by the PC due to faulty USB drivers. Thus, updating USB drivers might be helpful in this scenario.
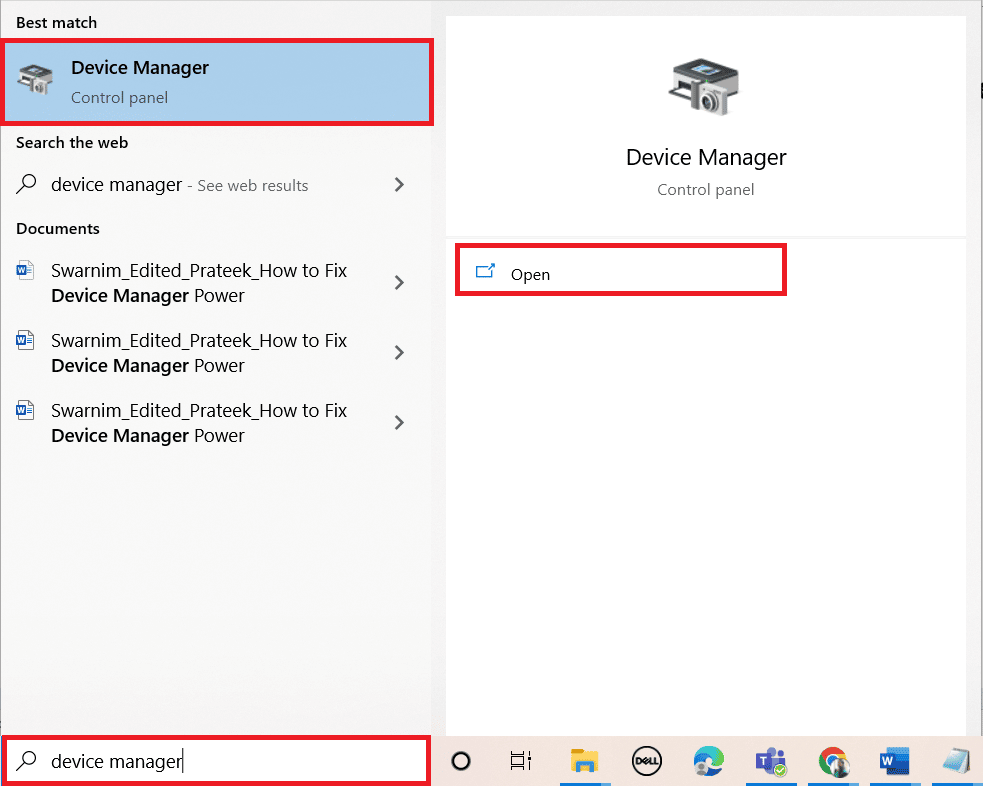
1. مارو ونڈوز کلیدی، قسم آلہ منتظم، پھر کلک کریں اوپن.
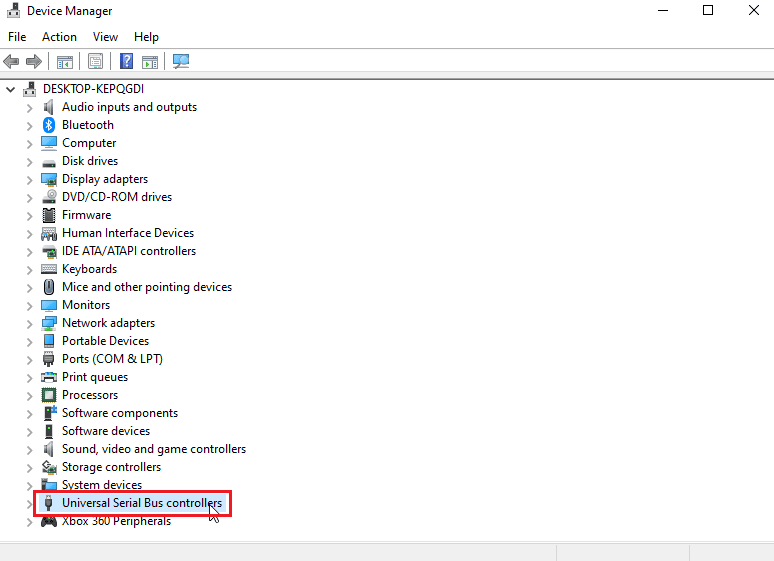
2. پر ڈبل کلک کریں۔ یونیورسل سیریل بس کنٹرولرز.
3. Right-click on your USB driver and select the ڈرائیور کو اپ ڈیٹ کریں آپشن.
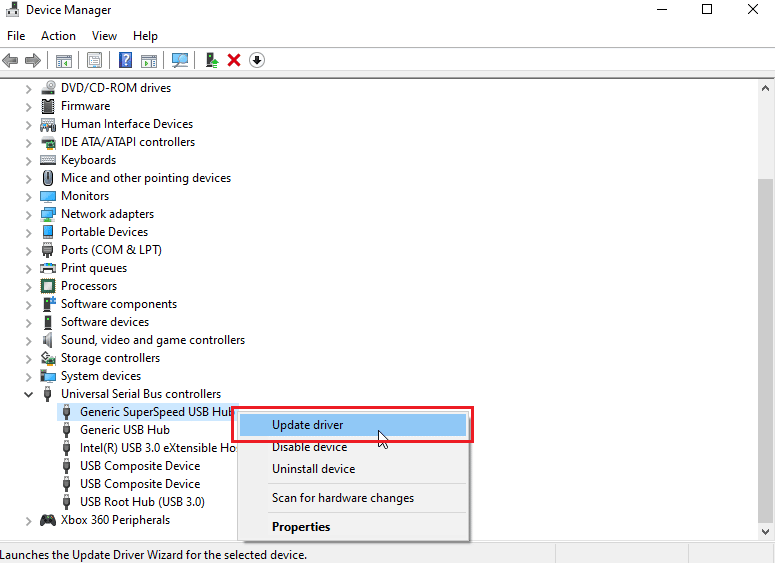
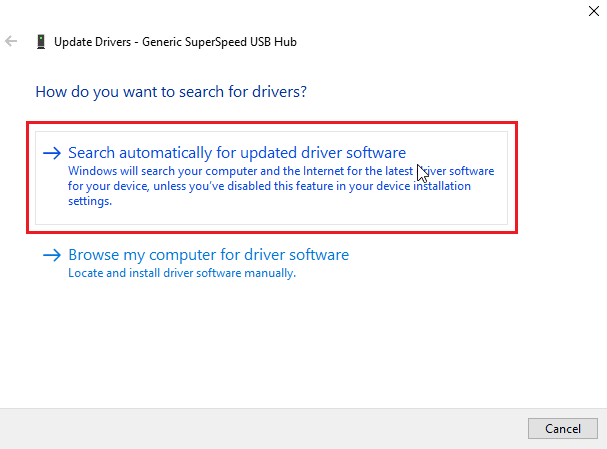
4. اب، پر کلک کریں Search automatically for Updated driver software to let Windows install the drivers automatically.
5. Repeat the above steps for all یوایسبی ڈرائیوروں کے تحت یونیورسل سیریل بس کنٹرولرز سیکشن
بھی پڑھیں: ونڈوز 10 پر ADB (Android Debug Bridge) کو کیسے انسٹال کریں۔
Method 3: Android SDK
Make sure you have downloaded and extracted the Android SDK to avoid an ADB device unauthorized message. Following are the steps to download Android SDK to bypass ADB device unauthorized message.
1. کے پاس جاؤ لوڈ، اتارنا Android SDK ڈاؤن صفحہ.
2. نیچے سکرول کریں اور کلک کریں۔ SDK platform tools for Windows

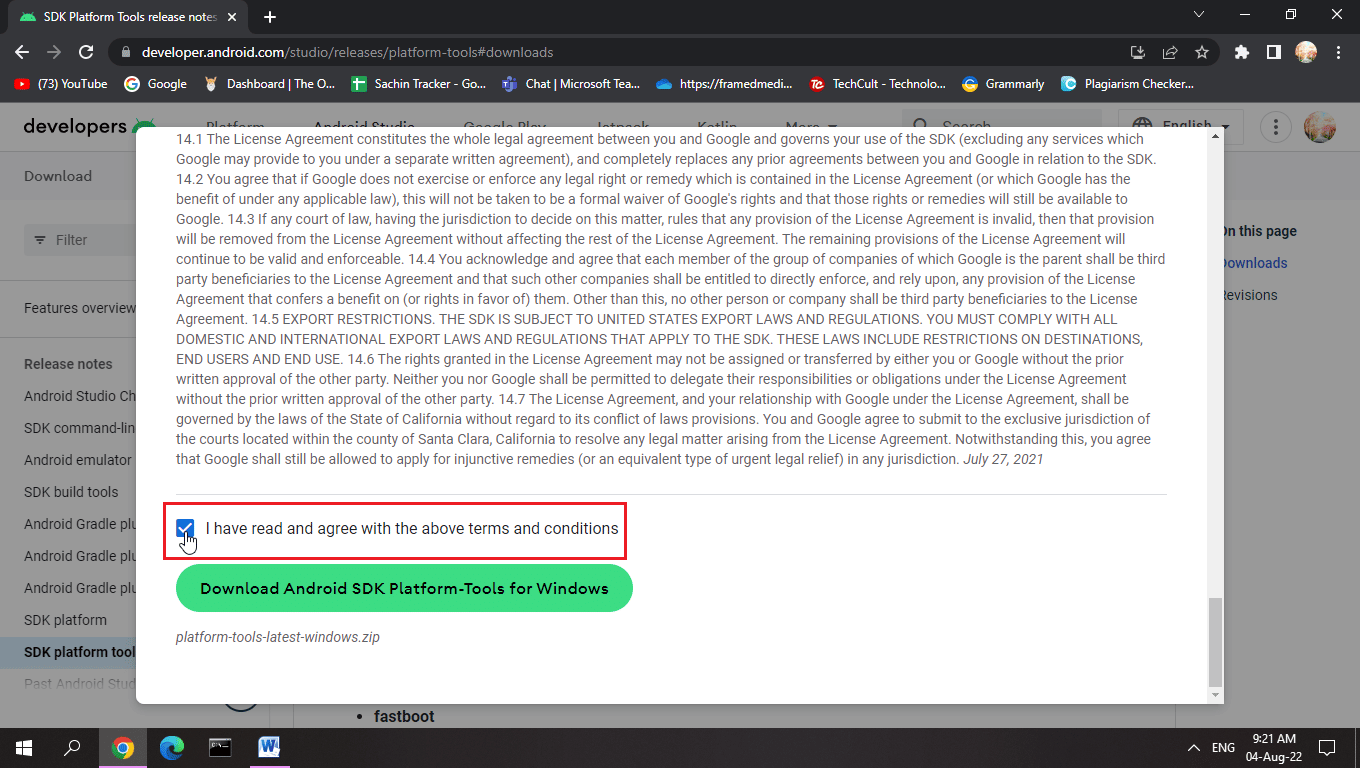
3. پڑھیں شرائط و ضوابط, scroll down and check میں نے مندرجہ بالا شرائط و ضوابط کو پڑھ لیا ہے اور ان سے اتفاق کرتا ہوں۔ آپشن.
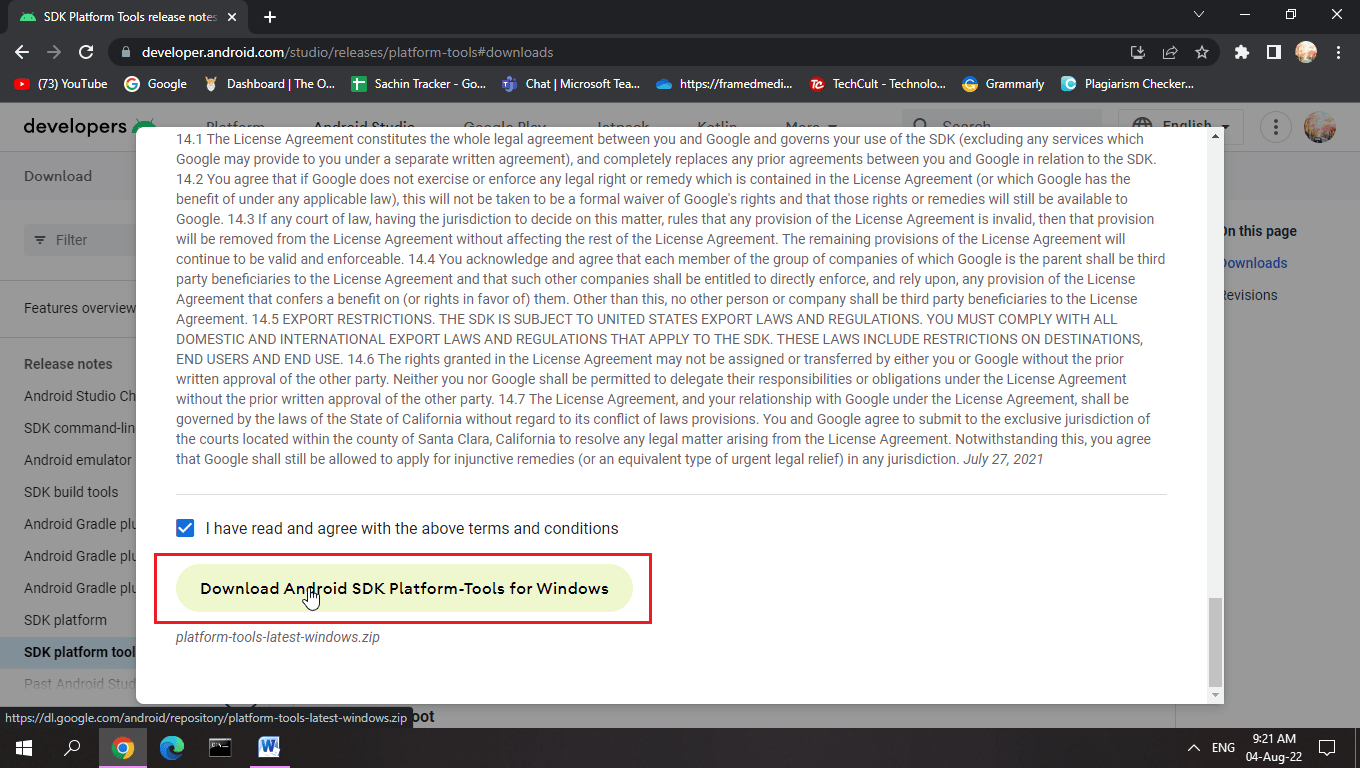
4. پر کلک کریں ونڈوز کے لیے اینڈرائیڈ SDK پلیٹ فارم ٹولز ڈاؤن لوڈ کریں۔. The Android SDK will be downloaded.
5. Navigate to the download folder and extract the Android SDK files.
With this SDK, you will have all the required ADB files.
Method 4: Enable USB Debugging
USB Debugging allows an Android device to be controlled by a computer through a USB connection, this function allows applications to be installed from a computer and a couple of other functions too. To make sure if you have enabled USB debugging. Here are the steps to enable USB debugging to bypass ADB device unauthorized message.
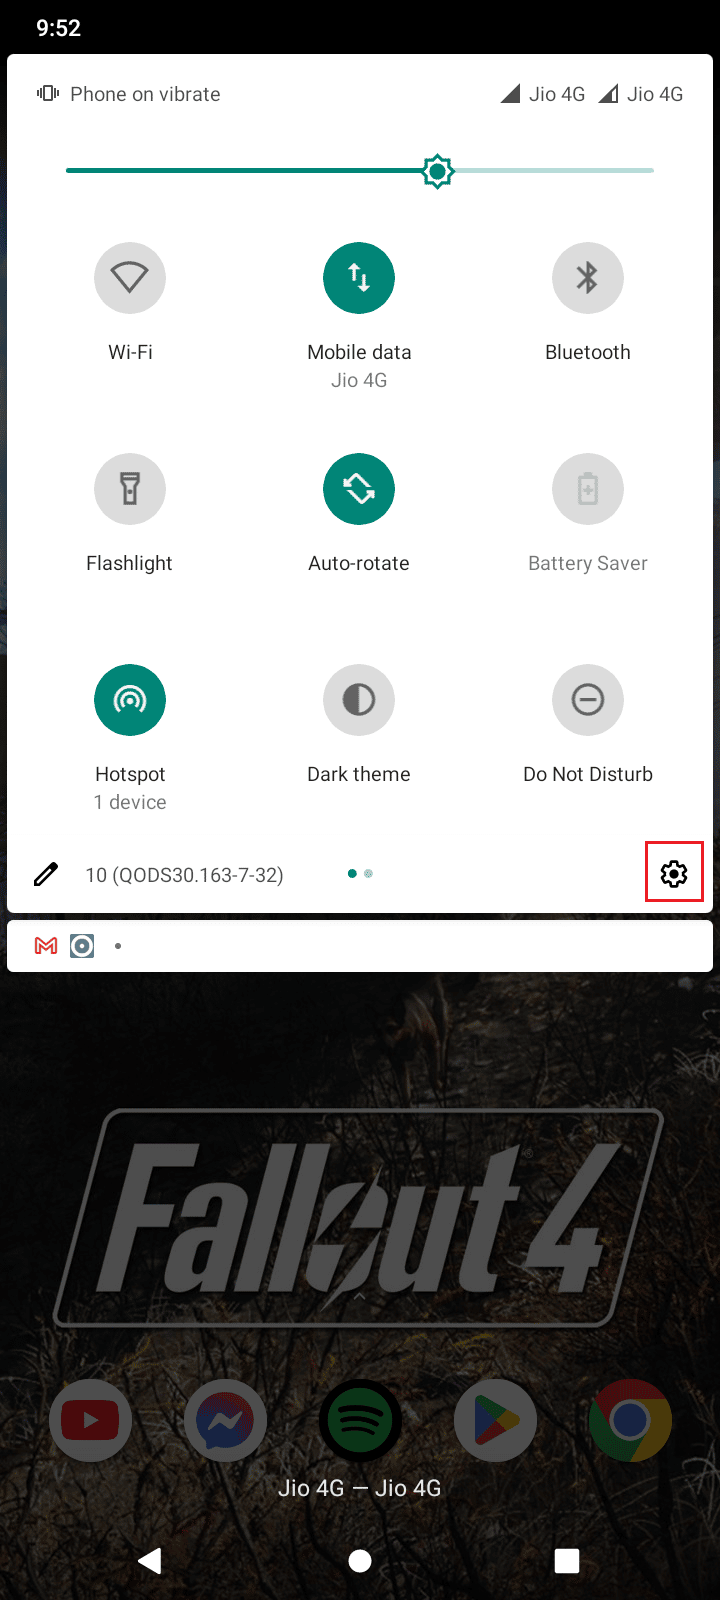
1. Swipe down the نوٹیفکیشن بار۔ آپ میں گھر کی سکرین.
2 نل کوگر آئکن کھولنے کی ترتیبات.
3. پھر ، پر ٹیپ کریں۔ نظام ترتیب دیں

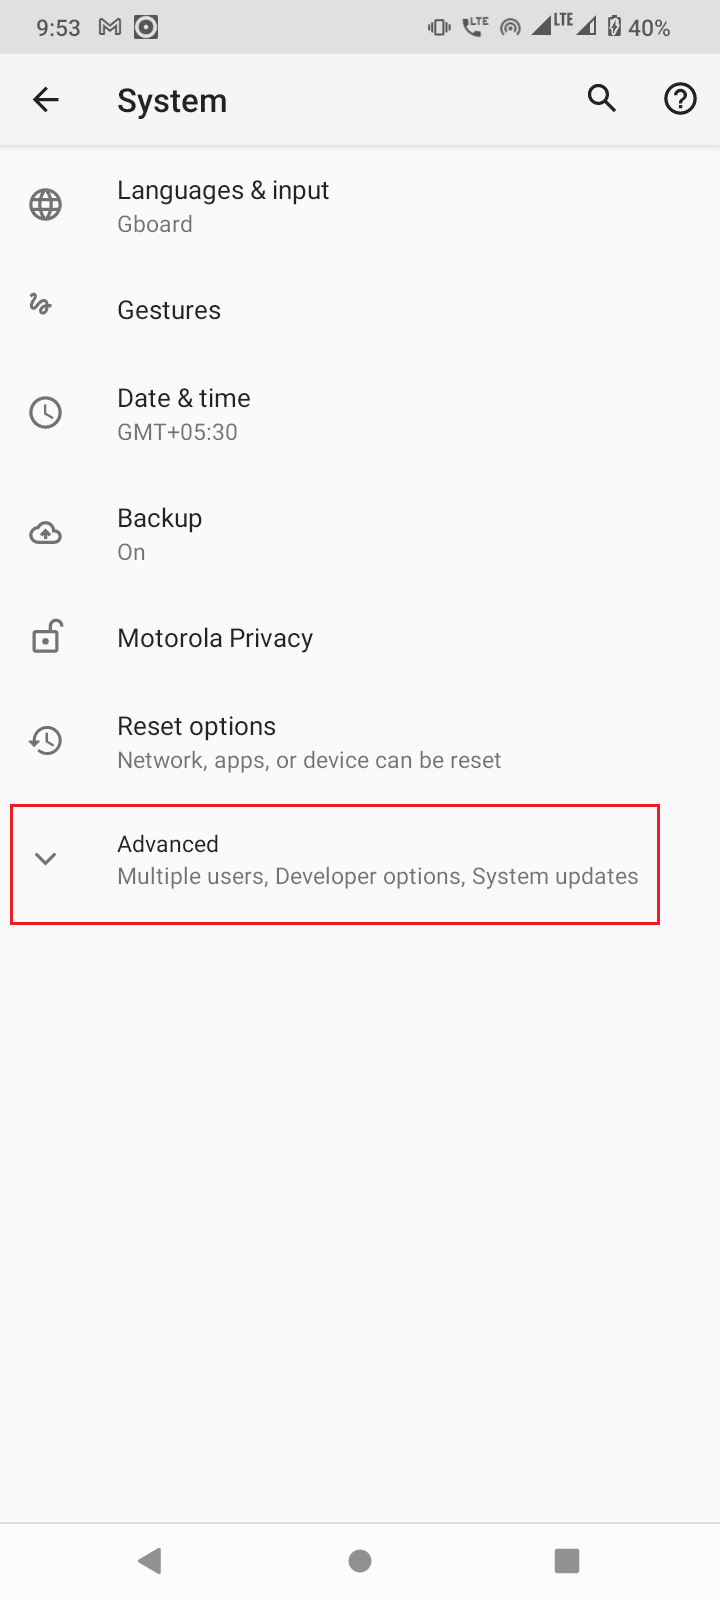
4. منتخب کریں اعلی درجے کی آپشن.

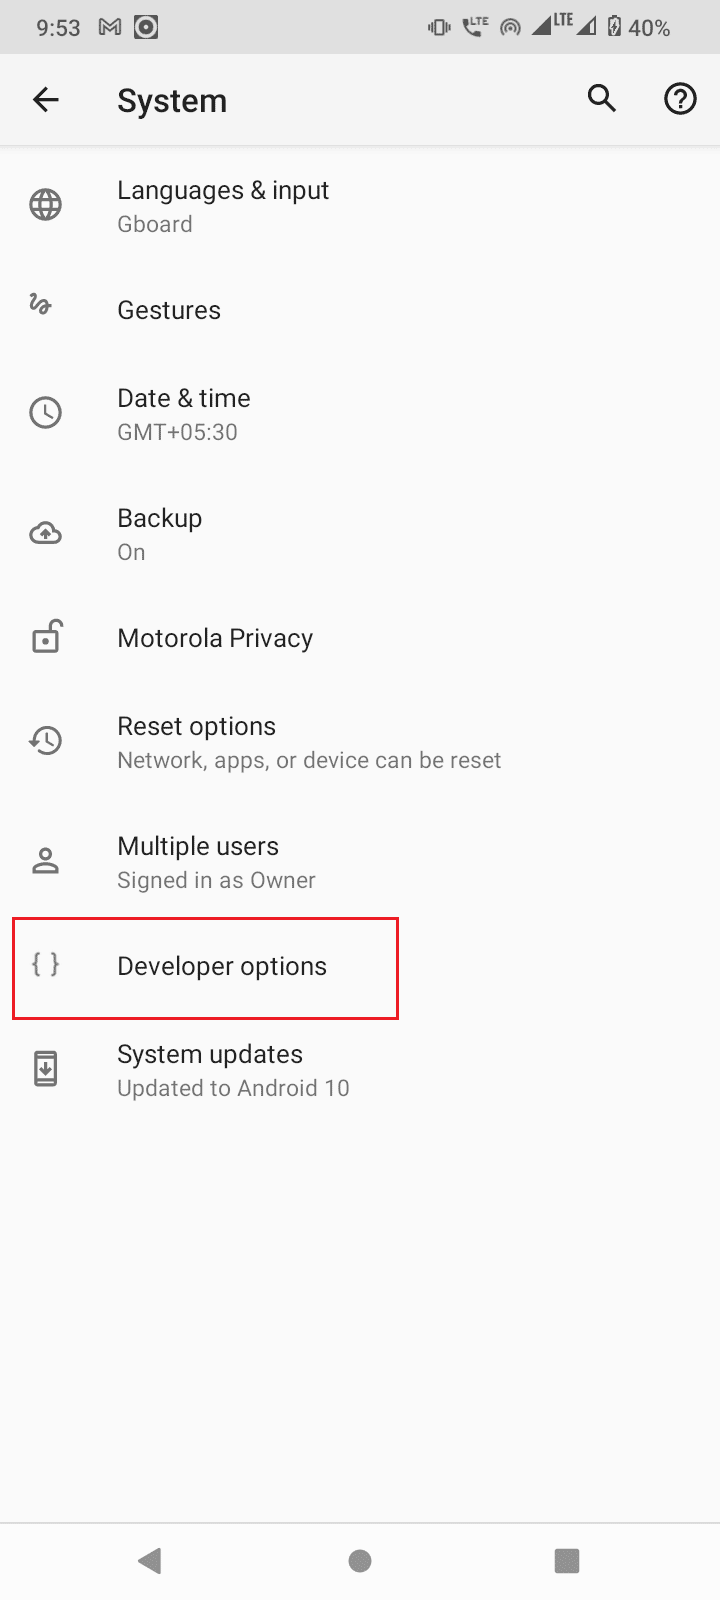
5. اب ، پر ٹیپ کریں ڈویلپر کے اختیارات.

6. سوئچ On کے لئے ٹوگل ڈویلپر کے اختیارات.
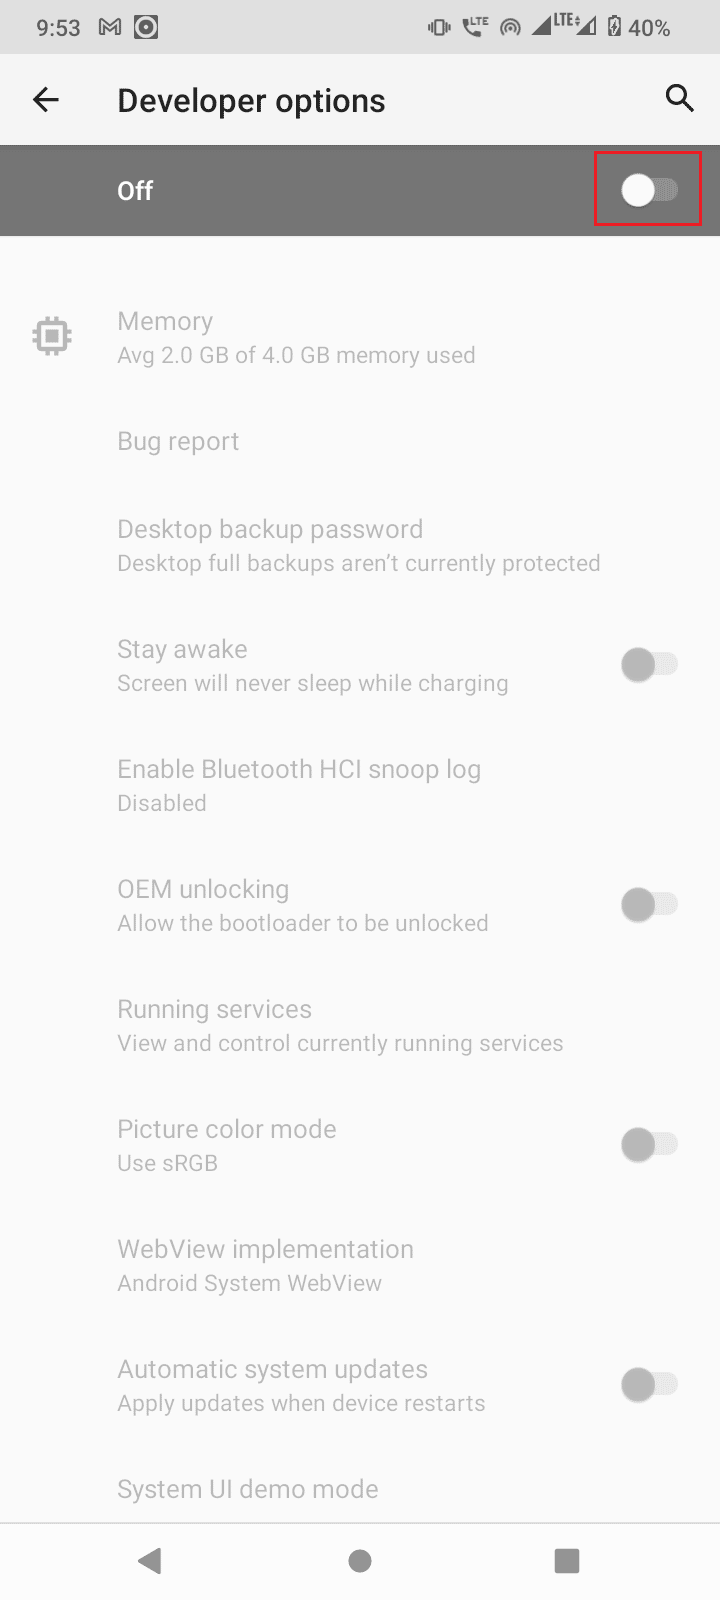
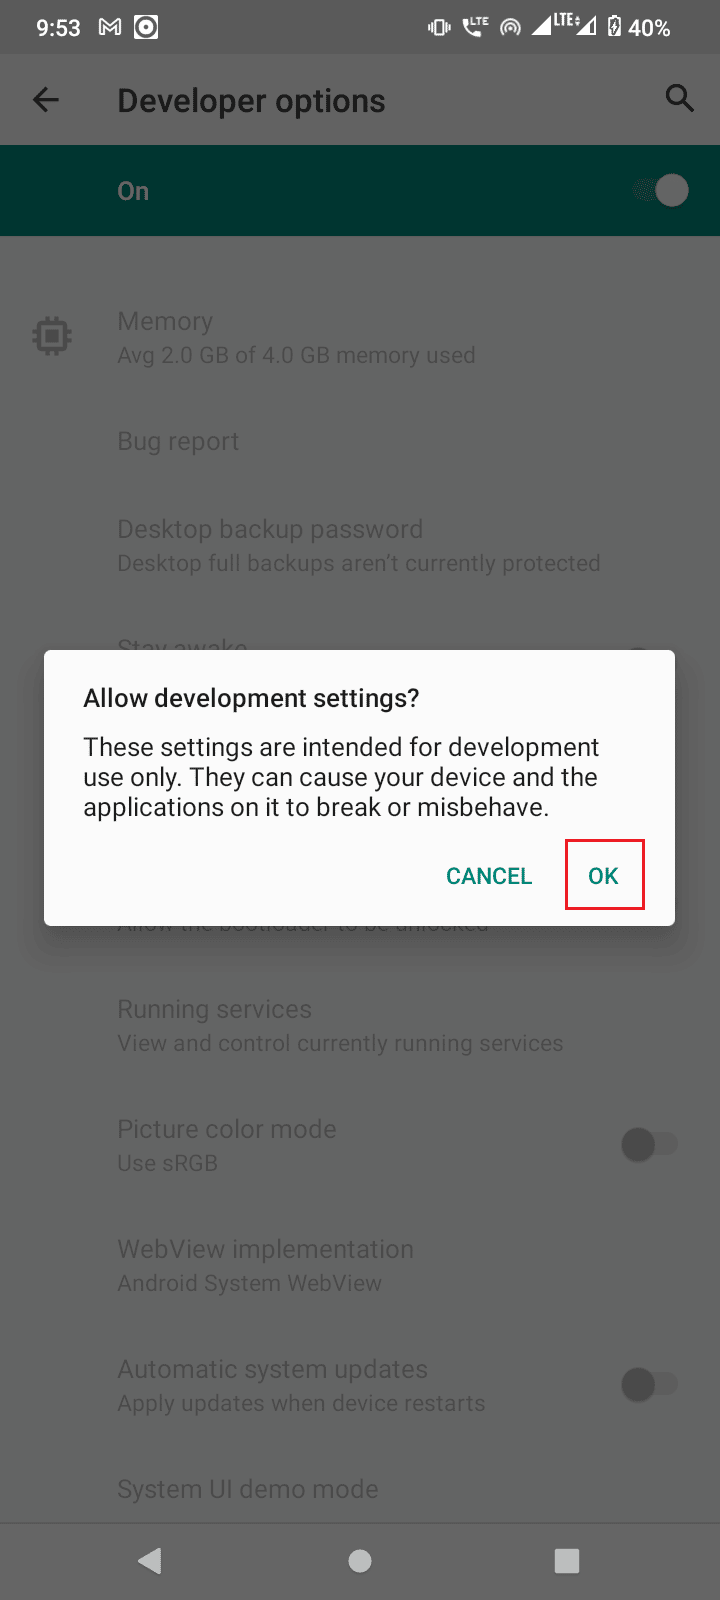
7. پر ٹپ OK کرنے کے لئے Allow development settings?
بھی پڑھیں: How to Change USB Settings on Android 6.0
In case you cannot see the ڈویلپر کے اختیارات then you might not have enabled it, to enable developer options,
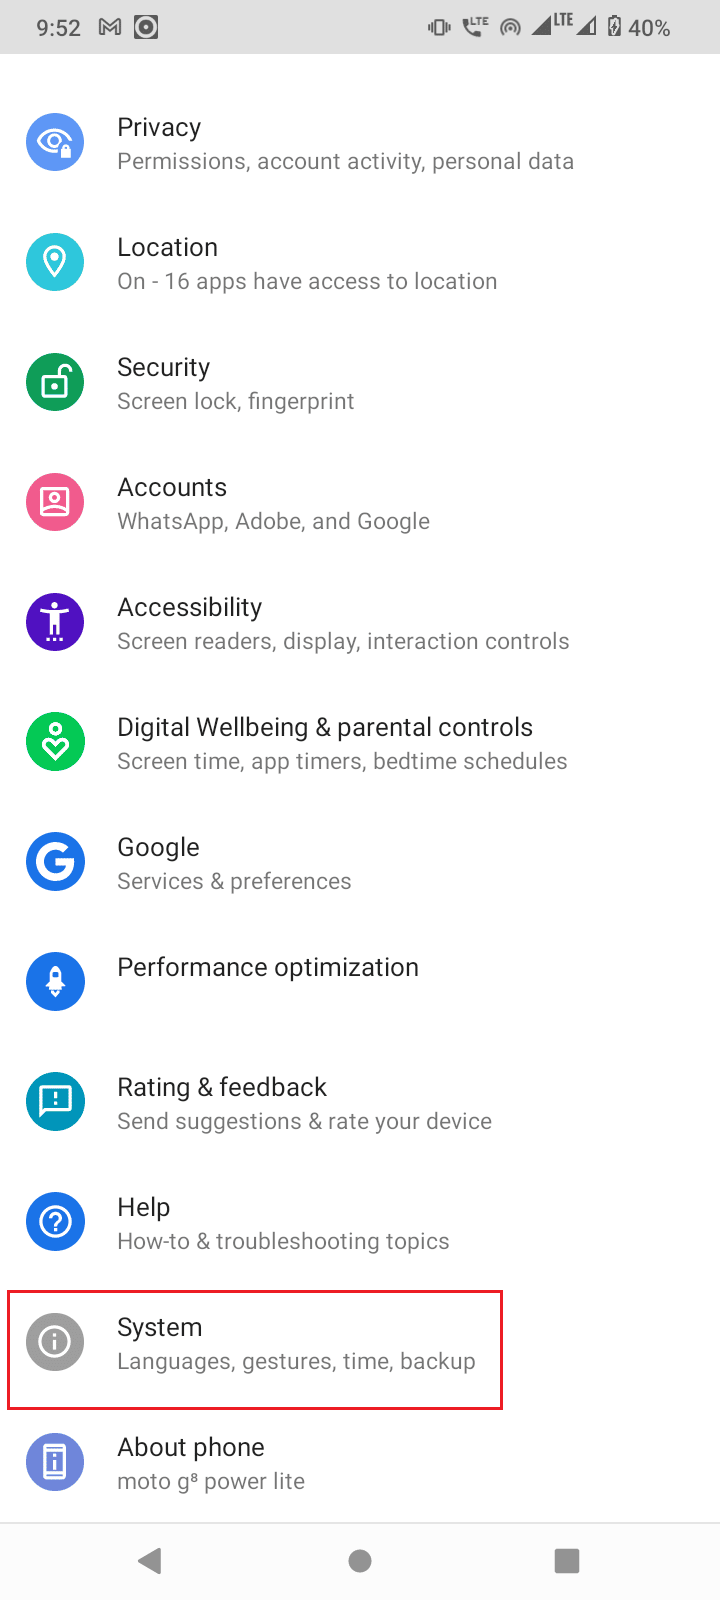
1. اپنا آلہ شروع کریں۔ ترتیبات.

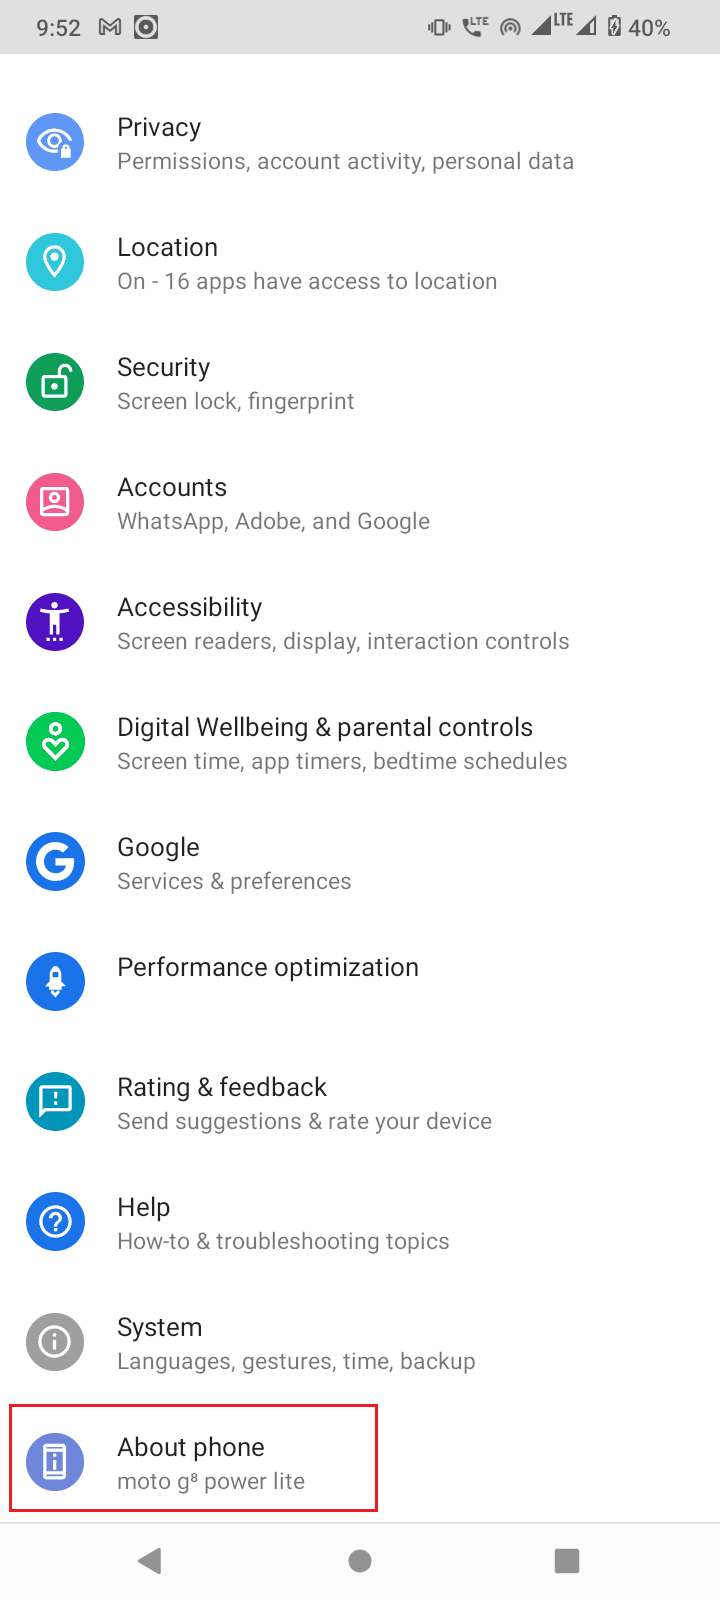
2. پھر ، پر ٹیپ کریں۔ فون کے بارے میں آپشن.
3. ٹیپ کریں نمبر بنانا 5-7 times to activate ڈویلپر وضع.
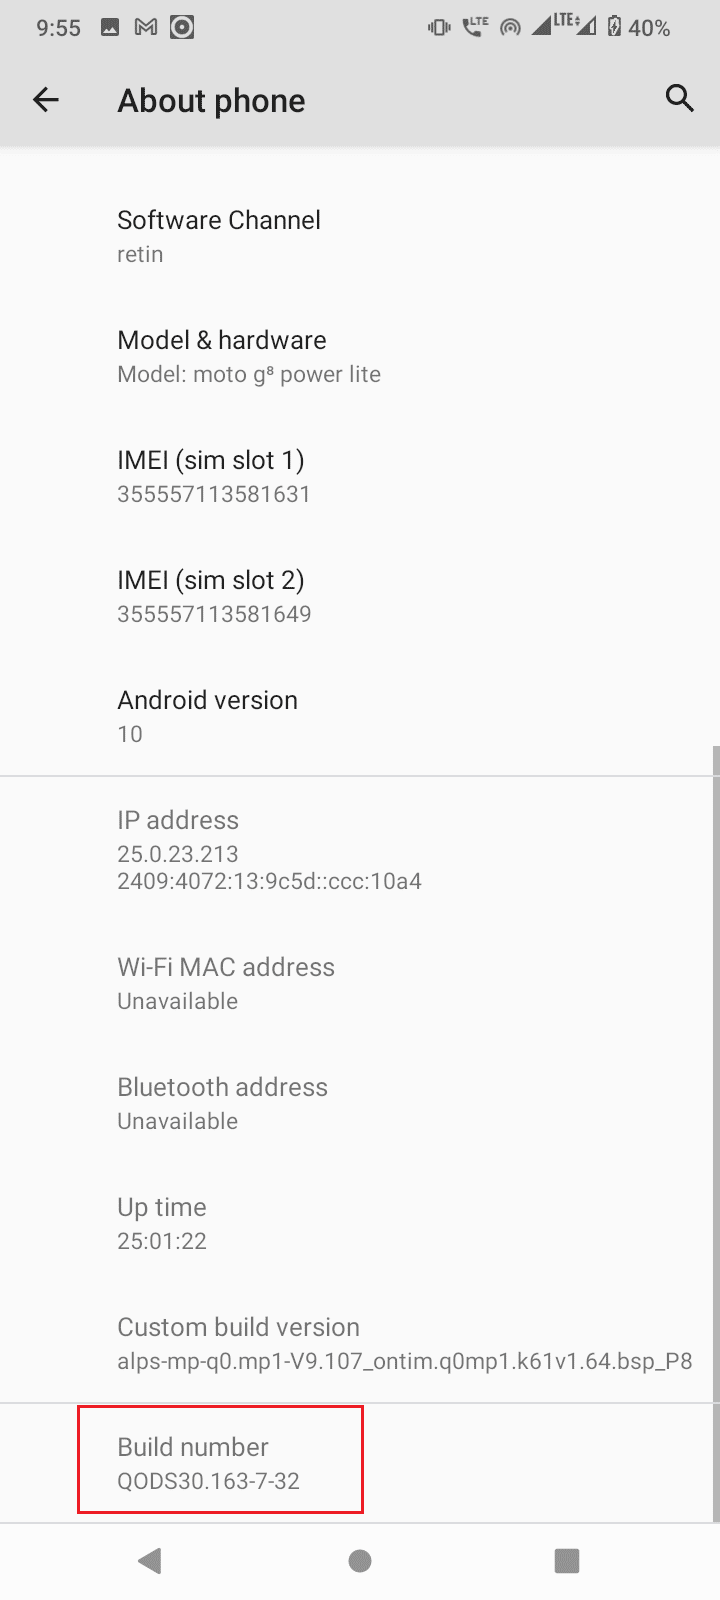
4. A prompt mentioning you are now a developer پیغام دکھایا جائے گا.
If your developer mode is visible then no need to follow the above step.
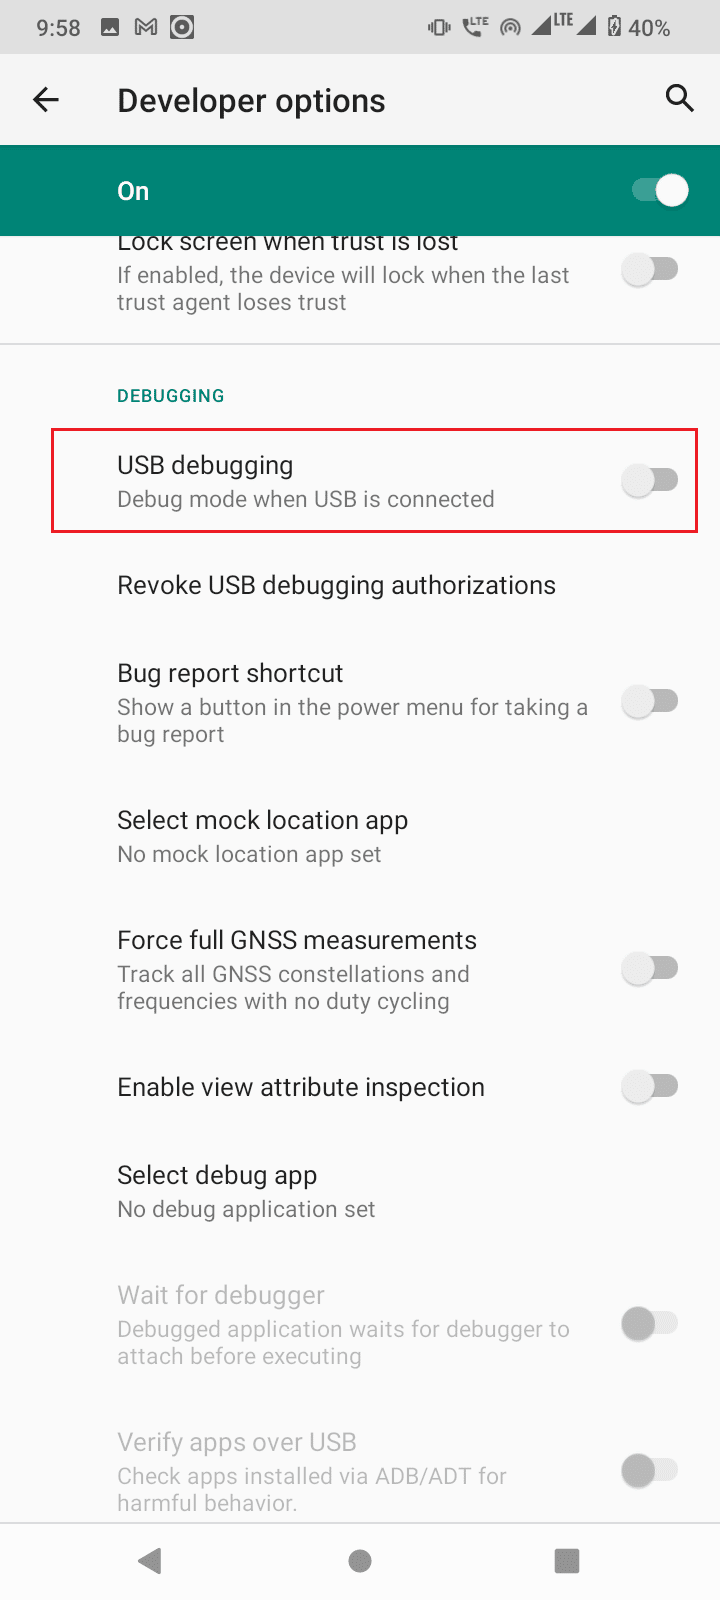
1. میں ڈویلپر کے اختیارات, scroll down and switch On the toggle for یوایسبی ڈیبنگ.
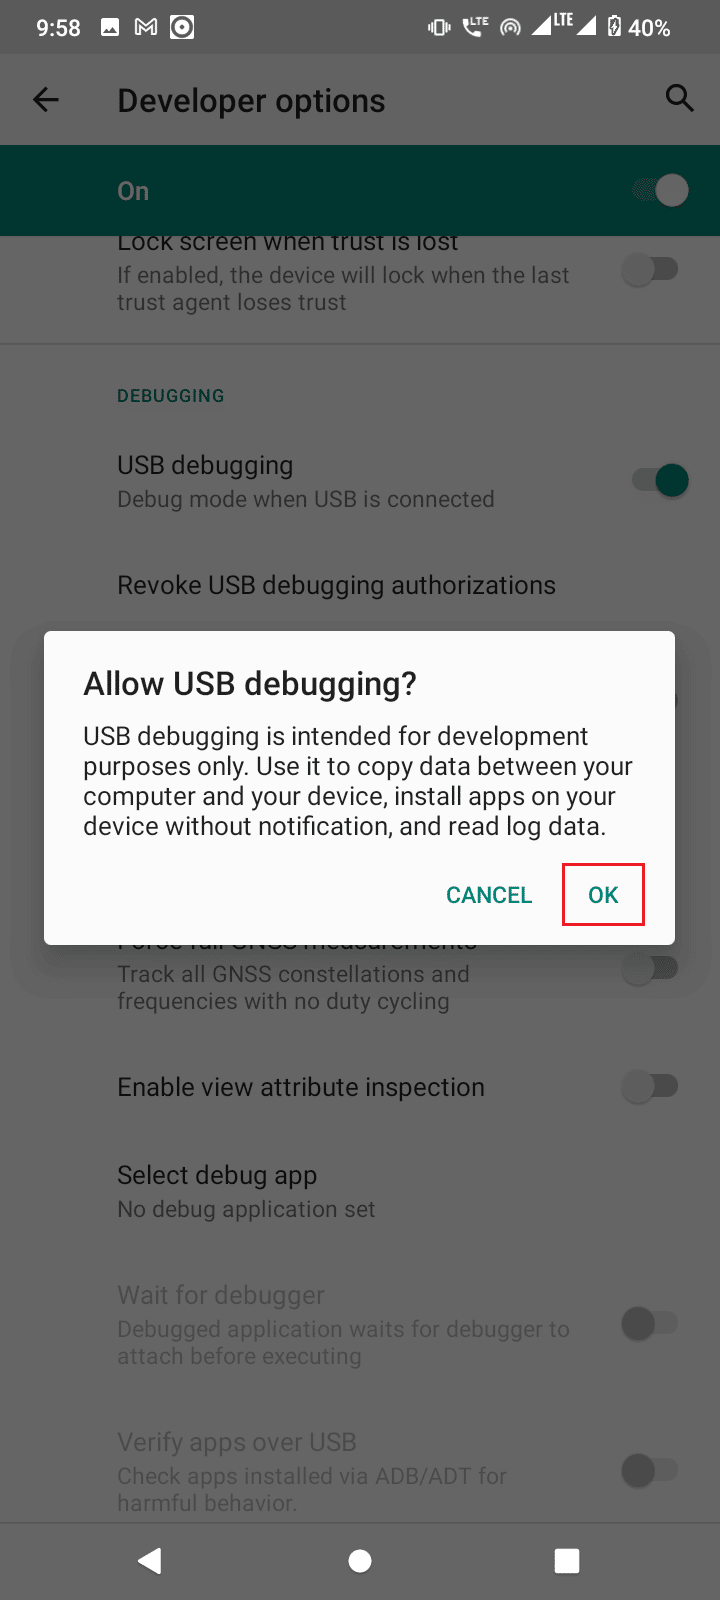
2. پر ٹپ OK in the prompt asking to اجازت دیں USB debugging?
بھی پڑھیں: Fix USB OTG Not Working On Android Devices
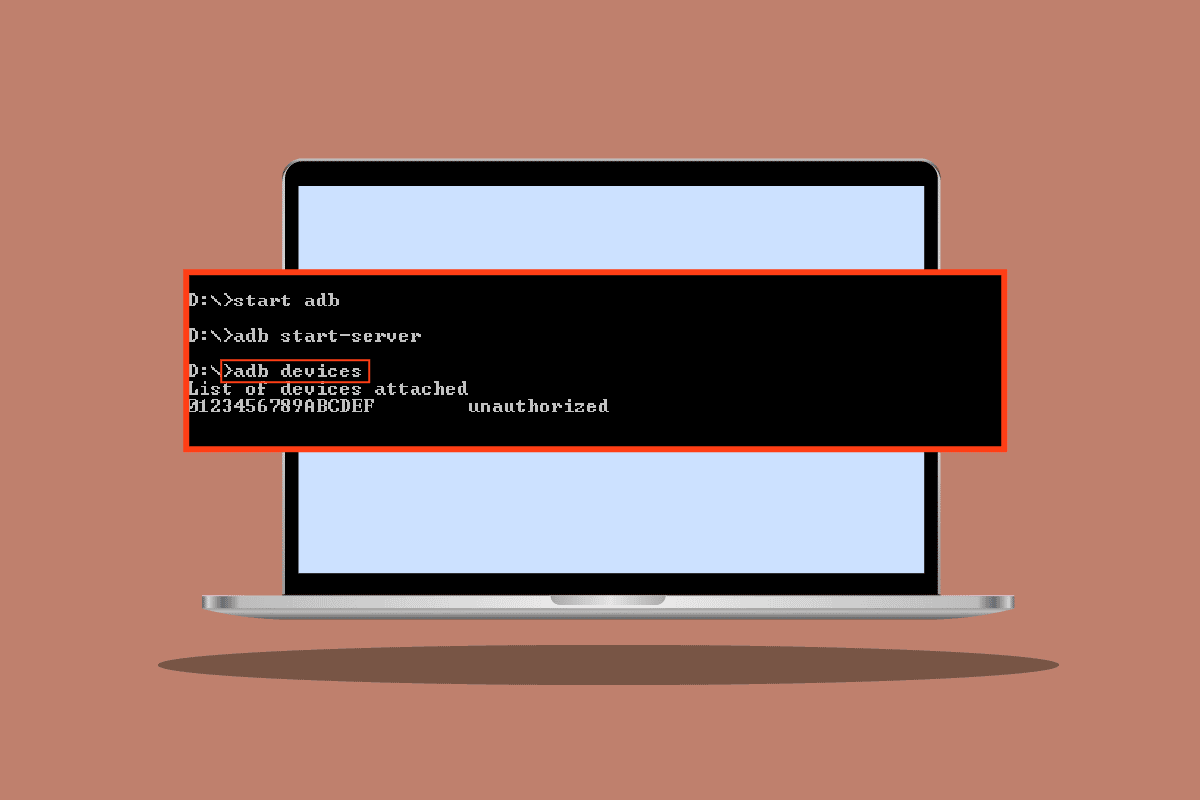
Method 5: Request Access from CMD
If you connected your device and enabled USB debugging but did not receive the request from the PC, then follow the below steps.
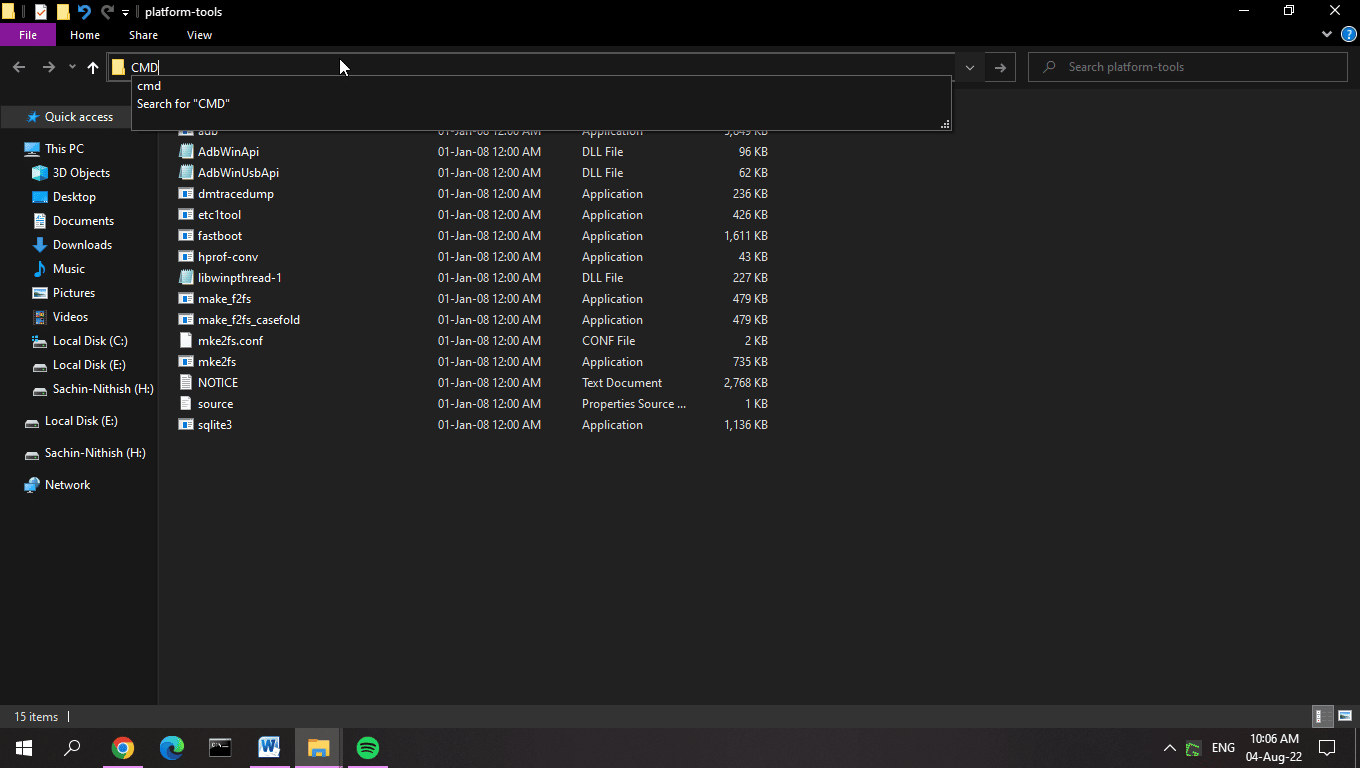
1. نیویگیشن platform-tools folder جہاںلوڈ، اتارنا Android SDK نکالا جاتا ہے.
2. ٹائپ کریں صدر اور انتظام ڈائریکٹر on the address bar and hit کلید درج کریں۔
3. ٹائپ کریں ایڈوب کے آلات کمانڈ کریں اور دبائیں۔ کلید درج کریں.
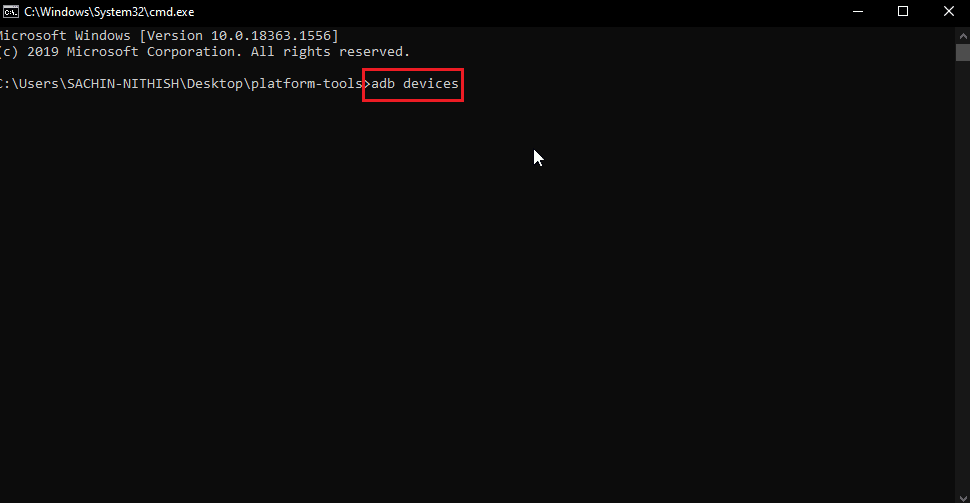
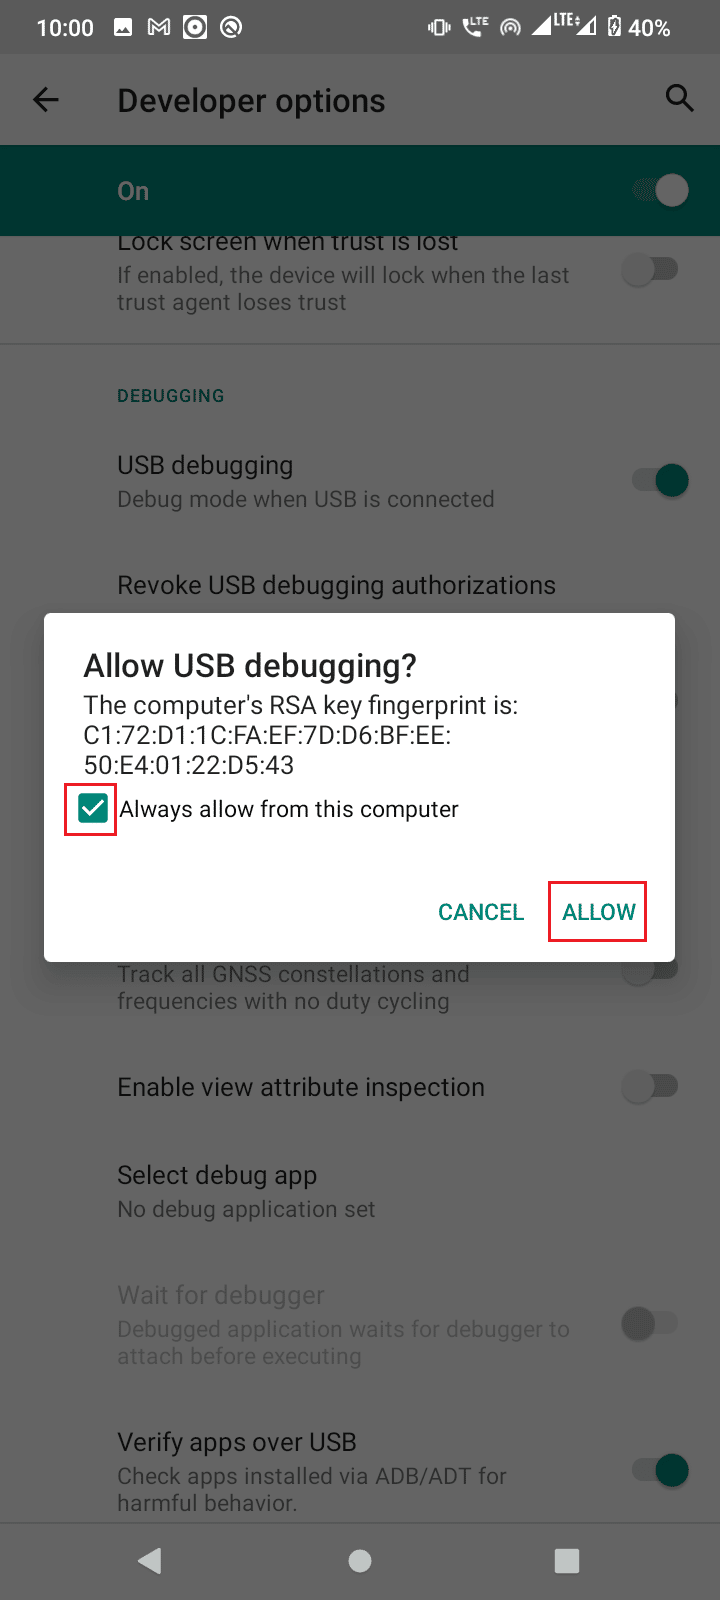
4. If you didn’t get the request now after entering the command you will receive the prompt on your لوڈ، اتارنا Android فون.
5. چیک کریں ہمیشہ اس کمپیوٹر سے اجازت دیں۔ آپشن.
6. پر ٹپ سب کچھ۔ پرامپٹ میں
Method 6: Restart ADB Connection
Sometimes ADB device unauthorized message occurs due to a faulty connection with the Android device. This can be fixed by re-connecting the ADB connection by revoking the USB connection.
In the previous solution if you still did not get the prompt or still getting ADB device unauthorized message, follow these steps to ADB device unauthorized bypass.
1. پر جانے کے نوٹیفیکیشن پینل.
2. پر ٹپ کوگر آئکن کھولنے کی ترتیبات

3. پھر ، پر ٹیپ کریں۔ نظام ترتیب دیں
4. اگلا، پر ٹیپ کریں۔ اعلی درجے کی ترتیب دیں

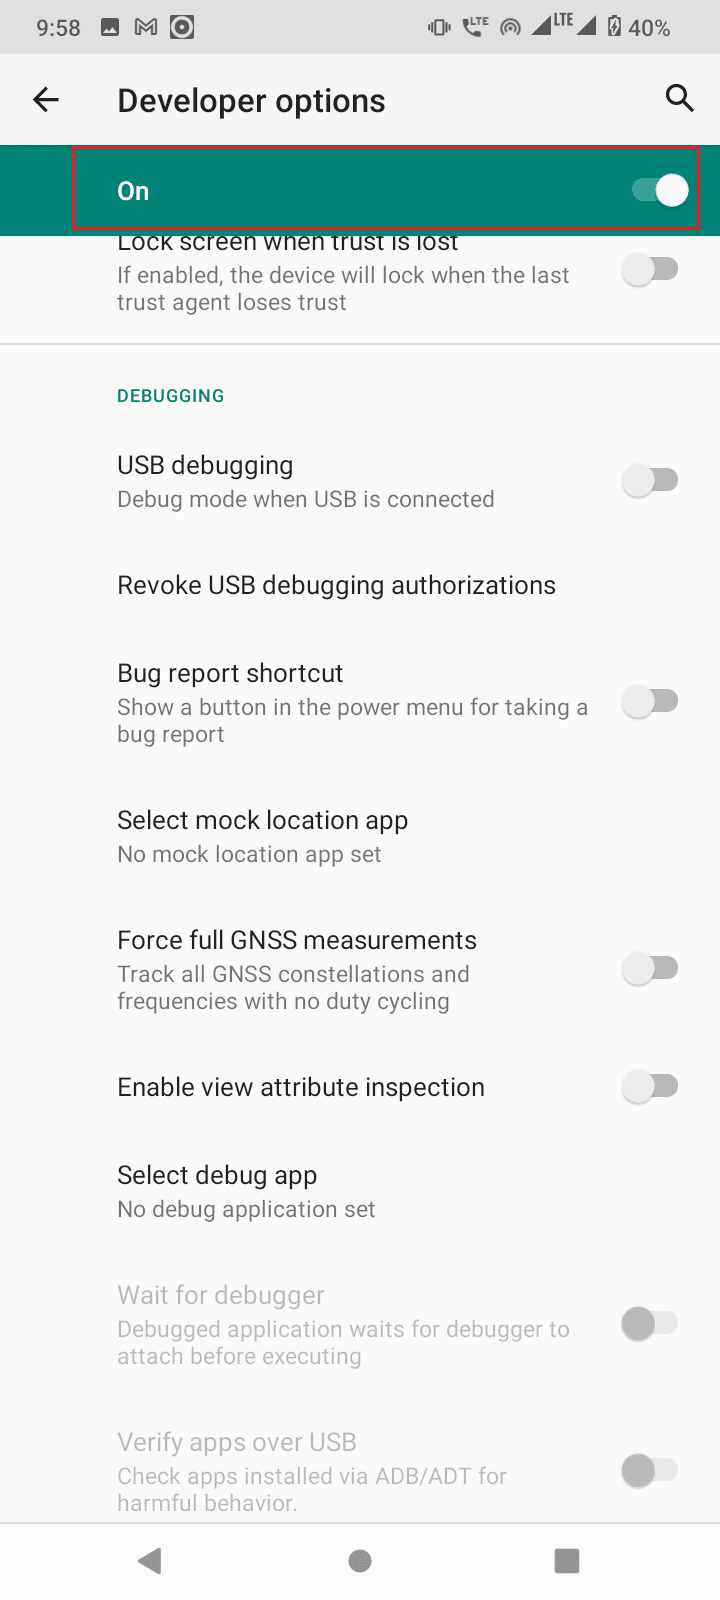
5. اب ، کھولیں ڈویلپر کے اختیارات.

6. میں ڈویلپر کے اختیارات ٹگگل بند la یوایسبی ڈیبنگ آپشن.
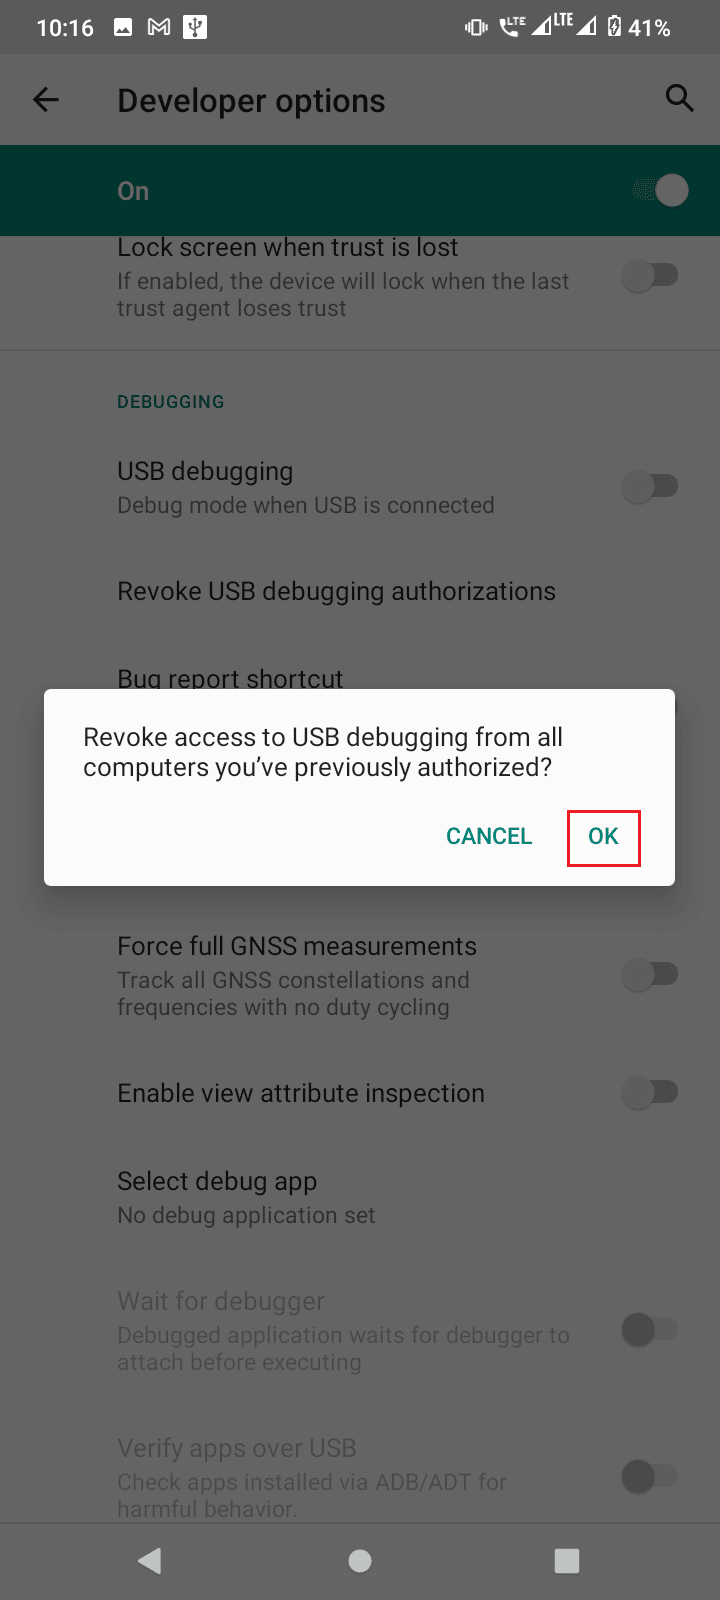
7. تحت یوایسبی ڈیبنگ، پر تھپتھپائیں Revoke USB debugging authorizations.
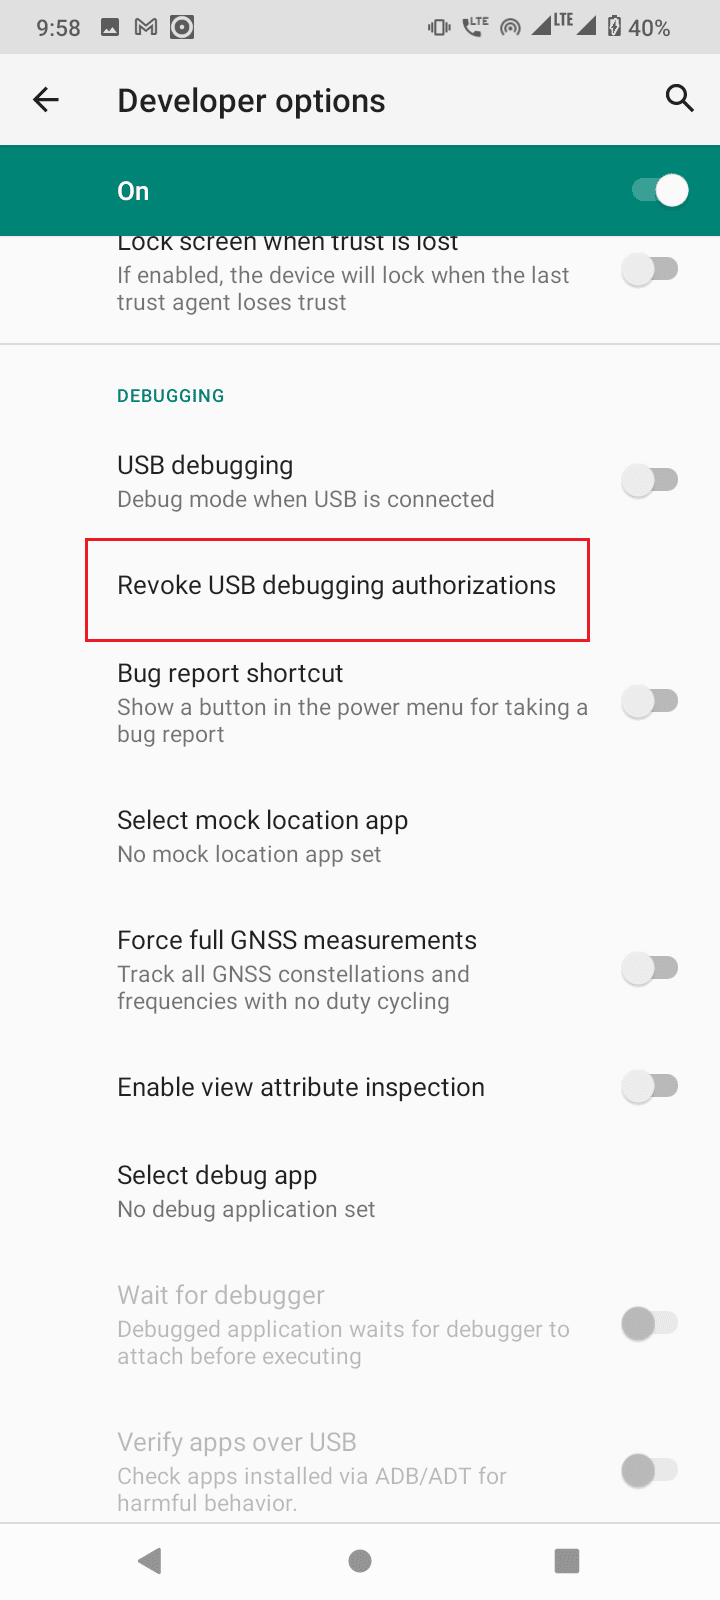
8. پر ٹپ OK تصدیق کے لئے
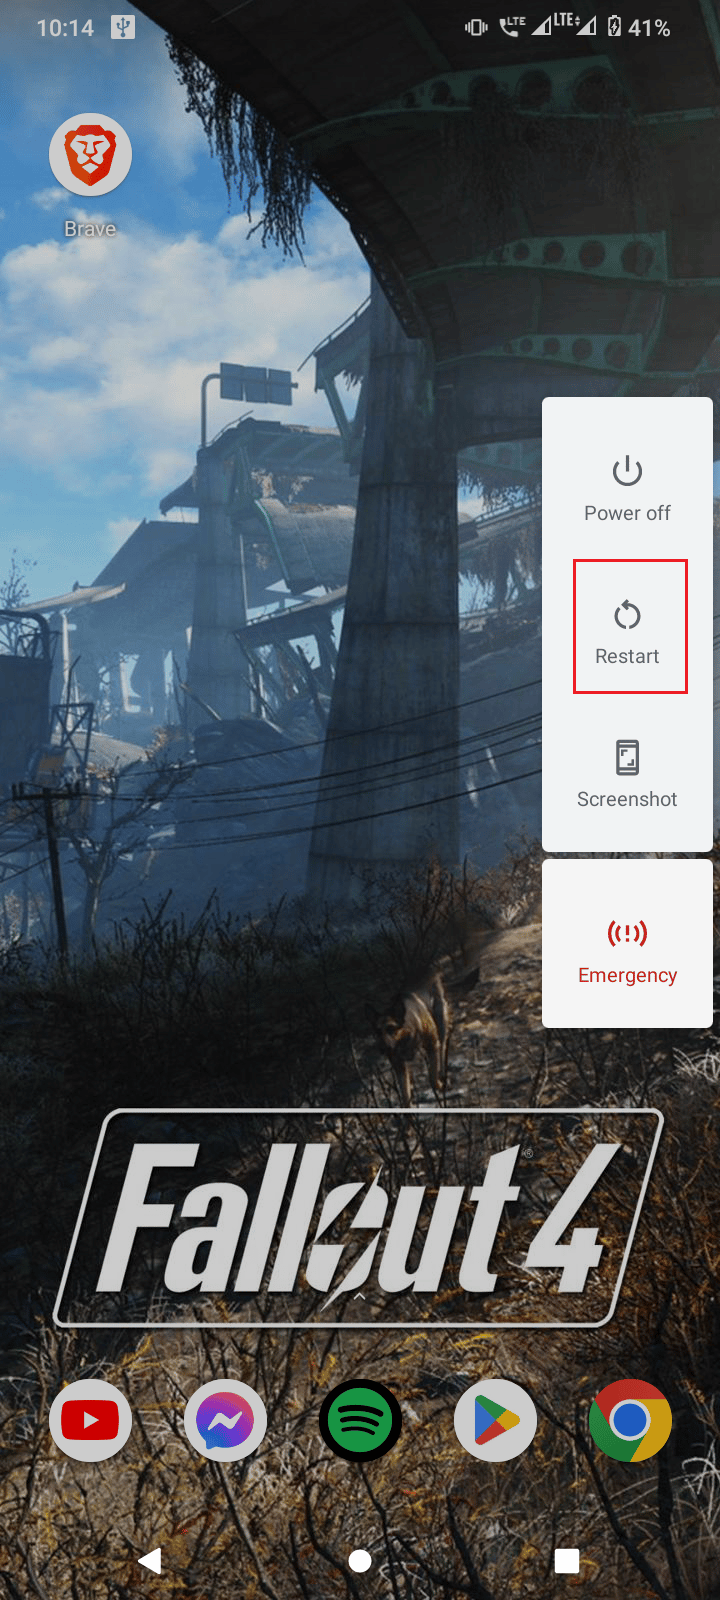
9. Restart your phone by holding the پاور بٹن اور پر ٹیپ کریں دوبارہ شروع کریں.
10. Finally, remove your phone from the USB کنکشن.
بھی پڑھیں: How to Unlock Bootloader Via Fastboot on Android
After the above procedure, follow these steps.
1. Now connect your اینڈرائڈ mobile to your computer again.
2. Launch your Android device ترتیبات.

3. پھر ، پر ٹیپ کریں۔ نظام ترتیب دیں

4. اگلا، پر ٹیپ کریں۔ اعلی درجے کی ترتیب دیں
5. اب ، ٹیپ کریں ڈویلپر کے اختیارات.
6. Then, turn on یوایسبی ڈیبنگ.

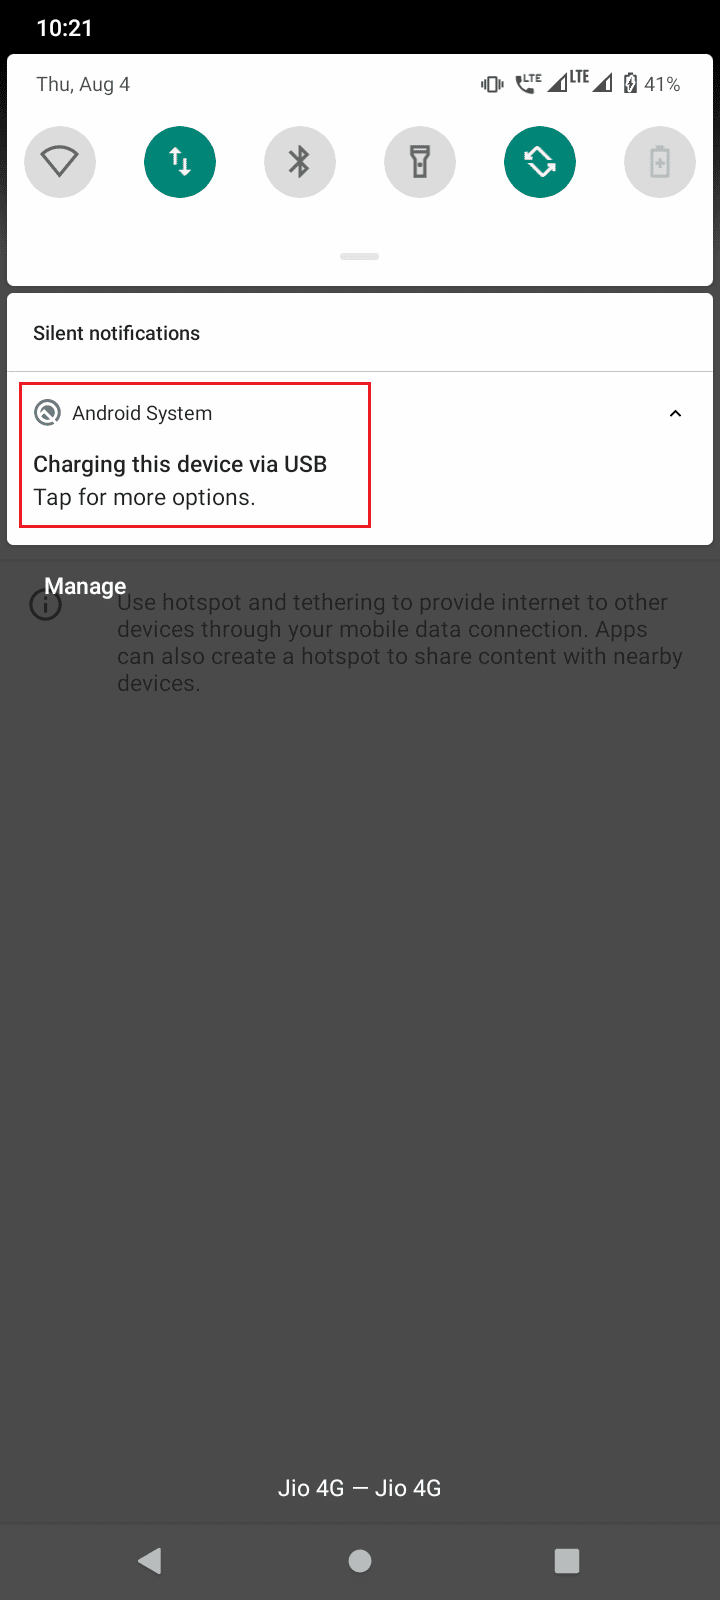
7. Swipe down the notifications bar where it shows charging mode, tap on it.
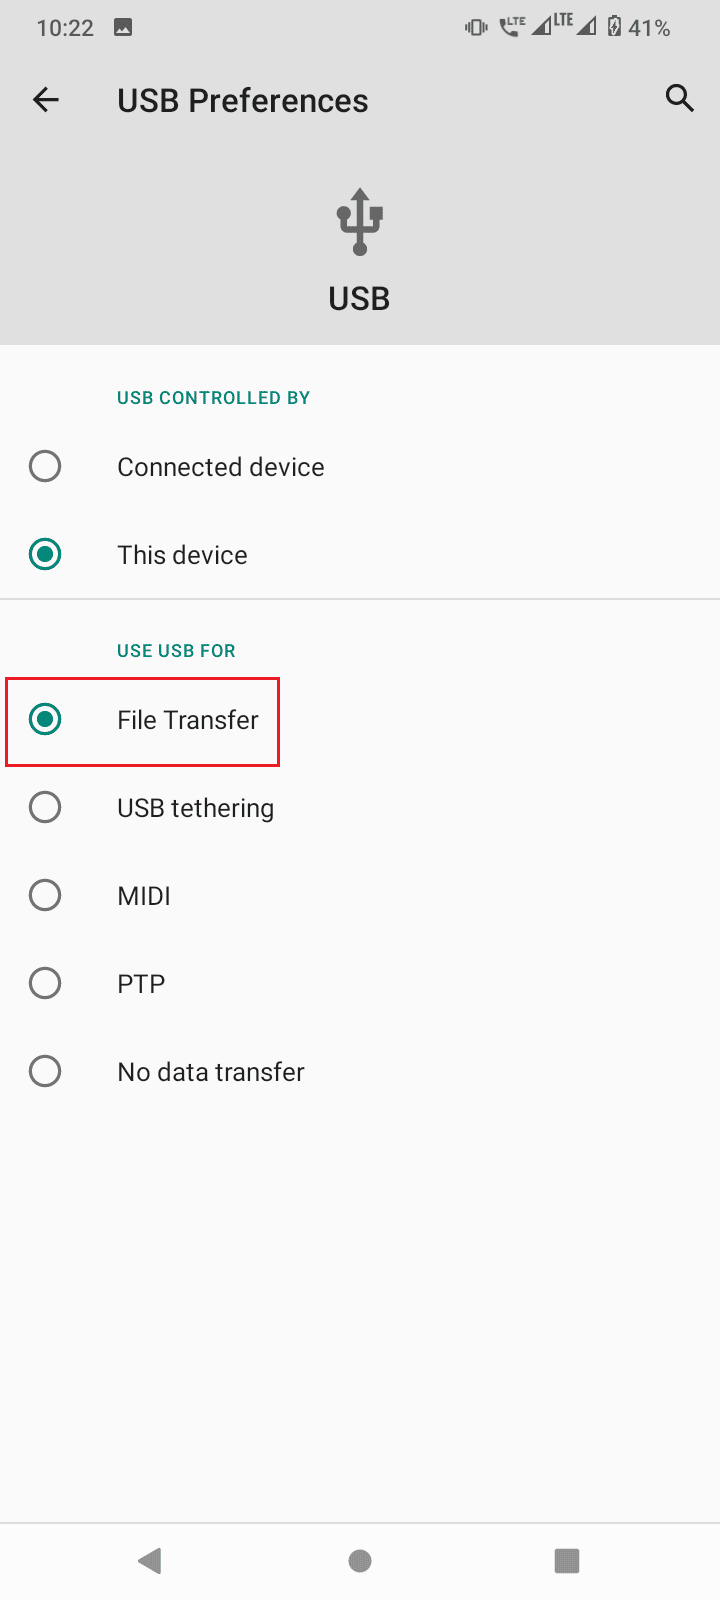
8. منتخب کریں فائل کی منتقلی آپشن.
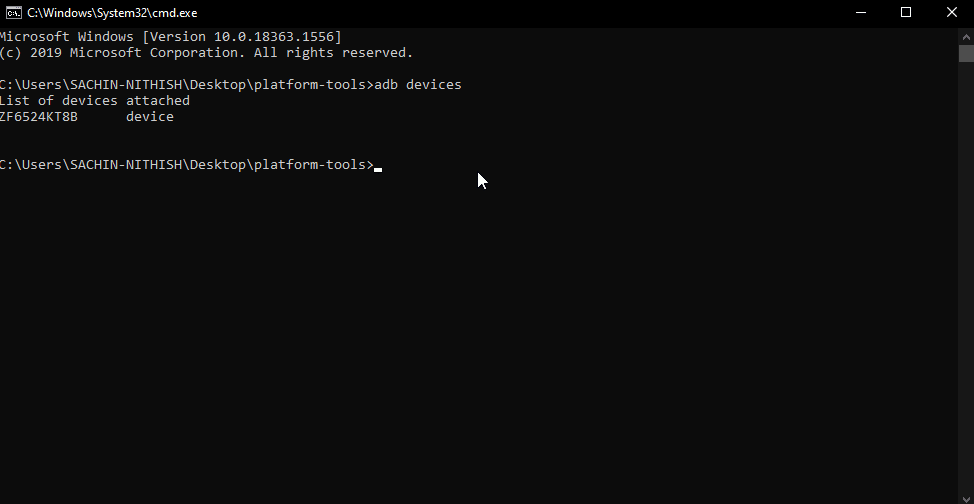
9. Then, run ایڈوب کے آلات command in CMD at the platform-tools folder.

10. This will fix the ADB device unauthorized message
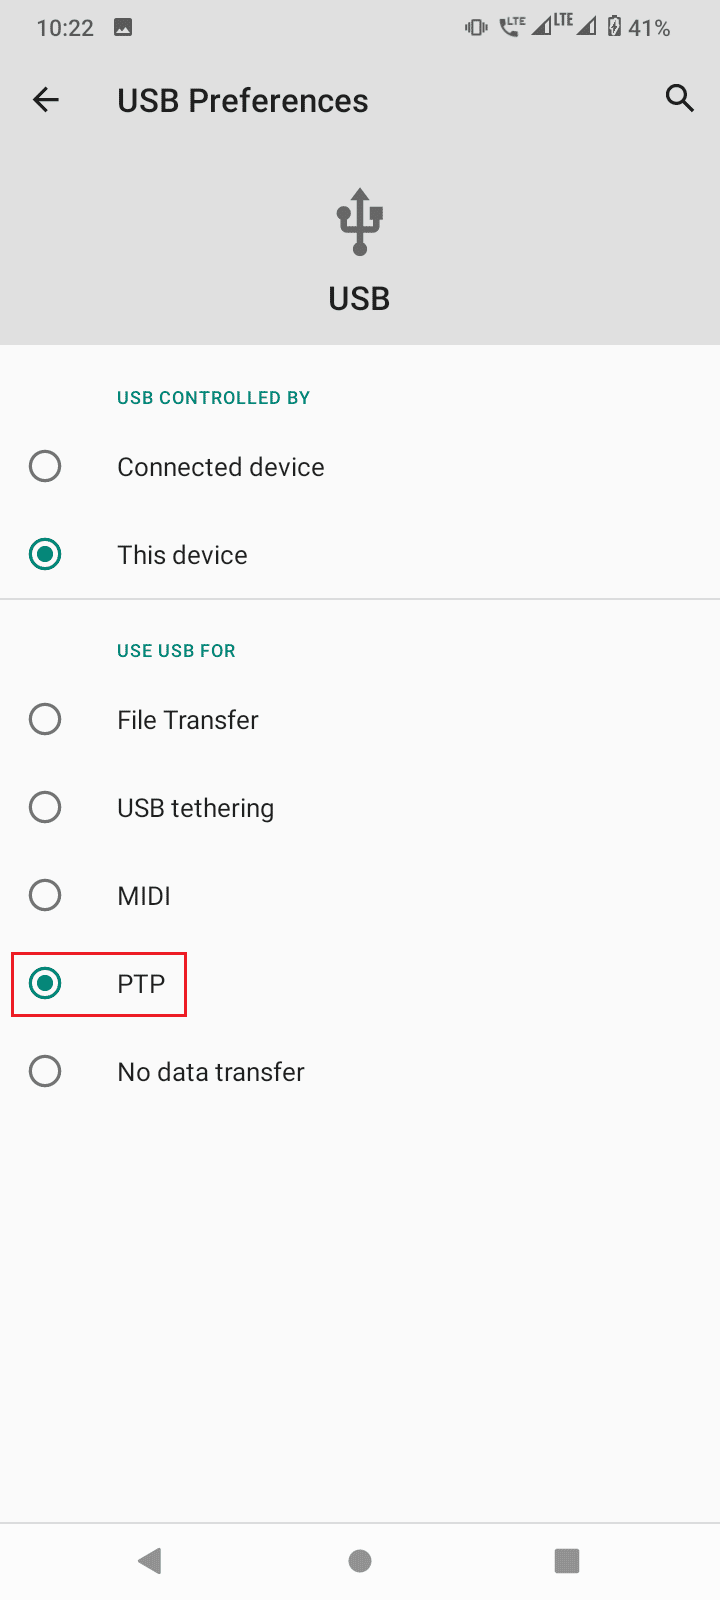
11. Alternatively, choose PTP بجائے فائل کی منتقلی in مرحلہ 7 and continue the above steps.
بھی پڑھیں: اینڈرائیڈ کے لیے 13 بہترین فائل ٹرانسفر پروٹوکول کلائنٹس
اکثر پوچھے گئے سوالات (عمومی سوالنامہ)
Q1. Why do I get an Unauthorized device error?
جواب. It simply means that the user did not give a permit to access the Android device through ADB for use with a computer, follow the guide to fix this issue.
Q2. Can ADB run without enabling USB debugging?
جواب نہیں, ADB requires USB debugging to be turned on by the user to get authorization from and an Android device and further communicate with it. Also with this USB debugging and RSA fingerprint of the computer only will the connection between the computer and android will be successfully be established.
Q3. Can I remove ADB devices without disconnecting my devices?
جواب جی ہاں, you can do so by just turning off USB debugging.
Q4. I don’t have developer options, Why?
جواب. Android developer options are disabled by default, to enable it you need to tap build number 6-7 times. Refer to your manufacturer’s website to know your particular model setting.
سفارش کی جاتی ہے:
We hope that the above article on how to bypass ADB device unauthorized message was helpful to you and you were able successfully to fix your issue, don’t forget to mention which one of the methods worked for you. If you have queries and/or suggestions about the article feel free to drop them down in the comment section below.

