ونڈوز 10 پر NTBackup BKF فائل کو کیسے بحال کریں۔

How to Restore NTBackup BKF File on Windows 10: With the introduction of Windows 10, Microsoft has removed one of the important utility called NTBackup. It was a built-in application in earlier versions of Windows which helps to backup files using a proprietary backup format (BKF). There are so many Windows users who backed up their data using NTBackup utility and then upgraded to Windows 10 but later realized that they can’t use NTBackup tool in Windows 10.
The NTBackup utility is not available in Windows 10 but this tool can easily run provided supporting DLLs are available in the same folder. So without wasting any time let’s see How to Restore NTBackup BKF File on Windows 10 with the help of the below-listed guide.
ونڈوز 10 پر NTBackup BKF فائل کو کیسے بحال کریں۔
کچھ غلط ہونے کی صورت میں بحالی پوائنٹ بنانا یقینی بنائیں۔
As we already discussed that the supporting DLL files are important if you want to run NTBackup utility but if you will run this tool without them then you would face the following error message:
The program can’t start because NTMSAPI.dll is missing from your computer. Try reinstalling the program to fix this problem.The ordinal 3 could not be located in the dynamic link library VSSAPI.DLL.
Now to solve this issue you could easily download the nt5backup.cab file which consists of the executable (NTBackup) and supporting DLL files:
ntbackup.exe
ntmsapi.dll
vssapi.dll
1.Download nt5backup.cab from the Stanford website.
2. Extract the Zip file on the desktop.
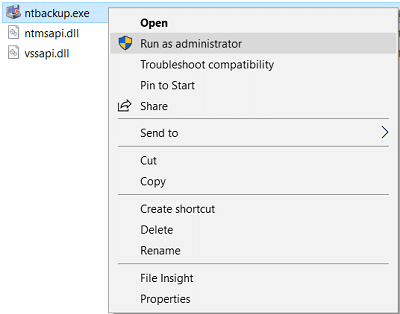
3. پر دائیں کلک کریں۔ NTBackup.exe اور منتخب کریں انتظامیہ کے طورپر چلانا.
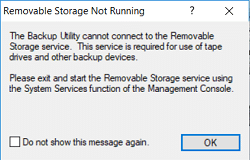
4.On the Popup message for Removable Storage Not Running, just click ٹھیک ہے.
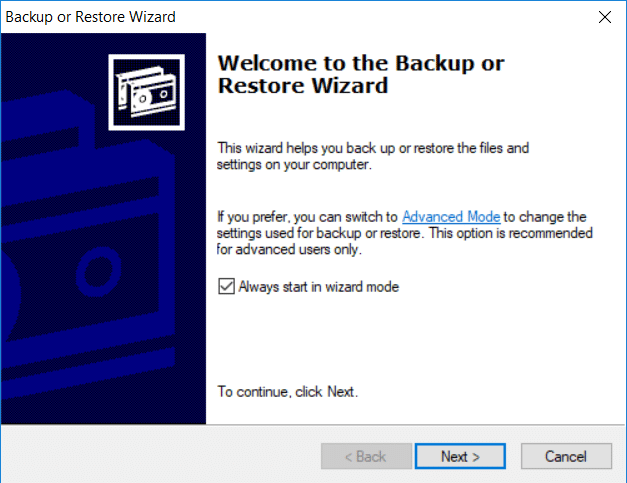
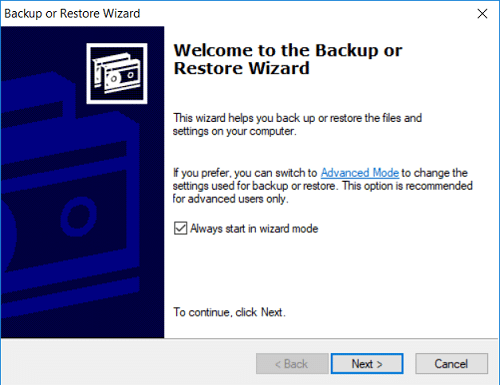
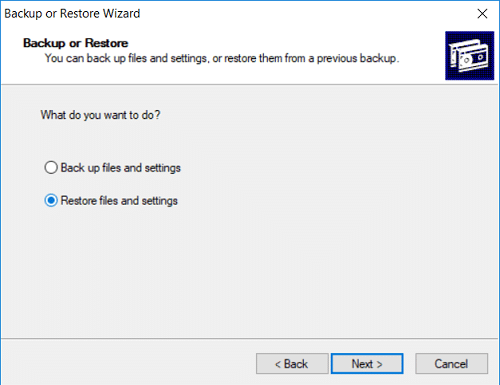
5.On the Welcome Page click اگلا.
6.Select Restore files and settings، پھر اگلا پر کلک کریں۔
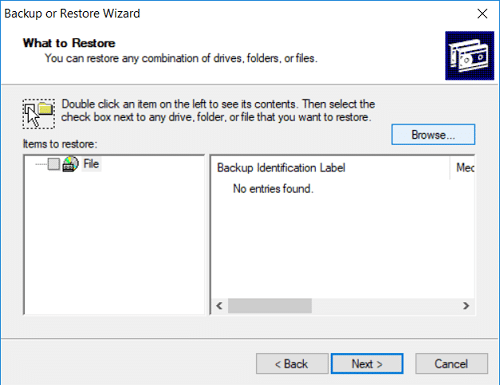
7.Cick براؤز کریں on “What to Restore” screen and then locate the .BKF file آپ بحال کرنا چاہتے ہیں۔
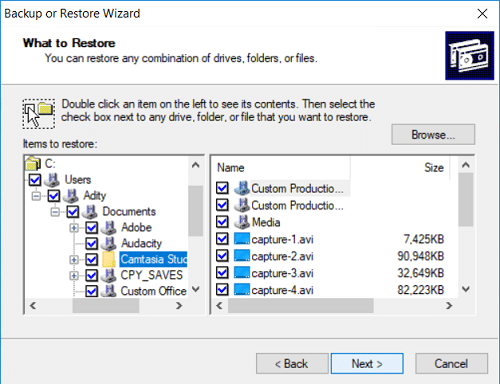
8.Expand the Items to Restore from the left-hand window and then select the files or folders which you want to restore اور اگلا پر کلک کریں۔
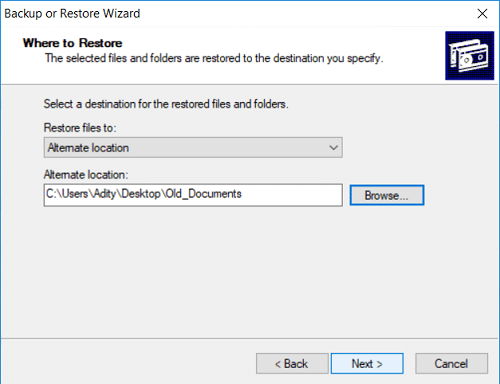
9. اگلی اسکرین پر، کلک کریں۔ ایڈوانس بٹن and then from Restore files the drop-down select Alternate location.
10.Under Alternate location field, mention the منزل کا راستہ اور اگلا پر کلک کریں۔
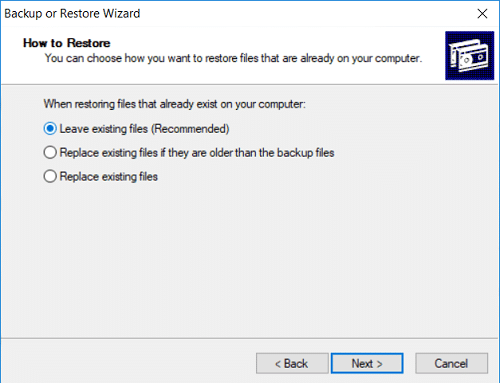
11. منتخب کریں "Leave existing files (Recommended)” and then click Next.
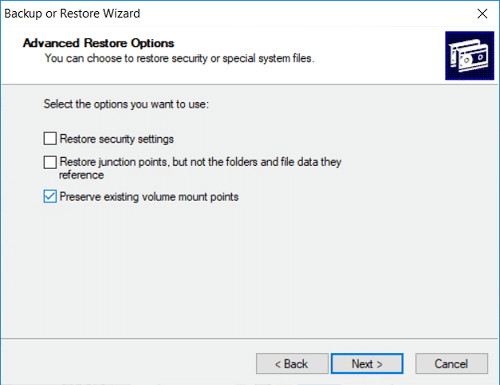
12.Again configure the Restore Options accordingly:
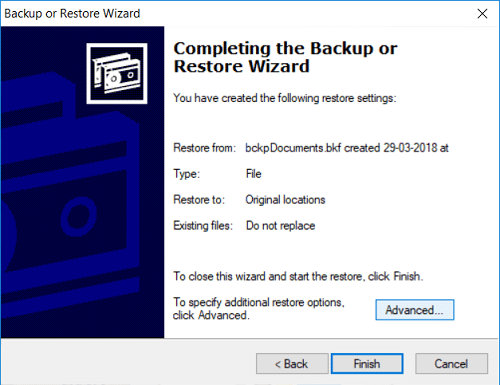
13.Cick اگلے اور پھر کلک کریں ختم to complete the Backup wizard.
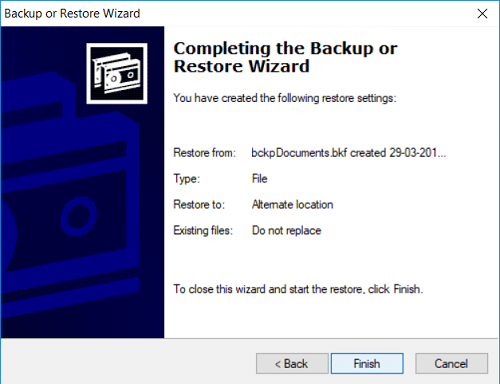
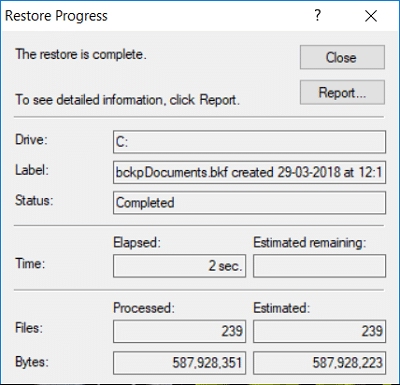
14.Once the process complete, NTBackup utility will restore your files and folders.
سفارش کی جاتی ہے:
یہ آپ نے کامیابی سے سیکھا ہے۔ ونڈوز 10 پر NTBackup BKF فائل کو کیسے بحال کریں۔ لیکن اگر آپ کے پاس اب بھی اس پوسٹ کے حوالے سے کوئی سوالات ہیں تو بلا جھجھک ان سے تبصرے کے سیکشن میں پوچھیں۔