When you try to install apps on Windows Store, you may face Error Code 0x80073cf9, which can be very frustrating as Windows Store is a reliable source to install apps. If you try to install 3rd party apps from any other source, you risk your machine to malware or infections but what other option you have if you cannot install apps from Windows Store. Well, that’s where you’re wrong this error can be fixed, and that’s what exactly we are going to teach you in this article.
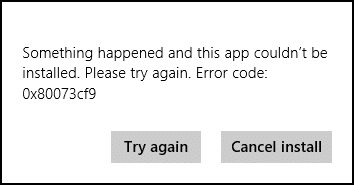
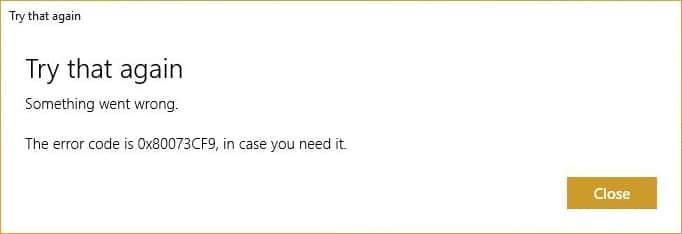
Something happened, and this app couldn’t be installed. Please try again. Error code: 0x80073cf9
There is no single cause as to why this error occurs so that various methods can fix this error. Most of the times it completely depends on the user machine configuration as to which method might work for them, so without wasting any time, let’s see how to fix this error.
Sửa lỗi Windows 10 Store 0x80073cf9
Đảm bảo tạo điểm khôi phục đề phòng trường hợp xảy ra sự cố.
Method 1: Create A Folder AppReadiness
1. Nhấn phím Windows + R rồi gõ C: Windows và nhấn Enter.
2. Tìm thư mục AppReadniess in the Windows folder, if you can’t follow the next step.
3. Right-click in an empty area and select Mới > Thư mục.
4. Name the newly created folder as Ứng dụng sẵn sàng và nhấn Enter.
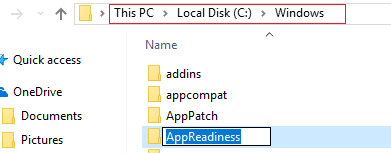
5. Reboot your PC to save changes. Again try to access the Store, and this time it might work perfectly.
Phương pháp 2: Cài đặt lại Windows Store
1. Open Command Prompt as an Người quản lý.

2. Run below PowerShell command
Get-AppxPackage -AllUsers | Foreach {Add-AppxPackage -DisableDevelopmentMode -Register “$ ($ _. InstallLocation) AppXManifest.xml”}

3. Once done, close command prompt and Restart your PC.
This step re-register Windows Store apps which should automatically Fix Windows 10 Store Error 0x80073cf9.
Method 3: Create a folder AUInstallAgent
1. Nhấn phím Windows + R rồi gõ C: Windows và nhấn Enter.
2. Tìm thư mục AUInstallAgent in the Windows folder, if you can’t then follow the next step.
3. Right-click in an empty area and select Mới > Thư mục.
4. Name the newly created folder as AAUInstallAgent và nhấn Enter.
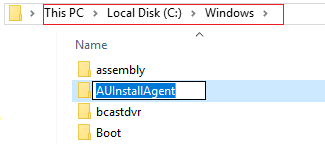
5. Reboot your PC to save changes. This step may fix Windows 10 Store Error 0x80D05001 or 0x80073cf9 but if it didn’t then continue.
Method 4: Allow Full System Access to Packages in AppRepository
1. Nhấn phím Windows + R rồi gõ C: ProgramDataMicrosoftWindows và nhấn Enter.
2. Now double click on AppRepository folder to open it, but you will receive an error:
You have been denied permission to access this folder.
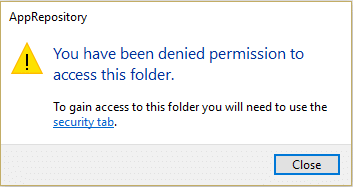
3. This means you need to take ownership of this folder before you can access it.
4. You can take ownership of the folder via the following method: How To Fix Destination Folder Access Denied Error.
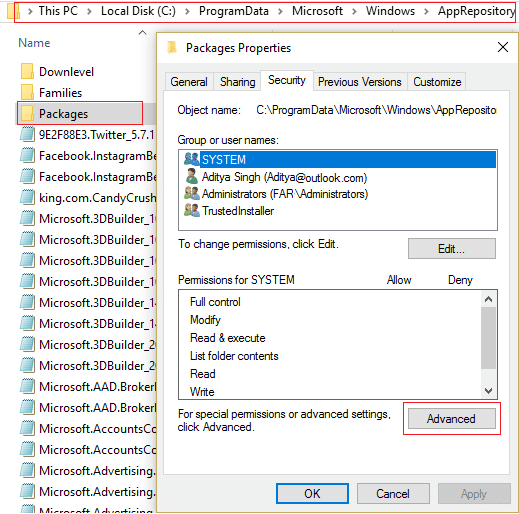
5. Now you need to give the SYSTEM account, and the APPLICATION PACKAGES account full control on the folder C:ProgramDataMicrosoftWindowsAppRepositoryPackages. To this follow the next step.
6. Nhấp chuột phải vào Packages folder và chọn Tính chất.
7. Chọn Tab Bảo mật và sau đó nhấp vào Nâng cao.
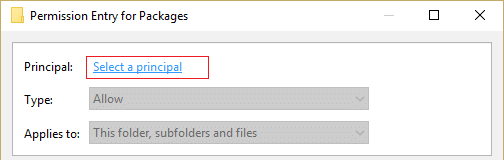
8. In Advanced Security Settings, click Thêm and click on Select a chính.
9. Tiếp theo, gõ “TẤT CẢ CÁC GÓI ỨNG DỤNG” (without quote) in the field Enter the object name to select and click OK.
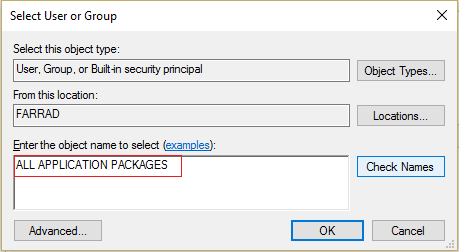
10. Now, on the next window check mark Full control and then click OK.
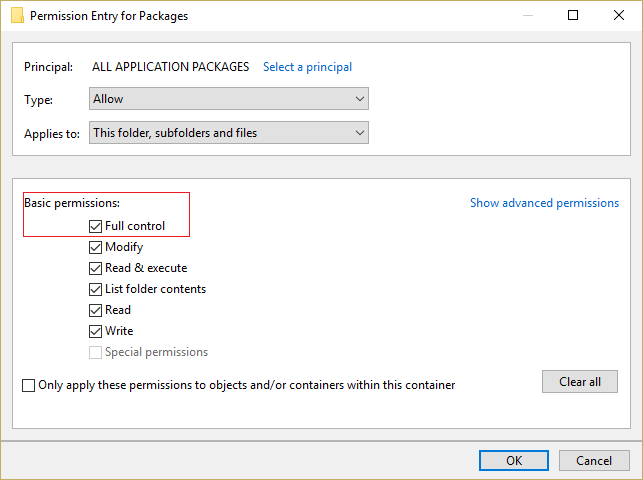
11. Do the same with the SYSTEM account. Reboot your PC to save changes.
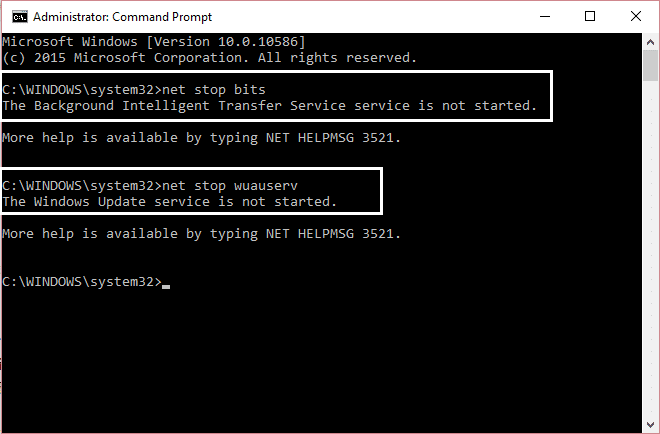
Method 5: Rename Software Distribution Folder
1. Press Windows Key + Q to open Charms Bar and type cmd.
2. Right-click on cmd and select Run as Administrator.
3. Type these commands and hit enter:
net stop wuauserv
ren c:windowsSoftwareDistribution softwaredistribution.old
net start wuauserv
exit
4. Reboot your PC to saves changes and again try to download updates.
Phương pháp 6: Chạy DISM (Quản lý và phục vụ hình ảnh triển khai)
1. Nhấn phím Windows + X sau đó chọn Dấu nhắc lệnh (Quản trị viên).

2. Enter the following command in cmd and hit enter:
Quan trọng: When you DISM you need to have Windows Installation Media ready.
DISM.exe / Trực tuyến / Dọn dẹp hình ảnh / Khôi phục sức khỏe / Nguồn: C: RepairSourceWindows / LimitAccess
Lưu ý: Replace the C:RepairSourceWindows with the location of your repair source

3. Press enter to run the above command and wait for the process to complete; usually, it takes 15-20 minutes.
LƯU Ý: If the above command doesn't work then try on the below:
Dism /Image:C:offline /Cleanup-Image /RestoreHealth /Source:c:testmountwindows
Dism /Online /Cleanup-Image /RestoreHealth /Source:c:testmountwindows /LimitAccess
4. After the DISM process is complete, type the following in the cmd and hit Enter: sfc / scannow
5. Let System File Checker run and once it’s complete, restart your PC.
Cách 7: Chạy CCleaner và Malwarebytes
KHAI THÁC. Tải xuống và cài đặt CCleaner & Malwarebytes.
2. Chạy Malwarebytes và để nó quét hệ thống của bạn để tìm các tập tin có hại. Nếu tìm thấy phần mềm độc hại, nó sẽ tự động loại bỏ chúng.

3. Bây giờ hãy chạy CCleaner và chọn Tùy chỉnh sạch.
4. Trong phần Làm sạch tùy chỉnh, chọn tab Windows và đánh dấu mặc định và nhấp vào Phân tích.

5. Sau khi Phân tích hoàn tất, hãy đảm bảo bạn chắc chắn xóa các tệp cần xóa.

6. Cuối cùng, nhấp vào Chạy sạch hơn và để CCleaner chạy chương trình của nó.
7. Để làm sạch hệ thống của bạn hơn nữa, chọn tab Đăng kývà đảm bảo những điều sau đã được kiểm tra:

8. Bấm vào Quét tìm sự cố và cho phép CCleaner quét, sau đó nhấp vào Giải quyết vấn đề được chọn .

9. Khi CCleaner hỏi “Bạn có muốn sao lưu các thay đổi vào sổ đăng ký không?" chọn Có.
10. Sau khi sao lưu xong, hãy nhấp vào Khắc phục tất cả các vấn đề đã chọn .
11. Khởi động lại PC của bạn để lưu các thay đổi.
Method 8: Clear Windows Store cache
1. Nhấn phím Windows + R rồi gõ Wsreset.exe và nhấn Enter.
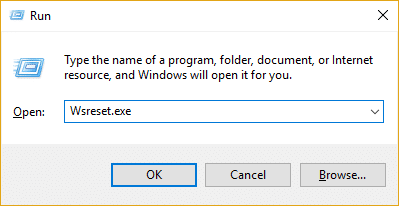
2. Quá trình kết thúc, khởi động lại PC của bạn.
Method 9: Run Windows Update and Windows Store Apps troubleshooter
1. Kiểu trình khắc phục sự cố in the Windows Search bar and click on Troubleshooter.
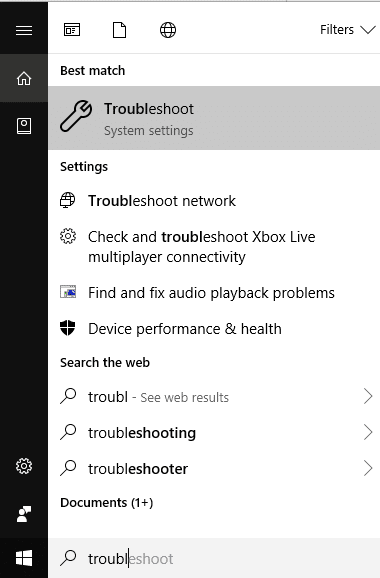
2. Tiếp theo, từ cửa sổ bên trái, chọn Xem tất cả.
3. Sau đó, từ danh sách Khắc phục sự cố máy tính, hãy chọn Windows Update.

4. Follow on-screen instruction and let the Windows Update Troubleshoot run.

5. Now again go back to the View all window but this time select Ứng dụng Windows Store. Run the troubleshooter and follow on-screen instructions.
6. Restart your PC and again try to install apps from Windows Store.
Đề nghị:
Thế là bạn đã thành công Sửa lỗi Windows 10 Store 0x80073cf9 but if you still have any queries regarding this post feel free to ask them in comment’s section.

