- in cửa sổ by quản trị viên
Cách cài đặt công cụ đồ họa trong Windows 11

DirectX Graphics Tools is not installed by default in Windows 11. But, it can be added via operating system Optional features. Today, we bring to you a helpful guide that will teach you how to install or uninstall Graphics Tool in Windows 11, as need be. A few noteworthy features of this tool include:
- It is essential for performing graphics diagnostics and other related functions.
- Nó cũng có thể được sử dụng để create Direct3D debug devices.
- Moreover, it can be used to develop DirectX games & applications.
- In addition to 3D-related functions, this technology also allows you to track real-time GPU consumption and when & which apps or games employ Direct3D technology.
How to Install In-built DirectX Graphics Tool in Windows 11
Follow the given steps to install Graphics Tool on Windows 11 PC:
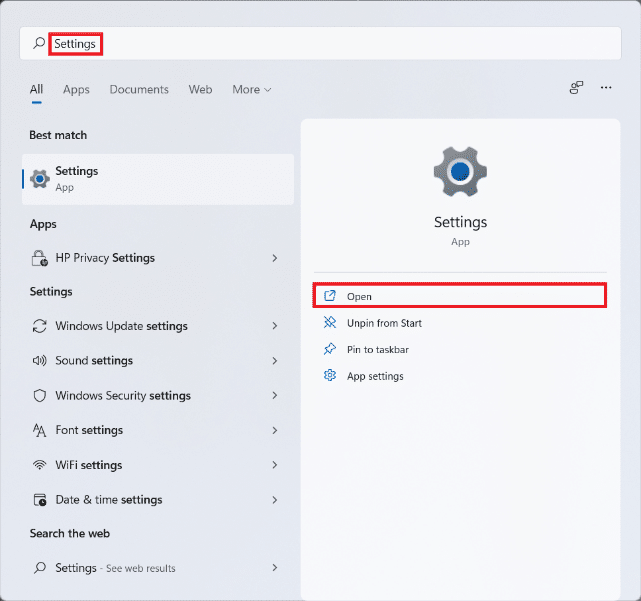
1. Bấm vào Biểu tượng tìm kiếm và loại Cài đặt, sau đó nhấp vào Mở, như được hiển thị.
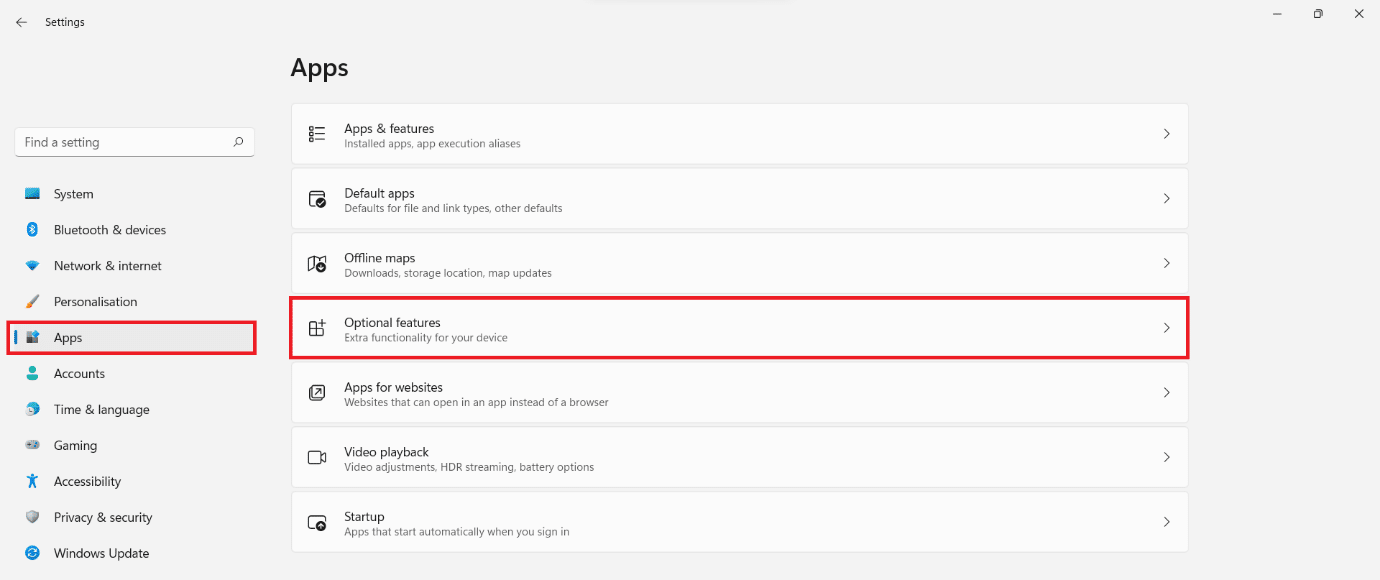
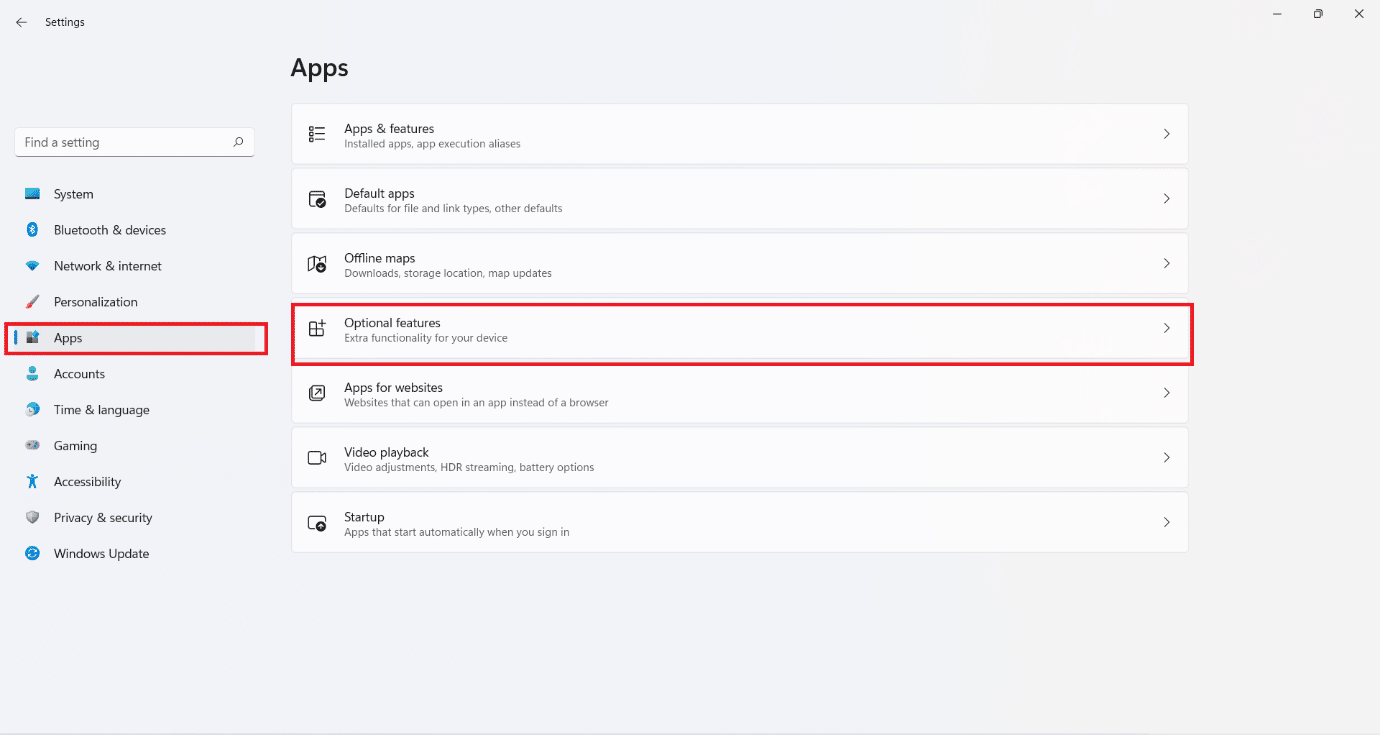
2. Nhấp vào Apps ở khung bên trái.
3. Sau đó, nhấp vào Tùy chọn Tính năng, đặc điểm, như được mô tả dưới đây.
KHAI THÁC. Tiếp theo, nhấp vào Xem Tính năng, đặc điểm.

5. Kiểu graphics tools in the search bar provided in the Thêm một tính năng tùy chọn cửa sổ.
6. Đánh dấu vào ô được đánh dấu Graphics Tools và click vào Sau, như minh họa bên dưới.

7. Bây giờ, hãy nhấp vào đặt .
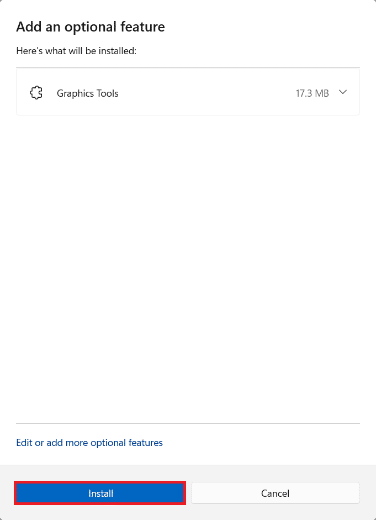
8. Hãy để Graphics Tools be Cài đặt. You can see the progress under các hành động gần đây phần.

Cũng đọc: How to Install XPS Viewer in Windows 11
How to Use DirectX Graphics Tools on Windows 11
Microsoft hosts a dedicated page on DirectX Programming. Here are the steps to use Windows 11 Graphics Diagnostic Tools:
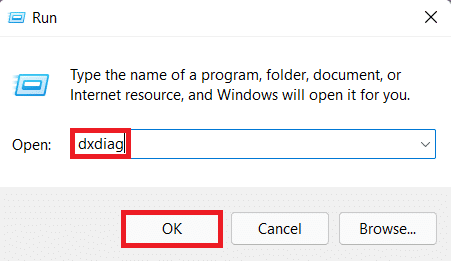
1. nhấn Phím Windows + R đồng thời mở chạy hộp thoại.
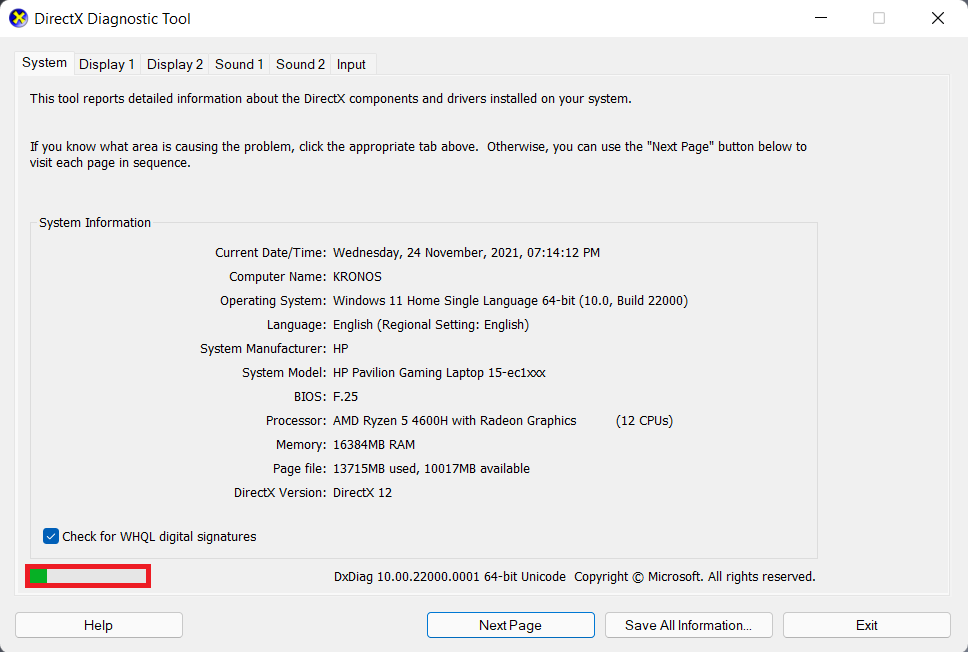
2. Kiểu dxdiag và click vào OK ra mắt DirectX Diagnostic Tool cửa sổ.
3. You may notice a green progress bar at the bottom left corner, shown highlighted. This means that the diagnostic process is active. Wait for the process to be completed.
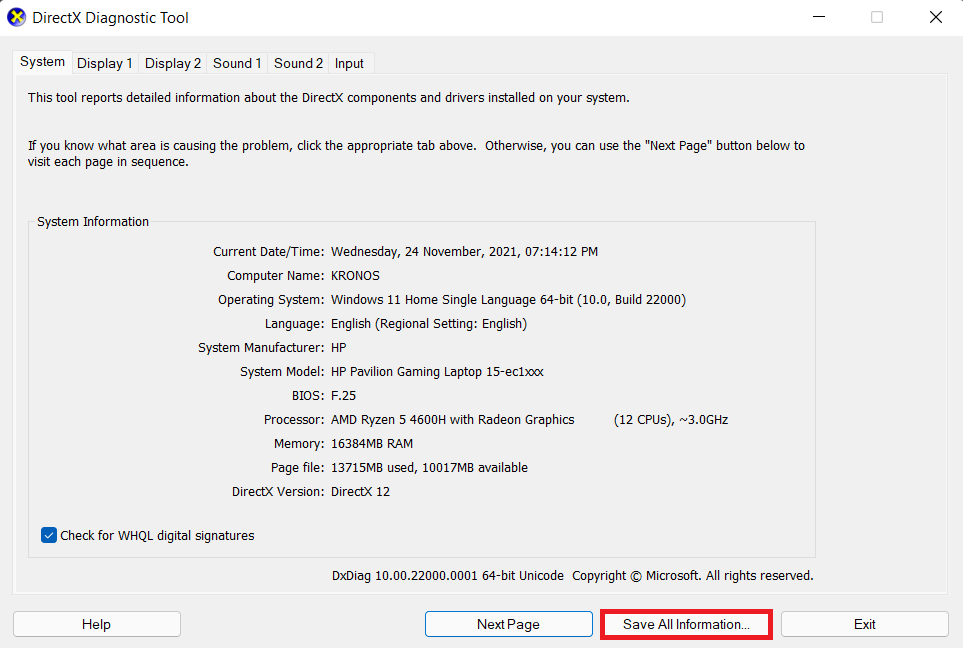
4. When the diagnosis is complete, the green progress bar will disappear. Click on Save All Information… button as depicted below.
Cũng đọc: How to Use PowerToys on Windows 11
How to Uninstall DirectX Graphics Tools
To uninstall Windows 11 Graphics Tools, follow the steps mentioned below:
1. Phóng Cài đặt như hình.
2. Đi đến Apps > Tính năng tùy chọn, như mô tả.
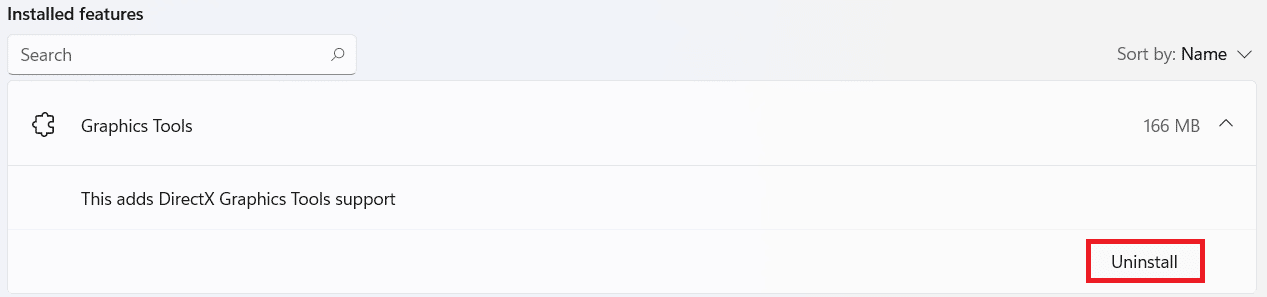
3. Scroll down the list of Các tính năng đã cài đặt hoặc tìm kiếm Graphics Tools in the search bar provided to locate it.
4. Nhấp vào downward-pointing arrow trong Graphics Tools tile and click on Gỡ bỏ cài đặt, như được hiển thị.
5. Once the uninstallation process is finished, you will see Đã gỡ cài đặt tag under các hành động gần đây phần.

Đề nghị:
We hope you found this article helpful about how to install, use or uninstall DirectX Graphics Tool in Windows 11. Drop your suggestions and queries in the comment section below. We would love to hear from you. Stay tuned for more such info!