Create Custom Environment Variables in Windows

By default, Windows uses certain environment variables to allow users to quickly access certain paths and directories within the operating system. This helps to make Windows easier to navigate. By defining and setting up your own custom environment variables, you can create direct paths and shortcuts to apps, directories, URLs and more.

Environment variables in Windows are queued by percent (%) characters. So, if you’ve not used environment variables before, you can get started simply by launching the start menu and typing any of the following commands into the search box and pressing Enter.
%appdata%

%temp%

%userprofile%

%homepath%
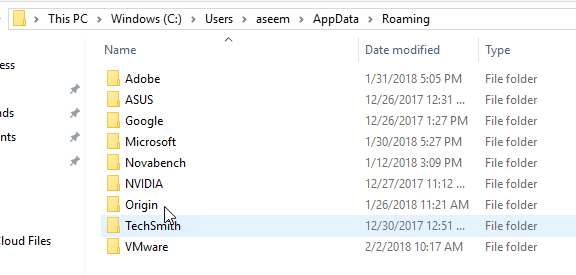
Notice how if you were to simply type the term אַפּפּדאַטאַ into the search box, it would return a wide variety of different results. However, if you type the term % אַפּפּדאַטאַ% into the search box, you are invoking an environment variable and you are taken to the אַפּפּדאַטאַ ראָומינג directory.
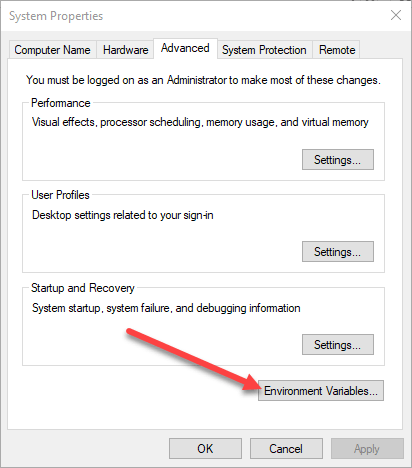
Now that you’re slightly accustomed to using environment variables, let’s get started on how you add, edit or delete environment variables. Click on the Start button and type in סוויווע בייַטעוודיק into the search box. Click on רעדאַגירן די סיסטעם סוויווע וועריאַבאַלז.
דאָס וועט עפענען די סיסטעם פּראָפּערטיעס dialog to the אַוואַנסירטע tab. דריקט אויף די Environment Variables קנעפּל בייַ די דנאָ.
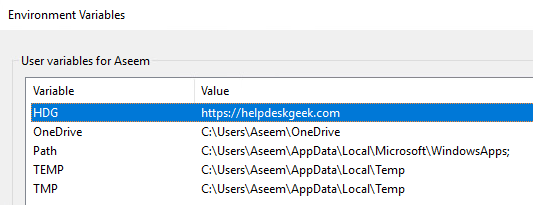
This will bring up the Environment Variables dialog as shown below in Windows 10. It looks a bit different in Windows 7, but it works the same way. The dialog is split in two: the top for user variables and the bottom for system variables.
Now, let’s add a very simple environment variable to Windows 10. Click the נייַ button listed under the באַניצער וועריאַבאַלז section. This will present you with the New User Variable window, where you can define a variable name און אַ בייַטעוודיק ווערט.
די Variable name: text area lets you define a simple name for the environment variable. The Variable value: text area lets you define a path or other value that is triggered when the variable name is used. So, let’s create a very simple environment variable to launch the Help Desk Geek website. Here are the values:

גיט די OK button to add your custom variable, and click the OK button on the Environment Variables window to close and apply the variable.
With that done, you can now test the variable in a couple of different ways. Firstly, if you want to be able to launch it from the Start menu, you’ll need to restart your computer. For some reason, unless you restart, it can only be invoked by using Explorer or by using the לויפן באַפֿעל.
די Explorer:

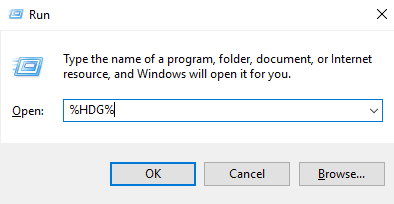
Run Command (Windows key + R)
Start Menu Search Box
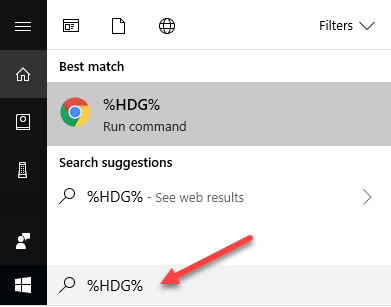
Using any of the three methods above, Windows will launch your default browser and open a tab to the Help Desk Geek website. Pretty cool right? You can also create a custom environment variable to launch Explorer into a specific directory.
This can come in handy if you often have to navigate to a directory that is deep in your file hierarchy. For example, here is a directory I have to access often:
C:UsersaseemDocumentsHOA StuffLegalContractsAppealsNotes
Instead of having to click through all those directories, I can just create a new user environment variable like below:
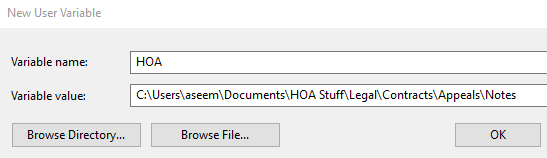
Now, in Explorer, all I have to do is type %HOA% in the address bar and it will bring me right to that directory! You can also click on the Browse Directory or Browse File buttons to more easily include the path to your desired folder or file.
The file option is interesting because it means you can also create an environment variable to launch a program. For example, you can point an environment variable to any EXE file on your system. When you invoke the variable, it will launch the program.
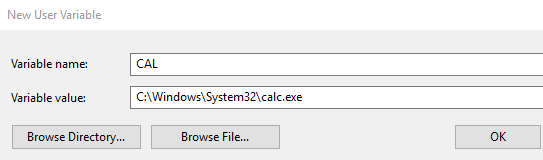
The above example is a bad example because it’s easier to click on Start and type in לייַם than it is to type in %CAL%. However, if you have a custom executable program file stored in some random directory on your PC, this is an easy way to launch it without having to go look for it. Enjoy!