4 Ways to Run Disk Error Checking in Windows 10: Once in a while running Disk Error checking ensures that your drive doesn’t have performance issues or drive errors which are caused by bad sectors, improper shutdowns, corrupt or damaged hard disk etc. Disk error checking is nothing but Check Disk (Chkdsk) which checks for any errors in the hard drive. Now there are different ways for running Disk Check in Windows 10 and today in this tutorial we are going to see what are the 4 Ways to Run Disk Error Checking in Windows 10.
在 Windows 4 中運行磁盤錯誤檢查的 10 種方法
確保建立一個還原點,以防出現問題。
Method 1: Run Disk Error Checking in Windows 10 using Drive Tools
1.Press Windows Key + E to open File Explorer then navigate to “這台電腦“。
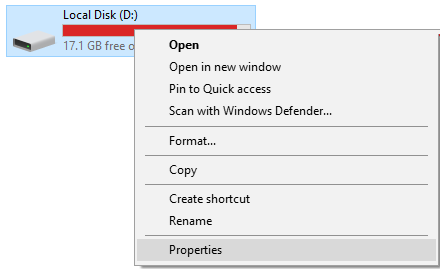
2.Right-click on the drive which you want to run the error checking 並選擇 屬性。
3.切換到 工具選項卡 然後點擊“格紋” button under Error checking.
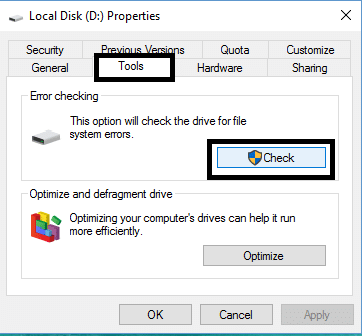
4.Now you can Scan drive or Repair drive (if errors are found).
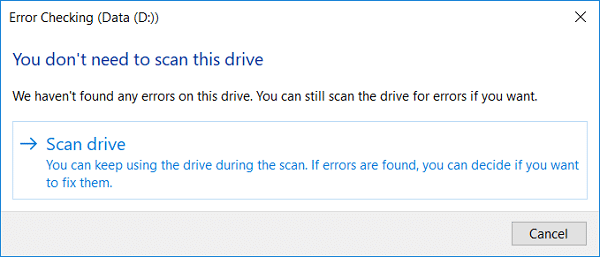
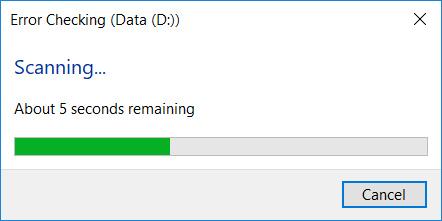
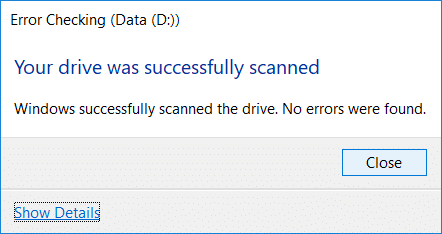
5.After you click 掃描驅動器, it will take some time to scan the drive for errors.

注意: While the Disk Error Checking is running, it best to leave the PC idle.
5.Once the scan is finished you can click on “查看詳細” link to see the Chkdsk scan results in Event Viewer.
6.Click Close once you’re finished and close Event Viewer.
Method 2: Run Disk Error Checking in Windows 10 using Command Prompt
1.按 Windows 鍵 + X 然後選擇 命令提示符(管理員)。

2.在cmd中輸入以下命令並回車:
chkdsk C:/ f / r / x

注意: Replace C: with the drive letter on which you want to run Check Disk. Also, in the above command C: is the drive on which we want to run check disk, /f stands for a flag which chkdsk the permission to fix any errors associated with the drive, /r let chkdsk search for bad sectors and perform recovery and /x instructs the check disk to dismount the drive before beginning the process.
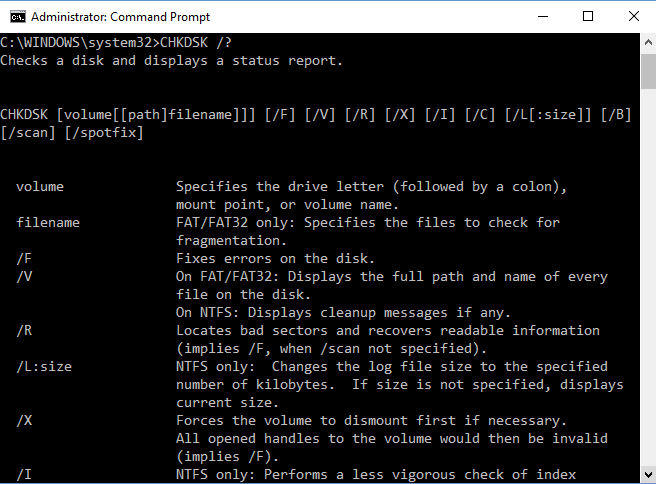
3. You can also substitute the Switches which are /f or /r etc. To know more about switches type the following command into cmd and hit Enter:
CHKDSK /?
4.Wait for the command to finish checking the disk for errors then restart your PC.
Method 3: Run Disk Error Checking in Windows 10 using Security and Maintenance
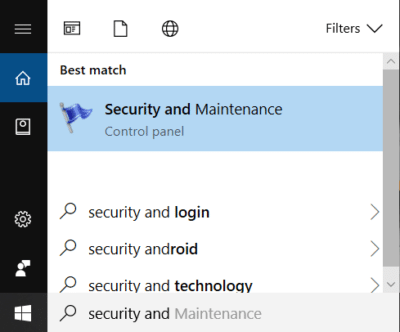
1.類型 安全 在 Windows 搜尋中,然後按一下 安全和維護 from the Search result.
2.Expand Maintenance then under Drive status see the current health of your drives.
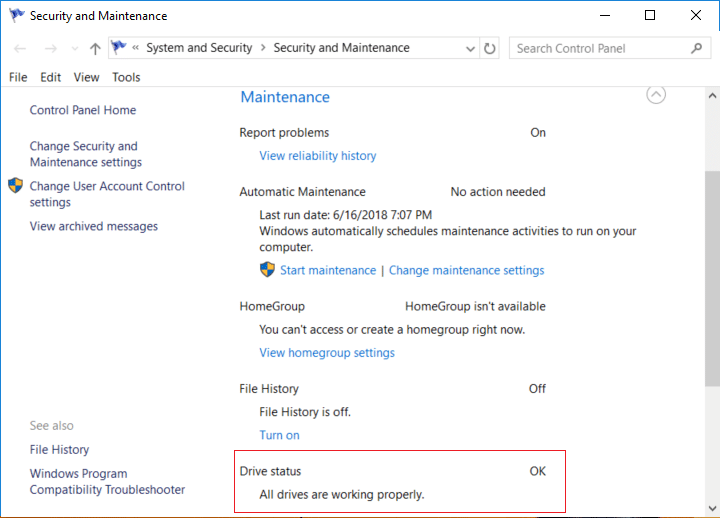
3.If any issues are found with your hard disk drives then you will see an option to scan the drive.
4.Just click on Scan to run disk error checking and let it run until the scan is complete.
5.重新啟動您的 PC 以保存更改。
Method 4: Run Disk Error Checking in Windows 10 using PowerShell
1.類型 PowerShell的 在 Windows 搜尋中,然後右鍵單擊 PowerShell的 從搜尋結果中選擇 以管理員身份運行。
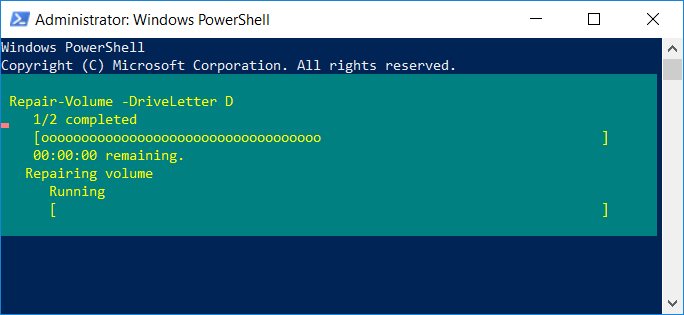
2.Now type one of the following command into PowerShell and hit Enter:
To scan and repair the drive (equivalent to chkdsk): Repair-Volume -DriveLetter drive_letter
To scan the volume offline and fix any errors found (equivalent to chkdsk /f): Repair-Volume -DriveLetter drive_letter -OfflineScanAndFix
To scan the volume without attempting to repair it (equivalent to chkdsk /scan): Repair-Volume -DriveLetter drive_letter -Scan
To take the volume briefly offline and then fixes only issues that are logged in the $corrupt file (equivalent to chkdsk /spotfix): Repair-Volume -DriveLetter drive_letter -SpotFix
注意: Substitute “drive_letter” in the above command with the actual drive letter you want.
3.Close PowerShell restart your PC to save changes.
推薦:
這樣你就成功學會了 How to Run Disk Error Checking in Windows 10 但如果您對這篇文章仍有任何疑問,請隨時在評論部分詢問。

