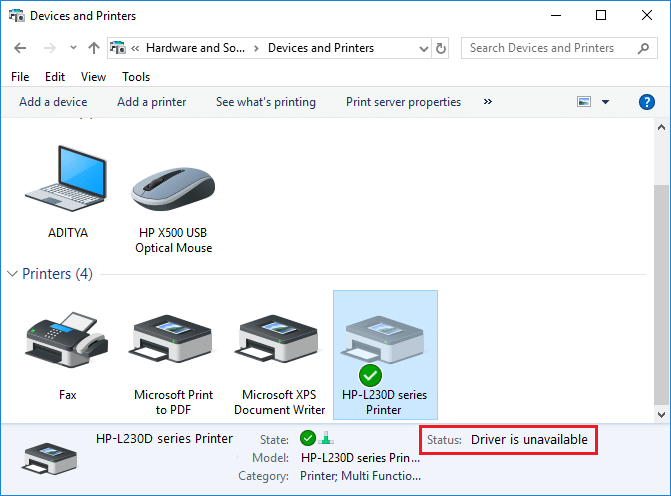
Fix Printer Driver is unavailable on Windows 10: If you’re not able to use your Printer and you face the error message that says “Driver is unavailable” then this means that the driver installed for your Printer is not compatible, outdated or corrupted. In any case, until you resolve this error you won’t be able to access your Printer. To view this message you need to head over to Devices and Printers then select your Printer and under Status, you will see “Driver is unavailable”.
This error message can be annoying, especially is you need to use the printer urgently. But don’t worry there are few easy fixes which can resolve this error and in no time you will be able to use your printer. So without wasting any time let’s see How to Fix Printer Driver is unavailable on Windows 10 with the help of the below-listed troubleshooting guide.
確保建立一個還原點,以防出現問題。
Method 1: Uninstall the Printer Drivers
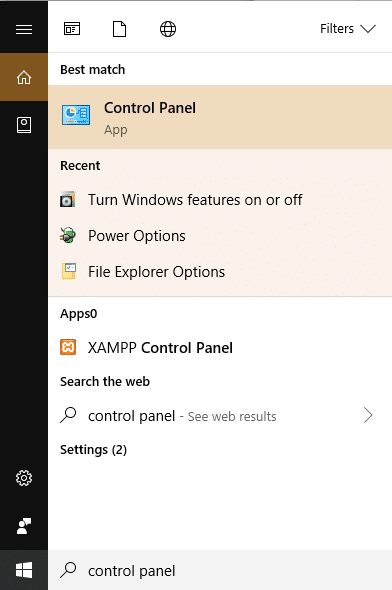
1.Type control in Windows Search then click on the search result which says 控制面板。
2.From the Control Panel click on 硬件和聲音。
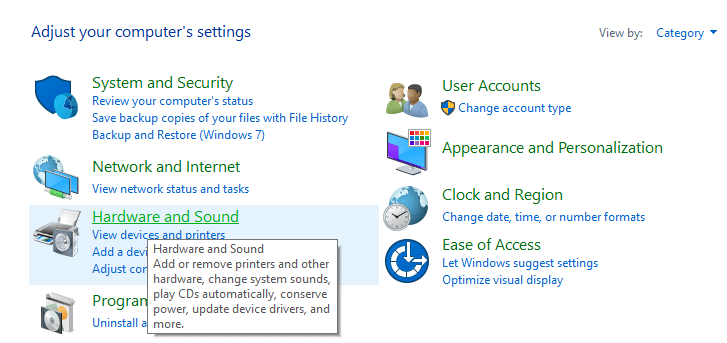
3.下一步,點選 Device and Printers.

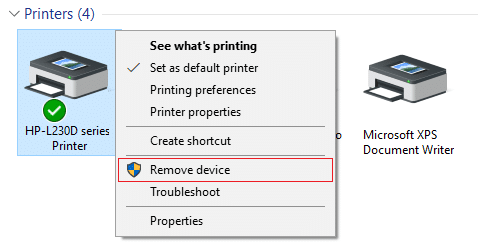
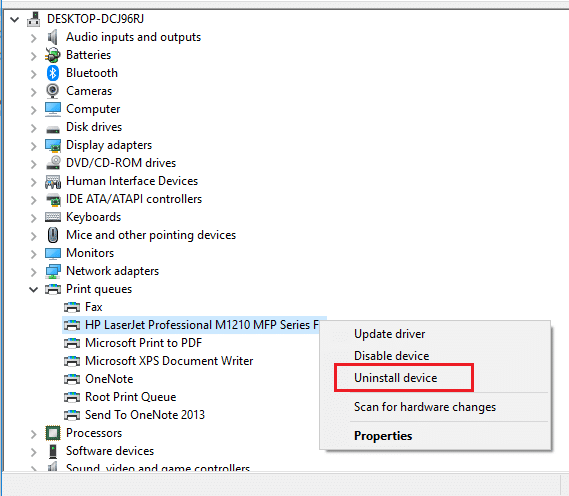
4.Right-click on the printer device which shows the error “Driver is unavailable”,然後選擇 刪除設備。
5.按Windows鍵+ R然後輸入 鍵入devmgmt.msc 並按 Enter 打開設備管理器。

6.Expand Print queues then right-click on your Printer device 並選擇 卸載。
注意: If you don’t have your device listed then don’t worry as it may already be removed when you remove the printer device from Devices and Printers.
7.Again click on 卸載 to confirm your actions and this will successfully remove the printer drivers from your PC.
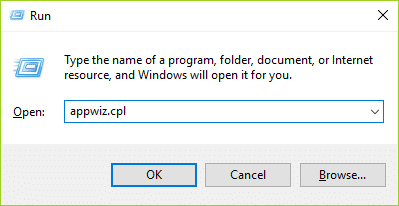
8.現在按Windows鍵+R然後輸入 APPWIZ.CPL 並按Enter鍵。
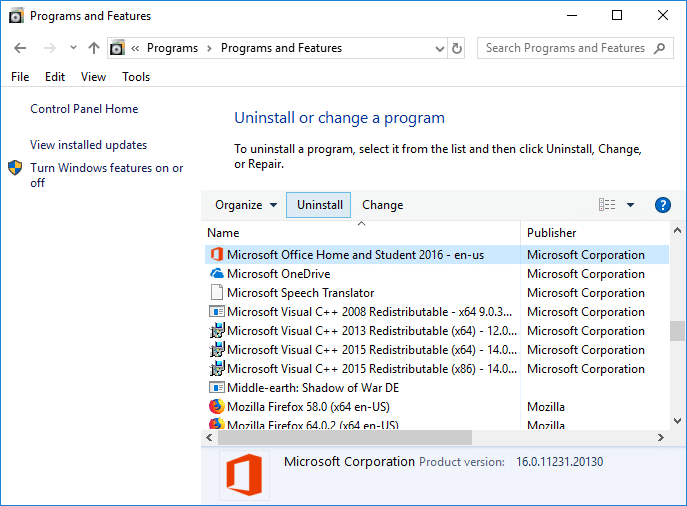
9.From the Programs and Features window, uninstall any application related to your printer.
10.Disconnect your Printer from the PC, shut down your PC and router, power off your printer.
11.Wait for a few minutes then plug everything the back as it was earlier, make sure to connect your Printer to the PC using a USB cable and see if you’re able to Fix Printer Driver is unavailable on Windows 10.
方法 2:確保 Windows 是最新的
1.按Windows鍵+ I打開設置然後點擊 更新和安全性。
![]()
2.從左側,菜單點擊 Windows更新。
3.現在點選“檢查更新”按鈕來檢查任何可用的更新。

4.如果有任何更新待處理,請點擊 下載並安裝更新。

下載更新後,安裝它們,您的 Windows 將變為最新狀態。
Method 3: Verify the Admin Account
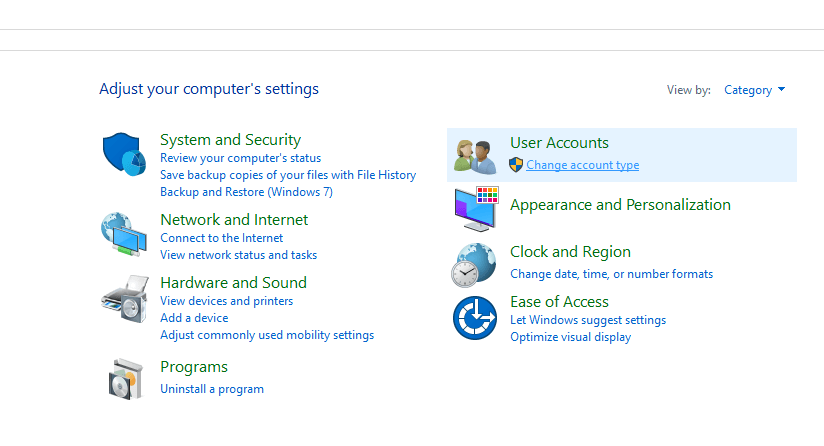
1.按Windows鍵+ R然後輸入 控制 然後按 Enter 打開控制面板。

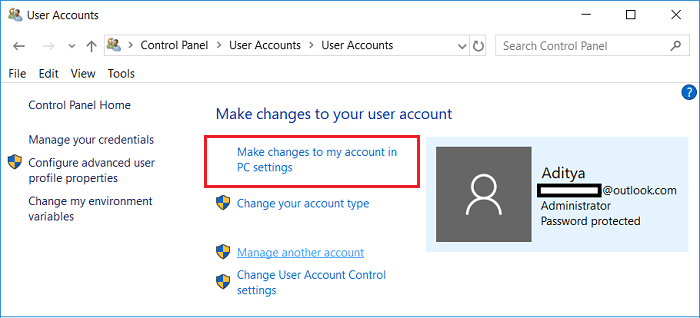
2。點擊 用戶帳戶 then again click on 用戶帳戶。
3.現在點選“在PC設置中更改我的帳戶“鏈接。
4。點擊 verify link and follow the on-screen instructions to verify your admin account.
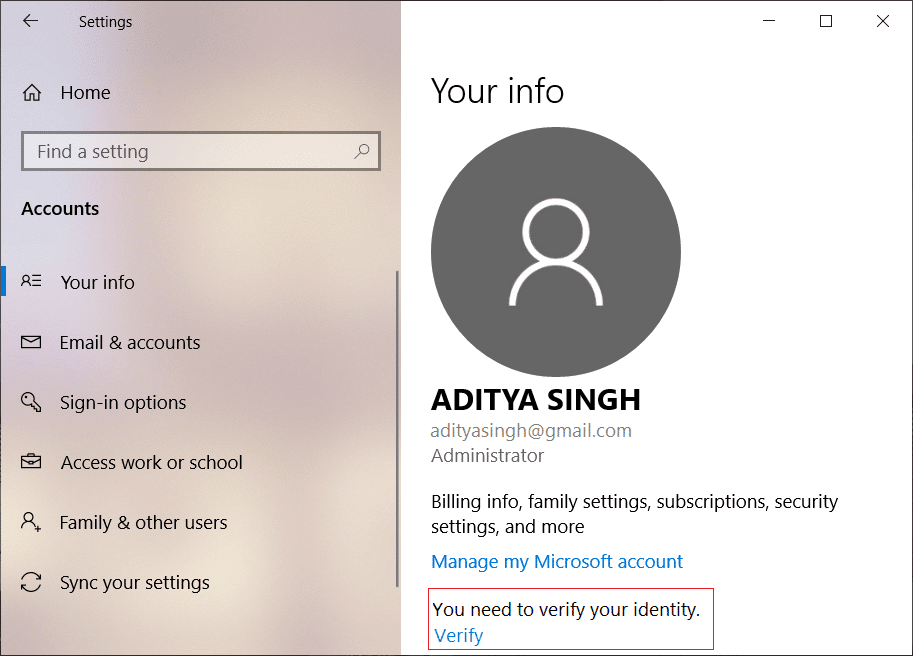
5.Once finished, reboot your PC and again install the printer without any issues.
Method 4: Install the Printer Drivers in Compatibility mode
1.按Windows鍵+ R然後輸入 鍵入devmgmt.msc 並按 Enter 打開設備管理器。
2.Expand Print queues then right-click on your Printer device 並選擇 卸載。
3.If you’re prompted to confirm then again click on the 卸載 按鈕。
4.Now go to your printers manufacturer’s website and download the latest drivers for your printer.
5.右鍵單擊 安裝文件 並選擇 屬性。
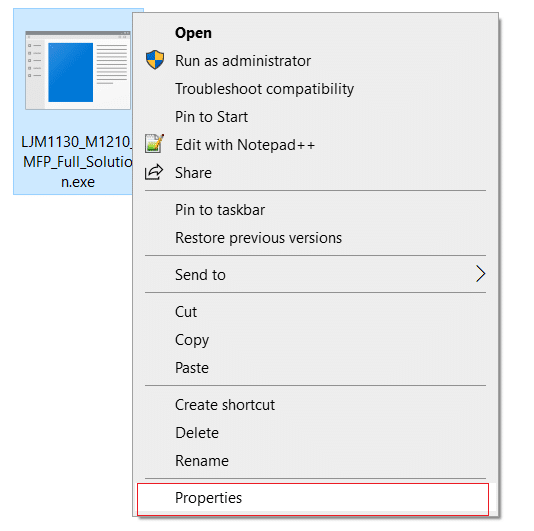
注意: If the drivers are in a zip file make sure to unzip it then right-click on the .exe file.
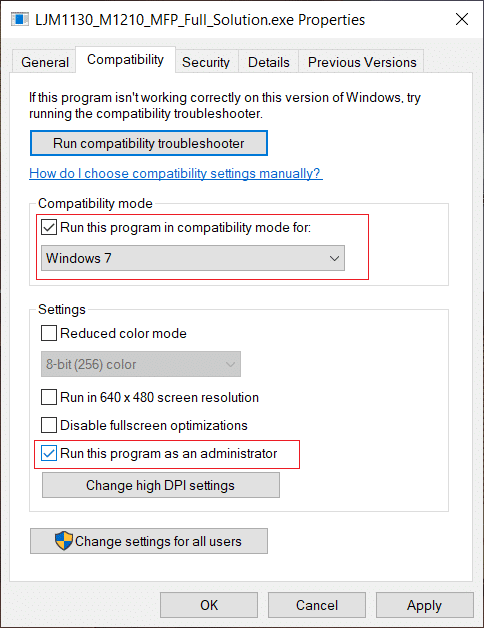
6.切換到 兼容性選項卡 和 複選標記 “Run this program in Compatibility mode“。
7.From the drop-down select Windows 7 or 8 and then 複選標記 “以管理員身份運行此程序“。
8.最後, double-click on the setup file and let the drivers install.
9.Once finished, reboot your PC and see if you’re able to fix the issue.
Method 5: Reinstall your Printer Drivers
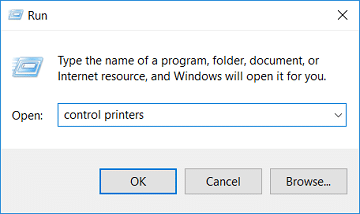
1.Press Windows Key + R then type control printers and hit Enter to open 設備和打印機。
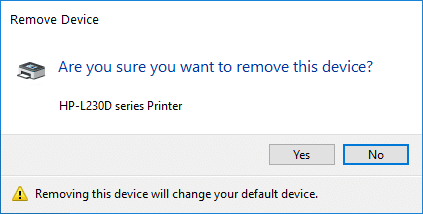
2.Right-click on your printer 並選擇“刪除設備”從上下文菜單中。
3.When the confirm dialog box 出現, 點擊 是的。
4.After the device is successfully removed, download the latest drivers from your printer manufacturer website.
5.Then reboot your PC and once the system restarts, press Windows Key + R then type 控制打印機 並按Enter鍵。
注意: Make sure your printer is connected to the PC via USB, 乙太網路 - ENET 或無線。
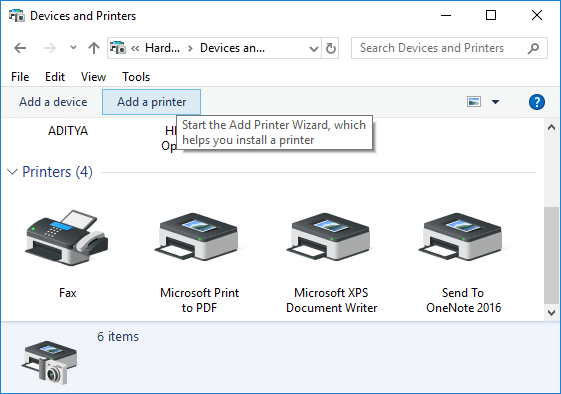
6.點擊“添加一台打印機” button under Device and Printers window.
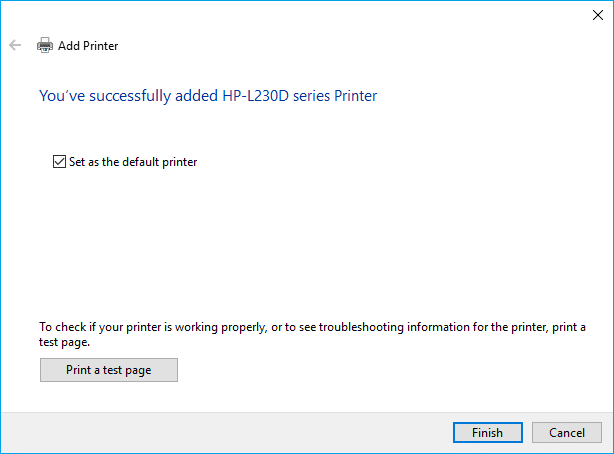
7.Windows will automatically detect the printer, select your printer and click 下一步。

8.Set your printer as default 並點擊 完成。
方法 6:重置您的電腦
推薦:
That’s if you have successfully 修復印表機驅動程式在 Windows 10 上不可用的問題 but if you still have any questions regarding this article then please feel free to ask them in the comment section.

