If you have 2 in 1 Windows device such as Tablets, you would be familiar with the importance of the screen rotation feature. Users report that the screen rotation feature has stopped working & the Screen Rotation Lock option is greyed out. If you’re facing this issue, then don’t worry as this is just a setting issue which means it can be easily fixed. This guide will walk you through the steps to fix rotation lock greyed out in Windows 10.
Here are issues which can be resolved using this guide:
- Rotation lock missing
- Auto Rotate not working
- Rotation lock greyed out.
- Screen rotation not working
Fix Rotation Lock greyed out in Windows 10
確保建立一個還原點,以防出現問題。
Method – 1: Enable Portrait Mode
One of the methods to fix this problem is to rotate your screen in portrait mode. Once you rotate it to portrait mode, most probably your rotation lock would start working, i.e. clickable again. In case your device is not rotating into portrait mode automatically, try to do it manually.
1。 按 Windows鍵+ I to open Settings then click on the 系統 圖標。

2. Make sure to select 顯示屏 從左側菜單。
3.找到 Orientation section where you need to choose 肖像 從下拉菜單中選擇。
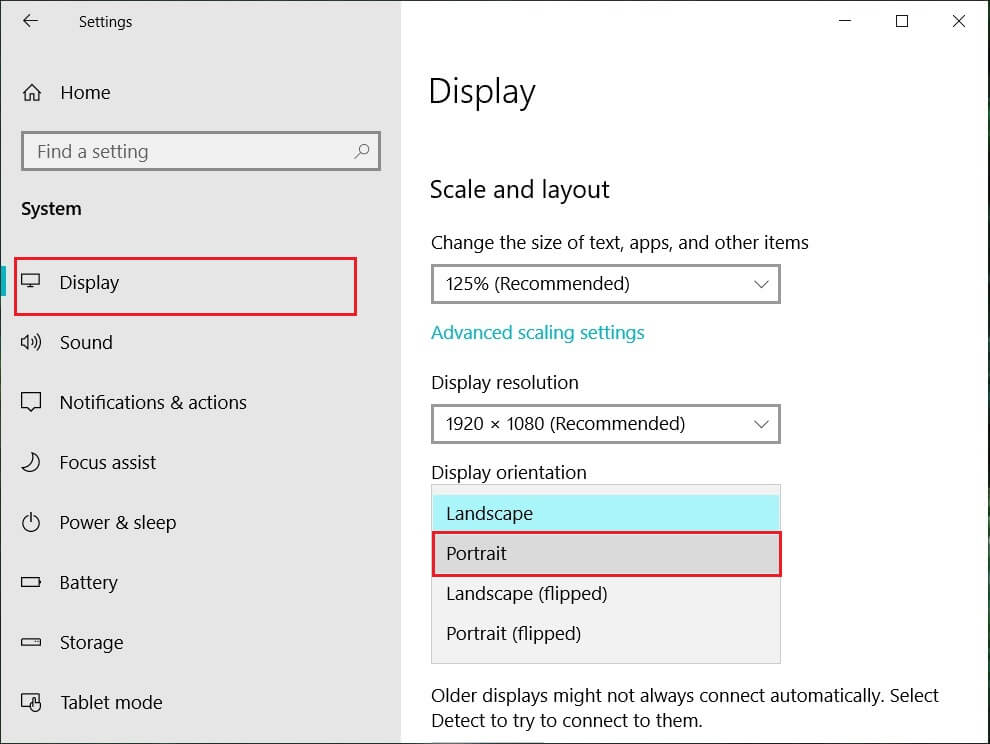
4. Your device will automatically turn into portrait mode.
Method – 2: Use your device in tent mode
Some users, particularly Dell Inspiron, experienced that when their rotation lock is greyed out, the only way to solve this problem is to put your device in Tent Mode.
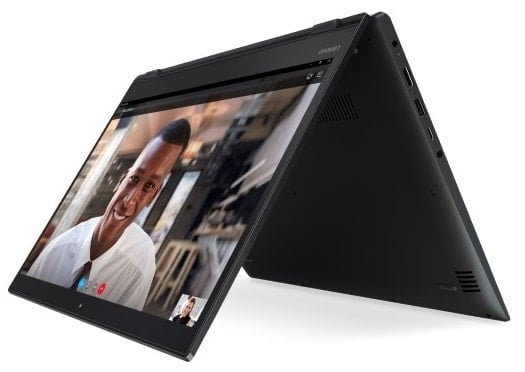
圖片來源: Microsoft微軟
1. You need to put your device in Tent Mode. If your display is upside down, you need not worry.
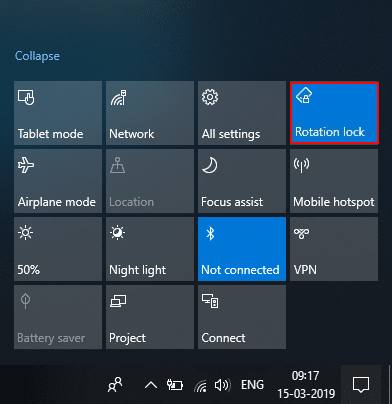
2.現在點擊 Windows 操作中心, 旋轉鎖定 will be working. Here you need to turn it off if you want so that your device rotate properly.
Method – 3: Disconnect your keyboard
If rotation lock is greyed in your Dell XPS and Surface Pro 3 (2-in-1 device), you need to disconnect your keyboard, and many users reported that disconnecting the keyboard solves the rotation lock problem. If you own different devices, you can still use this method to fix rotation lock greyed out in Windows 10 issue.
Method – 4: Switch to Tablet Mode
Many users experienced that this rotation greyed out the problem by switching their device into Tablet Mode. If it is switched automatically, it is good; otherwise, you can do it manually.
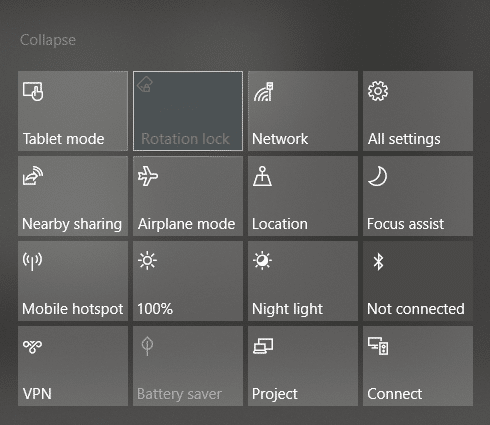
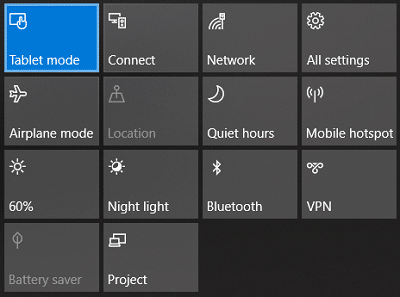
1。 點擊 Windows 操作中心。
2.在這裡,你會發現 平板模式 option, Click on It.
OR
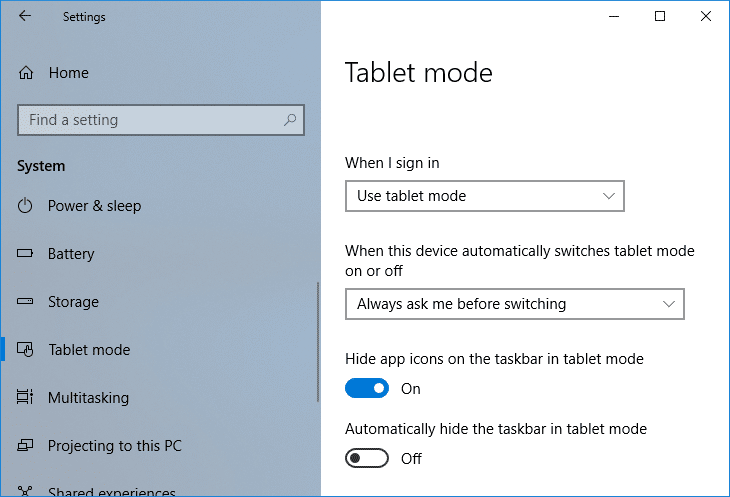
1.按Windows鍵+ I打開 設定 然後點擊 系統 圖標。
2. Here it would help if you located 平板模式 option under the left window pane.
3. Now from the “When I sign in” drop-down, select “使用平板電腦模式“。
Method – 5: Change LastOrientation Registry Value
If you still experience a problem, you can solve it by changing some registry values.
1. Press Windows +R and enter 註冊表編輯器 然後按Enter鍵。

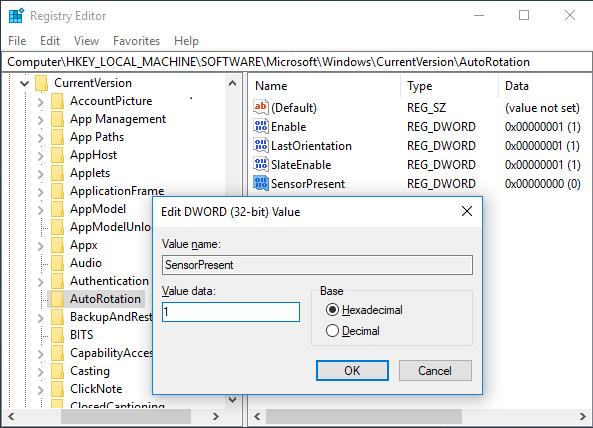
2. Once registry editor opens, you need to navigate to the below path:
HKEY_LOCAL_MACHINESOFTWAREMicrosoftWindowsCurrentVersionAutoRotation
注意: Follow the above folders one by one to locate Auto Rotation.
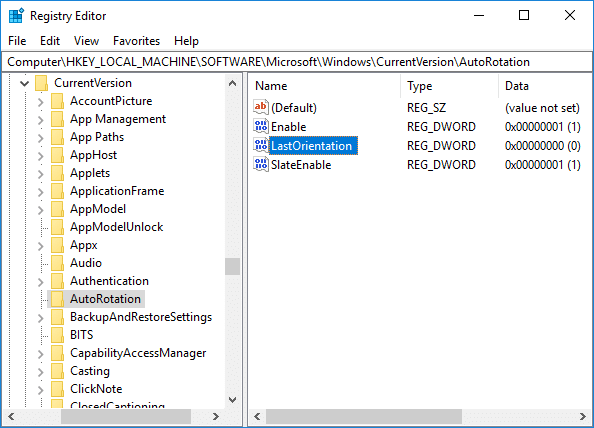
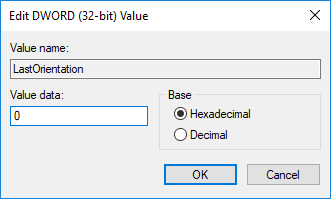
3. 確保 select AutoRotation 然後在右側窗格中雙擊 Last Orientation DWORD.
4.現在輸入 0 under Value data field 並點擊確定。
5.如果有 傳感器存在 DWORD, double-click on it and set its 值設為1。
Method – 6: Check Sensor Monitoring Service
Sometimes services of your device can cause a rotation lock problem. Therefore, we can get it sorted with Windows Monitoring services feature.
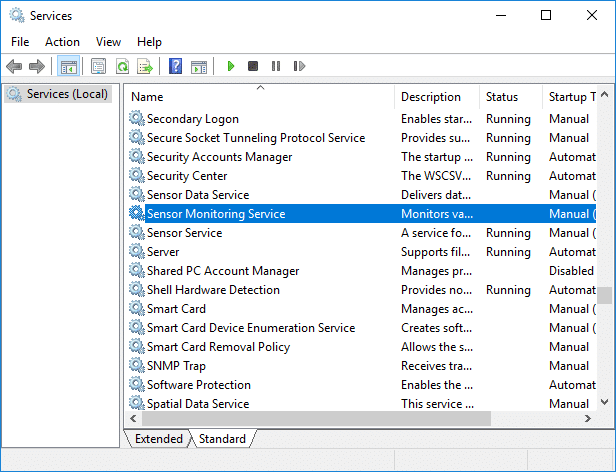
1. 按 Windows + R 並輸入 SERVICES.MSC 並按Enter鍵。

2. Once the services window opens, find the Sensor Monitoring services option 並雙擊它。
3. Now, from the Startup type drop-down select Automatic 自動錶 然後點擊 開始按鈕 to start the service.
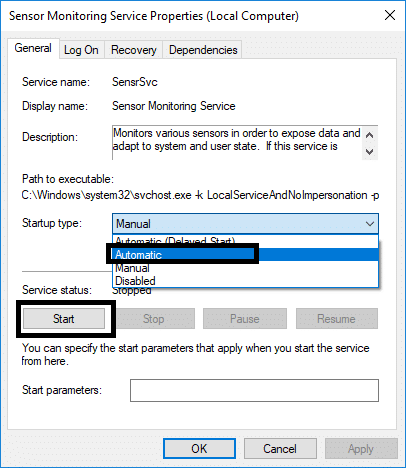
4. Finally, click Apply followed by OK to save the settings, and you can reboot the system to apply the changes.
Method – 7: Disable YMC service
If you are using a Lenovo Yoga device and experiencing this problem, you can fix rotation lock grayed out in the Windows 10 issue by disabling YMC service.
1. Windows + R type SERVICES.MSC 並按Enter鍵。
2.找到 YMC services 並雙擊它。
3. 將啟動類型設定為 殘疾人 and click Apply, followed by OK.
Method – 8: Update Display Drivers
One reason for this problem could be the driver update. If your respective driver for the monitor is not updated, it can cause the Rotation Lock greyed out in Windows 10 Issue.
Manually Update Graphics Drivers using Device Manager
1. 按 Windows 鍵 + R 然後輸入 鍵入devmgmt.msc 然後按回車鍵打開 裝置經理。

2.接下來,展開 顯示適配器 並右鍵單擊您的顯示卡並選擇 啟用。

3. 再次完成此操作後,請右鍵單擊您的顯示卡並選擇“更新驅動程序“。

4。 選擇 ”自動搜索更新的驅動程序軟件”並讓它完成該過程。

5. If the above steps helped fix the issue then very good, if not then continue.
6. 再次右鍵點選您的顯示卡並選擇“更新驅動程序”,但這次在下一個畫面上選擇“瀏覽我的電腦以獲取驅動軟件。“

7. 現在選擇“讓我從計算機上的可用驅動程序列表中選擇“

8。 最後, 選擇最新的驅動程式 從列表中單擊 下一步。
9. 完成上述程序並重新啟動電腦以儲存變更。
對整合顯示卡(本例中為 Intel)執行相同的步驟來更新其驅動程式。看看你是否能夠 Fix Rotation Lock greyed out Issue,如果沒有,則繼續下一步。
從製造商網站自動更新顯示卡驅動程式
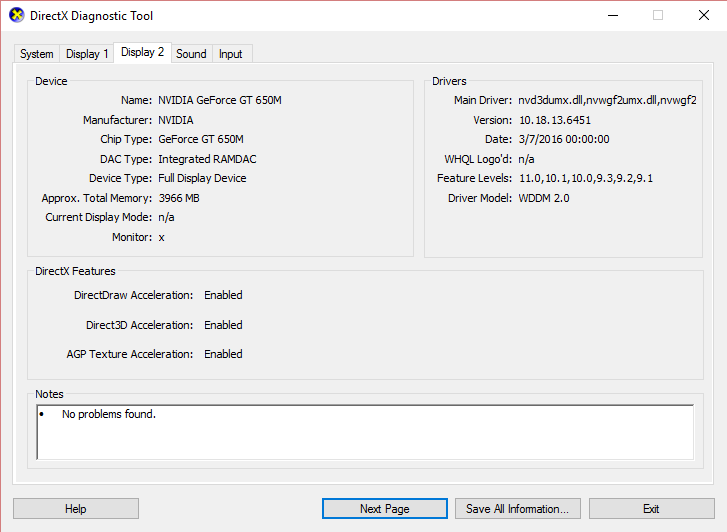
1. 按 Windows 鍵 + R,然後在對話方塊中鍵入“輸入dxdiag” 然後點擊進入。

2. 之後搜尋「顯示」標籤(將有兩個顯示選項卡,一個用於整合顯示卡,另一個用於 Nvidia 的),點擊「顯示」標籤並找到您的顯示卡。
3. 現在轉到 Nvidia 驅動程式 下載網站 並輸入我們找到的產品詳細資訊。
4. 輸入資訊後搜尋您的驅動程序,點擊同意並下載驅動程式。

5. 下載成功後,安裝驅動程序,您已成功手動更新 Nvidia 驅動程式。
Method – 9: Remove Intel Virtual Buttons Driver
Some users reported that Intel Virtual button drivers cause rotation lock problem on your device. To solve this problem, you can uninstall the driver.
1. Open Device manager on your device by pressing Windows + R and type 鍵入devmgmt.msc and hit Enter or press Windows X and choose “設備管理器” 從選項清單中。
2. Once Device manager box is opened locate Intel virtual buttons driver.
3.右鍵單擊它並選擇 卸載。
推薦:
我希望這篇文章對您有所幫助,現在您可以輕鬆地 Fix Rotation Lock greyed out in Windows 10, but if you still have any questions regarding this tutorial then feel free to ask them in the comment’s section.
")
