修復 Windows 10 網路設定檔遺失問題

Whether connecting to a wired device, like a keyboard or speaker, or a wireless device, like a mouse, printer, or display, the computer and the device are connected through a network link and operate with the help of a medium like a USB port (Universal Serial Bus), Bluetooth, Wi-Fi, or radio frequency, and through network profile, wireless network adapter. Connecting a new device to a computer can be incredibly painful sometimes as it displays the message of Windows doesn’t have a network profile for this device. If you are also dealing with the same problem, you are at the right place. We bring you a perfect guide that will help you fix Windows 10 network profile missing problem. Before that, let’s quickly understand a little about Network Profile.
How to Fix Windows 10 Network Profile Missing Problem
Network profiles are used to set up how machines connect over networks. To establish a connection with other devices, a network profile is needed that interacts with the other devices and stores essential network settings, security, and other relevant data.
Below listed are some of the reasons behind the missing error problem:
- Outdated or faulty driver
- Change in the network profile type
- The problem could be the device itself or the USB port
But don’t worry, we have a few solutions to fix the Windows 10 Network Profile Missing. First and foremost, ensure that the device to which you are trying to connect is compatible with your system. For example, USB 3.0 devices will not function properly with the older USB 2.0 ports. Therefore, check the device’s website for system requirements.
Now, we have shown the troubleshooting methods to fix Windows doesn’t have a network profile for this device issue.
Method 1: Switch to Private Network Profile
The PC is hidden from other devices on the same network when using the public network profile. Private network profiles, on the other hand, allow visibility to other nearby devices. Here’s how you can make your network profile visible:
1.點擊 Windows + I鍵 同時啟動 設定.
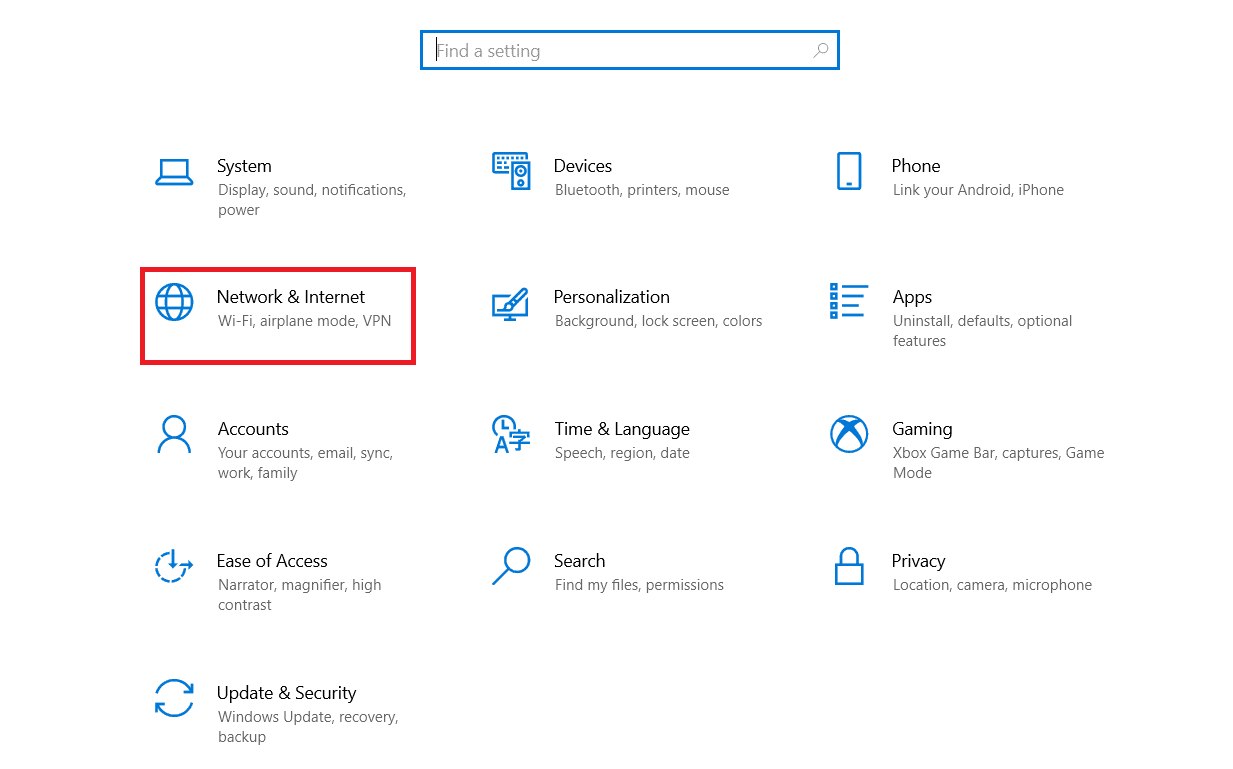
2。 點擊 網絡與互聯網 設置。
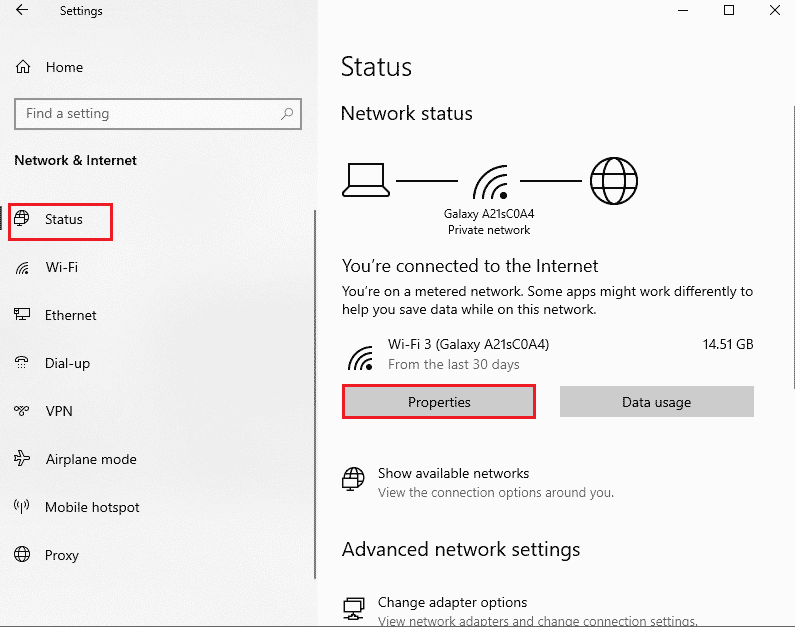
3. Select the connected network and then click on 氟化鈉性能.
4. Switch from 評價 至 私人的 Network Profile.
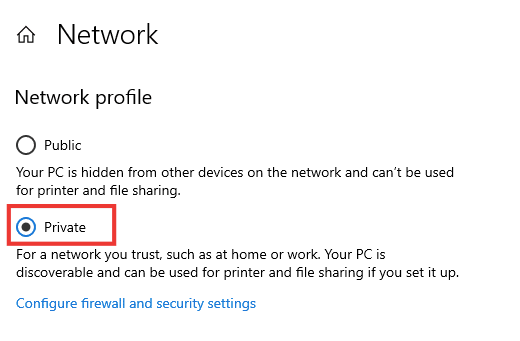
5。 最後, 重新啟動電腦.
相關閱讀: 修正 Windows 10 中電腦未顯示在網路上的問題
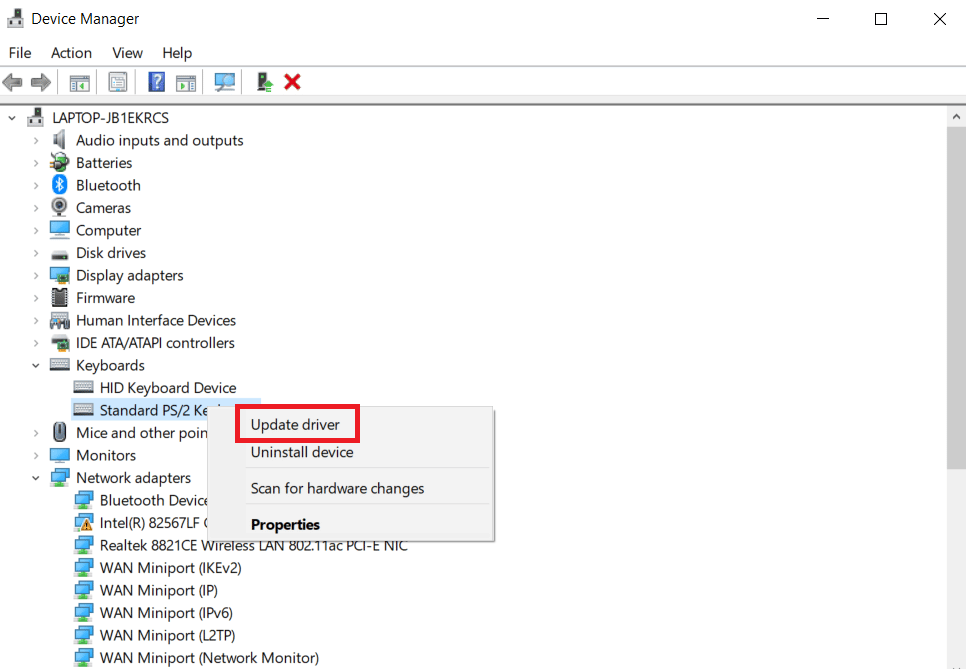
方法六:更新裝置驅動程式
If the same error message appears of Windows doesn’t have a network profile for this device, the problem could also lie in the particular device driver. To fix the Windows 10 network profile missing, try updating the driver of the specific device. Read our guide on how to update Device Drivers on Windows 10.
方法 3:執行網路介面卡疑難排解
Still facing the Windows 10 network profile missing problem, you can try the network adapter troubleshooter. Read our guide on How to Troubleshoot Network Connectivity problems on Windows 10.

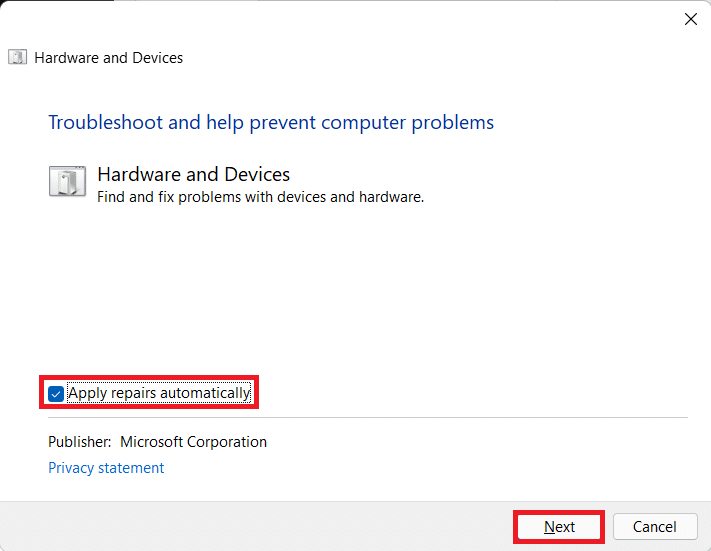
方法 4:運行硬體和設備故障排除程序
If after running the network troubleshooter, the said issue still persists, then you can run the appropriate troubleshooter for the device you are trying to connect to. For example, if you are having trouble connecting to a keyboard, select the keyboard troubleshooter, which will identify and resolve the issue. Get rid of the error message Windows doesn’t have a network profile for this device by performing this method. Read our guide Run Hardware and Devices troubleshooter to fix issues.
相關閱讀: 如何在 Windows 10 上重設網路設置
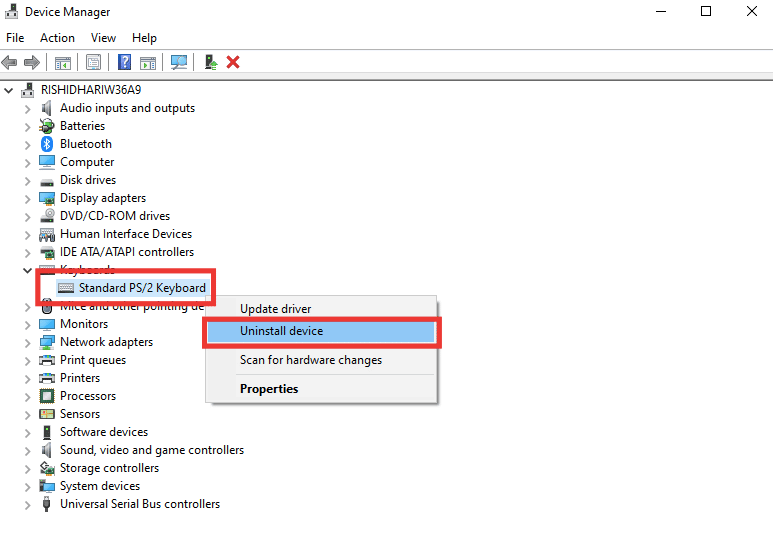
方法三:重新安裝裝置驅動程式
Some problems go undetected because of corrupted data files or unknown causes. We recommend reinstalling the driver with fresh settings using this method. To uninstall and reinstall the driver, read our guide on how to uninstall and reinstall drivers on Windows 10.
Method 6: Modify Network Profile
If your network profile has not changed yet, or you can’t find the option to do so, here’s an alternative method to switch from a public to a private profile.
Option I: Through Registry Editor
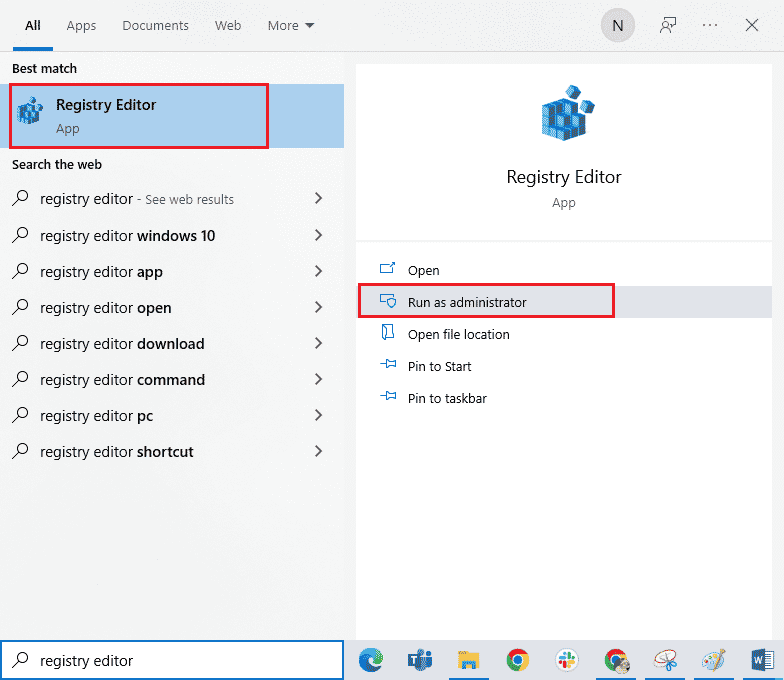
1。 按 Windows鍵,輸入 註冊表編輯器,然後點擊 以管理員身份運行.
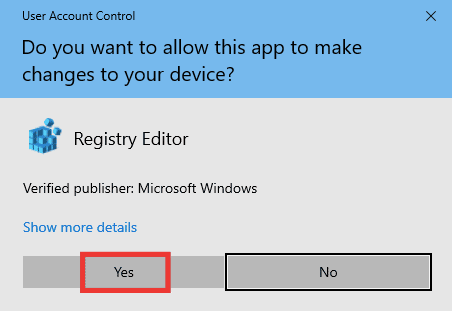
2。 點擊 是 ,在 用戶帳戶控制 及時。
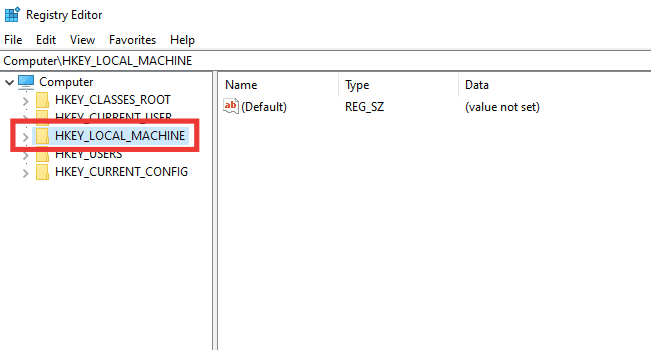
3.雙擊 HKEY_LOCAL_MACHINE 文件夾中。
4。 展開 軟體 folder and then click on the Microsoft微軟 密鑰資料夾。

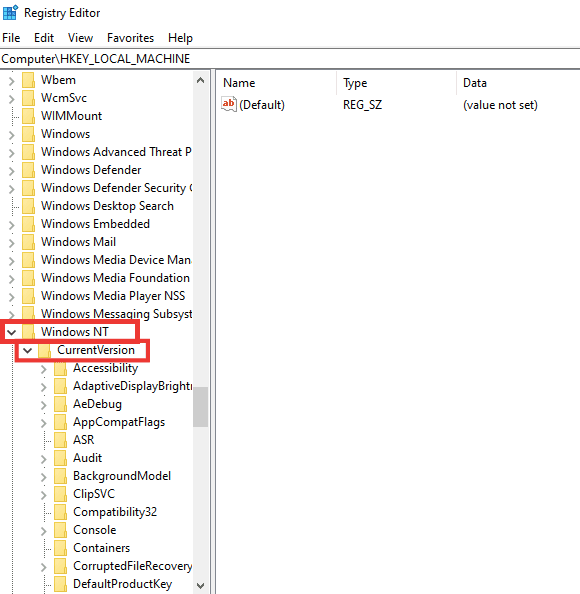
5. 向下捲動並轉到 Windows NT > CURRENTVERSION 密鑰資料夾。
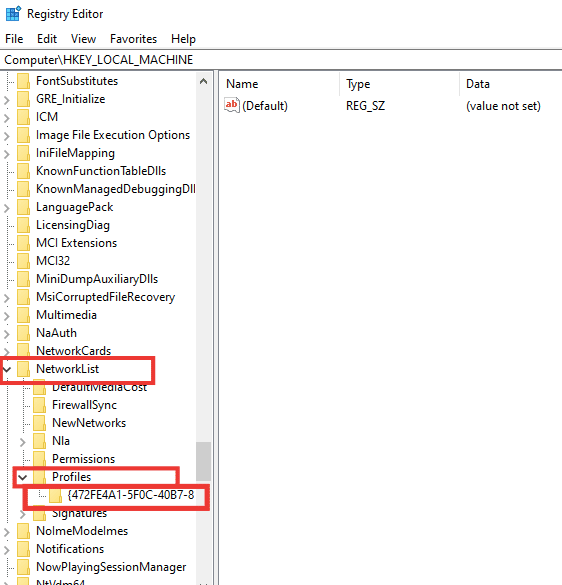
6. Scroll down again and expand the NetworkList key folder. Then expand 簡介 folder and click on the profile name.
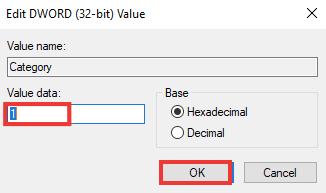
7.雙擊 類別 值。
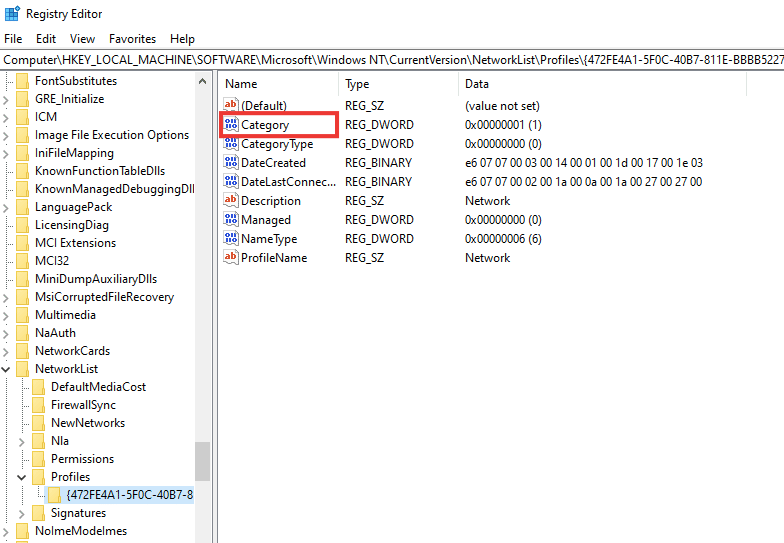
8。 改變 起息日 0 至 1。 然後,點擊 OK.
相關閱讀: 修正 Windows 10 Netwtw04.sys 藍色畫面錯誤
Option II: Through Windows PowerShell
Similar to the above method, this is also an alternative method to switch from a public to a private profile to fix Windows 10 network profile missing issue.
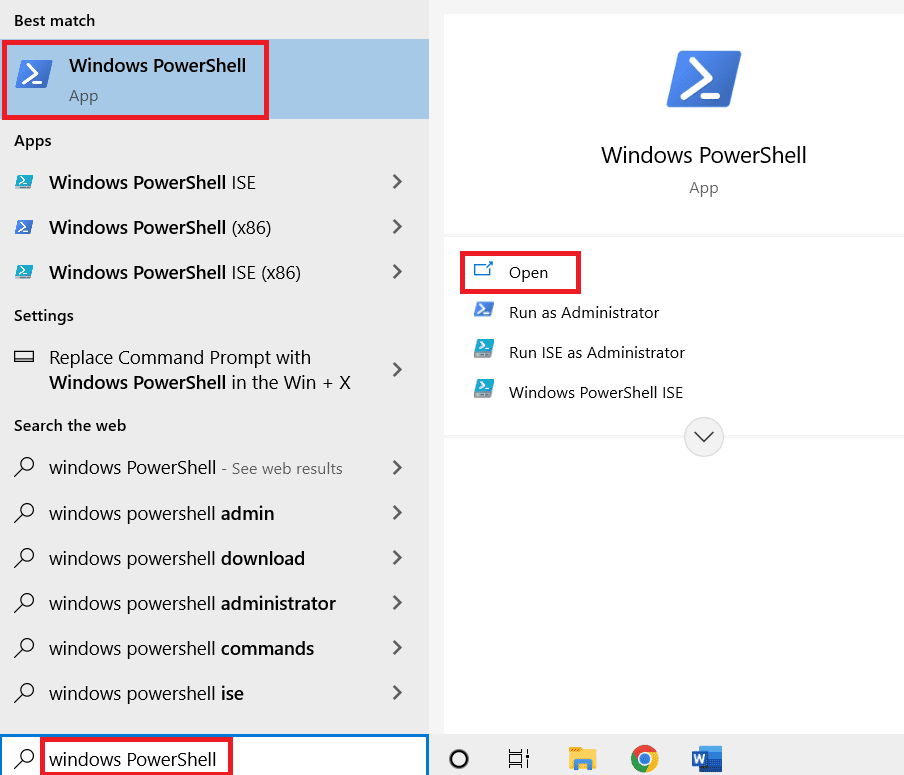
1。 按 Windows鍵,輸入 PowerShell的,然後點擊 已提交.
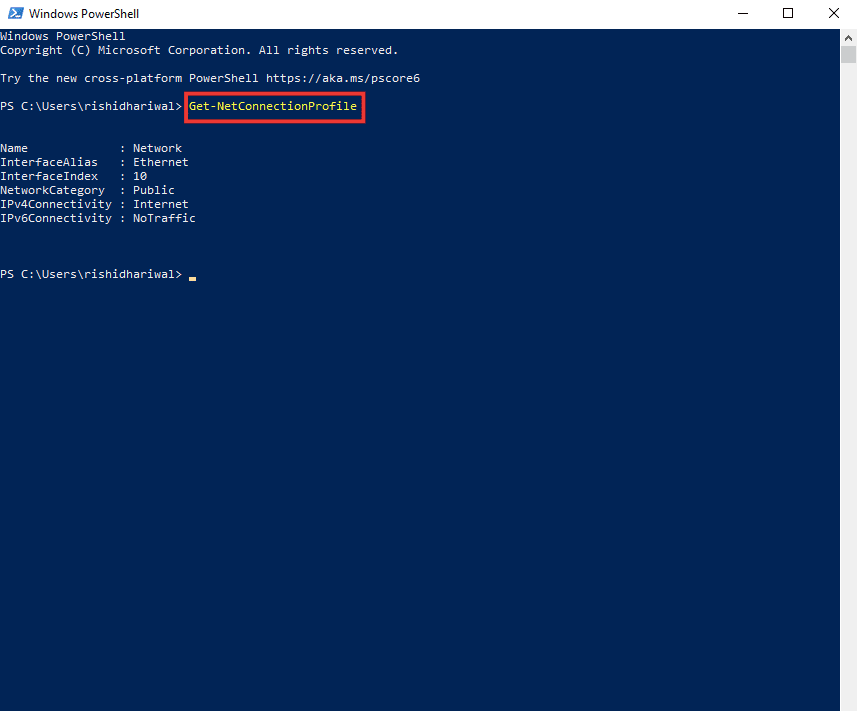
2. 鍵入 GET-NetConnectionProfile 命令並按 回車鍵 to check your network profile.
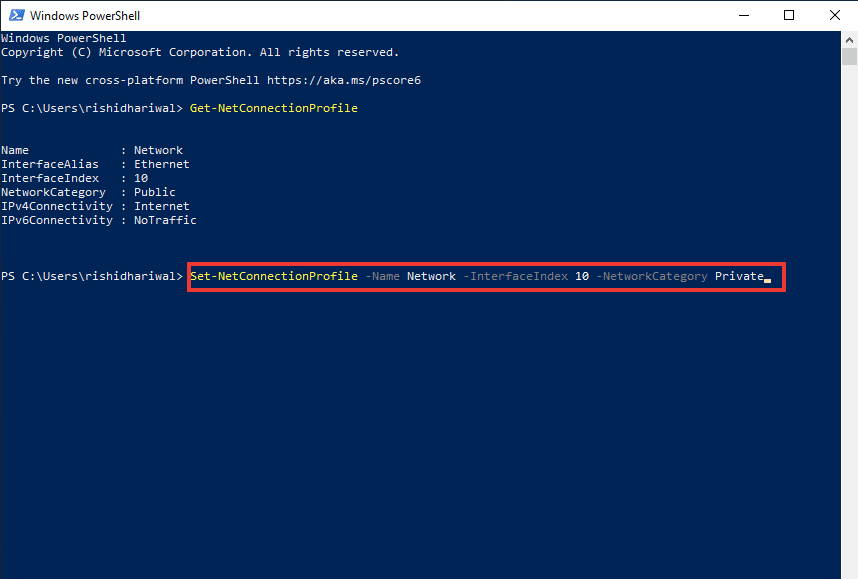
3. To change it to private, type the following command and press the 回車鍵.
Set-NetConnectionProfile -Name Network -InterfaceIndex 10 -NetworkCategory Private
注意: 更換 InterfaceIndex number in the command according to your system.
4. Finally, check if Windows doesn’t have a network profile for this device issue is resolved.
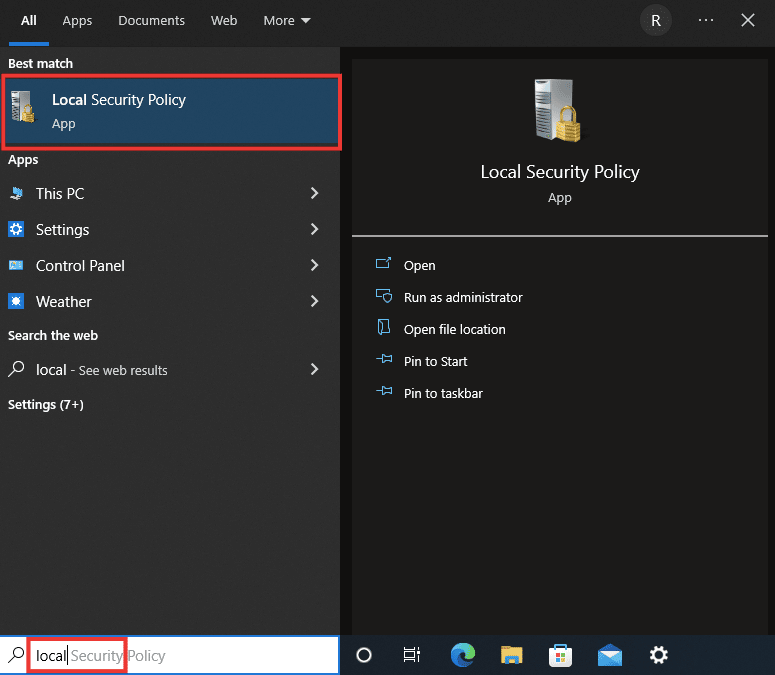
Option III: Through Local Security Policy
1。 按 Windows鍵,輸入 當地,然後點擊 本地安全策略.
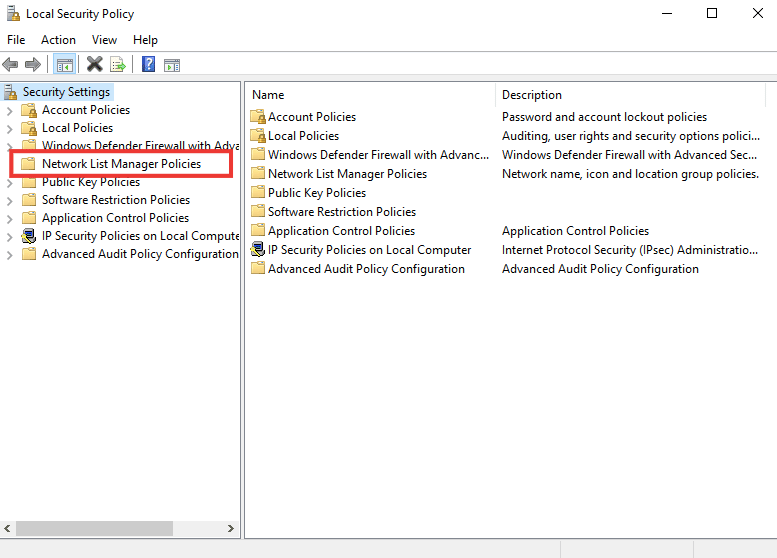
2。 點擊 Network List Manager Policies.
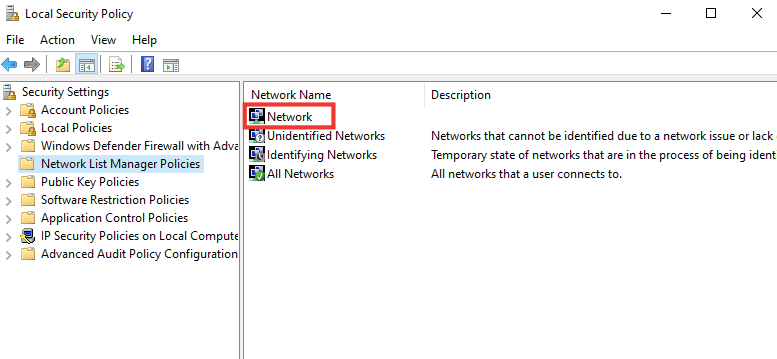
3. Select the connected 網絡 並雙擊它。
4。 轉到 網絡位置 部分。
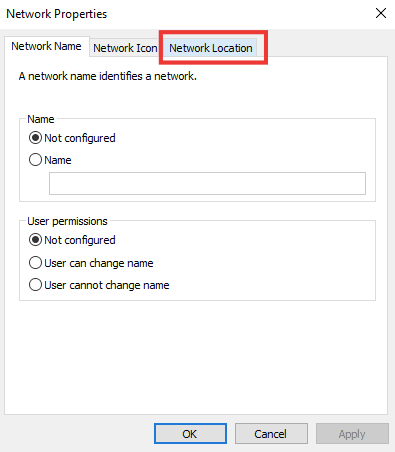
5。 選擇 私人的 選項。
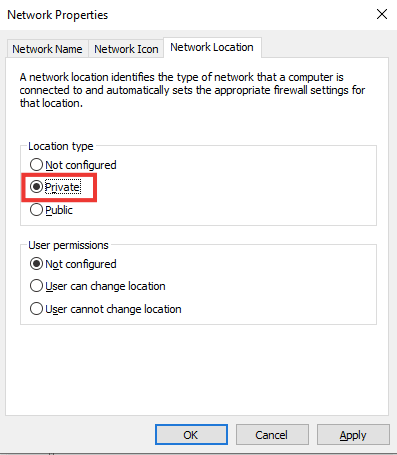
6。 點擊 登記 然後點擊 OK.
相關閱讀: 修復 Windows 10 中找不到 WiFi 網路的問題
Method 7: Modify SNMP Service Settings
SNMP (Simple Network Management Protocol) provides network managers with information about the devices that are connected to the network. To resolve the Windows 10 network profile missing issue, we will use this method to check the status of SNMP and enable automatic startup.
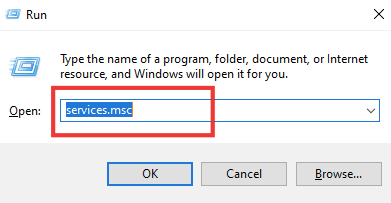
1。 按 視窗+ R鍵 同時打開 跑 對話框。
2。 類型 SERVICES.MSC 並按下 回車鍵 打開 服務 窗口。
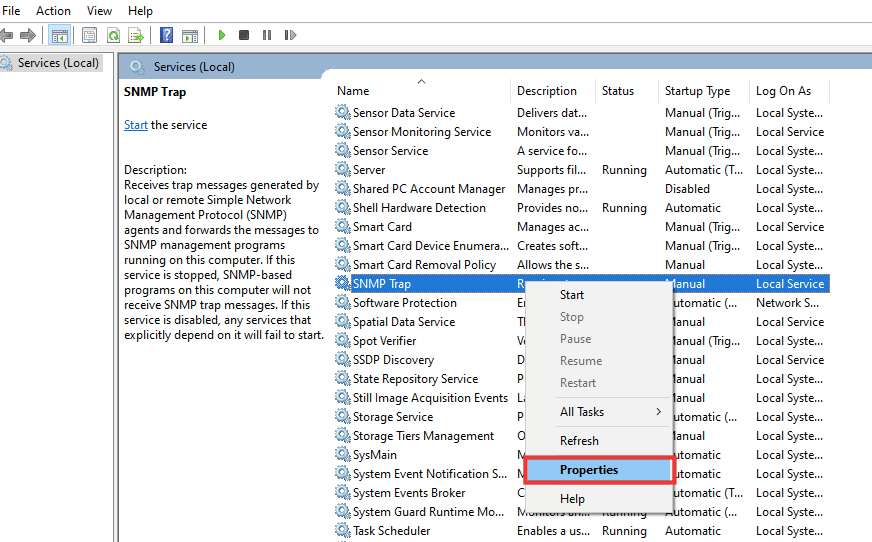
3。 右鍵單擊 SNMP 陷阱 it and then click on 氟化鈉性能.
4。 從 “啟動類型” drop-down menu, switch to Automatic 自動錶 mode as illustrated below.
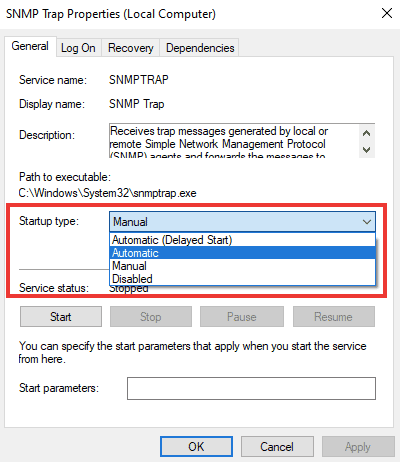
5。 點擊 登記 然後點擊 OK.
推薦:
我們希望本指南對您有所幫助並且您能夠解決問題 Windows 10 network profile missing problem. Let us know which method worked for you best. If you have any queries or suggestions, then feel free to drop them in the comments section below.