When you try to install apps on Windows Store, you may face Error Code 0x80073cf9, which can be very frustrating as Windows Store is a reliable source to install apps. If you try to install 3rd party apps from any other source, you risk your machine to malware or infections but what other option you have if you cannot install apps from Windows Store. Well, that’s where you’re wrong this error can be fixed, and that’s what exactly we are going to teach you in this article.
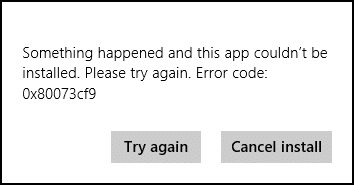
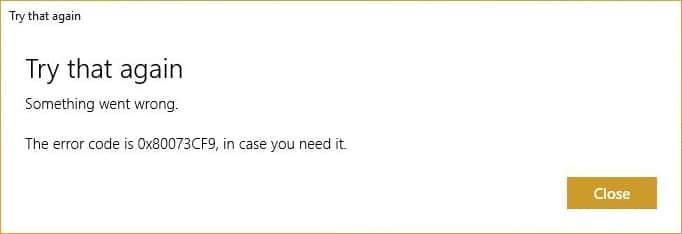
Something happened, and this app couldn’t be installed. Please try again. Error code: 0x80073cf9
There is no single cause as to why this error occurs so that various methods can fix this error. Most of the times it completely depends on the user machine configuration as to which method might work for them, so without wasting any time, let’s see how to fix this error.
修復 Windows 10 商店錯誤 0x80073cf9
確保創建一個還原點以防萬一出現問題。
Method 1: Create A Folder AppReadiness
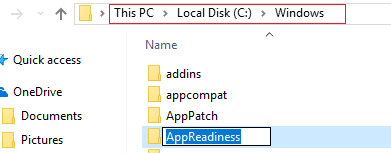
1. 按 Windows 鍵 + R 然後輸入 C:Windows的 並按Enter鍵。
2.找到資料夾 AppReadniess in the Windows folder, if you can’t follow the next step.
3. Right-click in an empty area and select 新建 > 資料夾。
4. Name the newly created folder as 應用就緒 並按Enter鍵。
5. Reboot your PC to save changes. Again try to access the Store, and this time it might work perfectly.
方法 2:重新安裝 Windows 應用程式商店
1. Open Command Prompt as an 管理員。

2. Run below PowerShell command
Get-AppxPackage -AllUsers | Foreach {添加-AppxPackage -DisableDevelopmentMode-註冊“ $($ _。InstallLocation)AppXManifest.xml”}

3. Once done, close command prompt and Restart your PC.
This step re-register Windows Store apps which should automatically Fix Windows 10 Store Error 0x80073cf9.
Method 3: Create a folder AUInstallAgent
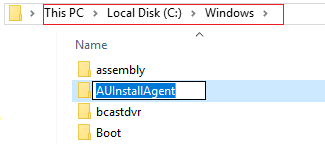
1. 按 Windows 鍵 + R 然後輸入 C:Windows的 並按Enter鍵。
2.找到資料夾 AUInstallAgent in the Windows folder, if you can’t then follow the next step.
3. Right-click in an empty area and select 新建 > 資料夾。
4. Name the newly created folder as AAUInstallAgent 並按Enter鍵。
5. Reboot your PC to save changes. This step may fix Windows 10 Store Error 0x80D05001 or 0x80073cf9 but if it didn’t then continue.
Method 4: Allow Full System Access to Packages in AppRepository
1. 按 Windows 鍵 + R 然後輸入 C:程序數據微軟視窗 並按Enter鍵。
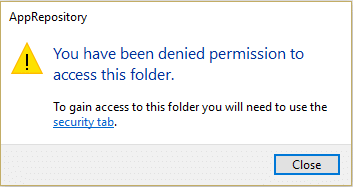
2. Now double click on AppRepository folder to open it, but you will receive an error:
You have been denied permission to access this folder.
3. This means you need to take ownership of this folder before you can access it.
4. You can take ownership of the folder via the following method: How To Fix Destination Folder Access Denied Error.
5. Now you need to give the SYSTEM account, and the APPLICATION PACKAGES account full control on the folder C:ProgramDataMicrosoftWindowsAppRepositoryPackages. To this follow the next step.
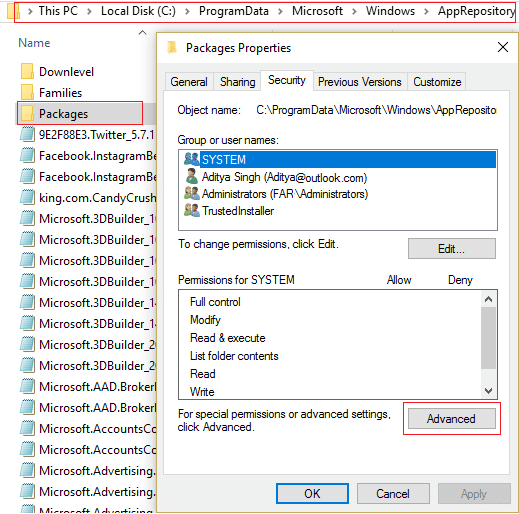
6.右鍵單擊 Packages folder 並選擇 屬性。
7。 選擇 安全選項卡 然後單擊 高級。
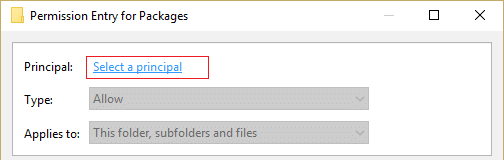
8. In Advanced Security Settings, click 加入 and click on Select a 主要.
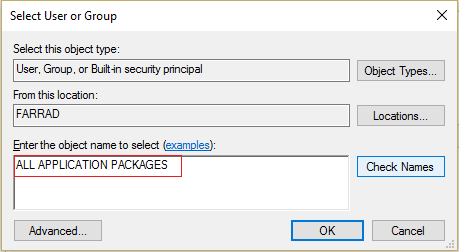
9.接下來,輸入“所有應用程序包” (without quote) in the field Enter the object name to select and click OK.
10. Now, on the next window check mark Full control and then click OK.
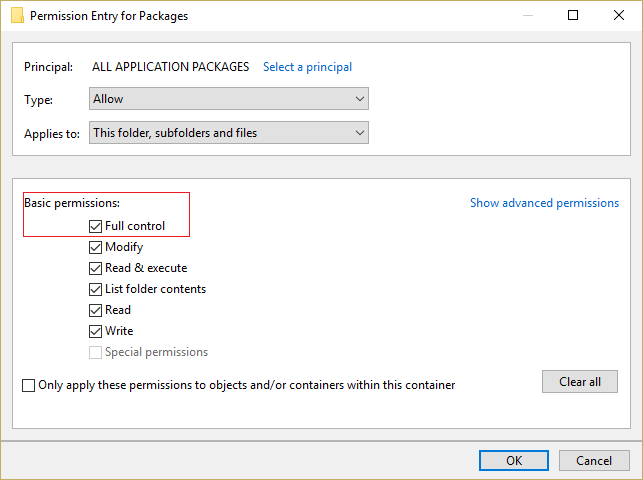
11. Do the same with the SYSTEM account. Reboot your PC to save changes.
Method 5: Rename Software Distribution Folder
1. Press Windows Key + Q to open Charms Bar and type 指令
2. Right-click on cmd and select 以管理員身份運行。
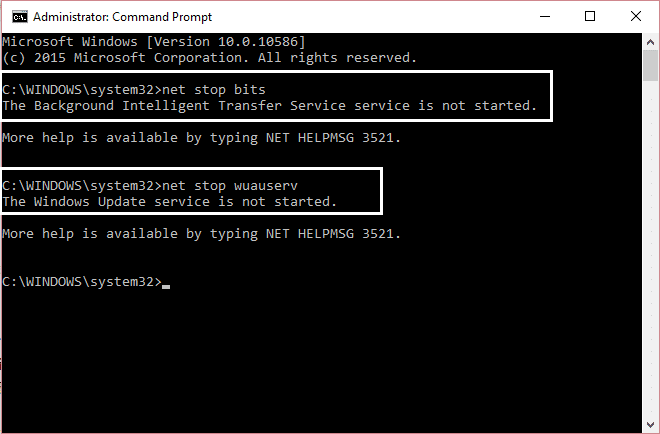
3. Type these commands and hit enter:
net stop wuauserv
ren c:windowsSoftwareDistribution softwaredistribution.old
net start wuauserv
exit
4. Reboot your PC to saves changes and again try to download updates.
方法四:運行DISM(部署鏡像服務與管理)
1. 按 Windows 鍵 + X,然後選擇 命令提示符(管理員)。

2. Enter the following command in cmd and hit enter:
重要事項: 當您 DISM 時,您需要準備好 Windows 安裝媒體。
DISM.exe /Online /Cleanup-Image /RestoreHealth /Source:C:RepairSourceWindows /LimitAccess
注意: 將 C:RepairSourceWindows 替換為修復來源的位置

3. Press enter to run the above command and wait for the process to complete; usually, it takes 15-20 minutes.
備註: 如果上述命令不起作用,請嘗試以下命令: Dism /Image:C:offline /Cleanup-Image /RestoreHealth /Source:c:testmountwindows Dism /Online /Cleanup-Image /RestoreHealth /Source:c:testmountwindows /LimitAccess
4. After the DISM process is complete, type the following in the cmd and hit Enter: SFC / SCANNOW
5. Let System File Checker run and once it’s complete, restart your PC.
方法 7:運行 CCleaner 和 Malwarebytes
1。 下載並安裝 CCleaner &惡意軟體位元組。
2. 運行惡意軟件字節 並讓它掃描您的系統以查找有害文件。 如果發現惡意軟件,它將自動刪除它們。

3.現在運行CCleaner並選擇 定制清潔.
4. 在自定義清潔下,選擇 窗口選項卡 並選中默認值並單擊 分析.

5. 分析完成後,請確保您確定要刪除要刪除的文件。

6.最後,點擊 運行清潔器 按鈕,讓 CCleaner 運行它。
7.為了進一步清理你的系統, 選擇註冊表選項卡,並確保檢查以下內容:

8。 點擊 檢查問題 按鈕並允許 CCleaner 掃描,然後單擊 解決選定的問題 按鈕。

9. 當 CCleaner 詢問“您想要對註冊表進行備份更改嗎?“ 選擇是.
10. 備份完成後,單擊 修復所有選定的問題 按鈕。
11. 重新啟動您的 PC 以保存更改。
方法 8:清除 Windows 應用商店緩存
1. 按 Windows 鍵 + R 然後輸入 重置工具 並回車。
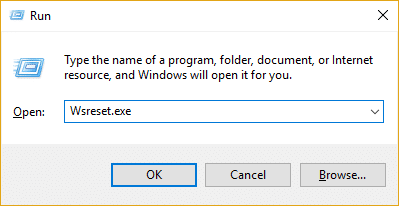
2. 過程完成後,重新啟動您的電腦。
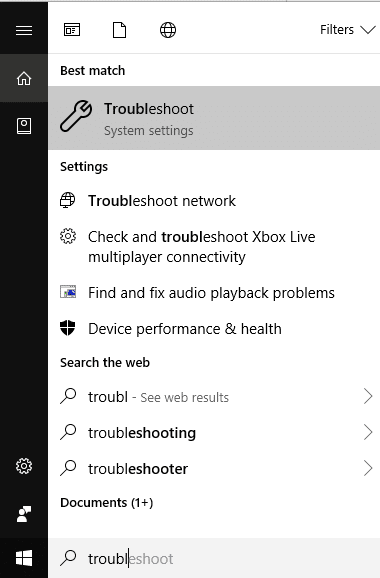
Method 9: Run Windows Update and Windows Store Apps troubleshooter
1。 類型 疑難解答 in the Windows Search bar and click on 疑難解答。
2.接下來,從左側窗口中,窗格選擇 查看全部。
3. 然後從排除計算機問題列表中選擇 Windows更新。

4. Follow on-screen instruction and let the Windows Update Troubleshoot run.

5. Now again go back to the View all window but this time select Windows商店應用程序. Run the troubleshooter and follow on-screen instructions.
6. Restart your PC and again try to install apps from Windows Store.
推薦:
這樣你就成功了 修復 Windows 10 商店錯誤 0x80073cf9 but if you still have any queries regarding this post feel free to ask them in comment’s section.

