How to Add a Picture Password in Windows 10

Windows 10 has a lot of security features which are very useful for all users. Still, today we are talking about a particular feature which makes it easier for users to authenticate themselves while logging into their PC. With the introduction of Windows 10, you could now use password, PIN or picture password to log in to your computer. You could also set all three of them and then from the sign-in screen, and you could switch between any of these options to authenticate yourself. The only problem with these sign-in options is that they don’t work in Safe Mode and you have to only use the traditional password to login to your computer in safe mode.
But in this tutorial, we would be talking specifically about Picture Passwords and how to set it up in Windows 10. With picture password, you don’t need to remember the long password instead you sign in by drawing different shapes or making the right gesture over an image to unlock your PC. So without wasting any time let’s see How to Add a Picture Password in Windows 10 在下面列出的指南的幫助下。
How to Add a Picture Password in Windows 10
確保建立一個還原點,以防出現問題。
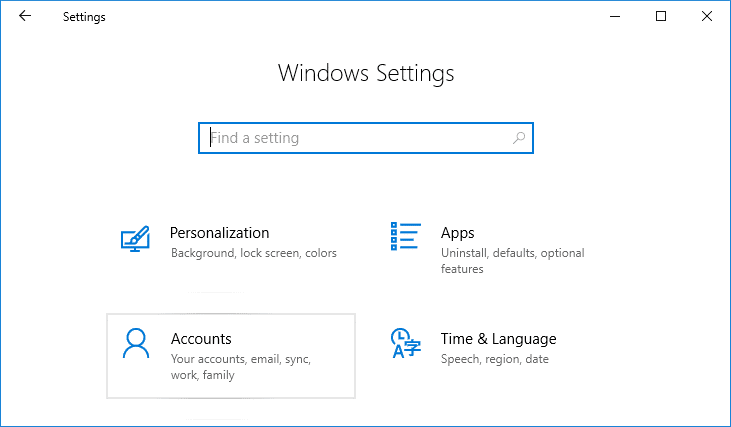
1.按Windows鍵+ I打開設置然後點擊 賬戶。
2. 從左側菜單中,選擇 登錄選項。
3. 現在在右側視窗窗格中按一下“加入“下 Picture Password.
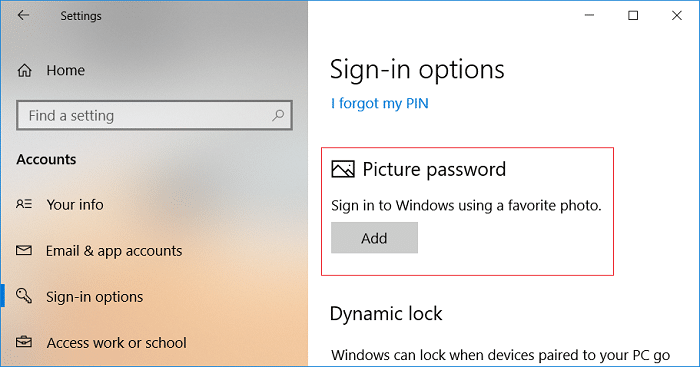
注意: A local account must have a password to be able to add a picture password. A Microsoft account will be password protected by default.
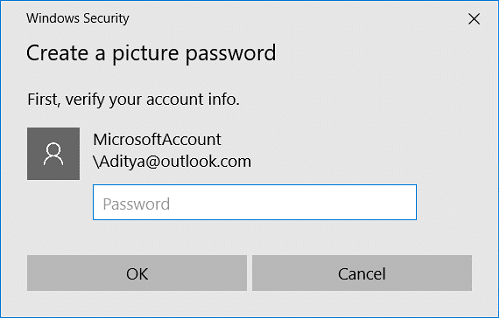
4. Windows 會要求您驗證身份, so Enter your account password and click OK.
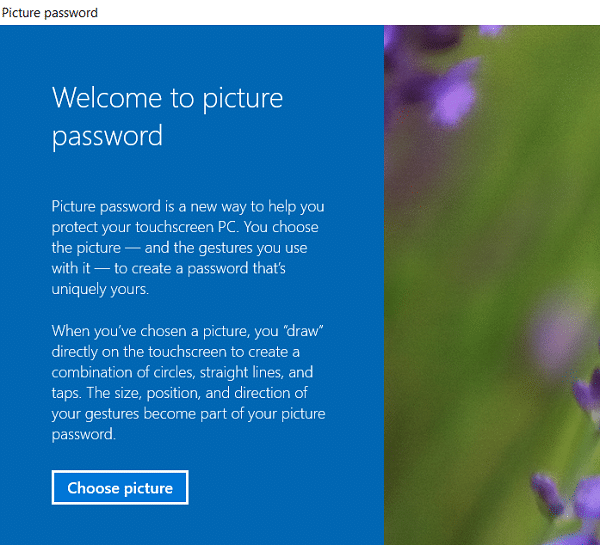
5. A new picture password window will open, 點擊 ”選擇圖片“。
6。 下一個, navigate to the picture’s location in Open dialog box then select the picture and click 打開。
7. Adjust the image by dragging it to position it the way you want then click “使用這張圖片“。
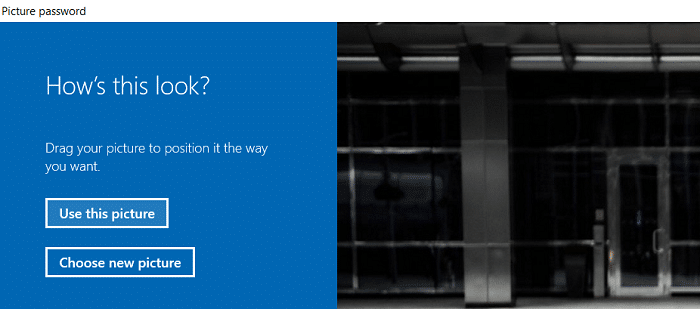
注意: If you want to use a different picture, click on “Choose new picture” then repeat the steps from 5 to 7.
8. 現在你必須 draw three gesture one by one on the picture. As you draw each gesture, you will see the numbers will move from 1 to 3.
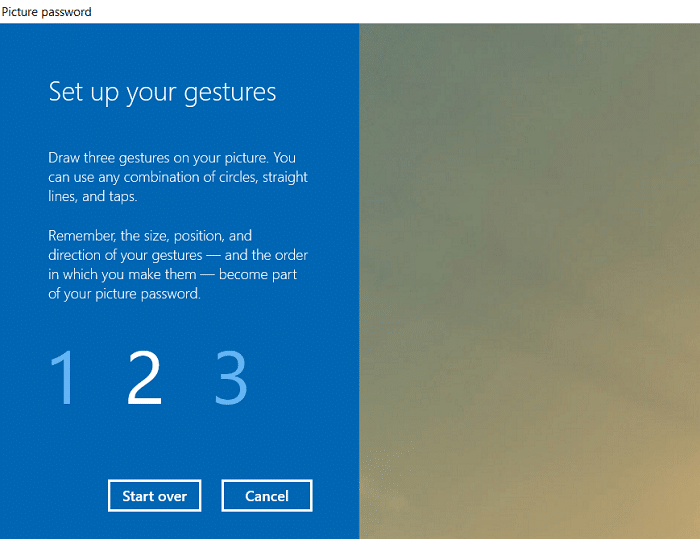
注意: You can use any combination of circles, straight lines, and taps. You can click & drag to draw a circle or triangle or any shape you like.
9. Once you draw all the three gestures, you will be asked to draw them all again to confirm your password.
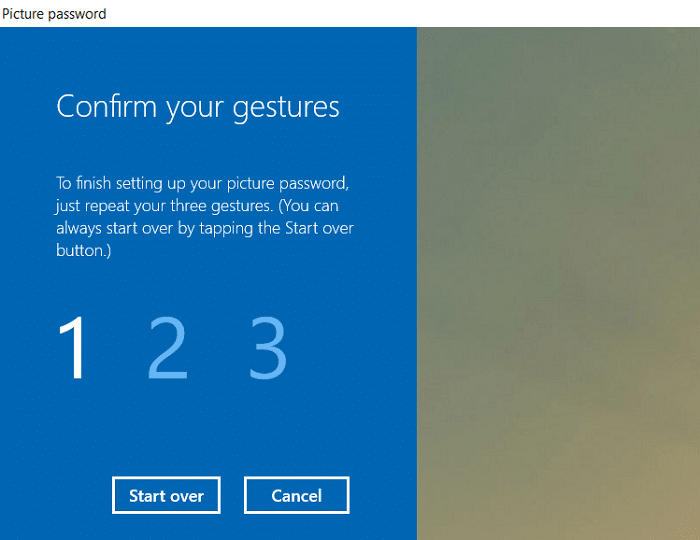
10. If you mess up your gestures, you could click on “重來” to start the process again. You would need to draw all the gestures from the beginning.
11。 最後, after adding all the gestures click Finish.
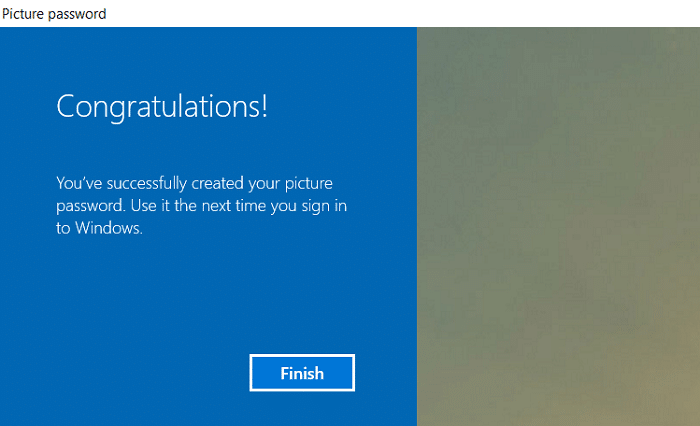
12. That’s it, your picture password has now been added as a sign-in option.
How to Change Picture Password in Windows 10
1.按Windows鍵+ I打開設置然後點擊 賬戶。
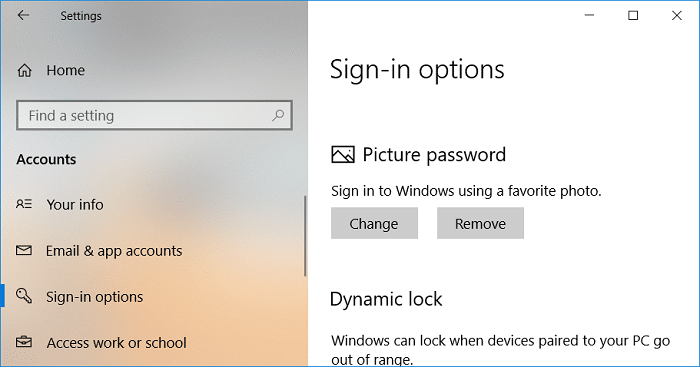
2. 從左側菜單中,選擇 登錄選項。
3. 現在在右側視窗窗格中按一下“更改”按鈕下 Picture Password.
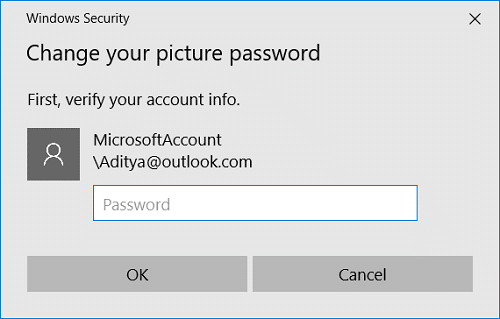
4. Windows will ask you to verify your identity, so Enter your account password 並點擊確定。
5。 現在 you have two options, either you could change the gestures of your current picture, or you could use a new picture.
6. To use the current picture, click on “使用這張圖片” and if you want to use a new image, click “選擇新圖片“。
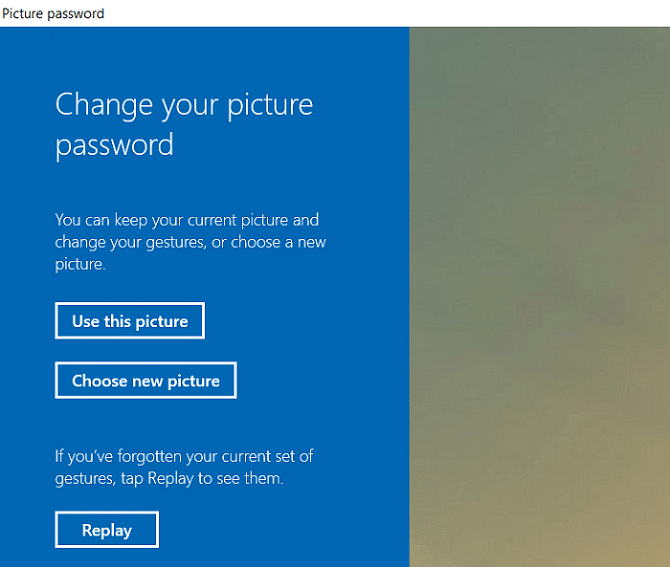
注意: If you click “Use this picture” then skip the steps 7 and 8.
7. Navigate to and select the picture file you want to use then click 打開。
8. Adjust the image by dragging it to position it the way you want then click “使用這張圖片“。
9. 現在你必須 draw three gesture one by one on the picture.
注意: You can use any combination of circles, straight lines, and taps. You can click & drag to draw a circle or triangle or any shape you like.
10. Once you draw all the three gestures, you will be asked to draw them all again to confirm your password.
11. Finally, after adding all the gestures click 完成。
12. 重新啟動您的 PC 以保存更改。
How to Remove a Picture Password in Windows 10
1.按Windows鍵+ I打開設置然後點擊 賬戶。
2. 從左側菜單中,選擇 登錄選項。
3. 現在在右側視窗窗格中按一下“清除”按鈕下 Picture Password.
4. That’s it, your picture password has now been removed as a sign-in option.
5. 關閉所有內容並重新啟動電腦以儲存變更。
推薦:
這樣你就成功學會了 How to Add a Picture Password in Windows 10 但如果您對本教程仍有任何疑問,請隨時在評論部分提出。