How to Disable Fast Startup in Windows 11/10 (And Why You Should)

Did you know that a Windows 10 or 11 shutdown doesn’t really shut down your computer? That’s because of Fast Startup. Read on to learn about Fast Startup and how to disable it in Microsoft Windows.
Fast Startup, as its name implies, is a built-in Windows functionality that allows your computer to boot faster from a cold shutdown. That sounds like a good thing, right? Not always. We’ll explain what Fast Startup is and why you might want to disable it in Windows 10 or 11.

What Is the Fast Startup Feature?
Before you get to know how Fast Startup works, it’s a good idea to understand what the “kernel” is in Windows.
Basically, the kernel is the core of the operating system, and it’s what makes the software and hardware work. It’s always in memory, and it’s also what your computer’s firmware—the BIOS或UEFI—loads first.
When you turn off your PC, Windows closes all open apps and programs, signs you out of your user account, and powers down the operating system. At least, that’s what you think, right?
Starting Windows 8, however, a shutdown doesn’t shut everything down in the traditional sense. Instead, it caches the kernel to the hiberfil.sys (a.k.a. the hibernation file).
Since the kernel is what makes everything tick, having it in a state that makes it ready to go at a moment’s notice allows your computer to boot up faster when you initiate a cold start.
Fast Startup doesn’t significantly improve the startup time if Windows loads off a speedy SSD (solid state drive) or you have a powerful PC setup in general. However, it does shave off multiple seconds when booting the operating system from an older hard drive.
Why You Should Disable Fast Startup
Despite the advantage that Fast Startup brings, it can often be the source of multiple issues on a computer running Windows 10 or 11.
For starters, repeatedly loading the same kernel session increases the chances of creating mismatches between actual and cached software components, especially after system or driver updates.
That could lead to BSOD(藍屏死機) and other startup errors or prevent hardware peripherals from working correctly. Fast Startup also tends to cause problems while finalizing Windows updates.
Furthermore, if your computer is in a dual or multi-boot configuration (e.g., Windows and Linux), Fast Startup is known to lock access to the Windows drive when booting into a non-Windows operating system.
Even worse, making changes to partitions from one operating system might lead to corruption issues when switching over to another.
Suppose you believe that Fast Startup is the reason behind a particular problem (or you want to avoid a potential conflict because of it); you can temporarily stop Windows from caching the kernel during a shutdown.
Here are a couple of methods to help you with that:
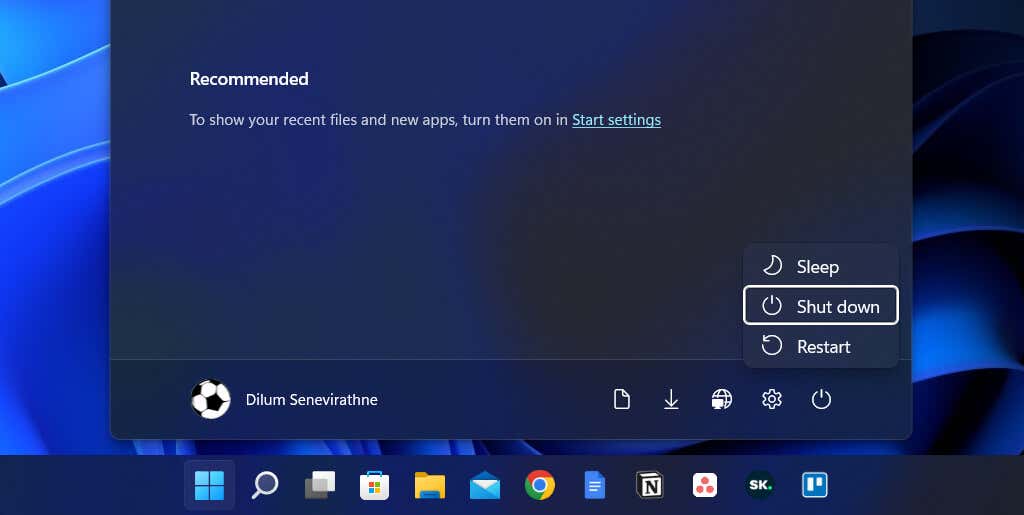
- Perform a regular shutdown while holding down the 轉移 鍵。
- 選擇 重新啟動 而不是 關閉 to prompt the operating system to shut down and reboot automatically. This can come as a surprise, but an automatic restart skips Fast Startup, while a “full shutdown” does not.
How to Disable Fast Startup in Windows
Although it’s easy to bypass Fast Startup and clear the kernel cache, you may want to consider disabling Fast Startup altogether if your computer keeps running into issues constantly or you have multiple operating systems installed.
Disable Fast Boot via the Control Panel
The fastest way to turn off Fast Startup in Windows 11 and 10 is to use the 控制面板。只是:
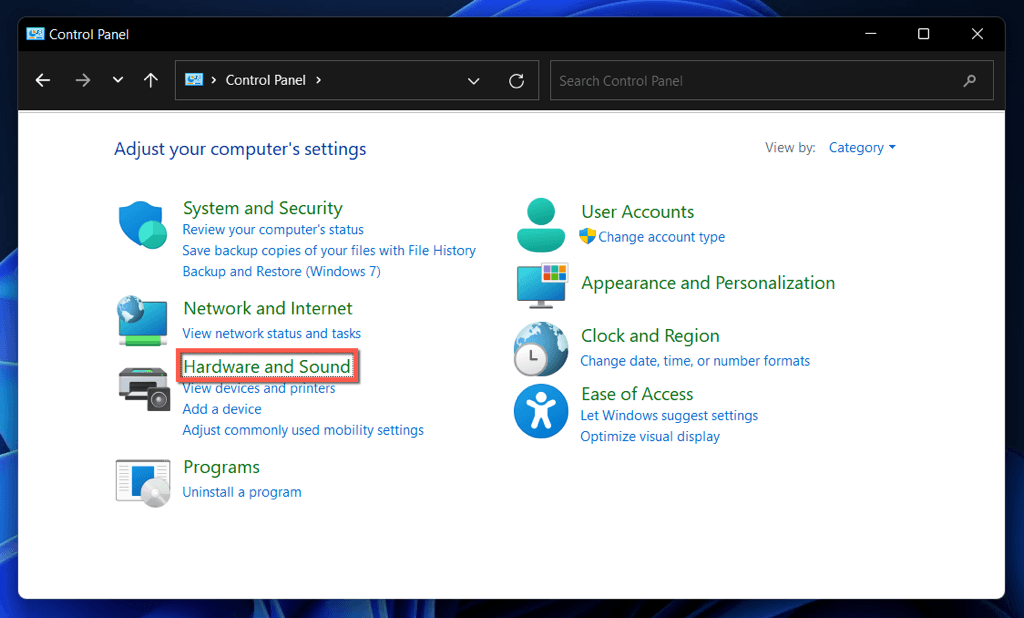
- 打開 Start menü,輸入 控制面板,然後選擇 已提交.

- 點擊 硬件和聲音 類別。
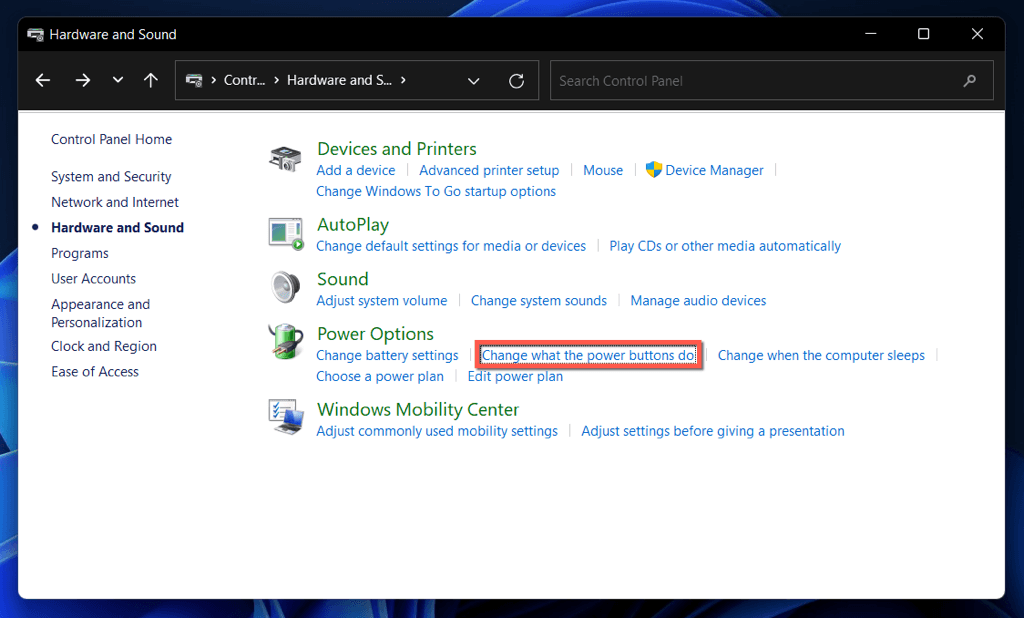
- 選擇 選擇什麼 電源按鈕 do 在 電源選項 部分。
- 選擇 更改當前不可用的設置.
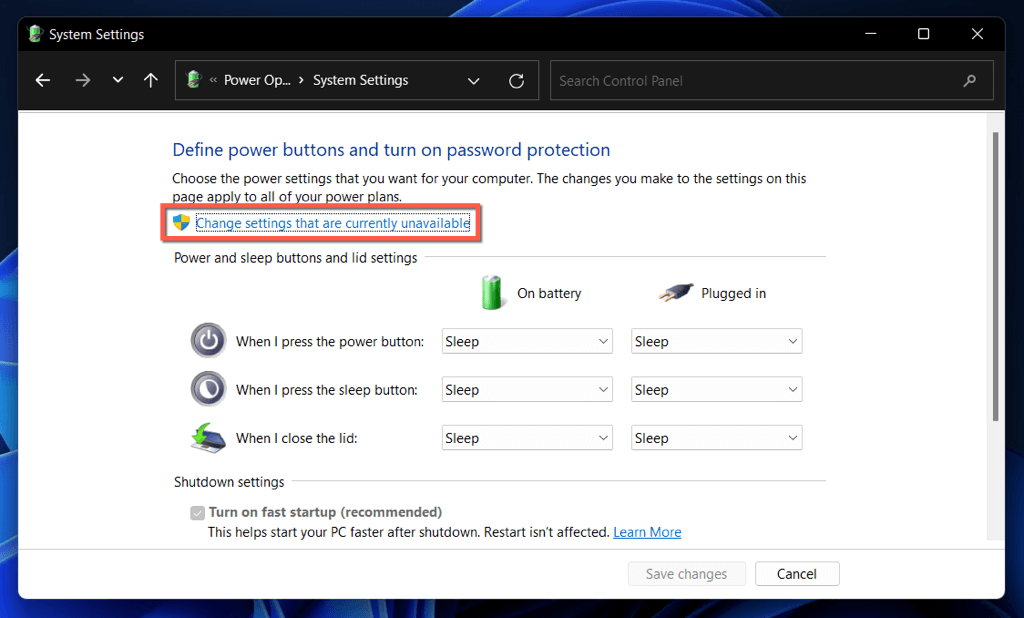
- 取消選中旁邊的框 打開快速啟動(推薦) 啟動選項。
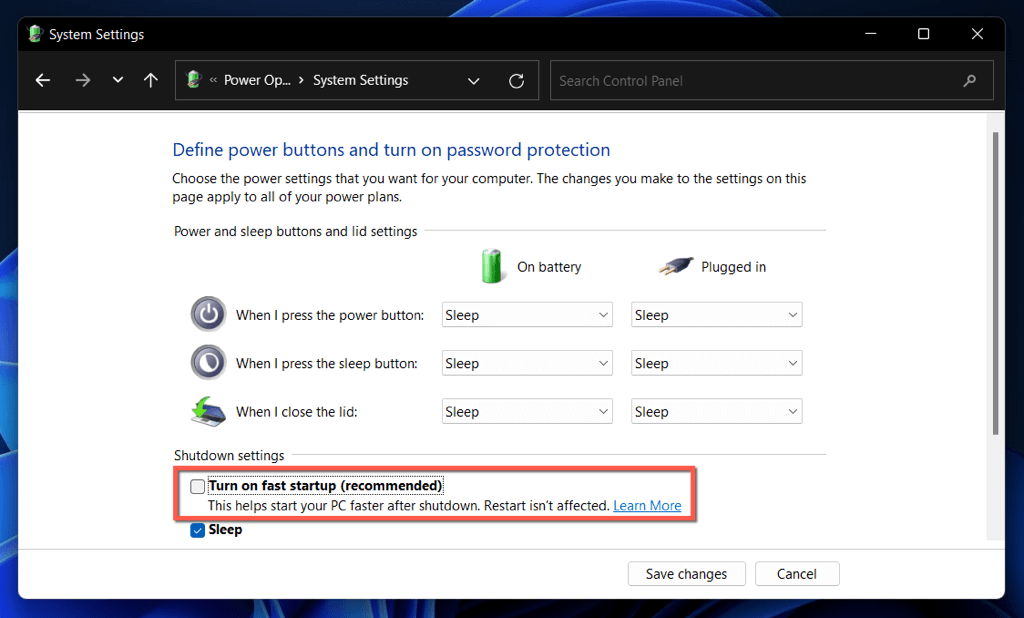
- 選擇 保存更改.
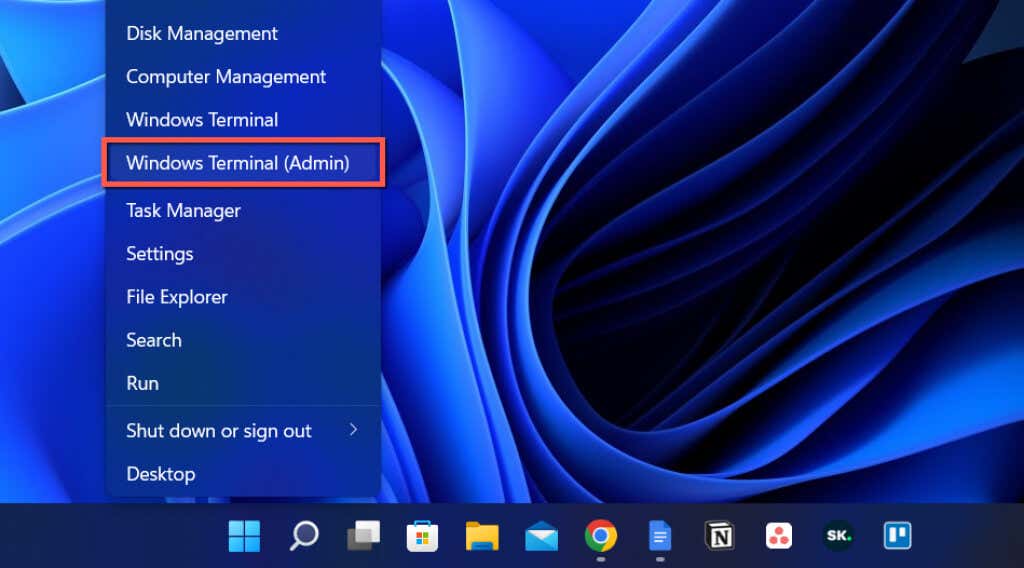
If you don’t see the Fast Startup option, the 蟄伏 power setting is likely disabled on your computer. Run the command below in an elevated Windows PowerShell or Command Prompt console to activate it:
- 用鼠標右鍵單擊 開始按鈕 並選擇 Windows PowerShell/Terminal (Admin). Or, type CMD into the Start menu and choose 以管理員身份運行.
- 鍵入以下命令:
POWERCFG /過冬 on
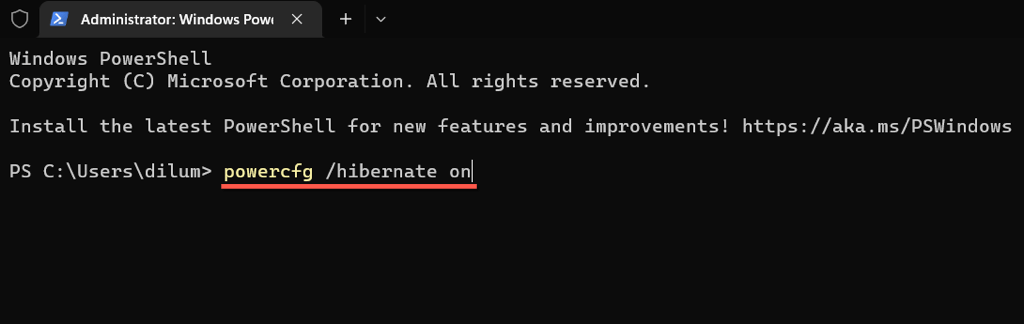
- 媒體推薦 Enter.
You can now disable Fast Startup via the Control Panel.
Disable Fast Boot via the Registry Editor
Another—albeit less convenient—method to disable Fast Startup is to perform the following tweak via the Registry Editor. It’s best to 備份系統註冊表 在你開始之前。
- 媒體推薦 Windows + R,輸入 註冊表編輯器,然後選擇 OK.
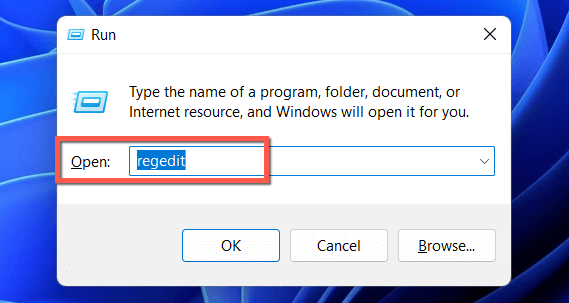
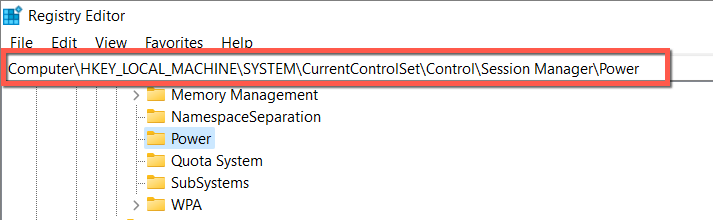
- Copy the following path into the address bar at the top of the Registry Editor window and press Enter:
HKEY_LOCAL_MACHINESYSTEMCurrentControlSetControlSession ManagerPower
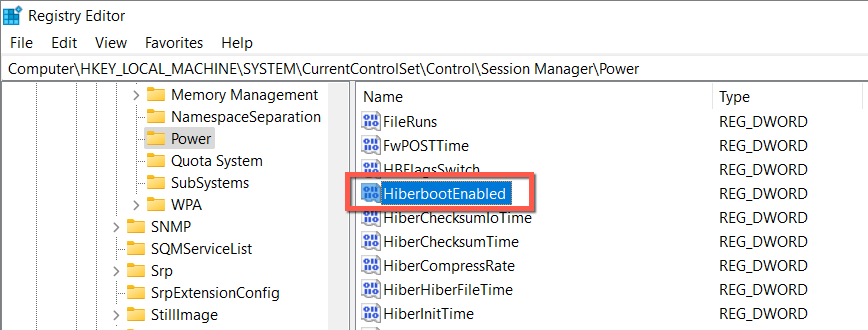
- 雙擊 休眠啟動已啟用 registry value on the right pane.
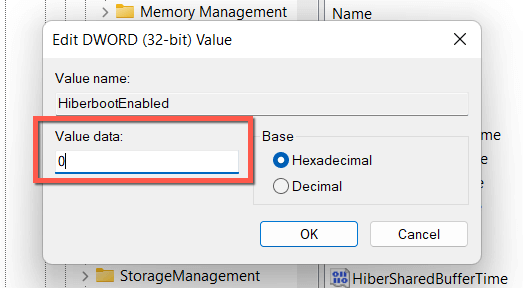
- Enter 0 到 起息日 字段並選擇 OK.
- 退出註冊表編輯器。
- 關閉並重新啟動計算機。
Disable Fast Boot via the Local Group Policy Editor
If your PC runs the Profesional, Enterprise, or Education editions of Windows 10 or 11, you can use the Local Group Policy Editor to disable Fast Startup.
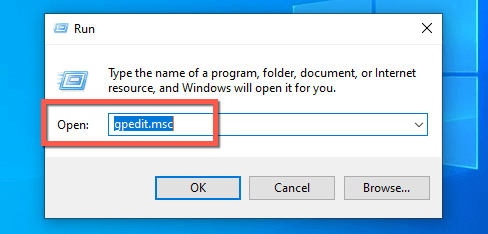
- 打開運行框,輸入 輸入gpedit.msc,然後選擇 OK.
- Navigate to the following location on the Local Group Policy Editor sidebar:
“計算機配置” > “管理模板” > 系統 > 關閉
- 雙擊 需要使用快速啟動 policy setting on the right pane.
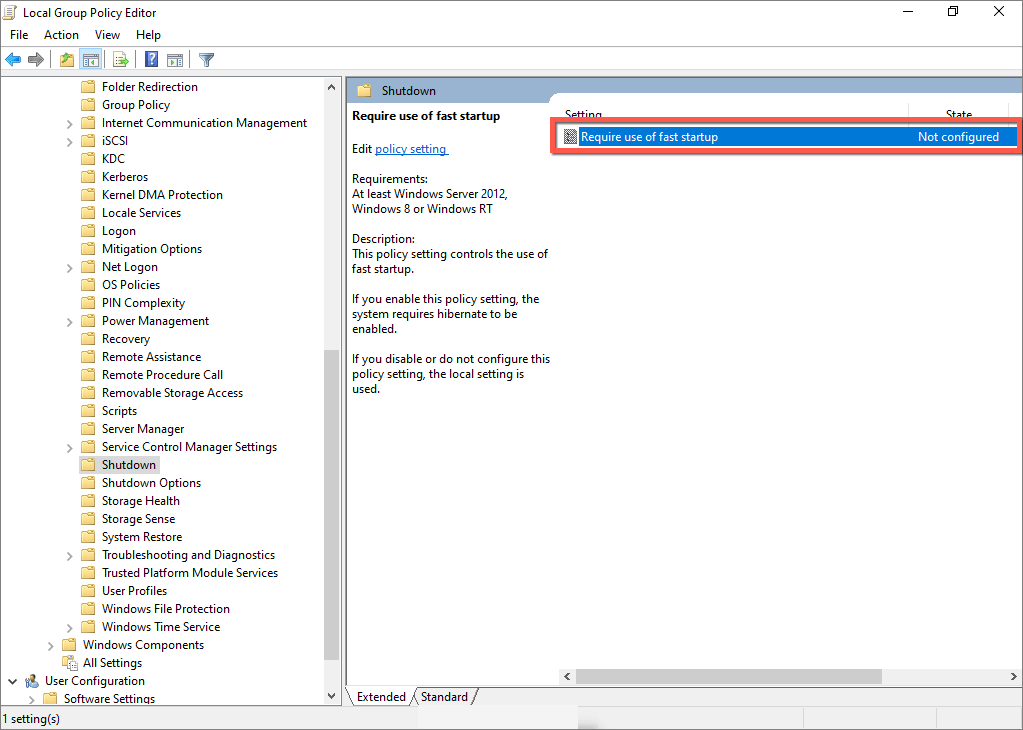
- 選擇旁邊的單選按鈕 殘疾人.
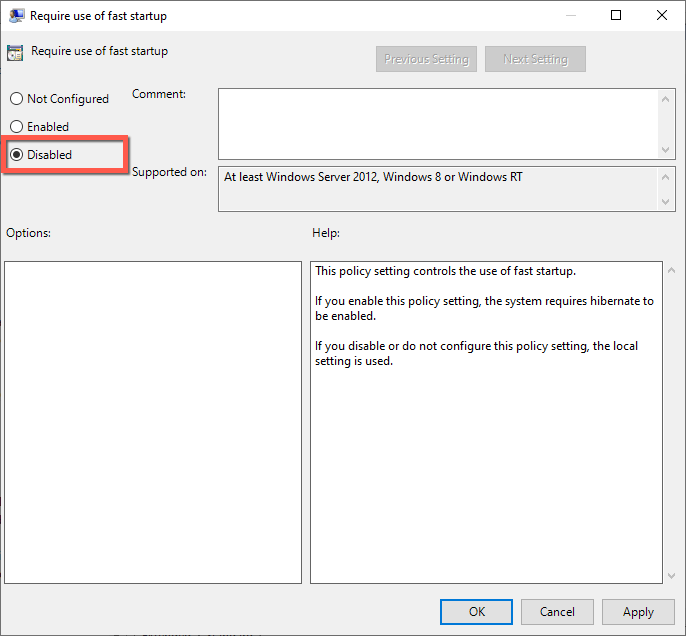
- 選擇 登記 和 OK.
Fast Startup: Keep It or Disable It
Unless you use a fairly old PC with a mechanical HDD or just the bare minimum CPU or RAM needed to run Windows 11 or 10, you probably won’t see a significant performance increase to the boot time with Fast Startup enabled.
However, there’s little reason to disable Fast Startup permanently unless you encounter persistent issues, have trouble installing updates, or use more than a single operating system. Don’t forget that you can easily bypass the feature whenever you want.