Listed here are the steps on allow and Use Auto-Clicker on Your Chromebook
- 打開 設定 應用程序。
- 點擊 無障礙服務.
- 一直向下滾動到 鼠標和触摸板.
- 切換 Routinely click on when the mouse cursor stops.
- You can too regulate the Delay earlier than clicking 和 Motion threshold.
Upon getting enabled Auto-Clicker, your Chromebook will mechanically click on each time the mouse cursor stops. The delay earlier than clicking is the period of time that the mouse cursor have to be stopped earlier than a click on is registered. The motion threshold is the quantity of motion that the mouse cursor should make earlier than a click on is registered.
To make use of Auto-Clicker, merely transfer the mouse cursor to the specified location and cease. The Chromebook will mechanically click on at that location.
這裡列出了一些額外的建議:
- You should utilize Auto-Clicker to automate duties that require repeated clicks. For instance, you need to use Auto-Clicker to farm in a online game or to automate a click-based workflow.
- You can too use Auto-Clicker to simulate a bodily click on. For instance, you need to use Auto-Clicker to click on on a hyperlink or to open a file.
- Auto-Clicker is a strong instrument, nevertheless it can be abused. Watch out to not use Auto-Clicker in a manner that violates the phrases of service of any web site or utility.
The built-in ChromeOS auto-clicker mechanically performs particular actions when your cursor stops. The instrument permits you to left/proper click on, double-click, and choose textual content with out urgent your Chromebook’s touchpad or clicking mouse buttons.
It’s an accessibility-focused function designed to assist Chromebook customers with motor impairments. This tutorial covers every part about enabling, utilizing, and customizing the built-in auto-clicker in your Chromebook.
請參見:
How to Turn Off Num Lock on Your Computer
How to Turn On and Off Profile View History on TikTok

Easy methods to Allow Auto-Clicker on Chromebooks
- 已提交 設定, 打開 無障礙服務 tab (on the sidebar) and choose 光標和触摸板 鼠標和触摸板).
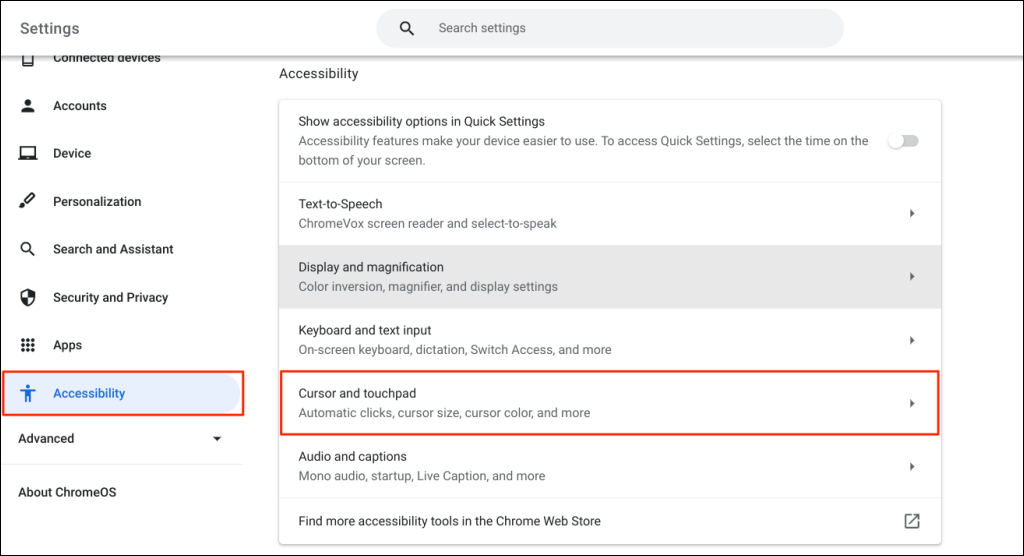
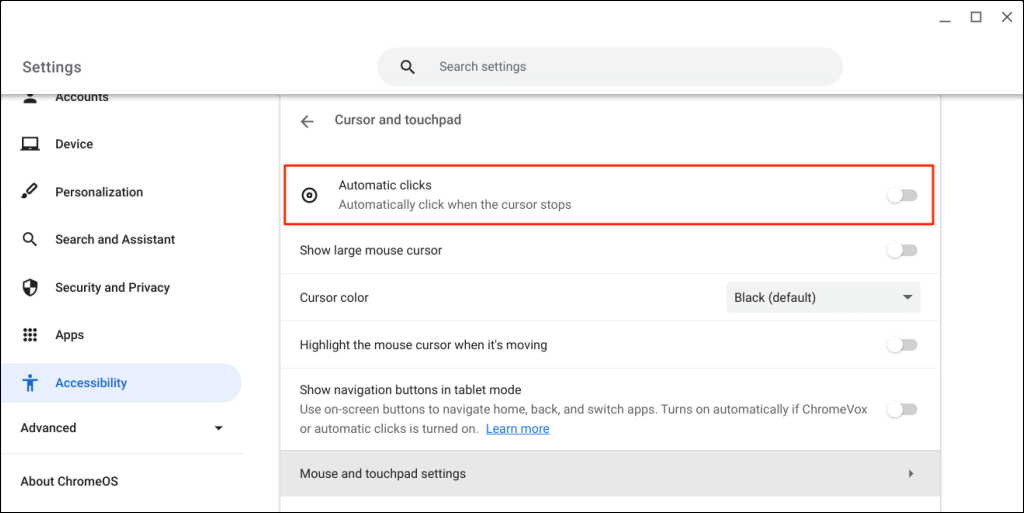
- 激活 Computerized clicks 可能性。
Your Chromebook will choose gadgets or carry out a left click on when the mouse pointer stops shifting. Level your cursor to the merchandise you need to click on/choose and anticipate a second.
Allow Auto-Clicker by way of Google Chrome
You can too allow the automated clicker by way of your Chromebook’s browser.
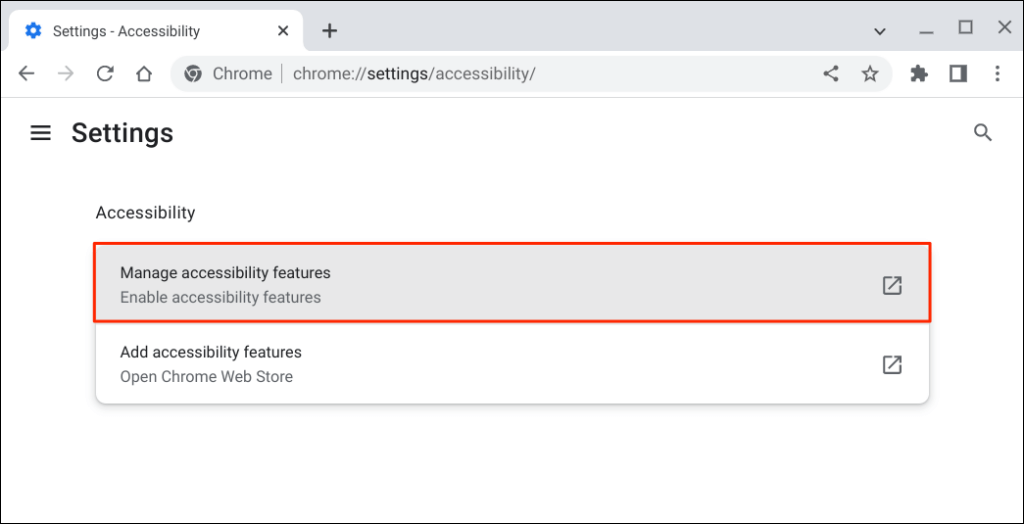
- Open the Google Chrome browser, kind or paste chrome://settings/accessibility/ within the tackle bar, and press Enter.

- 選擇 Handle accessibility options. That’ll open the “Accessibility” web page in your Chromebook’s settings app.
- 選擇 光標和触摸板.

- 切換 Computerized clicks.

Change the Auto-Clicker Delay
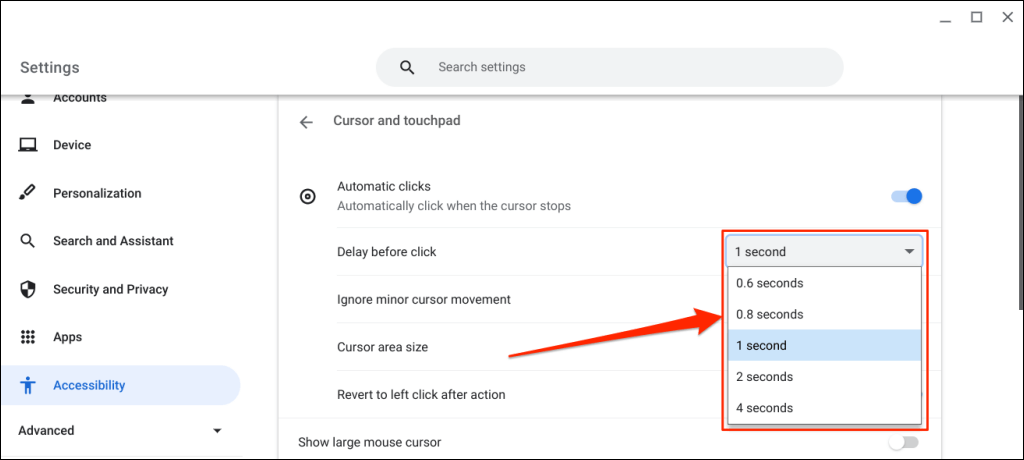
By default, the ChromeOS auto-clicker acts after a one-second delay. You’ll be able to prolong or cut back the delay to your choice on the “Cursor and touchpad” settings web page.
啟用 Computerized clicks, develop the “Delay earlier thanclick on” drop-down menu, and select how lengthy your Chromebook pauses earlier than performing an auto-click motion.
The Floating Auto-Clicker Menu
A floating auto-clicker menu seems within the bottom-left nook of your Chromebook’s display while you activate “Computerized clicks.”
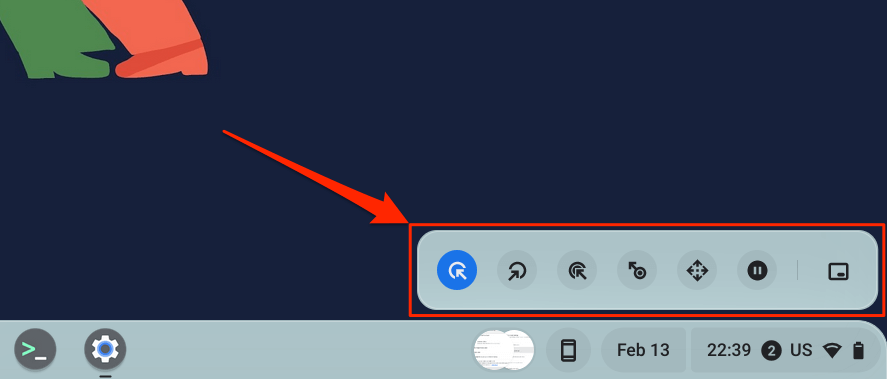
The menu packs the next sorts of clicks and actions:
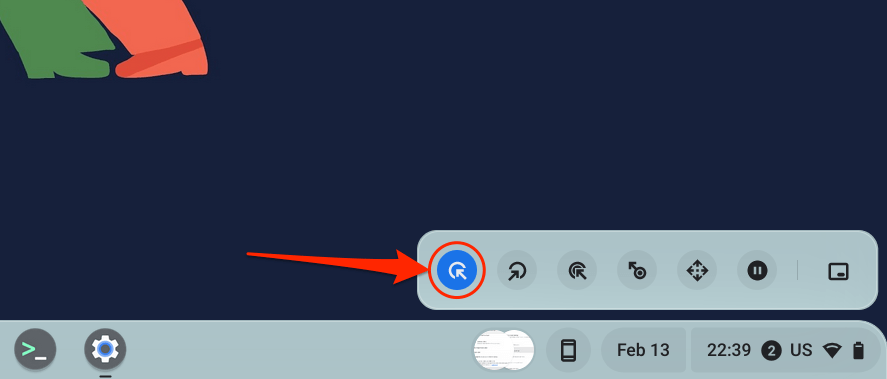
- 左鍵單擊: That is the icon on the floating menu’s left wing. Choose the icon to carry out a left click on while you level to an merchandise.
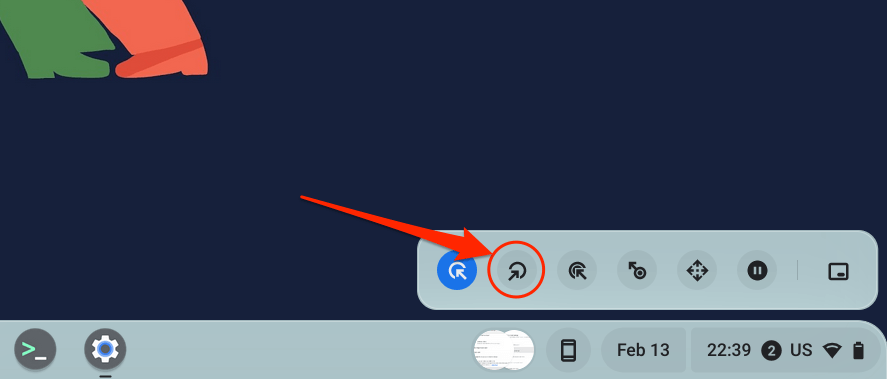
- Proper-click: Deciding on this configures the auto-clicker to open the right-click context menu when your Chromebook’s cursor stops shifting.
- 雙擊: This instructs the auto-clicker to double-click an merchandise.

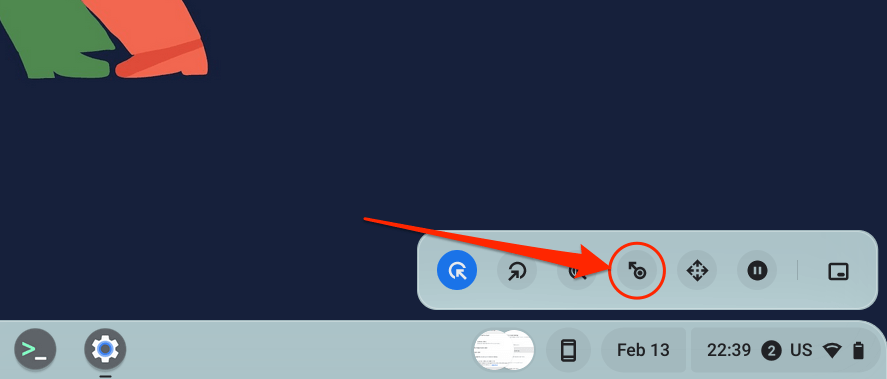
- Click on and drag: This motion permits you to choose textual content utilizing the auto-clicker. Select the Click on and drag icon and place your cursor in the beginning of the textual content you need to choose. Anticipate the auto-click delay and transfer your cursor to the top of the textual content.
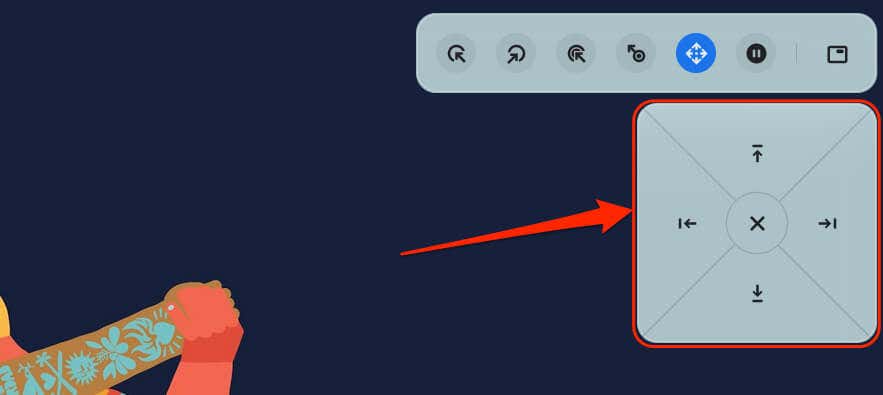
- 滾動: This lets you navigate and scroll by way of internet pages, paperwork, and any app utilizing the auto-clicker. Choose the 滾動圖標 to disclose the navigation bar.

Place your cursor on the web page or app you need to navigate and anticipate the auto-click delay. Afterward, hover your cursor on the left/proper/up/down arrow keys or scroll choices to navigate the web page. Lastly, press the X 圖標 within the center to shut the navigation bar—the auto-clicker reverts to the left-click possibility.
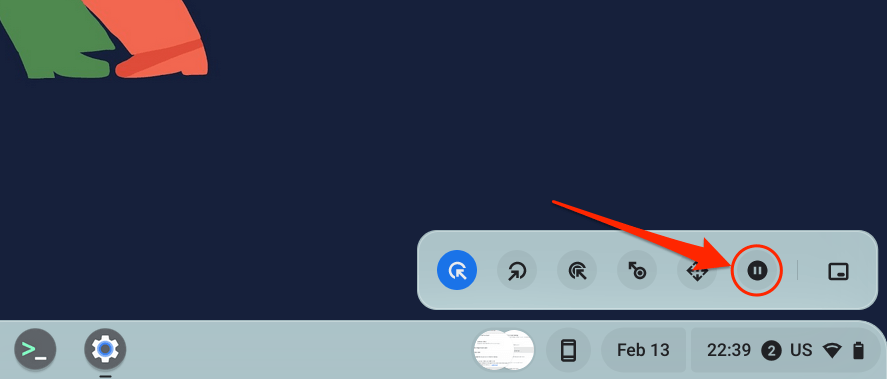
- 暫停 or No motion: Choose this icon to droop the auto-clicker from performing any motion when the cursor stops shifting. This feature permits you to quickly disable the auto-clicker with out turning it off within the system menu.
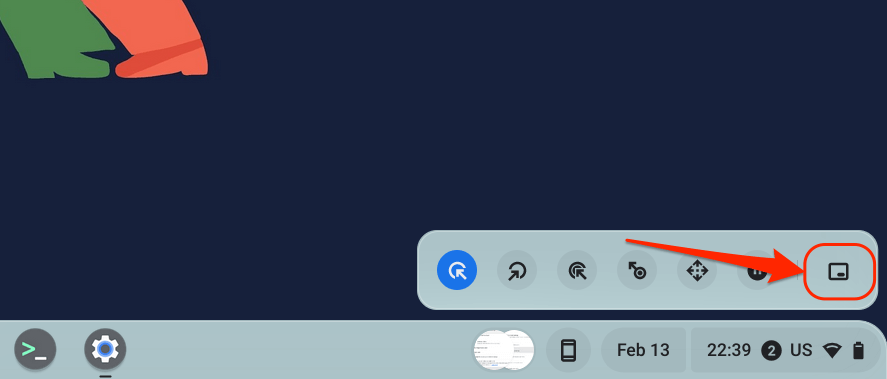
- Toggle menu place: This motion modifications the situation of the floating auto-clicker menu. Choose the icon to maneuver the floating transfer across the corners of your Chromebook’s show.
Customise Auto-Click on Settings
Along with growing or lowering the auto-click delay, there are different methods to configure your Chromebook’s auto-clicker.
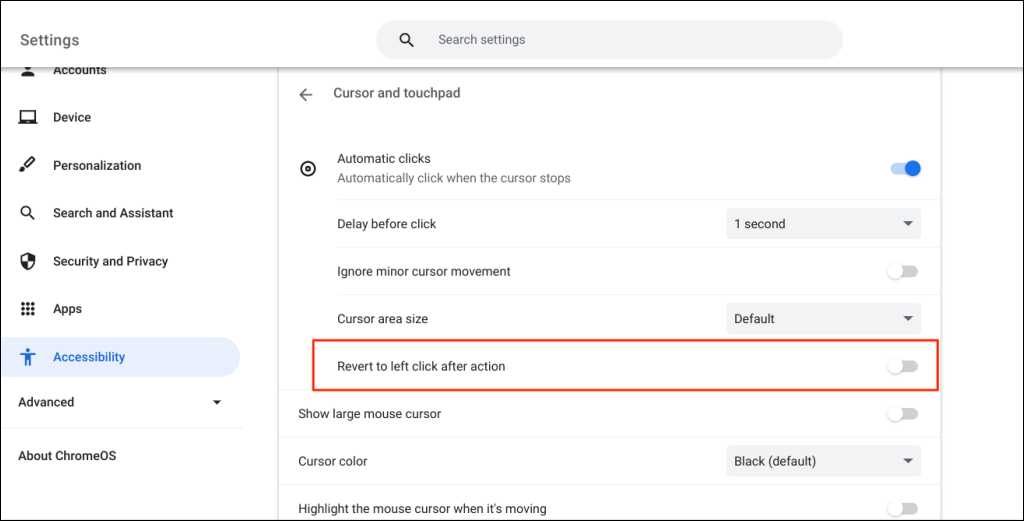
讓 Computerized clicks in your Chromebook’s settings (設定 > 無障礙服務 > 光標和触摸板) and discover these computerized click on options:
- Ignore Minor Cursor Motion: Enabling this setting prevents the auto-clicker from performing any motion while you make minor or unintended mouse/cursor actions.
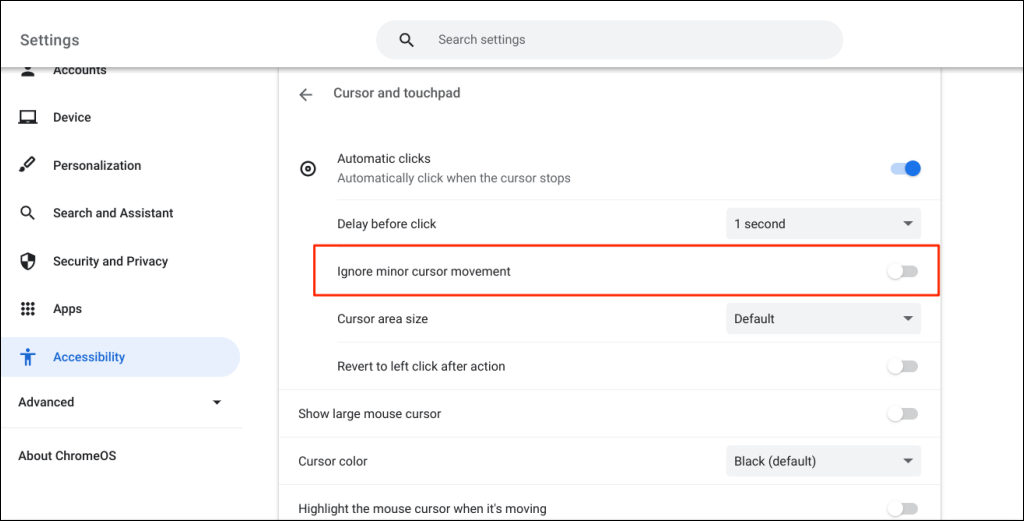
- Cursor SpaceDimension: This setting permits you to change the cursor ring or space dimension. Open the drop-down menu and select a most well-liked cursor space dimension—Further small, Small, 預設產品, 大量, 或者 Furthergiant.
- Revert to left-click after motion: Toggle this on to have the auto-clicker revert to the left-click possibility after each motion.
Disable Your Chromebook’s Auto-Clicker
Wish to flip off the auto-click instrument? Head to 設定 > 無障礙服務 > 光標和触摸板 然後關閉 Computerized clicks.

Get pleasure from Stress-Free Navigation
Share this tutorial with any Chromebook customers with motor impairments or associated disabilities. They’ll thanks for it. Restart your Chromebook or 更新其作業系統 when you have bother enabling or utilizing the auto-clicker instrument.

