How to Password Protect a Folder in Mac

Password protecting a folder is one of the most important utilities on any device, especially on laptops. It helps us to privately share information and keep its contents from being read by anyone else. In other laptops and PCs, the easiest way to maintain this kind of privacy is by encrypting the file or folder. Fortunately, Mac provides an easier way that includes assigning a password to the respective file or folder instead. Read this guide to know how to password protect a folder in Mac with or without the Disk Utility feature.
How to Password Protect a Folder in Mac
There are several reasons why you would want to assign a password to a particular folder in your MacBook. Some of these are listed below:
- Privacy: Some files are not to be shared with everyone. But if your MacBook is unlocked, almost anyone can navigate through its contents. This is where password protection comes in handy.
- Selective Sharing: If you need to send different files to a specific group of users, but these multiple files are saved in the same folder, you can password protect them individually. By doing so, even if you send a consolidated email, only those users who know the password will be able to unlock the specific files they are meant to access.
Now, you know about a few reasons why you may need to password protect a file or a folder in Mac, let us take a look at the ways to do the same.
Method 1: Password Protect a Folder in Mac with Disk Utility
Using Disk Utility is the easiest method to password protect a file or folder in Mac.
1. Launch Disk Utility from Mac Utilities Folder, as shown.
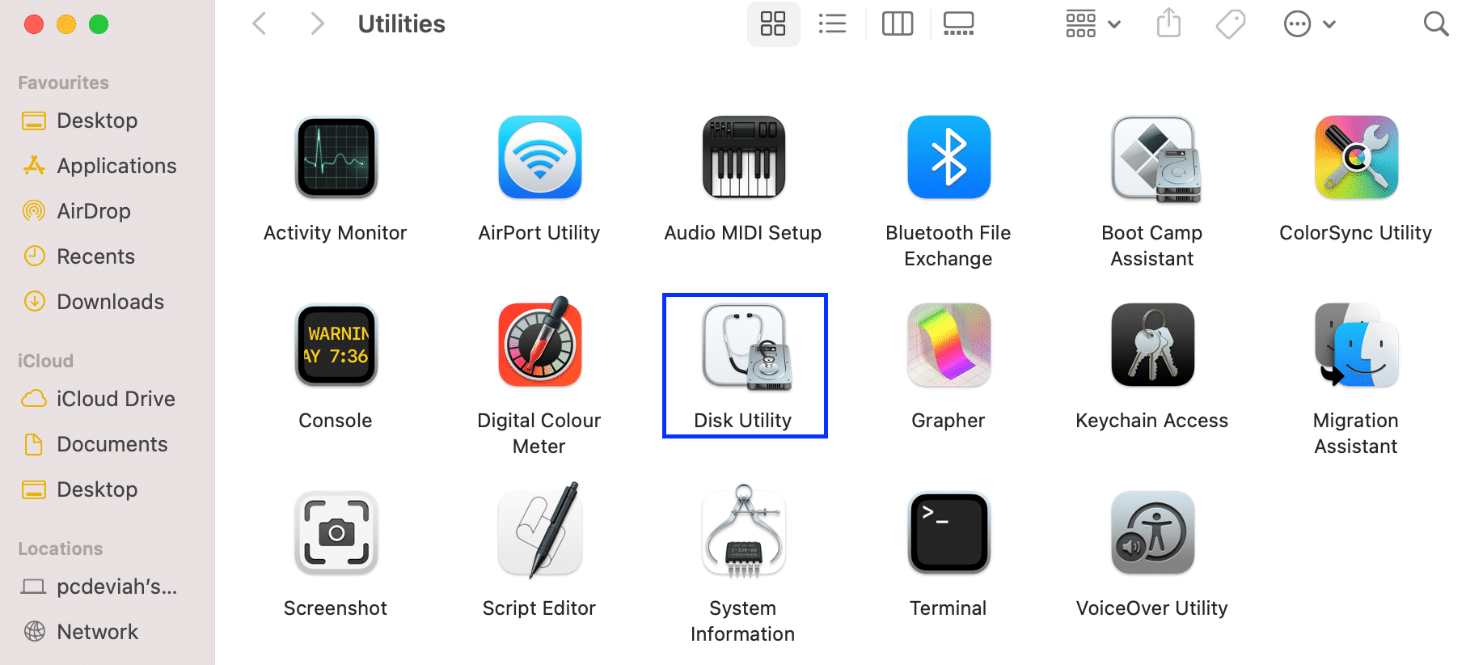
Alternately, open the Disk Utility window by pressing the Control + Command + A keys from the keyboard.
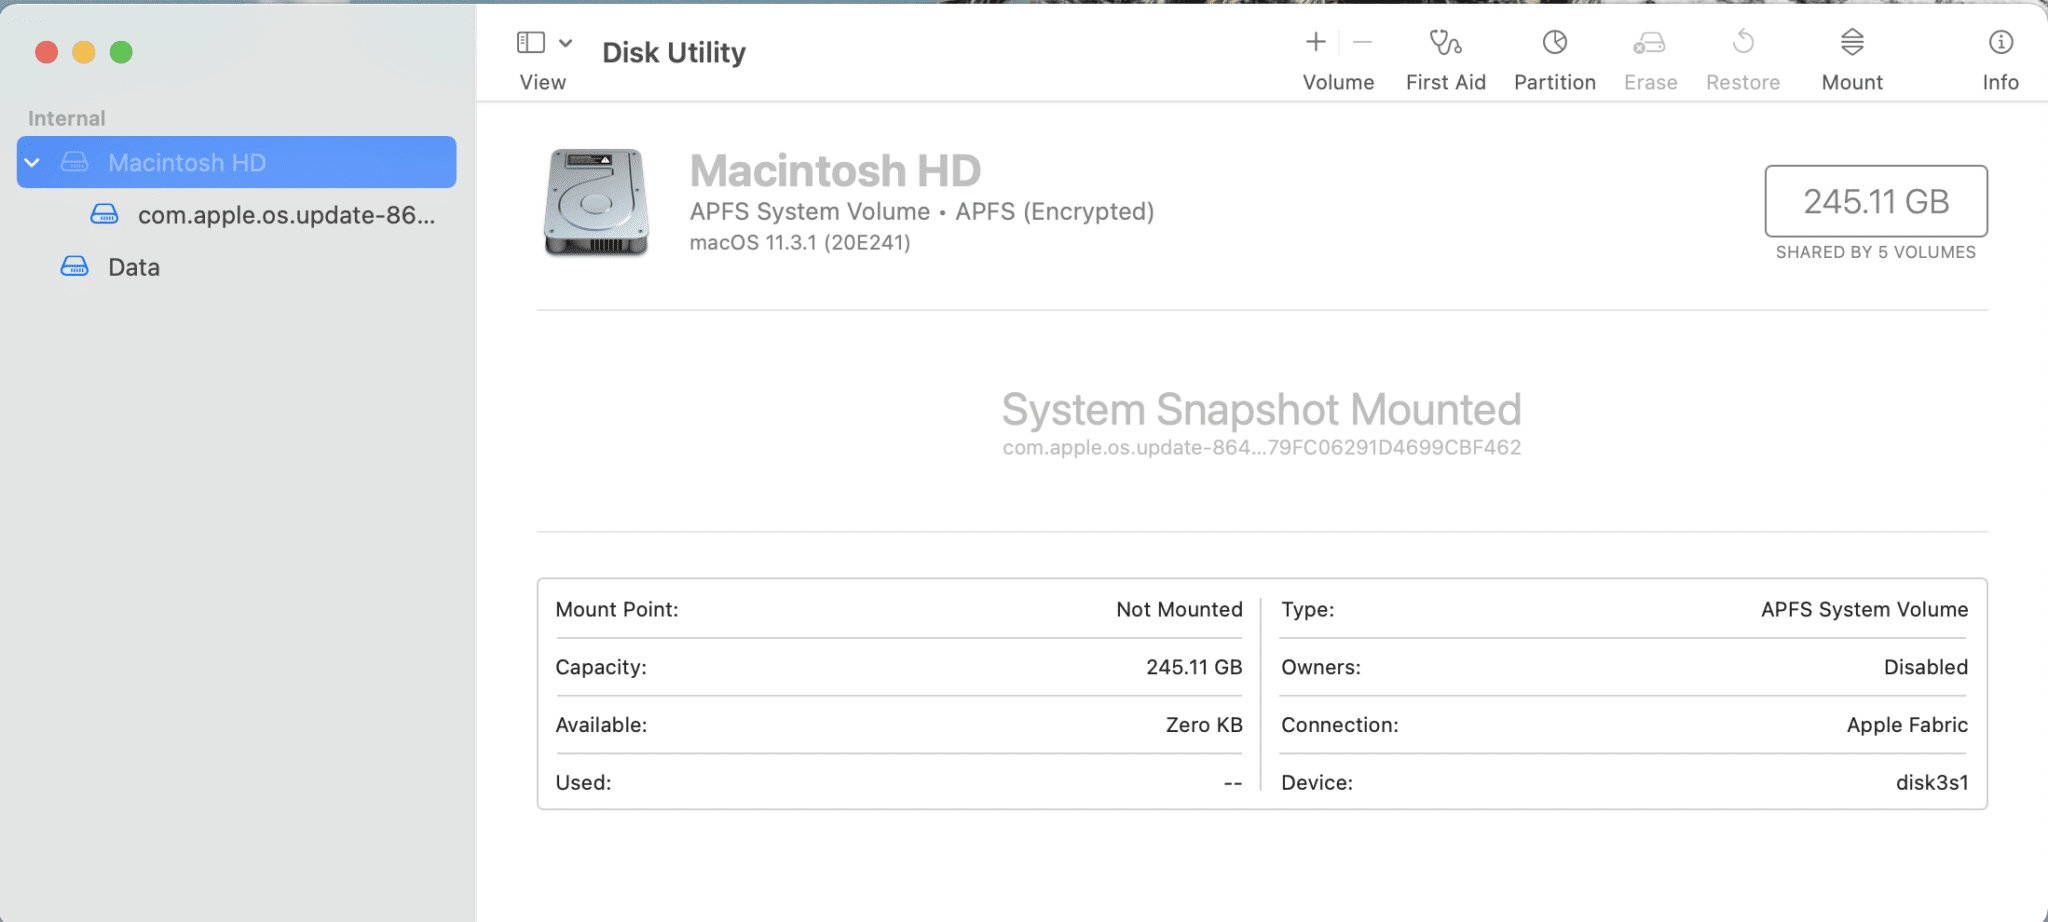
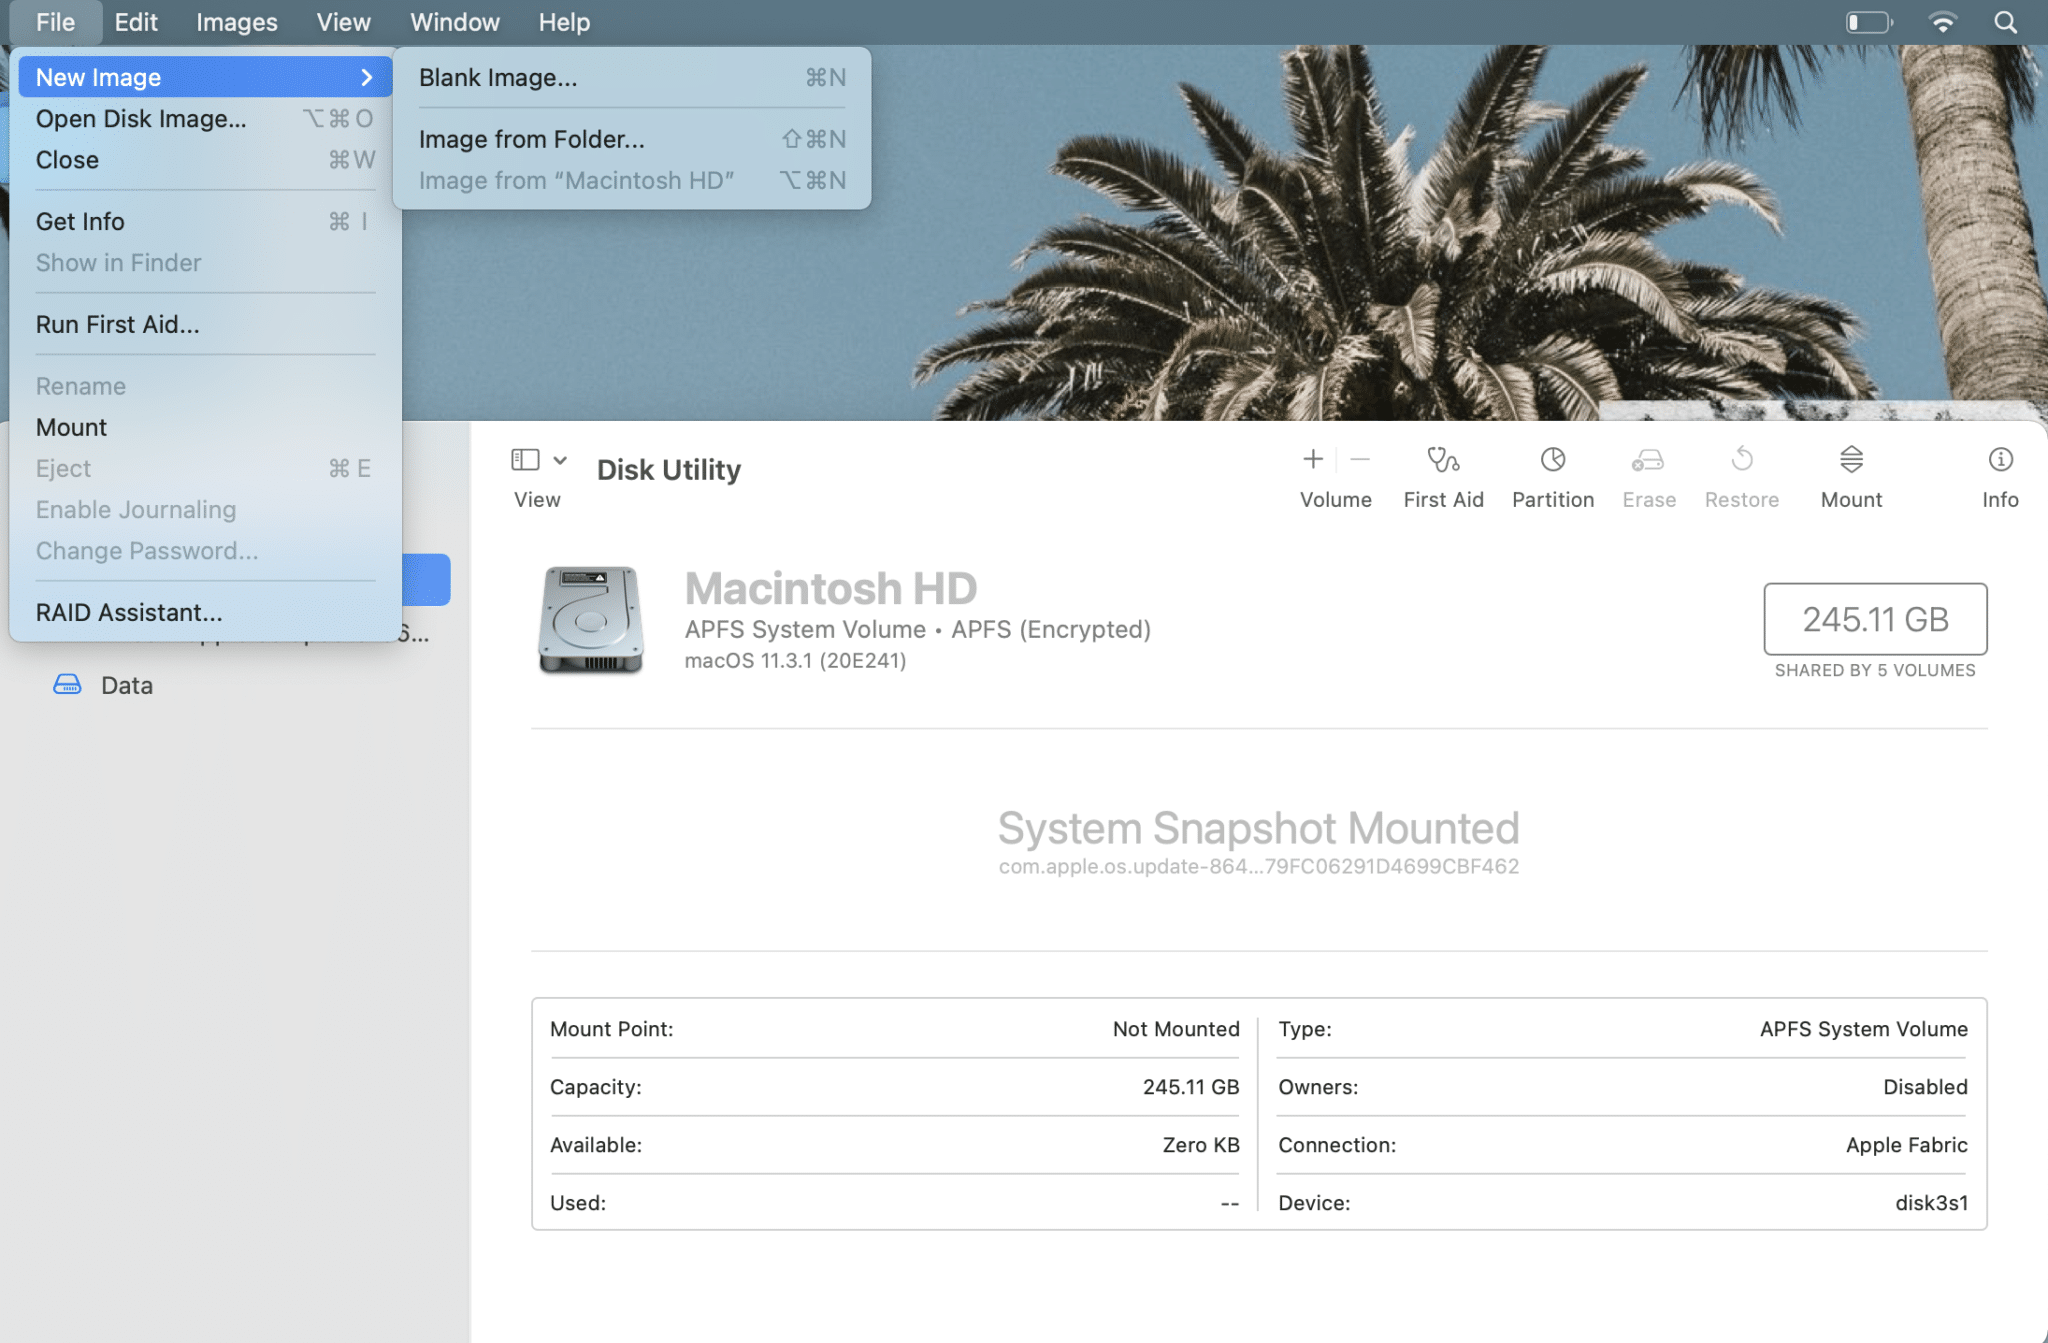
2. Click on File from the top menu in the Disk Utility window.
3. Select New Image > Image From Folder, as depicted below.
4. Choose the Folder that you intend to password protect.
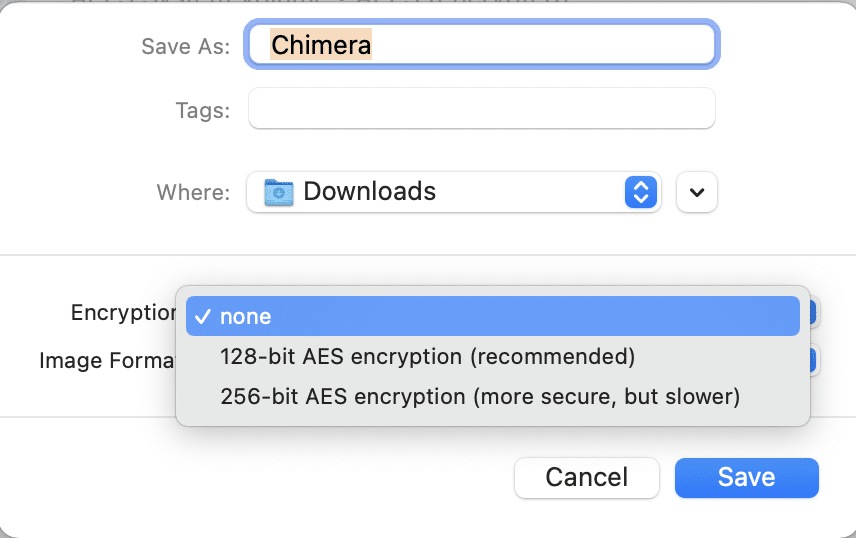
5. From the Encryption drop-down menu, select the 128 Bit AES Encryption (recommended) option. This is quicker to encrypt and decrypt and provides decent security.
6. Enter the password that will be used to unlock the password-protected folder and verify it by re-entering it.
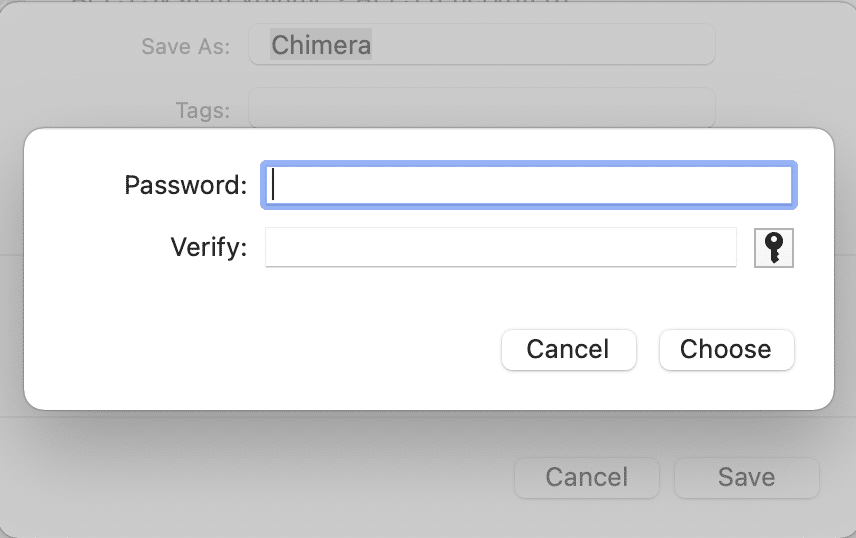
7. From the Image Format drop-down list, select the Read/write option.
Note: If you select other options, you won’t be allowed to add new files or update them after decryption.
8. Finally, click Save. Once the process is completed, Disk Utility will notify you.
The new encrypted .DMG file will be created next to the original folder in the original location unless you have changed the location. The disk image is now password-protected, so it can only be accessed by users who know the password.
Note: The original file/folder will remain unlocked and unchanged. Therefore, to enhance further security, you can delete the original folder, leaving only the locked file/folder.
Also Read: How to Use Utilities Folder on Mac
Method 2: Password Protect a Folder in Mac without Disk Utility
This method is best suited when you want to password protect individual files on macOS. You won’t need to download any additional apps from the App Store.
Method 2A: Use Notes Application
This application is easy to use and can create a locked file within seconds. You can either create a new file on Notes or scan a document from your iPhone to lock it using this application. Follow the given steps to do so:
1. Open the Notes app on Mac.
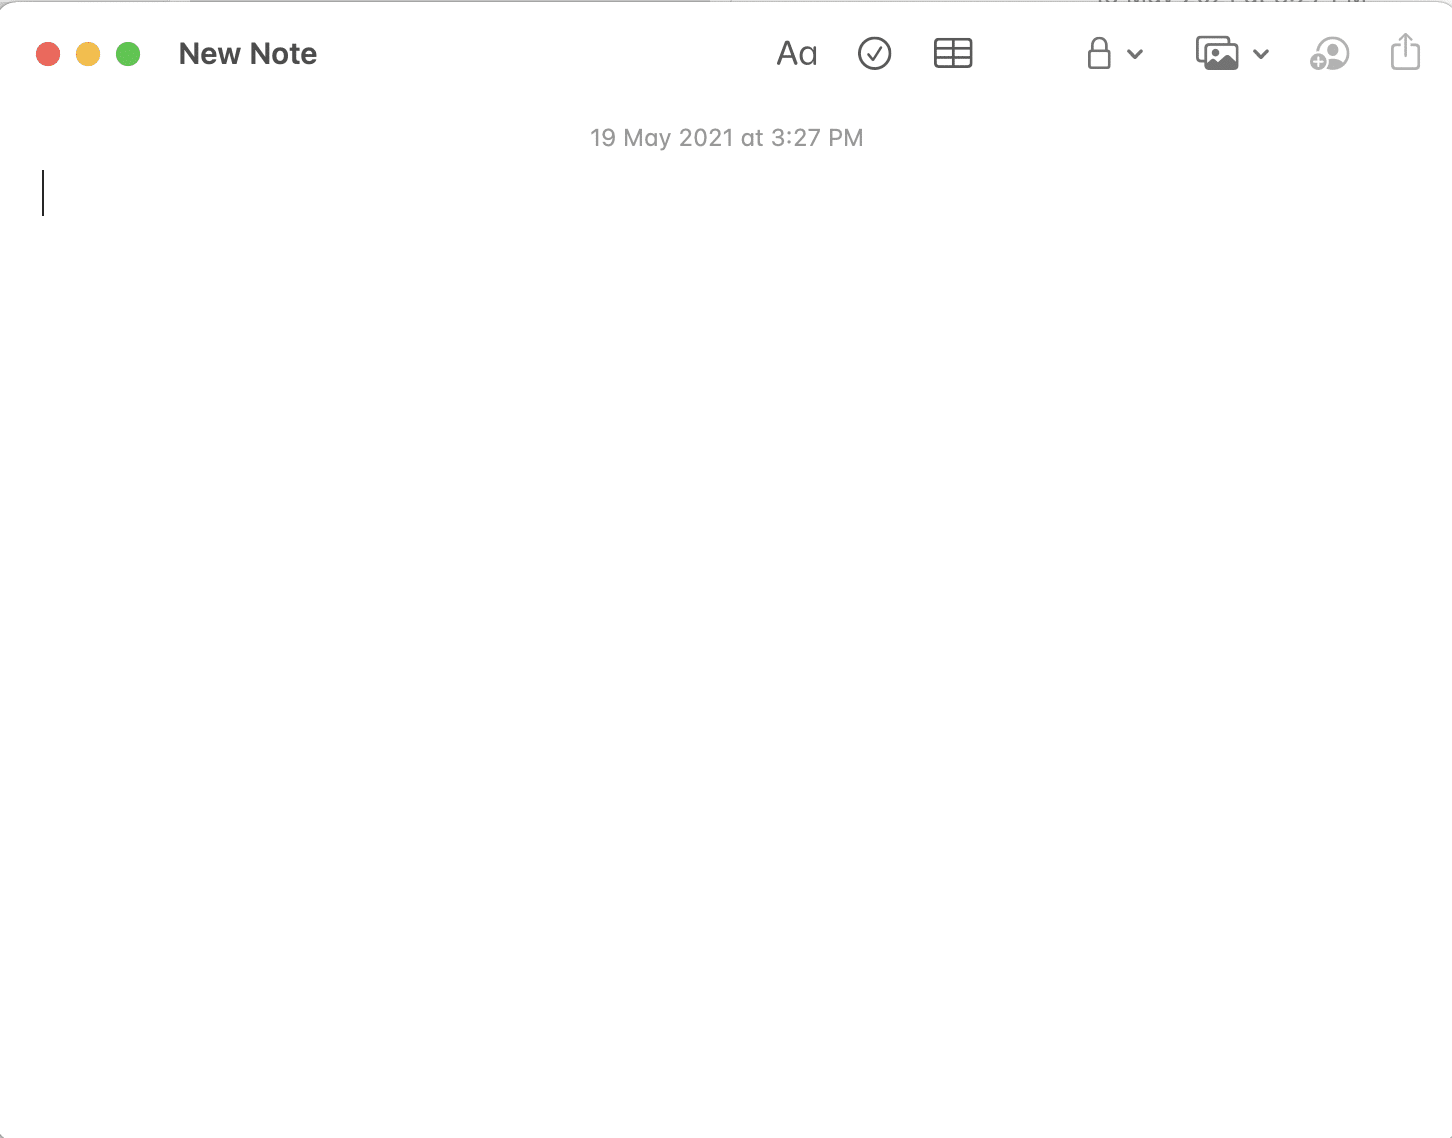
2. Now select the File that you would like to password-protect.
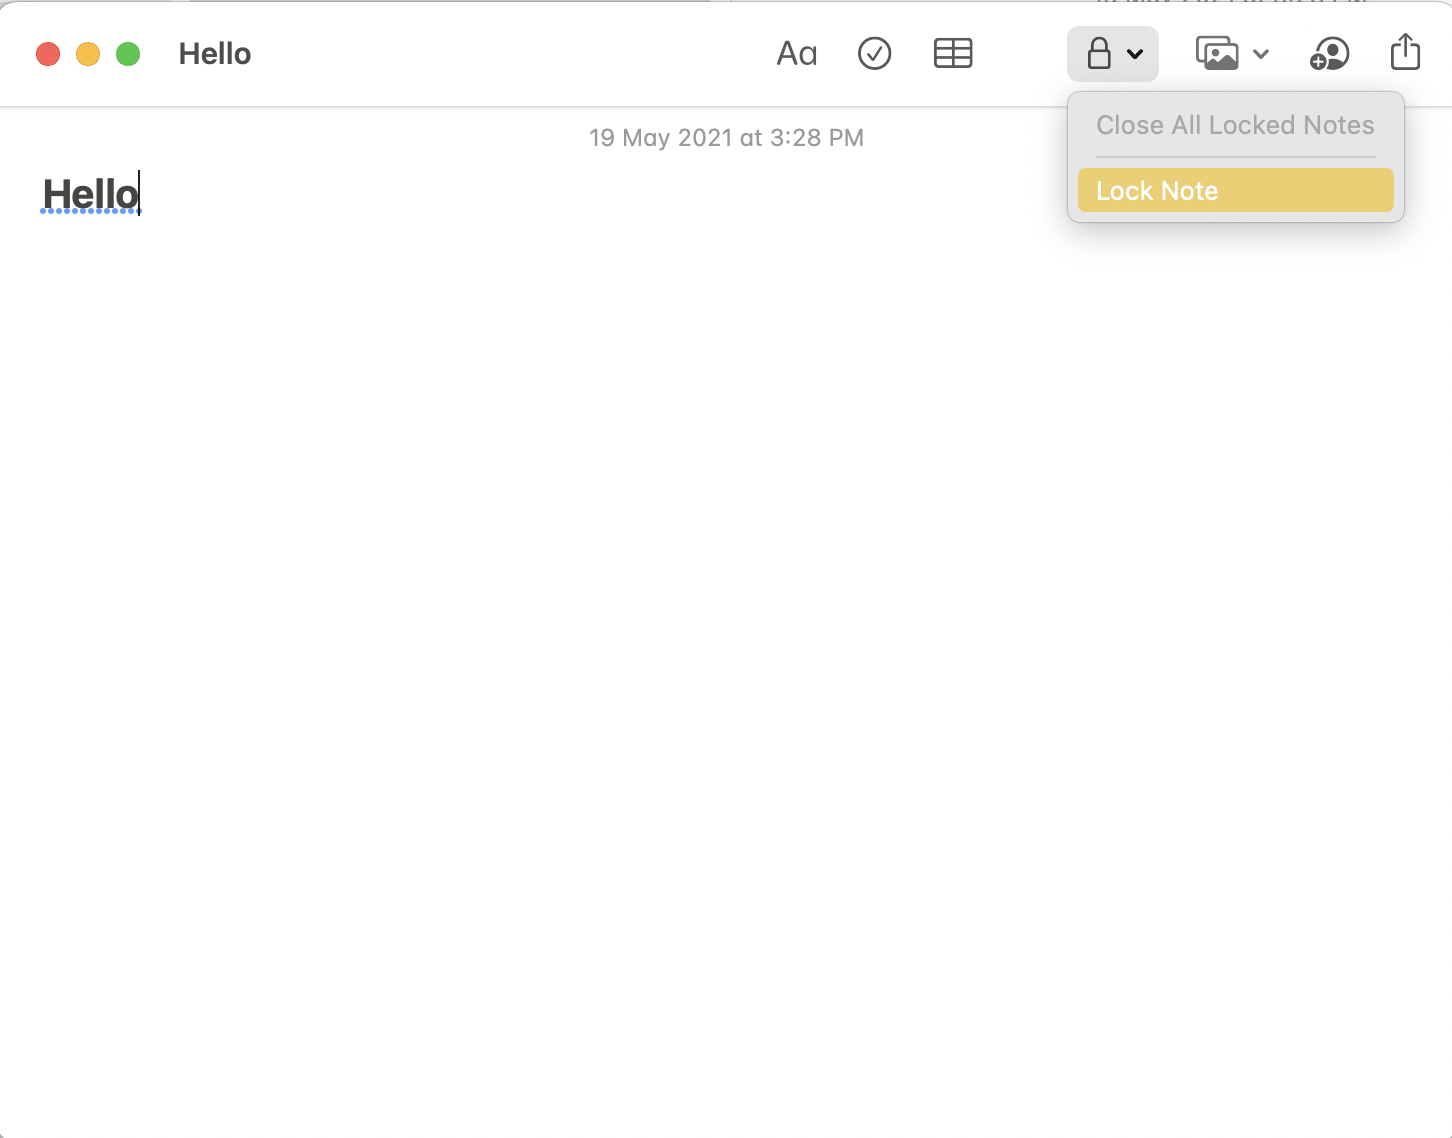
3. From the menu on the top, click on the Lock icon.
4. Then, select Lock Note, as shown highlighted.
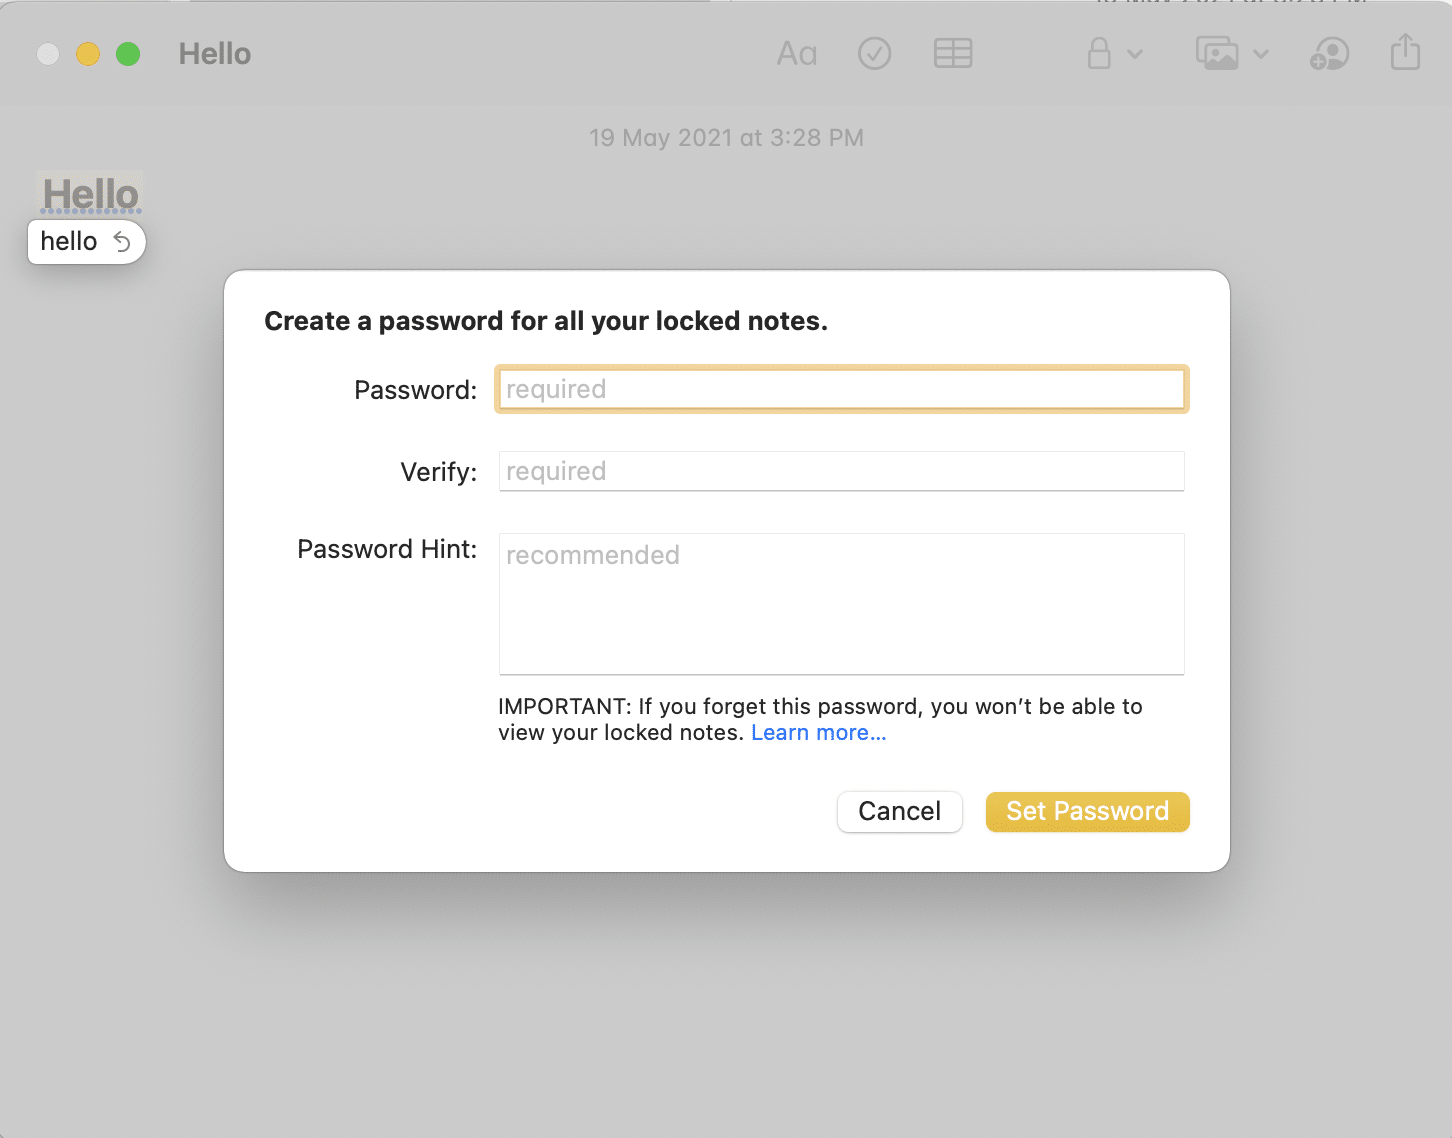
5. Enter a strong password. This will be utilized for decrypting this file later.
6. Once done, click Set Password.
Also Read: How to Create Text File on Mac
Method 2B: Use Preview Application
This is another alternative to using the notes application. However, one can only use Preview to password protect.PDF files.
Note: In order to lock other file formats, you would have to export them to .pdf format first.
Here’s how to password protect a file in Mac using this app:
1. Launch Preview on your Mac.
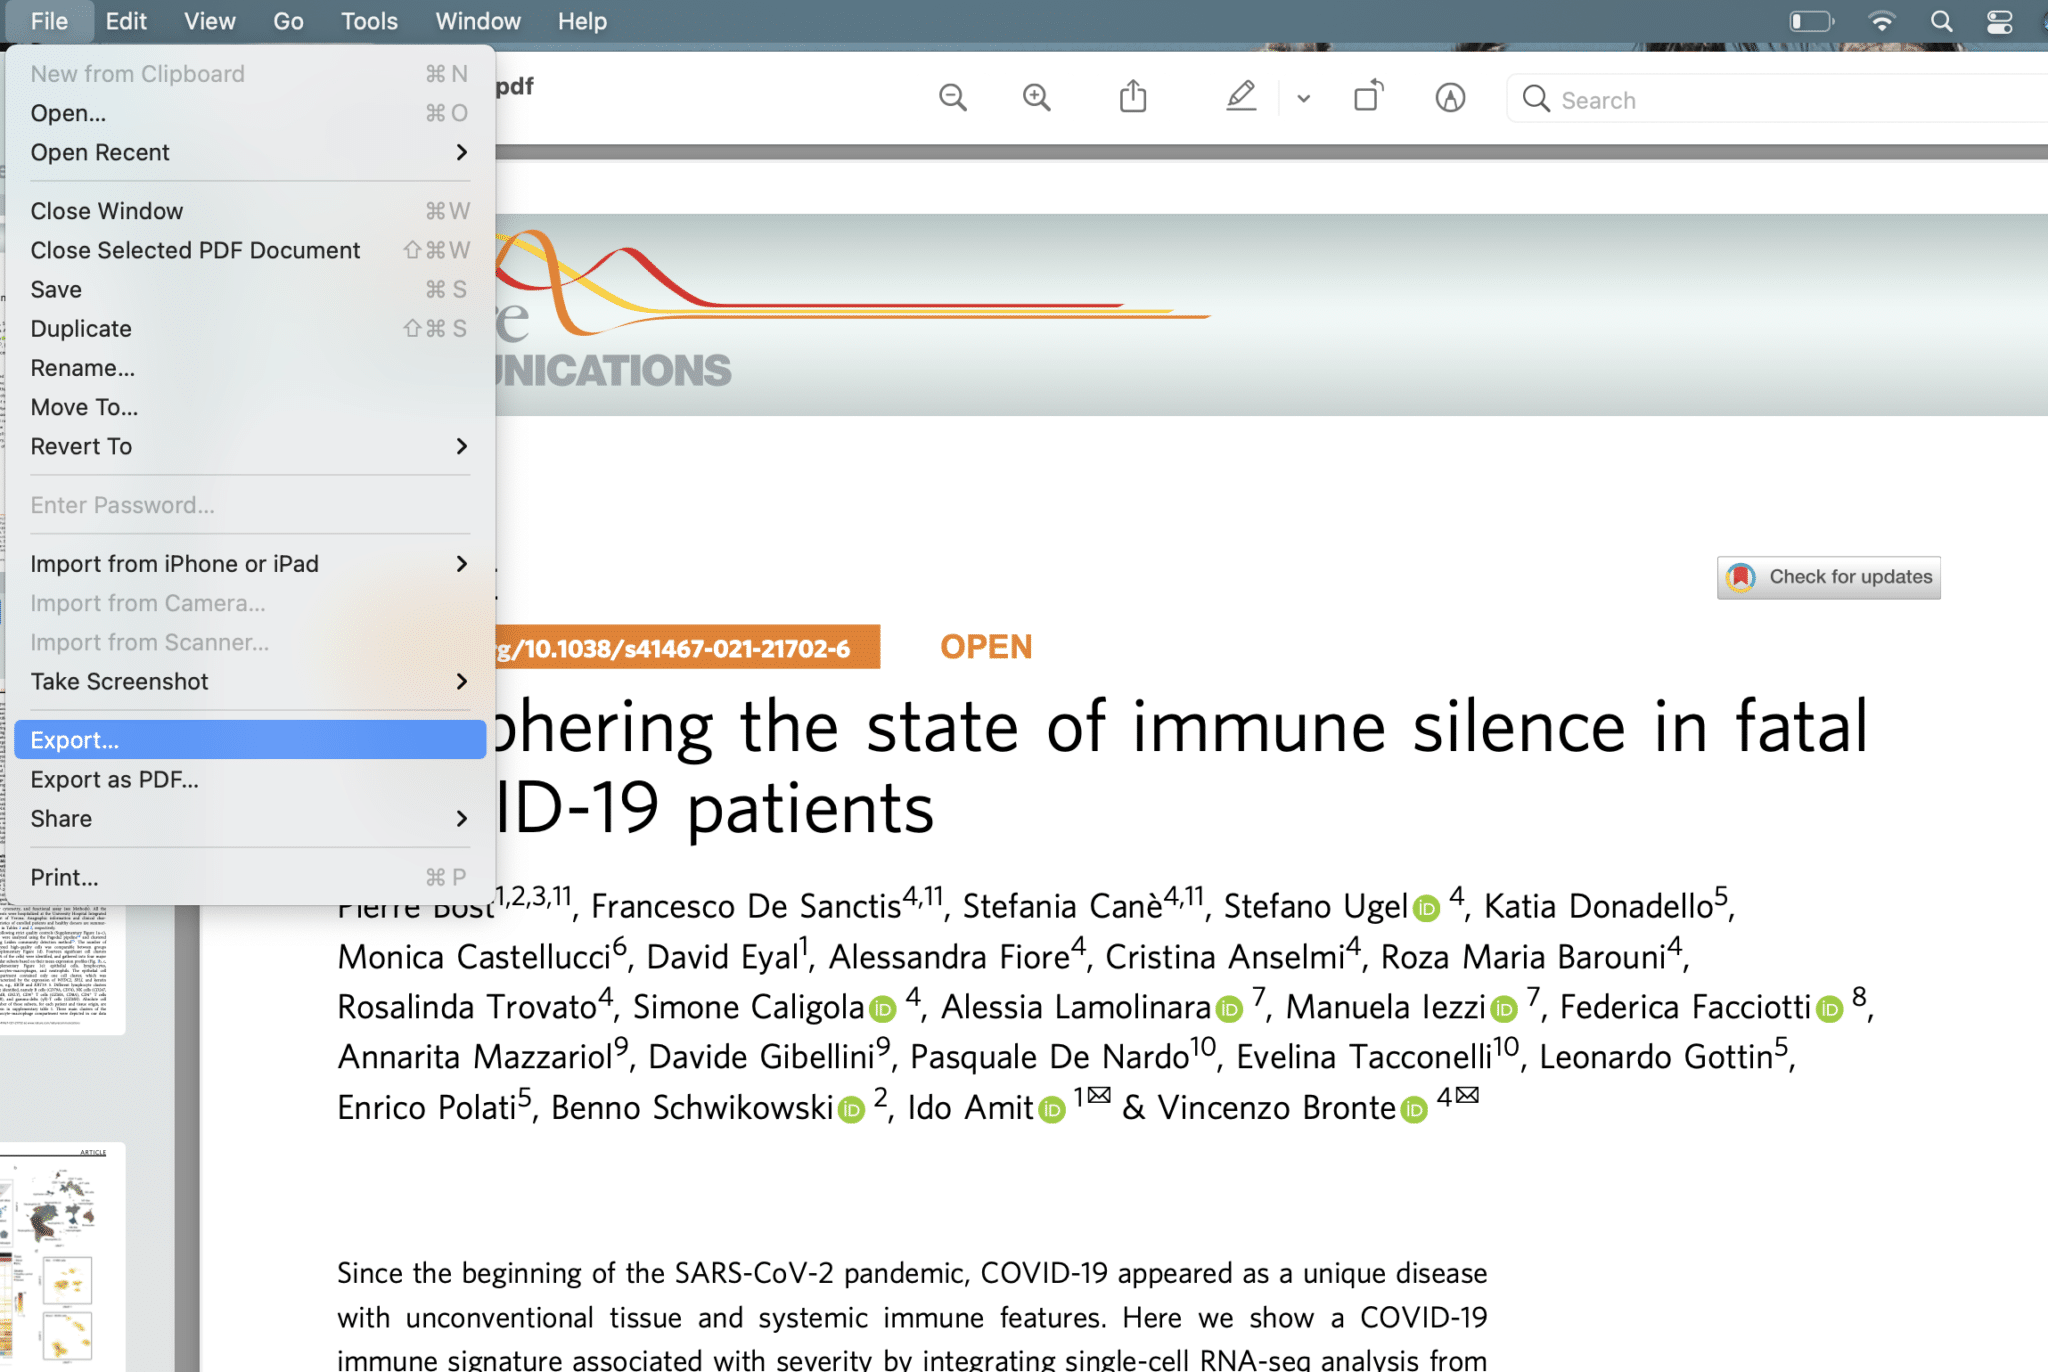
2. From the menu bar, click on File > Export as illustrated below.
3. Rename the file in Export As: field. For example: ilovepdf_merged.
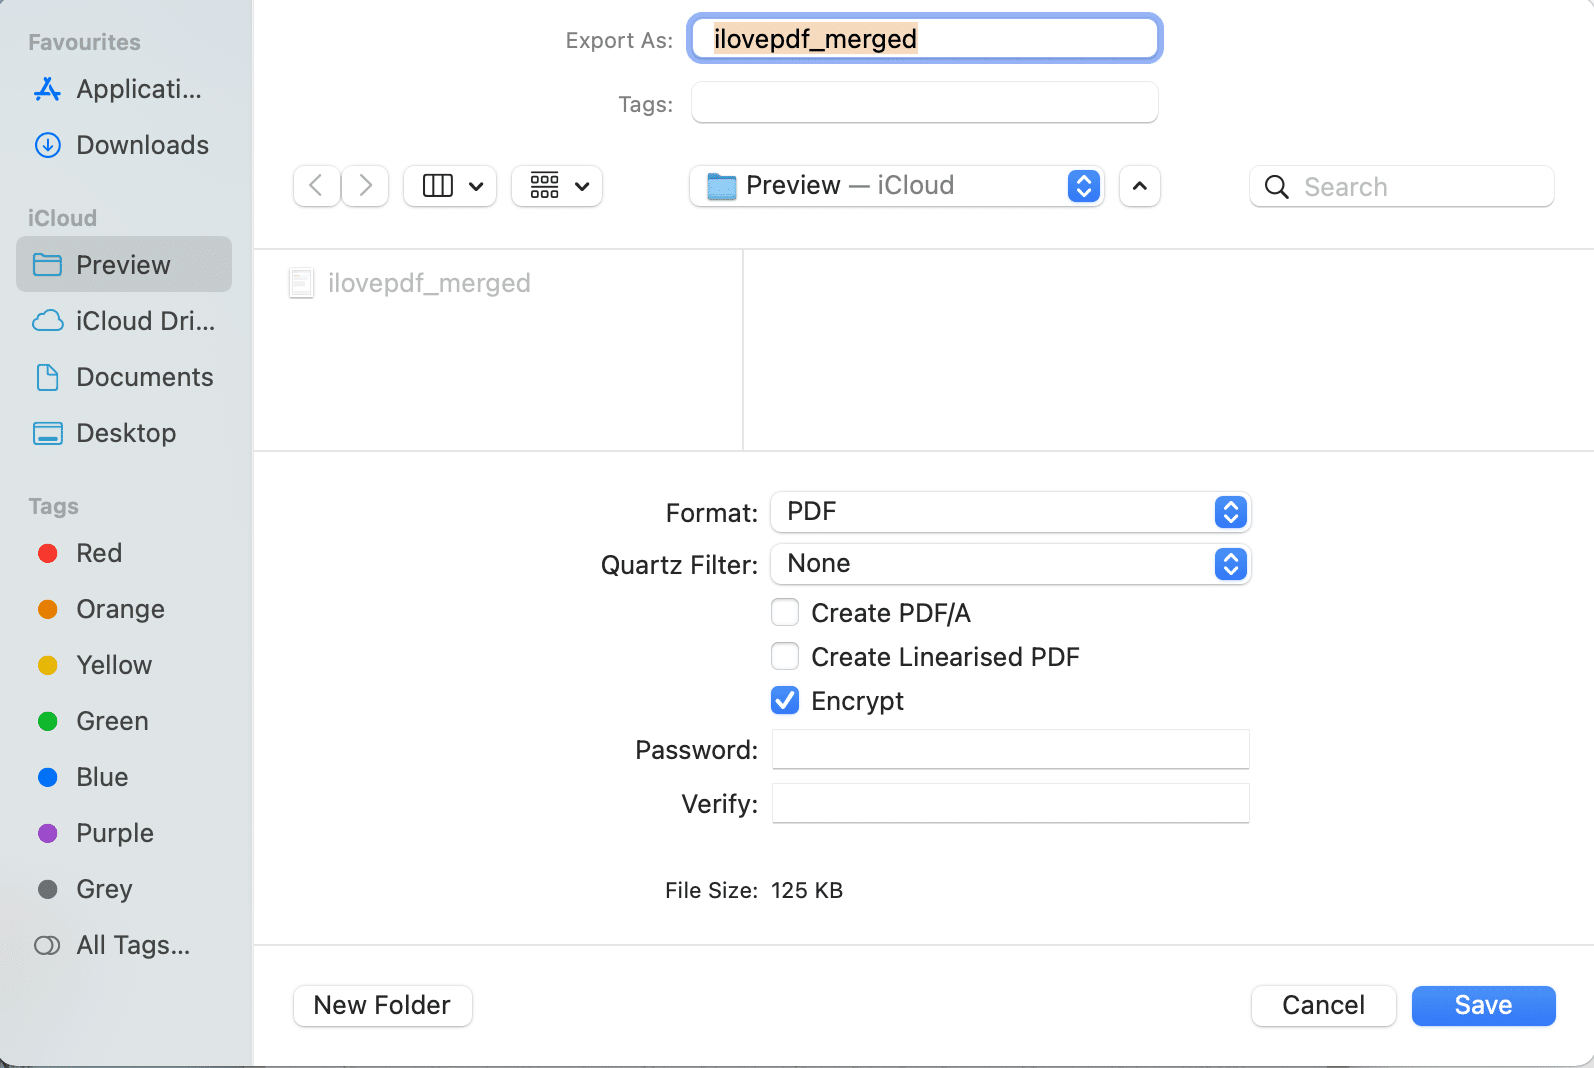
4. Check the box marked Encrypt.
5. Then, type the Password and Verify it by re-typing it in the said field.
6. Finally, click on Save.
Note: You can use similar steps to password protect a file in Mac using the iWork Suite package. These may include Pages, Numbers, and even Keynote files.
Also Read: Fix Mac Cannot Connect to App Store
Method 3: Use Third-party Applications
Several third-party applications can be utilized to password protect a folder or a file on Mac. We will discuss two such apps here.
Encrypto: Secure Your Files
This is a third-party application that can be easily downloaded from the App Store. If your line of work requires to encrypt and decrypt files regularly, this app will come in handy. You can easily encrypt and decrypt files by dragging and dropping them into the application window.
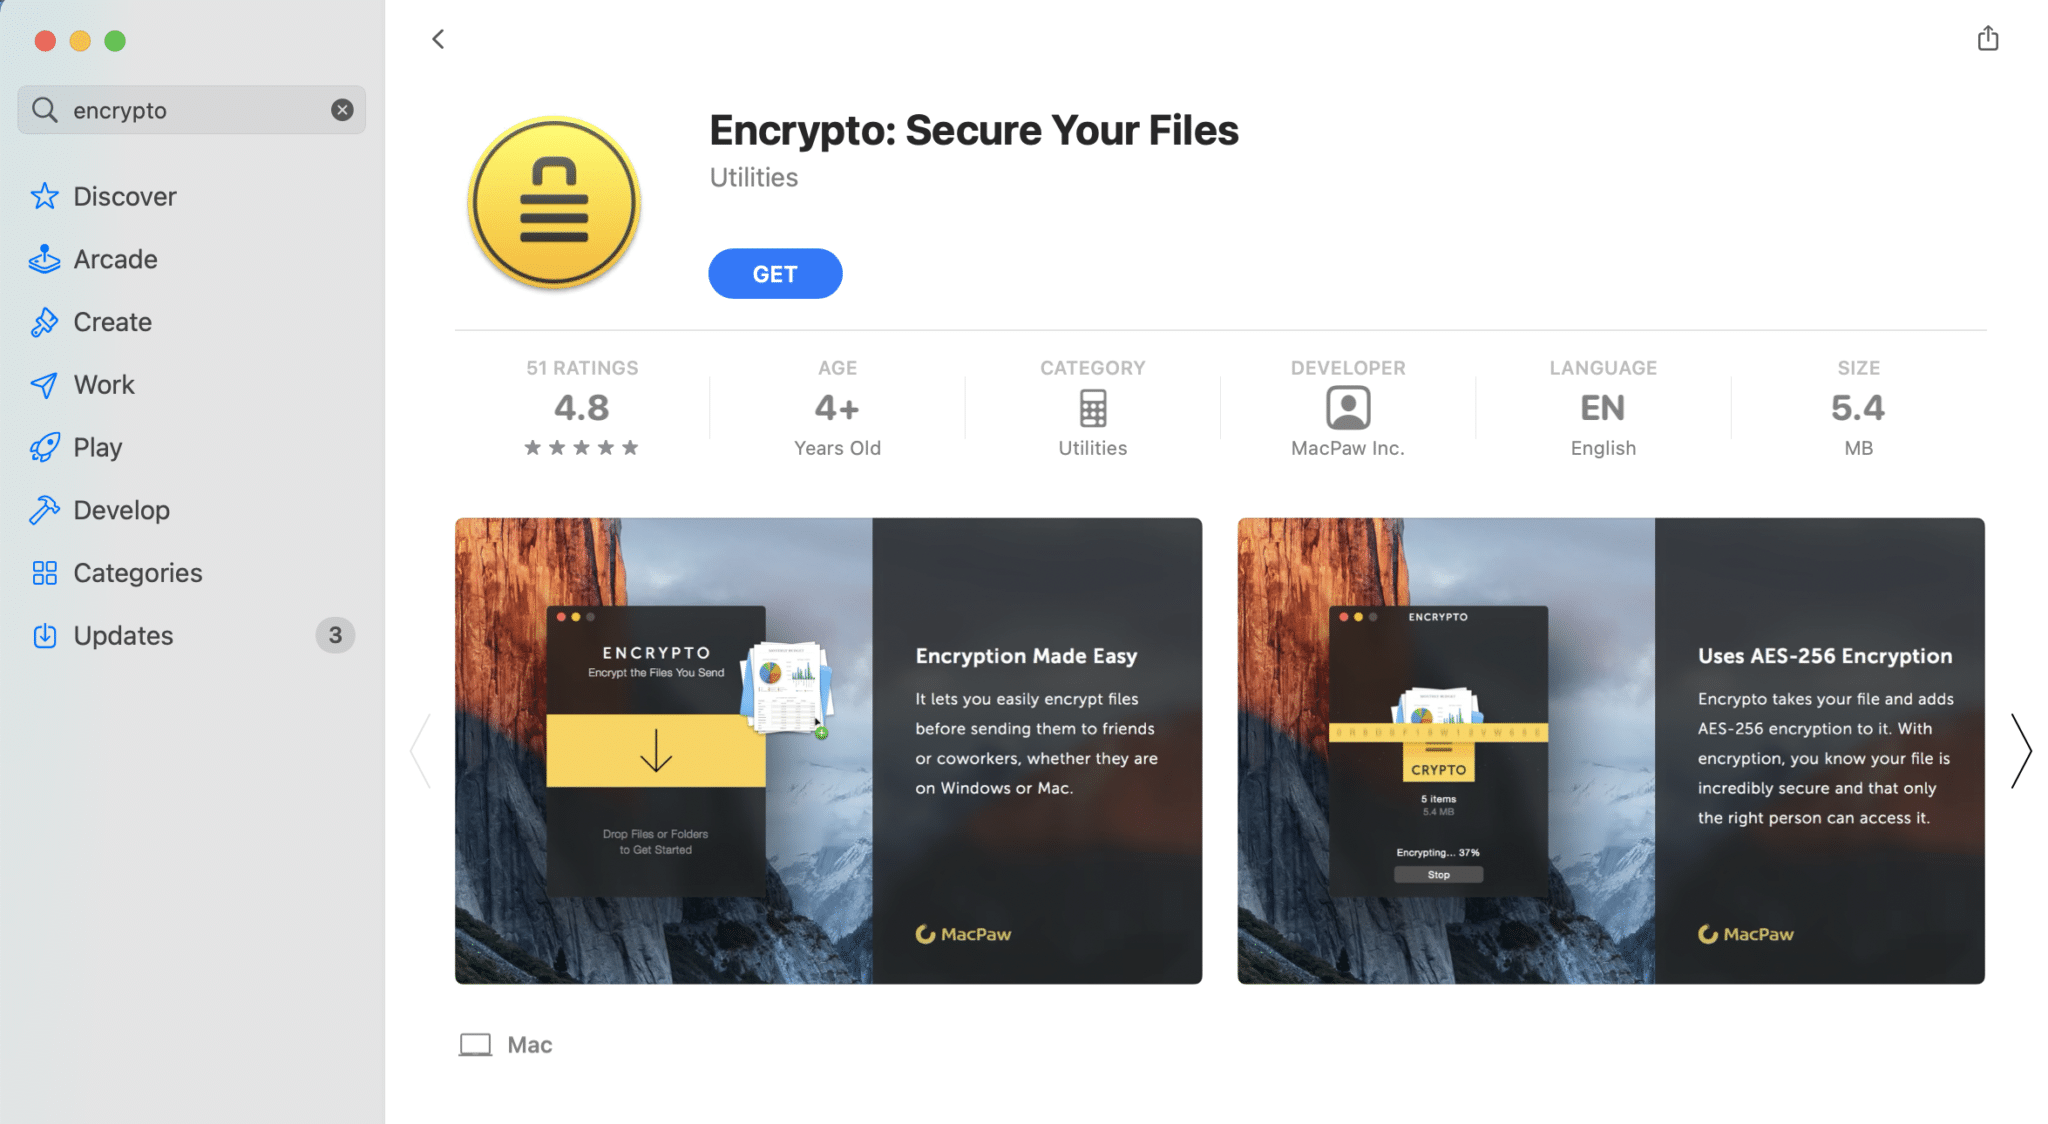
1. Download & Install Encrypto from the App Store.
2. Then, launch the application from the Mac Applications folder.
3. Drag the Folder/File that you want to password protect in the window that now opens.
4. Enter the password that will be utilized to unlock the folder, in the future.
5. To remember your password, you can also add a Little hint.
6. Lastly, click on the Encrypt button.
Note: The password-protected file will be created and saved in Encrypto Archives folder. You can drag this file and save it to a new location if needed.
7. To remove this encryption, enter the Password and click on Decrypt.
BetterZip 5
Unlike the first application, this tool will help you to compress and then, password protect a folder or a file in Mac. Since Betterzip is a compression software, it compresses all file formats so that they utilize lesser storage space on your MacBook. Its other noteworthy features include:
- You can compress the file on this application while protecting it by 256 AES encryption. Password protection is very secure and helpful in keeping the file safe from prying eyes.
- This application supports more than 25 file & folder formats, including RAR, ZIP, 7-ZIP, and ISO.
Use the given link to download and install BetterZip 5 for your Mac device.

Also Read: Fix MacOS Big Sur Installation Failed Error
How to Unlock Locked Files on Mac?
Now that you have learned how to password protect a folder in Mac, you ought to know how to access & edit such files or folders too. Follow the given instructions to do so:
1. The password-protected folder will appear as a .DMG file in the Finder. Double click on it.
2. Enter the decryption/encryption Password.
3. The disk image of this folder will be displayed under the Locations tab on the left panel. Click on this Folder to view its content.
Note: You can also drag and drop additional files into this folder to modify them.
4. Once you have entered your password, the folder will be unlocked and will remain so until locked again.
5. If you want to lock this folder again, right-click on it and select Eject. The folder will be locked and also, disappear from the Locations tab.
Recommended:
Locking a folder or protecting it with a password is quite an important utility. Thankfully, it can be done by either of the methods mentioned above. We hope that you could learn how to password protect a folder or a file in Mac. In case of further queries, contact us through the comments below. We will try to get back to them as soon as possible.