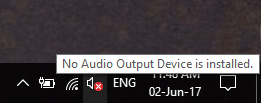
4 Ways To Fix Red X On Volume Icon: If you are seeing a red X on volume icon in the system tray then it means you are not able to use your audio device. Even though the audio device is not disabled you will still see this error when you will run the audio device troubleshooter. You PC will show that High Definition Audio Device is installed but when you will hover over the icon it will say that No audio output device is installed. This is a very strange issue and in the end, the user is not able to use any kind of Audio services due to this error.
The first thing that the users try is they restart their system but this would offer no help. If you run Windows Audio Device Troubleshooter it will say that the audio device is disabled or: The audio device is turned off in Windows. The main cause of this error seems to be corrupt Microsoft permission or Windows audio device associate services have been disabled. Anyway, let’s see how to fix this red X on volume icon problem with the below-listed troubleshooting steps.
4 Ways To Fix Red X On Volume Icon
Make sure to create a restore point just in case something goes wrong.
Method 1: Registry Fix
1.Press Windows Key + R then type regedit and hit Enter to open Registry Editor.

2.Navigate to the following registry key:
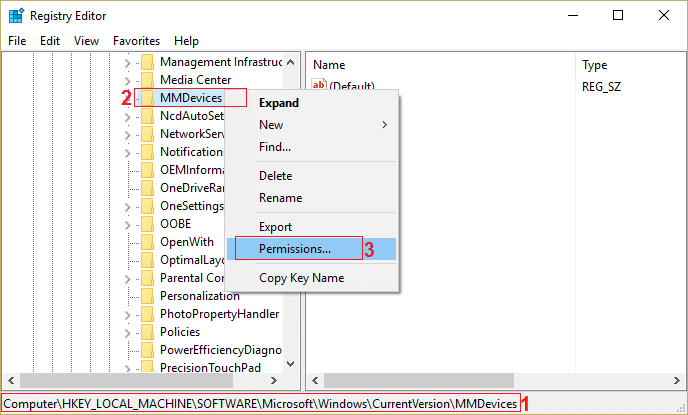
ComputerHKEY_LOCAL_MACHINESOFTWAREMicrosoftWindowsCurrentVersionMMDevices
3.Right click on MMDevices and then select Permissions.
4.In the Permission window, make sure to select Full Control for SYSTEM, Administrator, and the user.
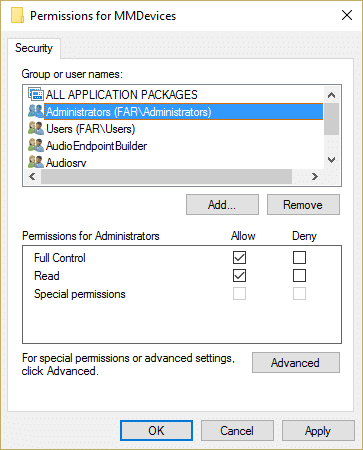
5.Click Apply then OK to save the settings.
6.Now again navigate to the following registry key:
ComputerHKEY_LOCAL_MACHINESOFTWAREMicrosoftWindowsCurrentVersionMMDevicesAudio
7.Repeat the step 4 and 5 to give full control to Admin, user, and SYSTEM.
8.Close Registry Editor and reboot your PC. This would Fix Red X On Volume Icon in Windows 10 but if you still have some issue follow the next method.
Method 2: Make sure Windows Audio service are started
1.Press Windows Key + R then type services.msc and hit Enter.

2.Scroll down till you find Windows Audio Services and right-click then select Properties.
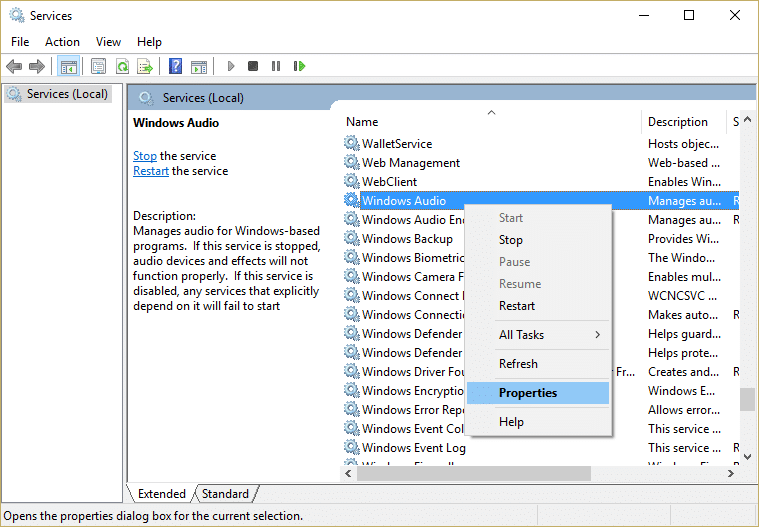
3.Make sure the service is running else click on Start and then set the Startup type to Automatic.
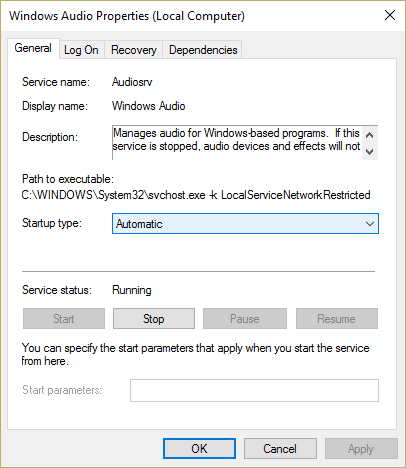
4.Click Apply followed by OK.
5.Follow the same steps for Windows Audio Endpoint Builder service.
6.Close everything and restart your PC to save changes.
Method 3: Update Audio Drivers
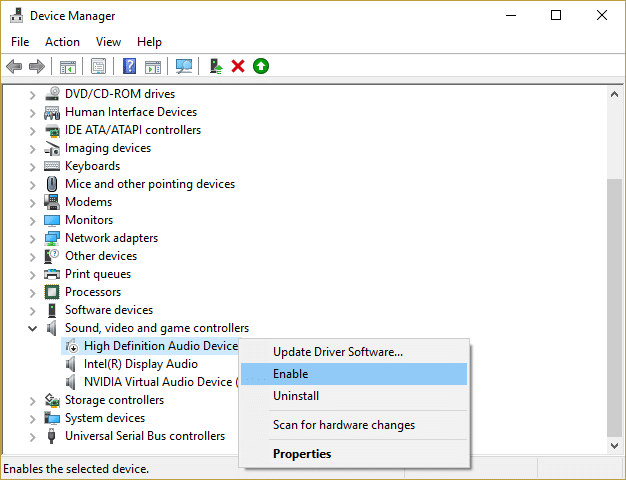
1.Press Windows Key + R then type ‘Devmgmt.msc’ and hit enter to open Device Manager.

2.Expand Sound, video and game controllers and right-click on your Audio Device then select Enable (If already enabled then skip this step).
2.If your audio device is already enabled then right-click on your Audio Device then select Update Driver Software.
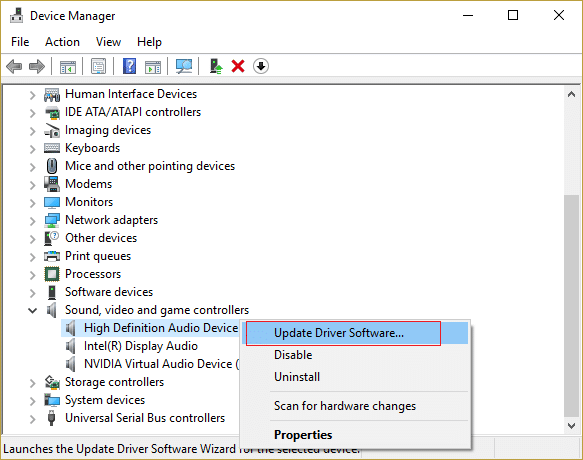
3.Now select “Search automatically for updated driver software” and let the process finish.

4.If it wasn’t able to update your graphic card then again select Update Driver Software.
5.This time select “Browse my computer for driver software.“

6.Next, select “Let me pick from a list of device drivers on my computer.“

7.Select the appropriate driver from the list and click Next.
8.Let the process complete and then restart your PC.
9.Alternatively, go to your manufacturer’s website and download the latest drivers.
Method 4: Uninstall Realtek High Definition Audio Driver
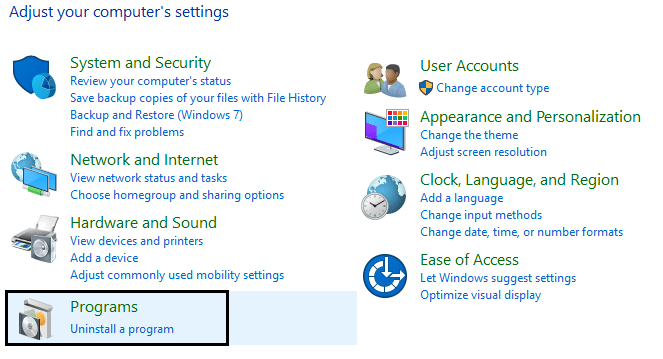
1.Press Windows Key + X then select Control Panel.

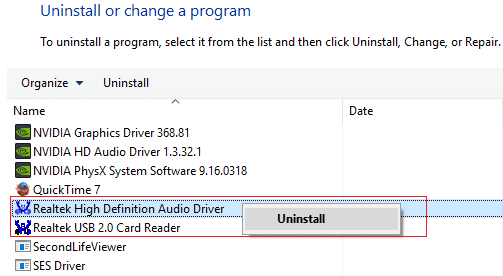
2.Click on Uninstall a Program and then search for Realtek High Definition Audio Driver entry.
3.Right-click on it and select Uninstall.
4.Restart your PC and open Device Manager.
5.Click on Action then “Scan for hardware changes.“

6.Your system will automatically Fix Red X on volume icon.
You may also like:
That’s it you have successfully Fix Red X on volume icon if you still have any queries regarding this post feel free to ask them in the comment’s section.