Fix Error 0X80010108 In Windows 10

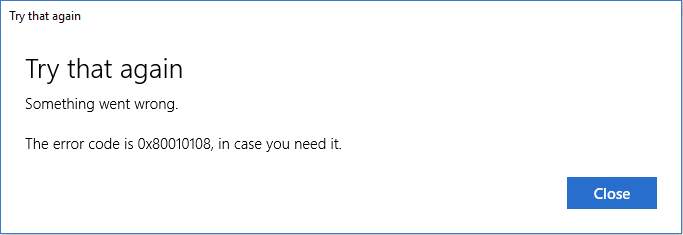
If you are facing the error 0X80010108 while updating Windows Store Apps, then you are at the right place as today we are going to discuss how to fix this error. You may also encounter error 0X80010108 while opening any apps or even while updating Windows. The main problem which occurs because of this error code is that users are not able to install or download any apps from the App Store. So without wasting any time let’s see how to actually Fix Error 0X80010108 In Windows 10 with the below-listed steps.
Fix Error 0X80010108 In Windows 10
Make sure to create a restore point just in case something goes wrong.
Method 1: Enable User Account Control (UAC)
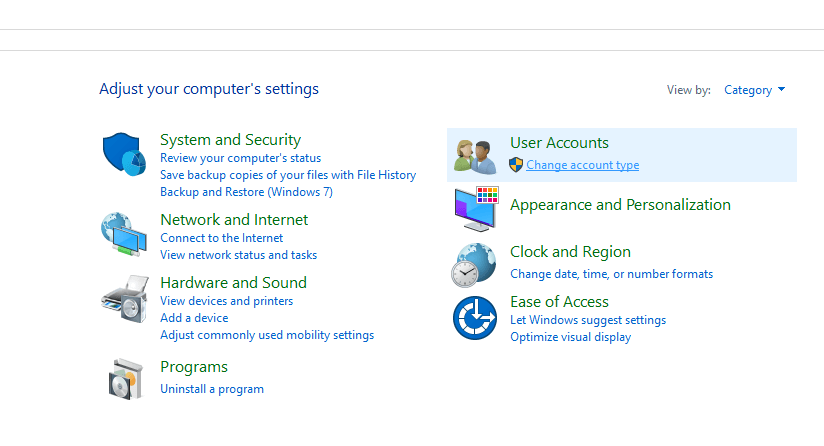
1. Search for the control panel from the Start Menu search bar and click on it to open the Control Panel.

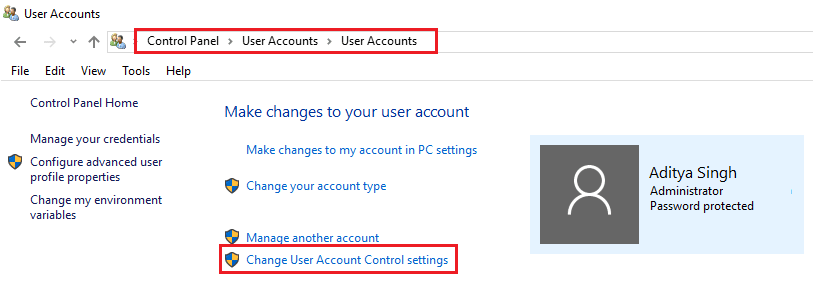
2. Now click on User Accounts then again click on User Accounts on the next window.
3. Next, click on Change User Control Account Settings.
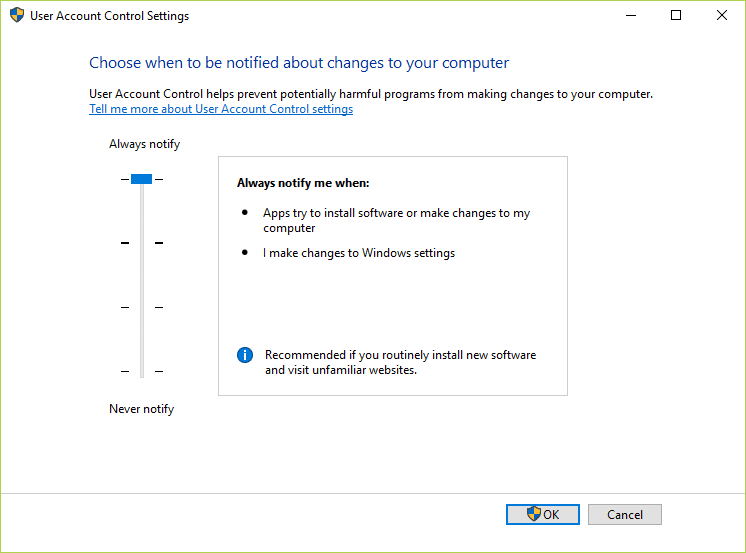
4. Move the slider all the way up to the Always Notify. Click OK to save changes.
Method 2: Adjust Date/Time
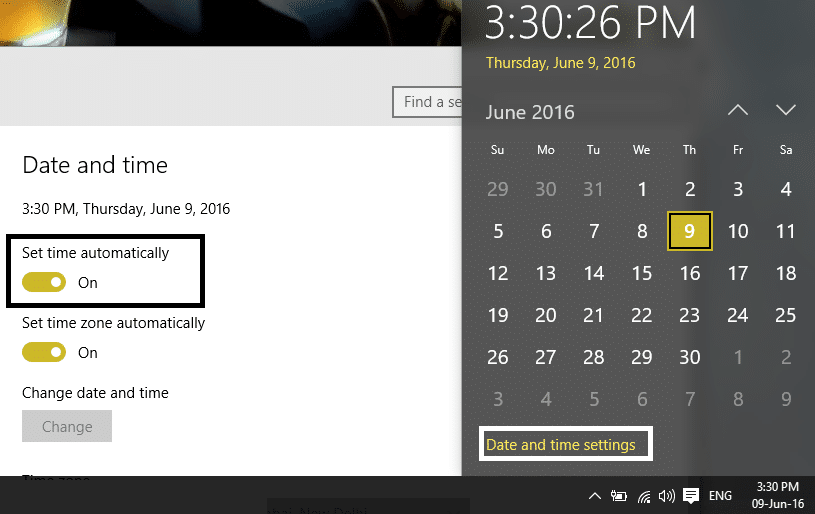
1. Click on the date and time on the taskbar and then select “Date and time settings.”
2.I f on Windows 10, make “Set Time Automatically” to “on.”
3. For others, click on “Internet Time” and tick mark on “Automatically synchronize with an Internet time server.”
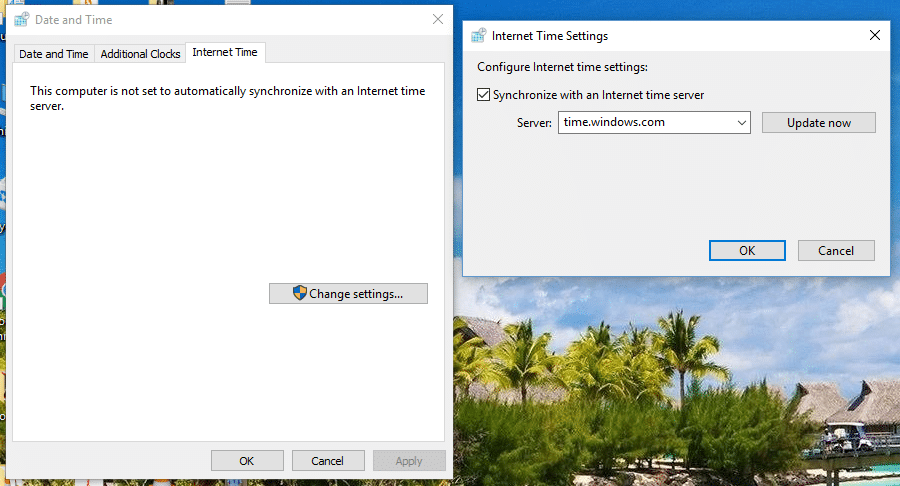
4. Select Server “time.windows.com” and click update and “OK”. You don’t need to complete the update. Just click, OK.
Again check if you can Fix Error 0X80010108 In Windows 10 or not, if not then continue with the next method.
Method 3: Clear Windows Store Cache
1. Press Windows Key + R then type wsreset.exe and hit enter.
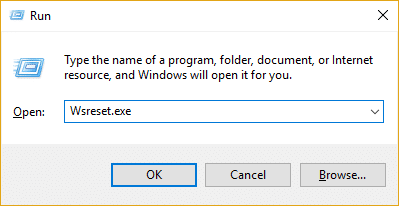
2. Let the above command run which will reset your Windows Store cache.
3. When this is done restart your PC to save changes.
Method 4: Run Windows App Troubleshooter
1. Go to this link and download Windows Store Apps Troubleshooter.
2. Double-click the download file to run the Troubleshooter.
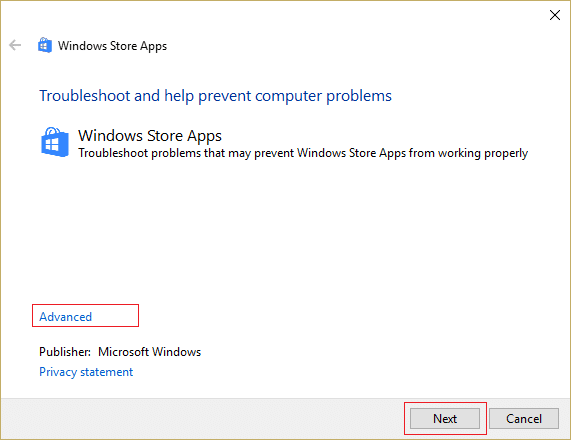
3. Make sure to click on Advanced and checkmark “Apply repair automatically.”
4. Let the Troubleshooter run and Fix Windows Store Not Working.
5. Open control panel and search troubleshooting in the search bar and click on Troubleshooting.

6. Next, from the left window, pane select View all.
7. Then, from the Troubleshoot computer problems list select Windows Store Apps.
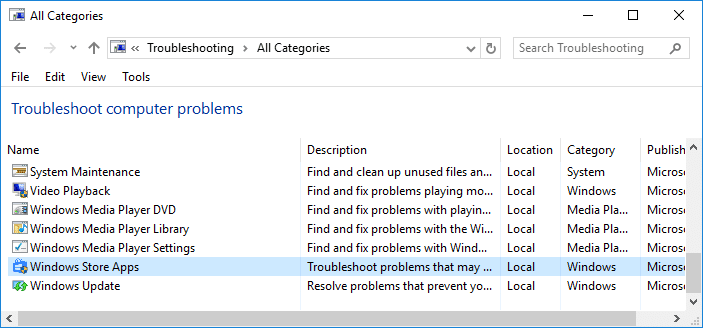
8. Follow on-screen instruction and let the Windows Update Troubleshoot run.
9. Restart your PC, and you may be able to Fix Error 0X80010108 In Windows 10.
Method 5: Uncheck Proxy
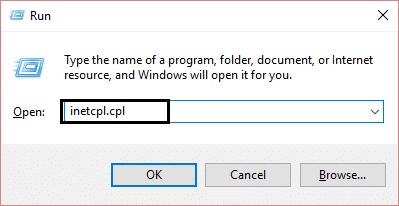
1. Press Windows Key + R then type inetcpl.cpl and hit enter to open Internet Properties.
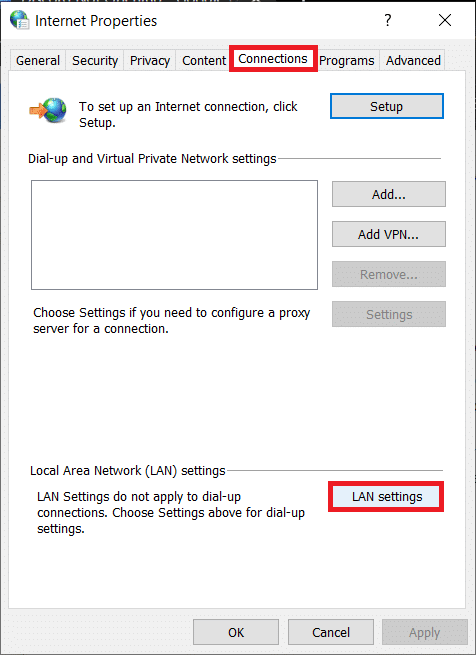
2. Next, Go to Connections tab and select LAN settings.
3. Uncheck Use a Proxy Server for your LAN and make sure “Automatically detect settings” is checked.
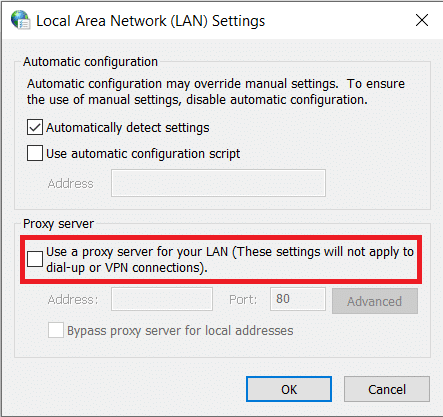
4. Click Ok then Apply and reboot your PC.
Method 6: Flush DNS and Reset TCP/IP
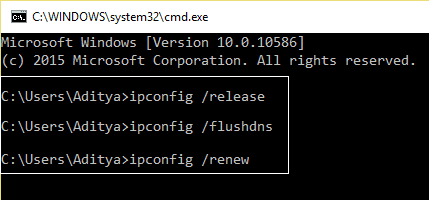
1. Right-click on Windows Button and select “Command Prompt(Admin).”
2. Now type the following command and press enter after each one:
ipconfig /release
ipconfig /flushdns
ipconfig /renew
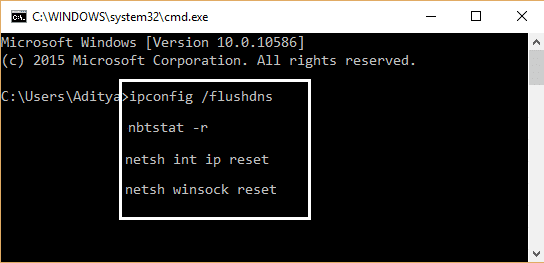
3. Again, open Admin Command Prompt and type the following and hit enter after each one:
ipconfig /flushdns
nbtstat –r
netsh int ip reset
netsh winsock reset
4. Reboot to apply changes. Flushing DNS seems to Fix Error 0X80010108 In Windows 10.
Method 7: Temporarily Disable Antivirus and Firewall
Sometimes the Antivirus program can cause an error, and to verify this is not the case here, you need to disable your antivirus for a limited time so that you can check if the error still appears when the antivirus is off.
1. Right-click on the Antivirus Program icon from the system tray and select Disable.

2. Next, select the time frame for which the Antivirus will remain disabled.

Note: Choose the smallest amount of time possible, for example, 15 minutes or 30 minutes.
3. Once done, again try to connect to open Google Chrome and check if the error resolves or not.
4. Search for the control panel from the Start Menu search bar and click on it to open the Control Panel.
5. Next, click on System and Security then click on Windows Firewall.

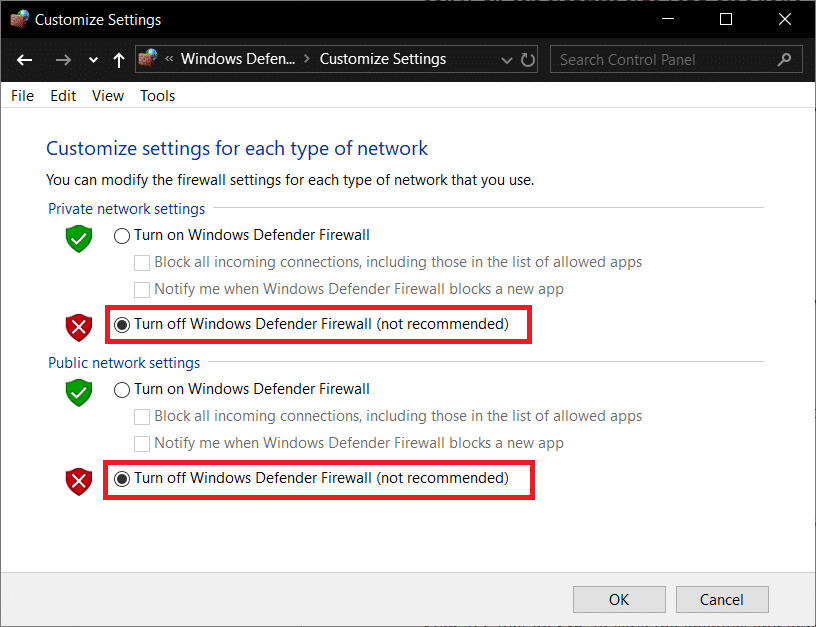
6. Now from the left window pane click on Turn Windows Firewall on or off.
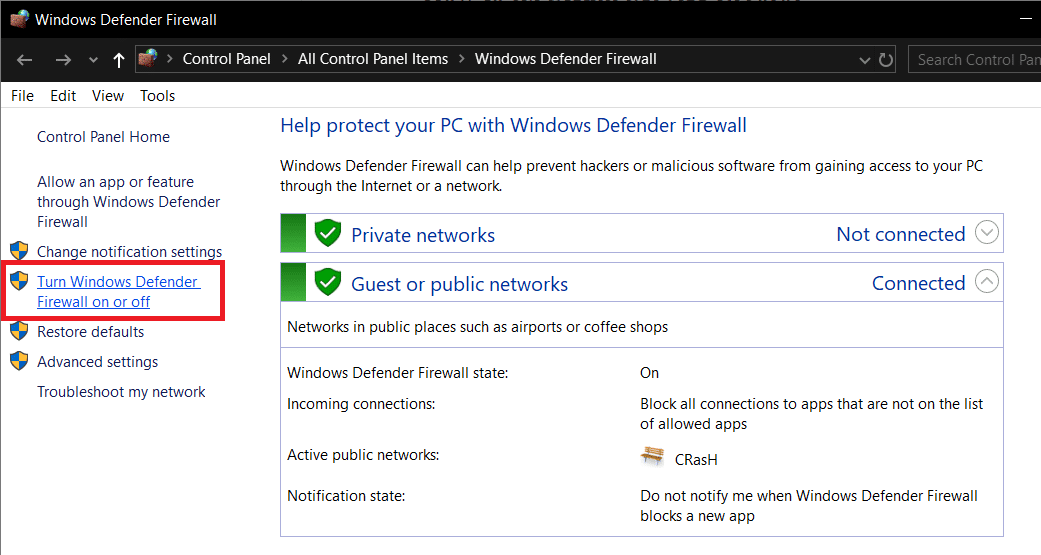
7. Select Turn off Windows Firewall and restart your PC.
Again try to open Google Chrome and visit the web page, which was earlier showing the error. If the above method doesn’t work, please follow the same steps to turn on your Firewall again.
Method 8: Perform a Clean Boot
Sometimes 3rd party software can conflict with Windows and therefore cause Error 0X80010108 In Windows 10. To fix this issue, you need to perform a clean boot in your PC and diagnose the issue step by step.

Method 9: Re-register Windows Store
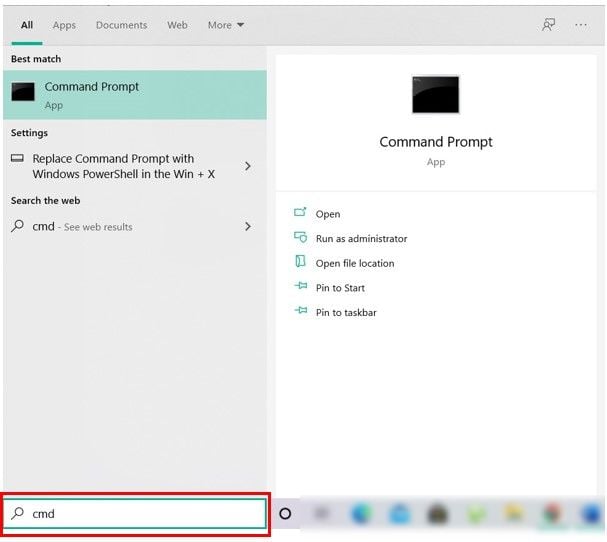
1. In the Windows search type Powershell then right-click on Windows PowerShell and select Run as administrator.
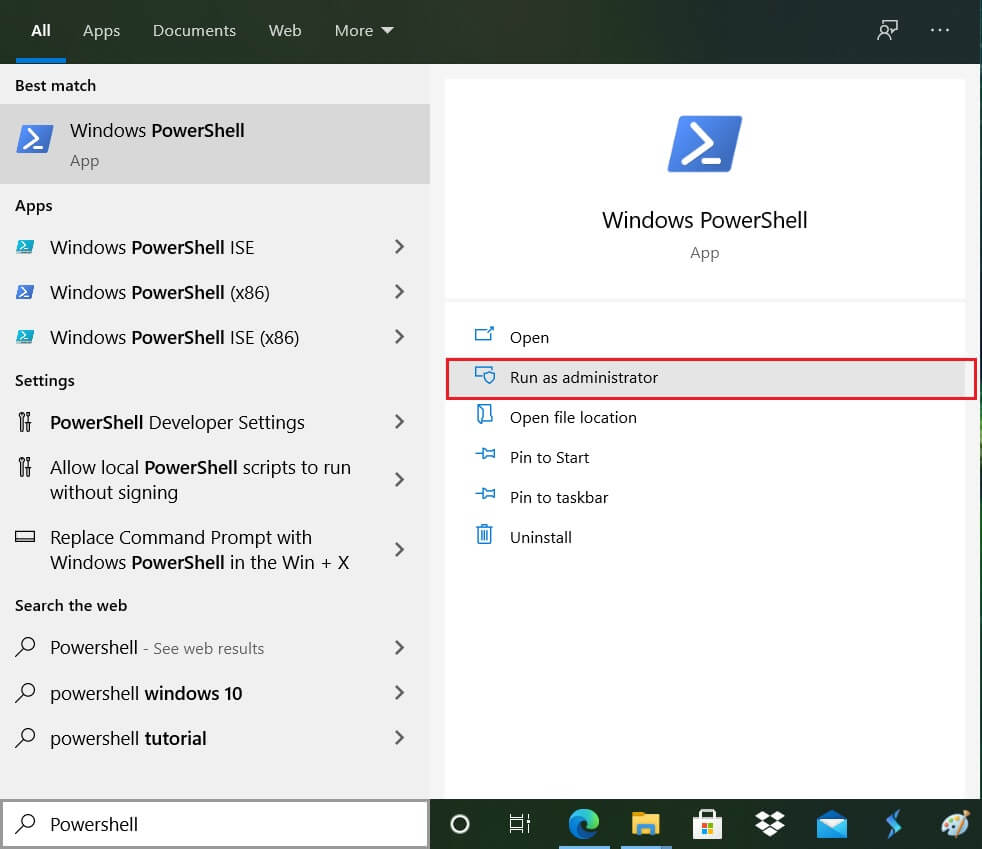
2. Now type the following in the Powershell and hit enter:
Get-AppXPackage | Foreach {Add-AppxPackage -DisableDevelopmentMode -Register "$($_.InstallLocation)AppXManifest.xml"}

3. Let the above process finish and then restart your PC.
Recommended:
That’s it you have successfully Fix Error 0X80010108 In Windows 10 but if you still have any queries regarding this guide then feel free to ask them in the comment’s section.