How to Use Disk Cleanup in Windows 10

Every Windows Users must have faced this problem once in a while, no matter how much disk space you got, there will always come a time when it will fill right up to its total capacity, and you will have no place to store more data. Well, modern songs, videos, games files etc. easily take up more than 90% space of your hard drive. When you want to store more data, then you must either increase the capacity of your hard disk which is quite a costly affair if you believe me or you need to delete some of your previous data which is a very daunting task and no one dares to do that.
Well, there is a third way, which will free up some space on your hard disk not much but enough to give you a little more space to breathe for a couple of more months. The way which we are talking about is using Disk Cleanup, yes you heard it right, although not many people are aware that it can actually free up to 5-10 gigabytes of space on your disk. You can use Disk Cleanup regularly to reduce the number of unnecessary files on your disk.
Disk Cleanup generally deletes temporary files, system files, empties Recycle Bin, remove a variety of other items that you might no longer need. Disk Cleanup also comes up with a new System compression which will compress Windows binaries and program files to save disk space on your system. Anyway, without wasting any time, let’s see How to Use Disk Cleanup in Windows 10 with the help of the below-listed tutorial.
How to Use Disk Cleanup in Windows 10
Make sure to create a restore point just in case something goes wrong.
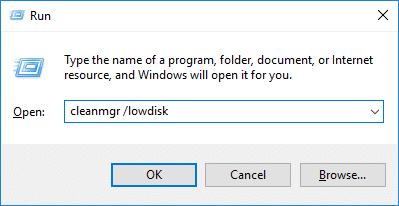
1. Press Windows Key + R then type cleanmgr or cleanmgr /low disk (If you want all options checked by default) and hit Enter.
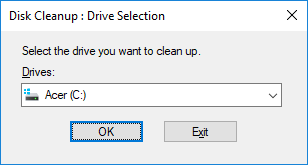
2. If you have more than one partition on your system, you need to select the partition you need to clean (it’s generally the C: drive) and click OK.
3. Now follow the below-listed methods for what you want to do with disk cleanup:
Note: You must be signed in as an administrator account to follow this tutorial.
Method 1: Clean Up Files for Only Your Account Using Disk Cleanup
1. After step 2 make sure to check or uncheck all the items you want to include in Disk Cleanup.
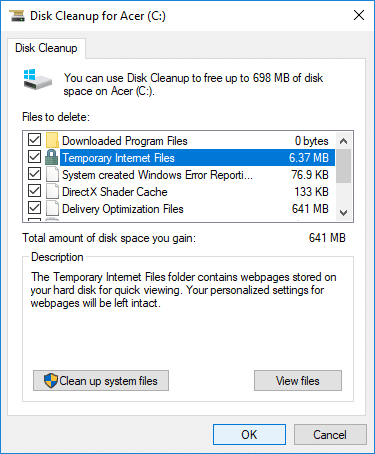
2. Next, review your changes and then click OK.
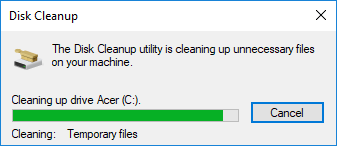
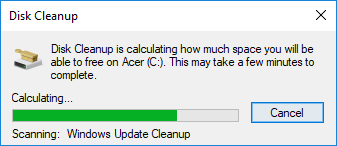
3. Wait for few minutes before Disk Cleanup can complete its operation.
This is How to Use Disk Cleanup in Windows 10 but if you need to clean up System files then follow the next method.
Method 2: Clean Up System Files Using Disk Cleanup
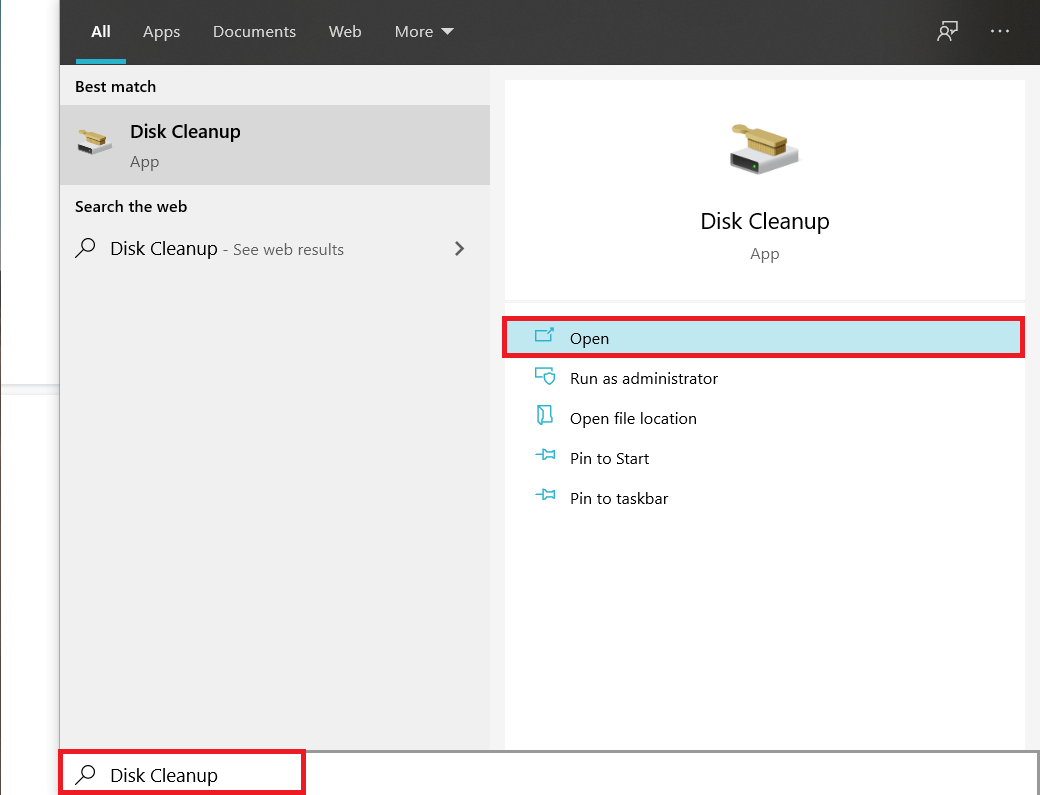
1. Type Disk Cleanup in Windows Search then click on it from the search result.
2. Next, select the drive for which you want to run the Disk Cleanup.
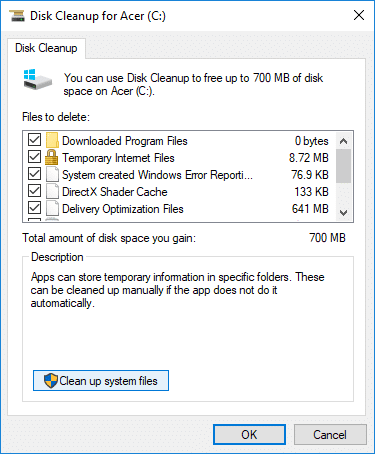
3. Once the Disk Cleanup windows open, click on the “Clean up system files” button at the bottom.
4. If prompted by UAC, select Yes, then again select the Windows C: drive and click OK.
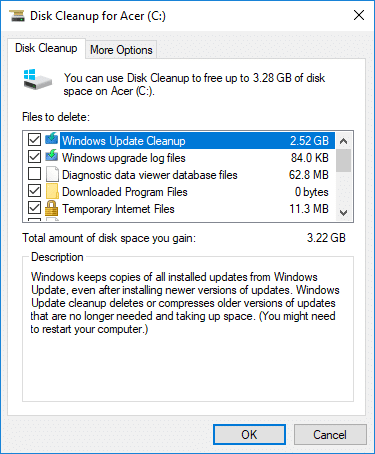
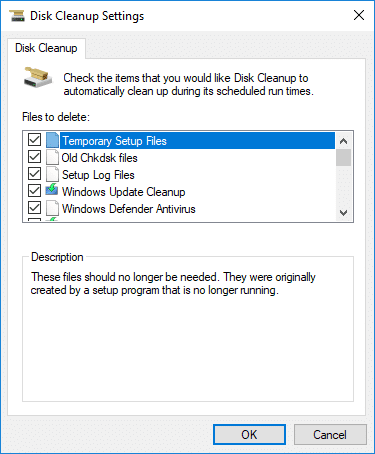
5. Now check or uncheck items you want to include or exclude from Disk Cleanup and then click OK.
Method 3: Clean Up Unwanted Program Using Disk Cleanup
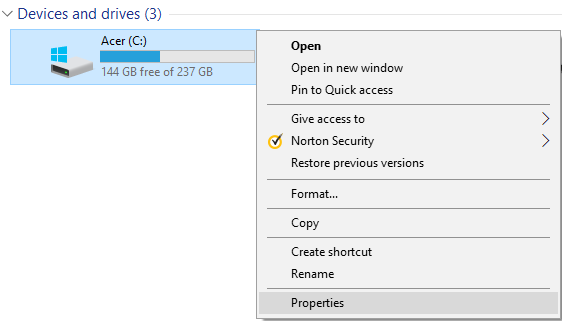
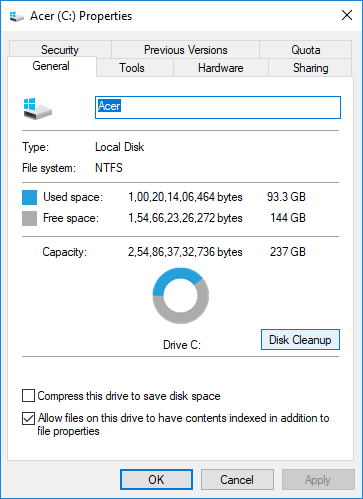
1. Right-click on the drive you want to run Disk Cleanup for then select Properties.
2. Under the General tab, click on the Disk Cleanup button.
3. Again click on the “Clean up system files” button located at the bottom.
4. If prompted by UAC, make sure to click Yes.
5. On the next window that opens, switch to the More Options tab.
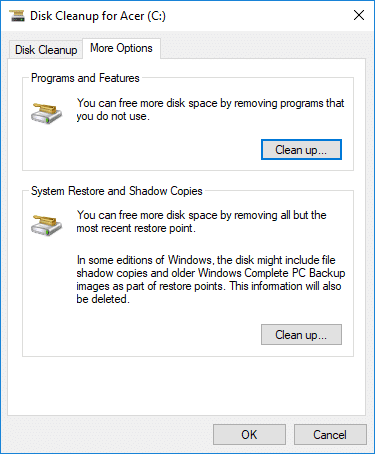
6. Under Program and Features, click on “Cleanup” button.
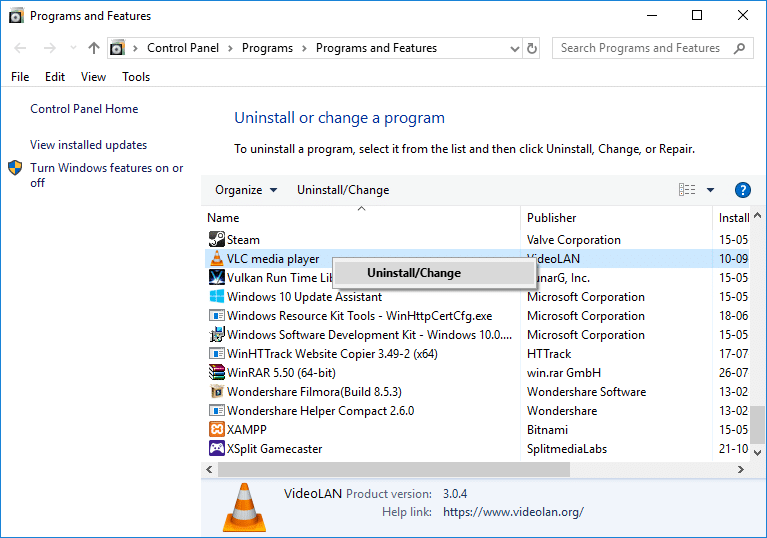
7. You can close the disk cleanup if you like and then uninstall unwanted programs from the Programs and Features window.
8. Once done, close everything and reboot your PC.
This is How to Use Disk Cleanup in Windows 10 to clean up Unwanted Programs but if you want to delete all Restore Points except the latest one then follow the next method.
Method 4: Delete all Restore Point except the latest one using Disk Cleanup
1. Make sure to open Disk Cleanup for C: drive using any of the above methods.
2. Now click on the “Clean up system files” button located at the bottom. If prompted by UAC select Yes to continue.
3. Again select Windows C: drive, if needed and wait for few minutes to Disk Cleanup to load up.
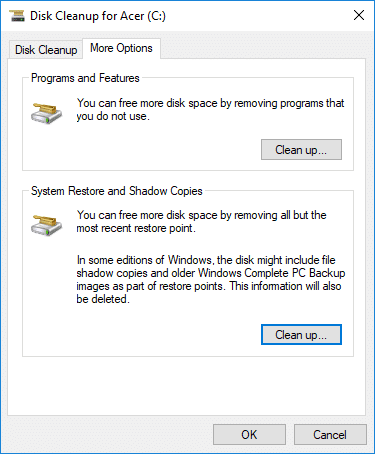
4. Now switch to More Options tab and click on Clean up button under “System Restore and Shadow Copies“.
5. A prompt will open up asking you to confirm your actions, click Delete.
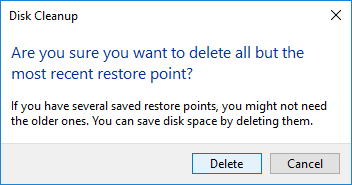
6. Again click on Delete Files button to continue and wait for Disk Cleanup to delete all the Restore Points except the latest one.
Method 5: How to Use Extended Disk Cleanup
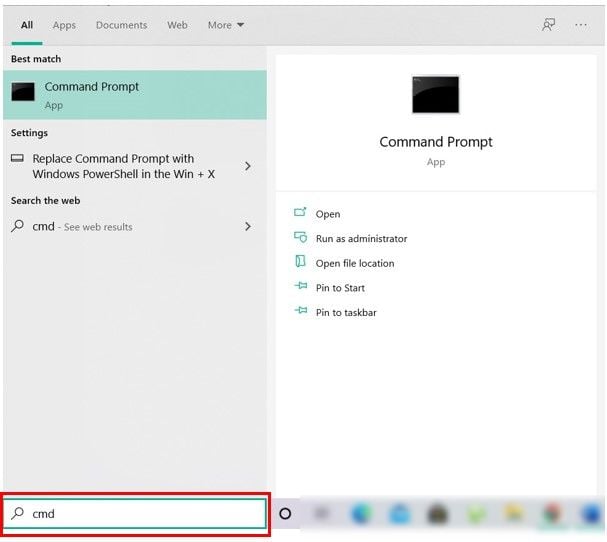
1. Open Command Prompt. The user can perform this step by searching for ‘cmd’ and then press Enter.
2. Type the following command into cmd and hit Enter:
cmd.exe /c Cleanmgr /sageset:65535 & Cleanmgr /sagerun:65535

Note: Make sure you don’t close Command Prompt until the Disk Cleanup is complete.
3. Now check or uncheck items you want to include or exclude from Disk Clean up then click OK.
Note: Extended Disk Cleanup gets far more options than normal Disk Cleanup.
4. Disk Cleanup will now delete the selected items and once finished, you can close cmd.
5. Reboot your PC to save changes.
Recommended:
That’s it you have successfully learned How to Use Disk Cleanup in Windows 10 but if you still have any queries regarding this tutorial then feel free to ask them in the comment’s section.