Split Your Laptop Screen in Half in Windows 10

Split Your Laptop Screen in Half in Windows 10: The most important property of windows is multitasking, we can open multiple windows to do your work. But sometimes it is very troublesome to switch between two windows whiles working. Mostly when we are taking reference of the other window.
To overcome this problem, windows have given a special facility called “SNAP ASSIST”. This option is available in Windows 10. This article is all about how to make your snap-assist options enable for your system and how to Split Your Laptop Screen in Half in Windows 10 with the help of snap-assist.
Split Your Laptop Screen in Half in Windows 10
Snap Assist is the functionality which helps to split your screen. It will allow you to open multiple windows on a single screen. Now, just by selecting a window, you can switch to different screens.
Enable Snap Assist (with pictures)
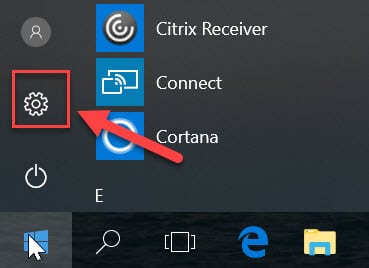
1.First, go to the Start->Setting in the windows.
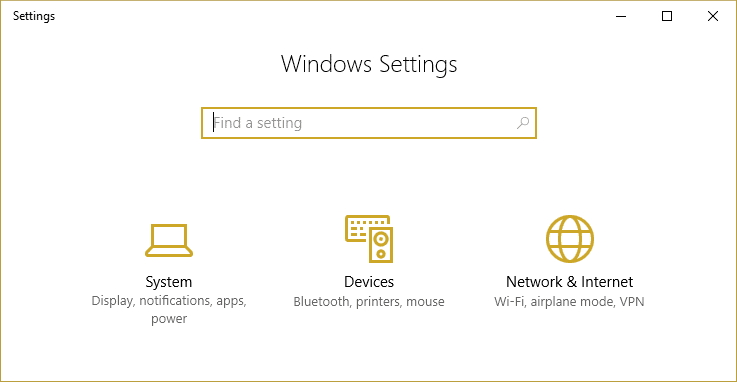
2.Click on System icon from the settings window.
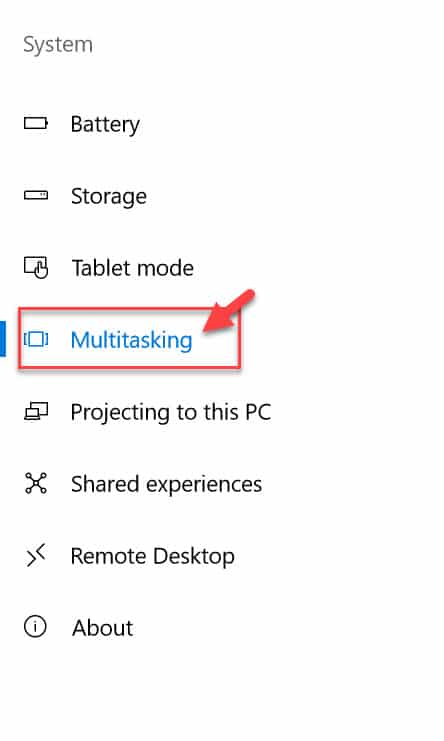
3.Choose the “Multitasking” option from the left-hand menu.
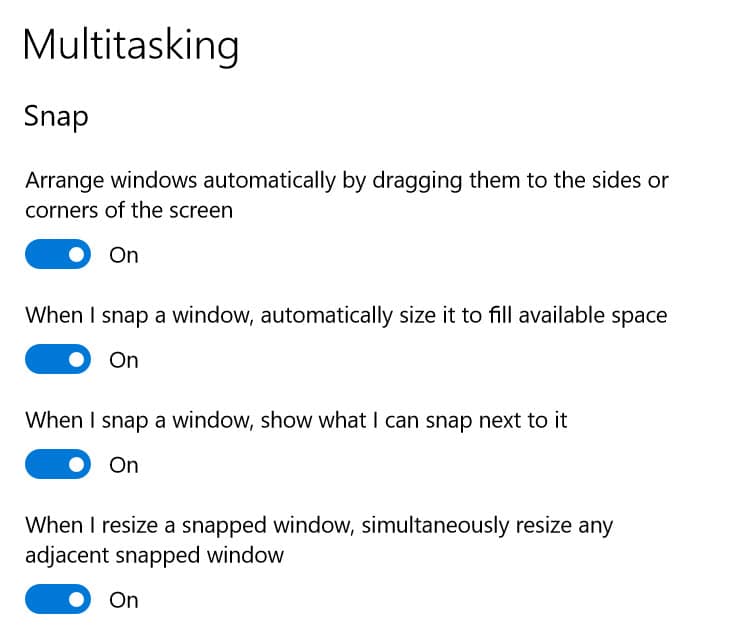
4.Now under Snap, make sure all the items are enabled. If they are not enabled then click on the toggle to enable each of them.
Now, snap-assist will start working in the window. This will help to split the screen, and multiple windows can be opened together.
Steps to Snap two windows side by side in Windows 10
Step 1: Choose the window which you want to snap and drag it from the edge.
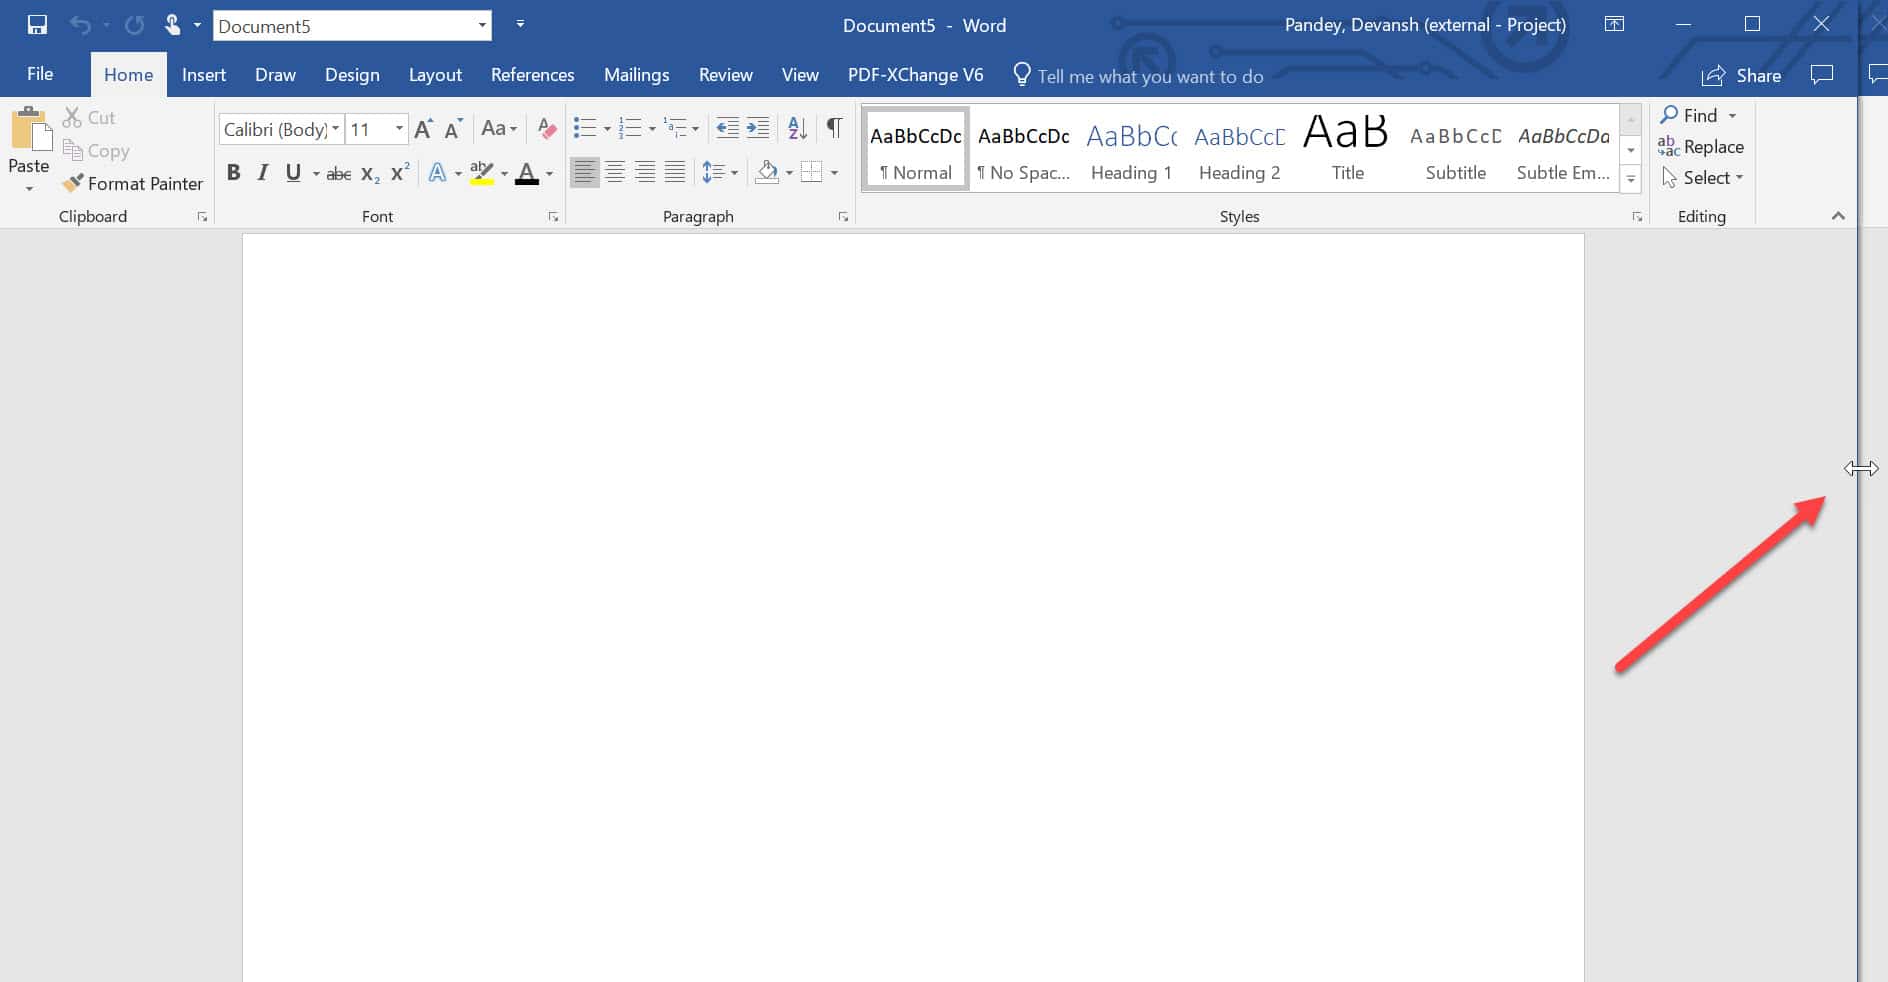
Step 2: Once you drag the window, a translucent line will appear at distinct locations. Stop at the point, where you want to place it. The window will stay at that point and if other applications are open, they will appear on the other side.
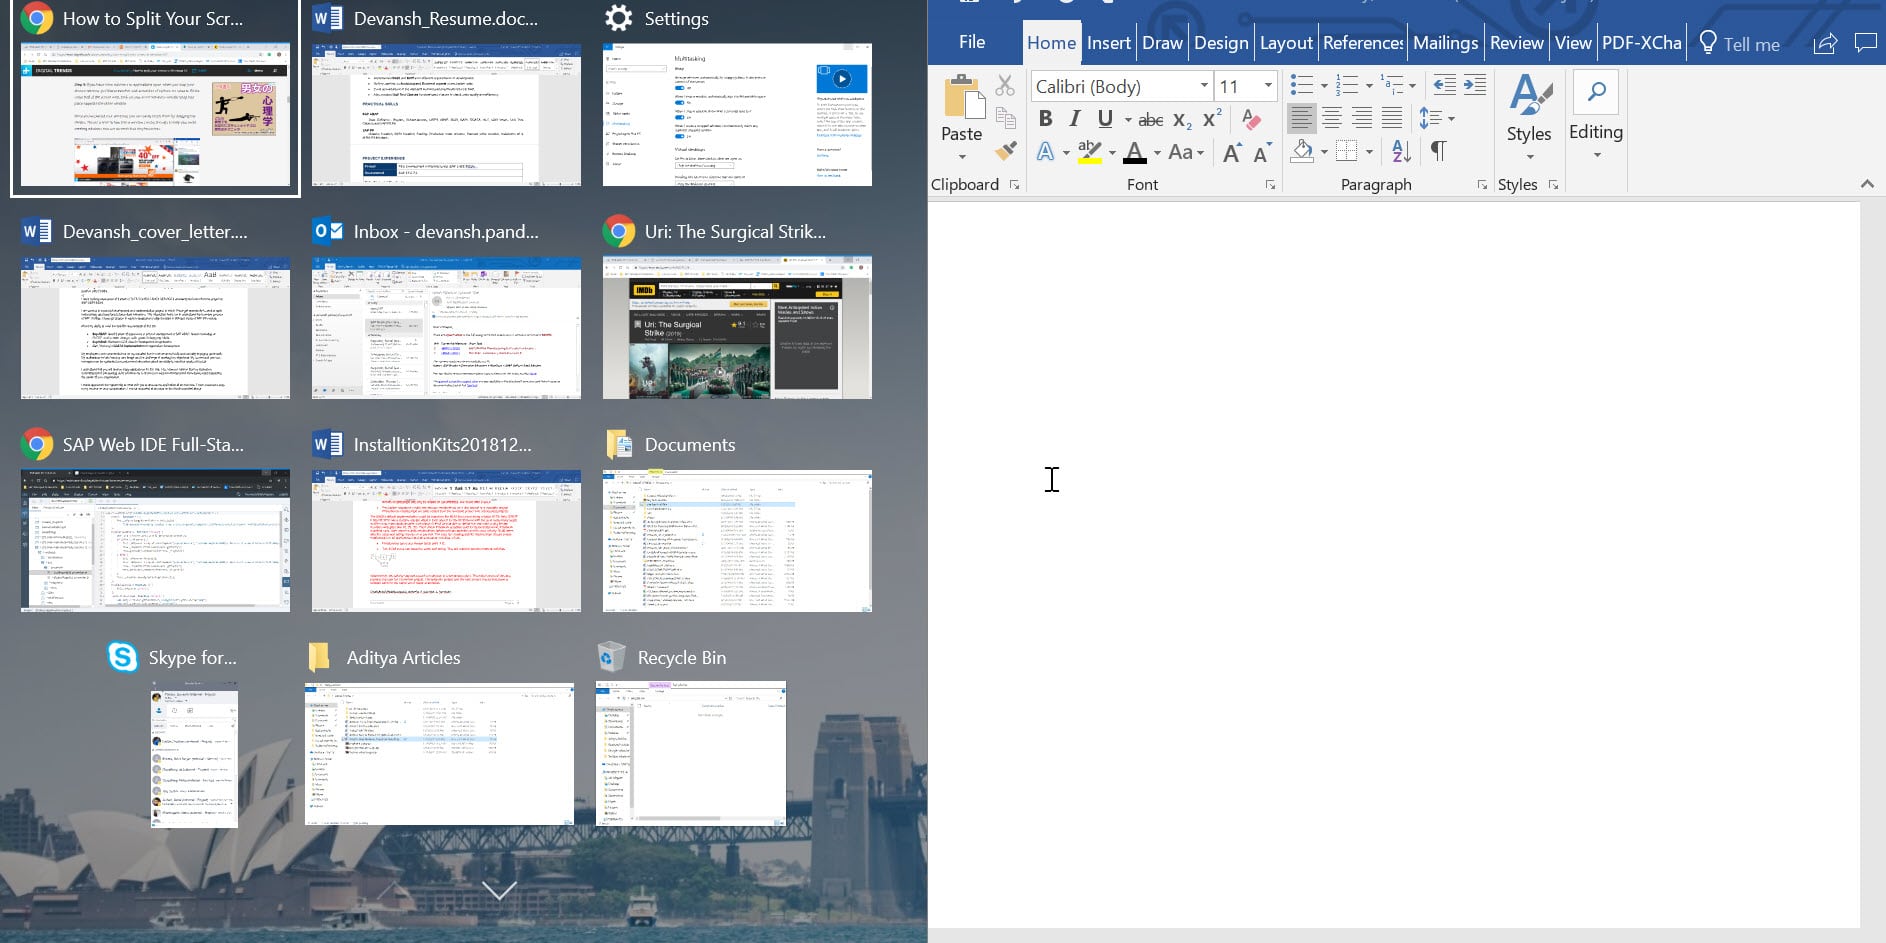
Step 3: If other application or window are appearing. You can choose from the applications to fill the remaining space left after snapping of the first window. In this way, multiple windows can be opened.
Step 4: To adjust the size of the snapped window, you can use the key “Windows + left arrow/right arrow”. It will make your snapped window to move into different space of the screen.
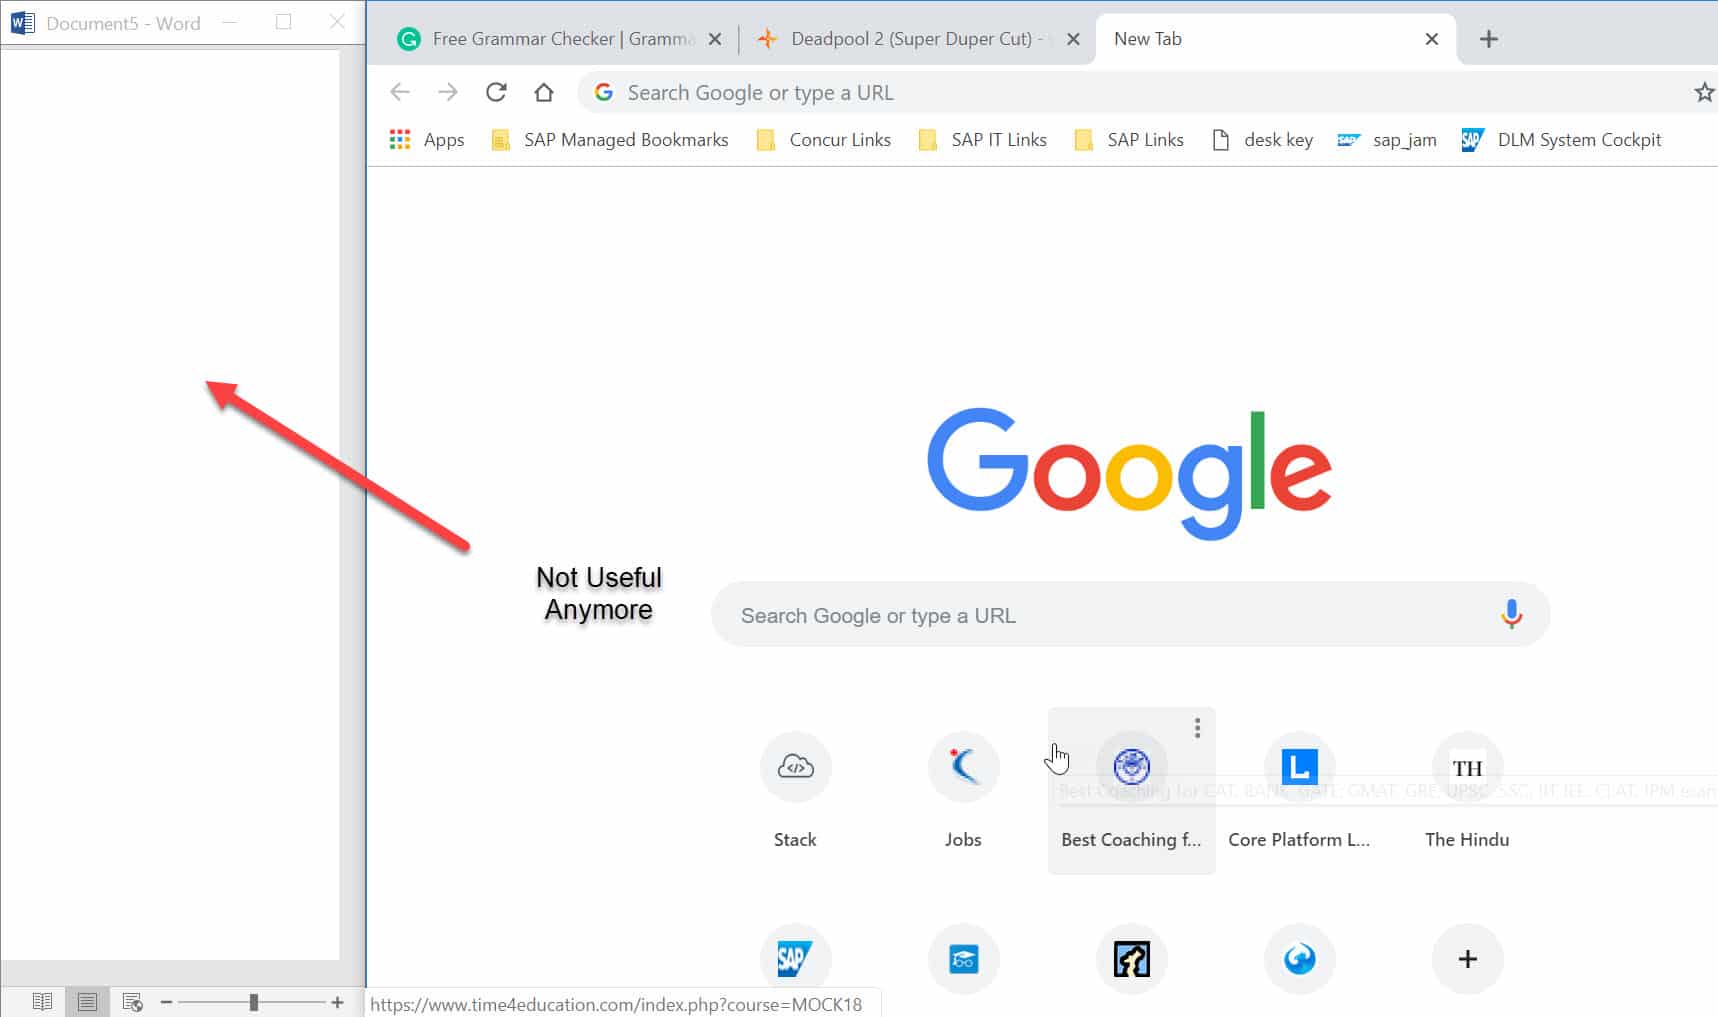
You can resize your window by dragging the divider. But there is a limit on how much a window can be suppressed. Hence, it is better to avoid making the window so thin that it becomes useless.
Steps to Snap Maximum Useful Window in One Screen
Step.1: First, choose the window you want to snap, drag it to the leftmost corner of the screen. You can also use “Window + left/right arrow” to drag the window in the screen.
Step.2: Once, you drag one window, try to divide the screen into four equal parts. Move the other window into down of the leftmost corner. By this way, you have fixed the two windows into the half part of the screen.
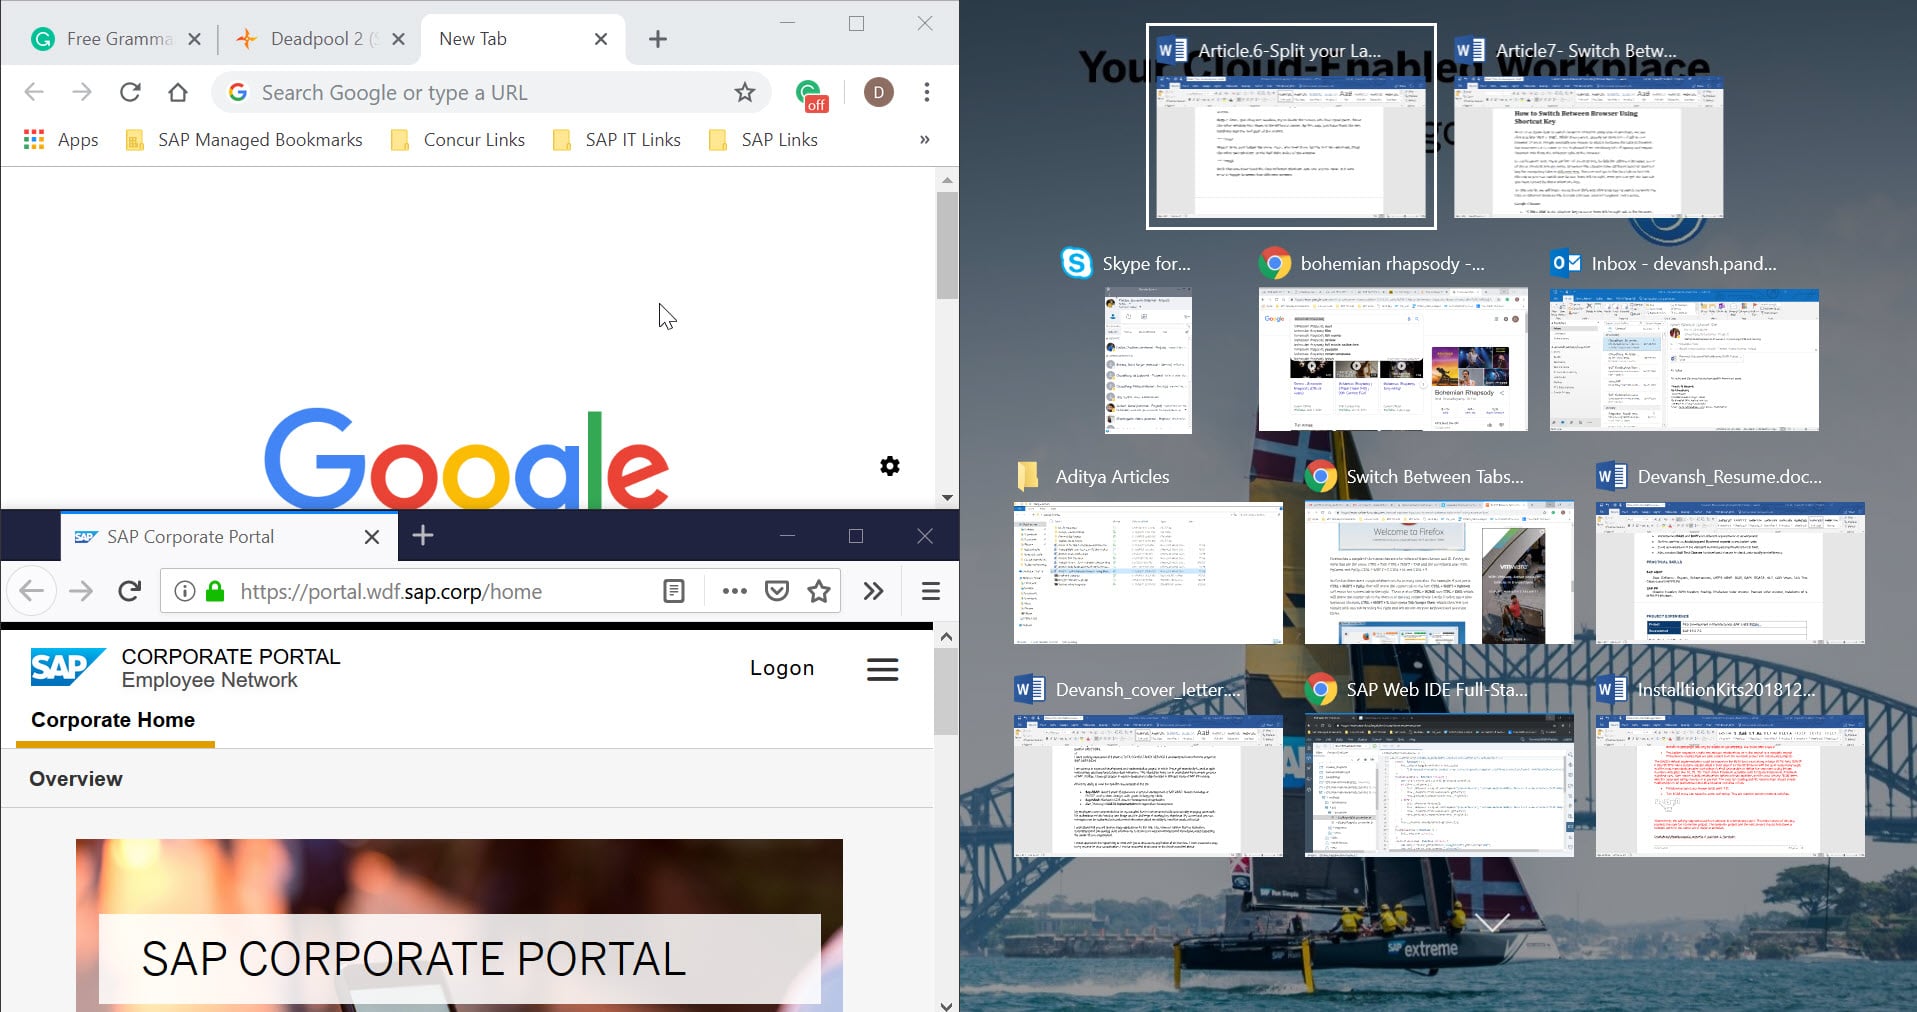
Step.3: Now, just follow the same steps, you have done for the last two windows. Drag the other two windows at the half right sides of the window.
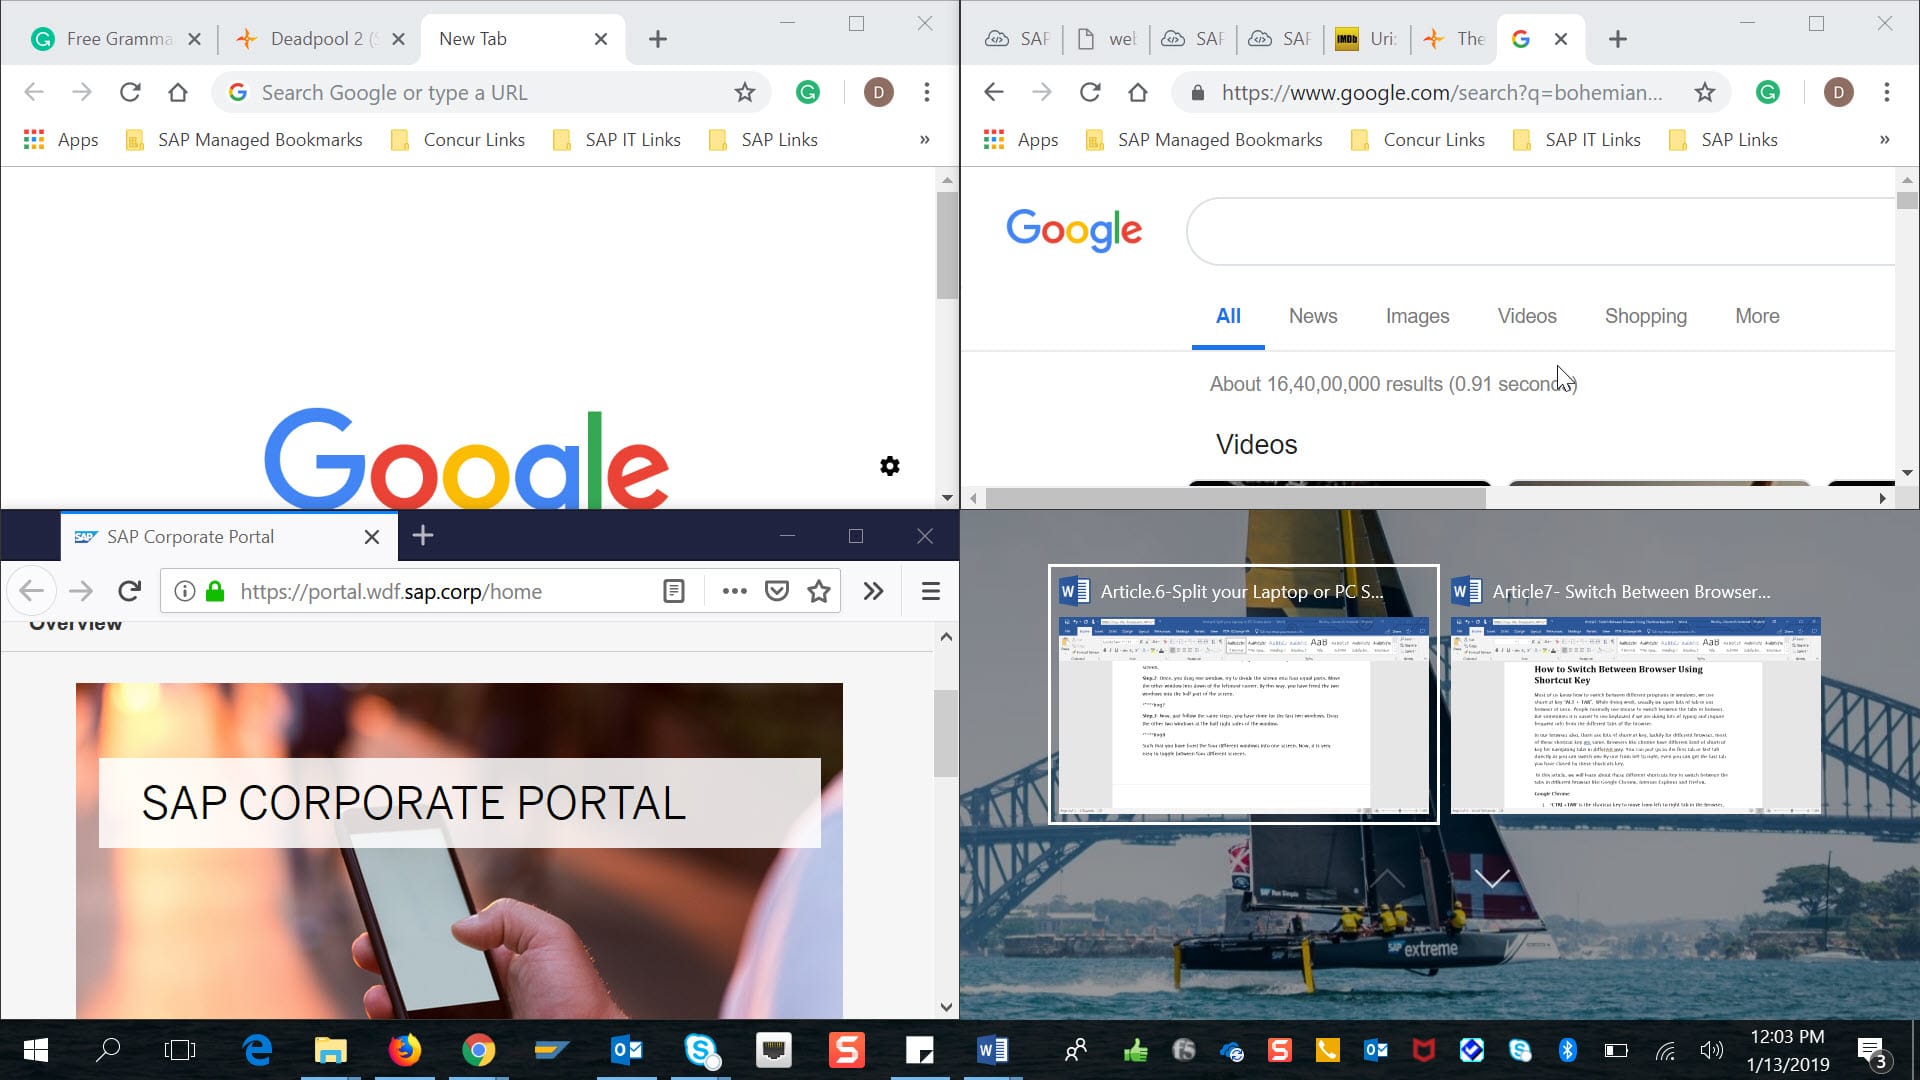
Such that you have fixed the four different windows into one screen. Now, it is very easy to toggle between four different screens.
Recommended:
I hope the above steps were able to help you Split Your Laptop Screen in Half in Windows 10 but if you still have any questions regarding this tutorial or Snap Assist option then feel free to ask them in the comment’s section.