Are you among those who are seeing the error message: ‘Fallout 4 Mods Not Working’?
If you’re having trouble figuring things out, you’ve come to the right place.
Bethesda Game Studios released Fallout 4, a role-playing adventure game. The game is the fifth edition of the Fallout series and was launched in November of 2015. Many mods for the game were also released shortly after the game’s release. AManygamers use the Nexus Patch Manager, a modding tool that enables gamers to apply a wide variety of mods.
Lately, many users have reported that Fallout 4 stuttering or mods are not working.. Users who used the Nexus Mod Manager to modify the game also experienced this problem. In this post, we’ll go over some of the explanations as to why this problem arises, as well as possible ways to ensure that the problem is eliminated.
How to Fix Fallout 4 Mods Not Working Issue
What are the causes of the Fallout 4 mods not working?
Nexus Mod Manager is free and open-source software that lets you download, modify, and save mods for your games. There are a variety of mods for Fallout 4 now. However, while using Nexus Mode Manager, several users report that Fallout 4 mods are not working.
So, what makes the Nexus mod in Fallout 4 not work?
- The.ini files in the data folder are incorrectly configured.
- The game or the Nexus Mod Manager cannot connect to the server because of the Windows Defender Firewall.
- When you load the game and mods on separate hard drives, the Multi HD install option is disabled.
- Outdated Nexus Mod Manager can cause problems that can result in Fallout 4 plugins not downloading.
- Faulty mods can cause problems when it comes to using mods in Fallout 4.
Method 1: Run Nexus Mode as an administrator
1. To begin, open the folder containing your Fallout 4 Nexus Mod Manager.
2. Select the EXE file for your game by right-clicking on it.
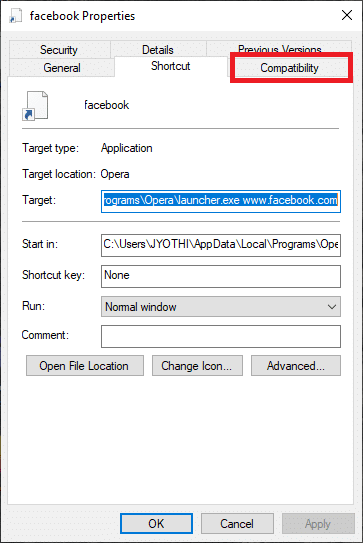
3. Then, as shown in the screenshot below, click the Compatibility button.
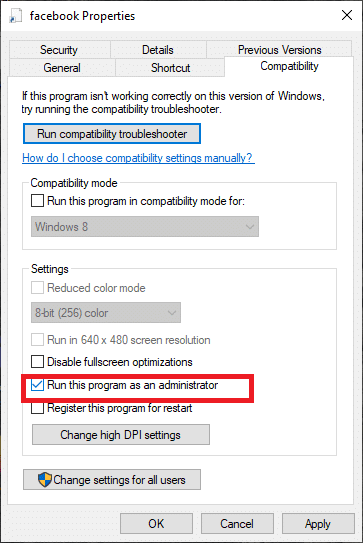
4. Tick the Run this program as administrator option.
5. Finally, click OK to save changes.
Method 2: Reconfigure INI files for Fallout 4
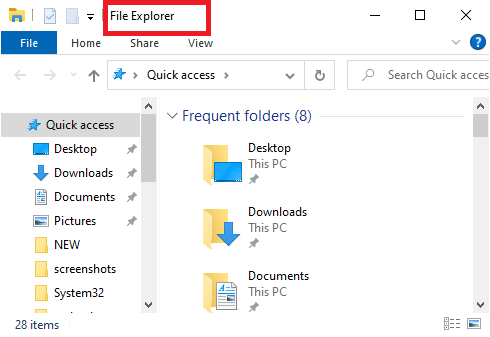
1. Press the Windows+E hotkey. This will open the File Explorer.
2. Then go to this location and open the Fallout 4 folder:
DocumentsMyGamesFallout4
3. Right-click your custom.ini file.
4. Select Open with<Notepad.

5. Use the Ctrl+C hotkey and copy the following code:
[Collection]bInvalidateOlderFiles=1
sResourceDataDirsFinal=
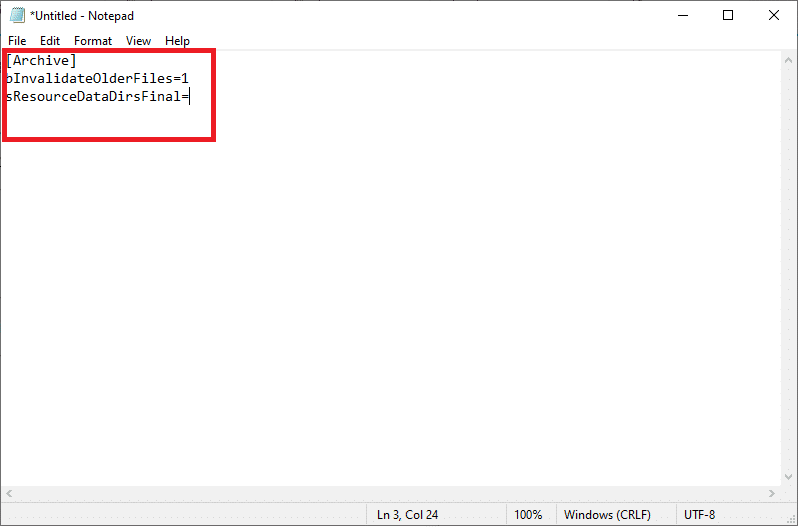
6. Use the Ctrl+V hotkey to paste the code into your Fallout4Custom.ini file.
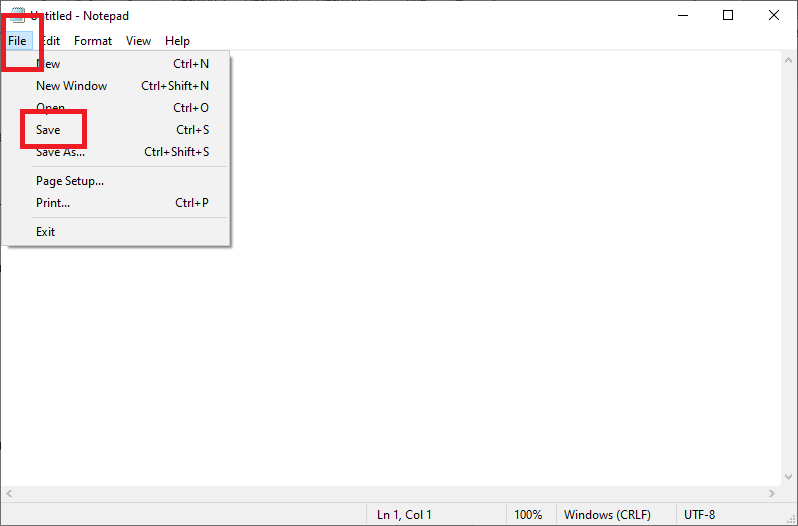
7. Click on File>Save in Notepad from the File menu.

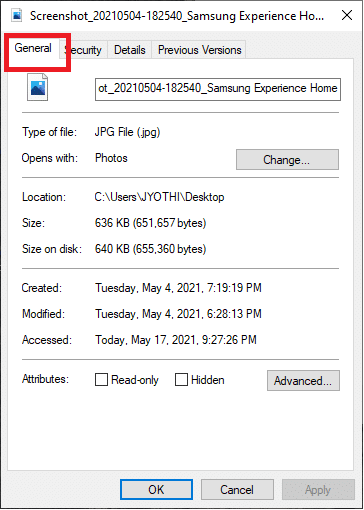
8. Select Properties by right-clicking the Fallout 4 Custom.ini file and then click on the General tab
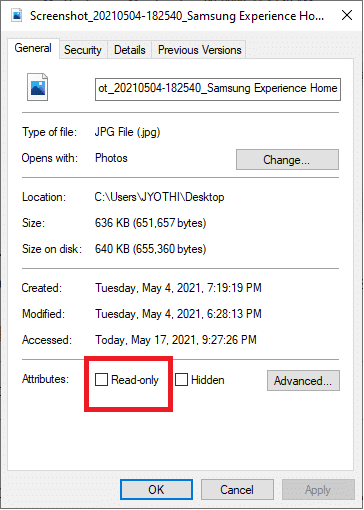
9. There, untick the Read-only attribute checkbox.
10. Enter the text (shown below) in the Fallout4prefs.ini file:
bEnableFileSelection=1
11. Finally, go to the File menu in Notepad and choose Save.
Method 3: Enable/allow Fallout 4 through Windows Firewall
1. On the far left of Windows 10’s taskbar, click the Type here to search icon.
2. Type Firewall as your search input.

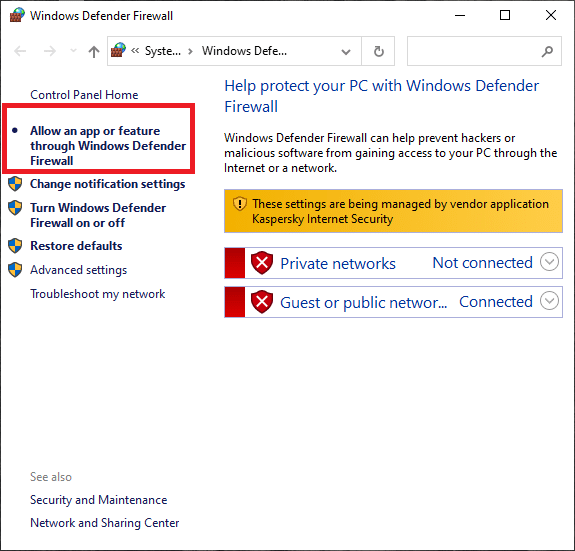
3. Open the Windows Defender Firewall in the Control Panel.

4. Select the Allow an app or feature through the Windows Defender Firewall option.
5. Click on the Manage settings option.

6. Check both, Private and Public boxes for your game.
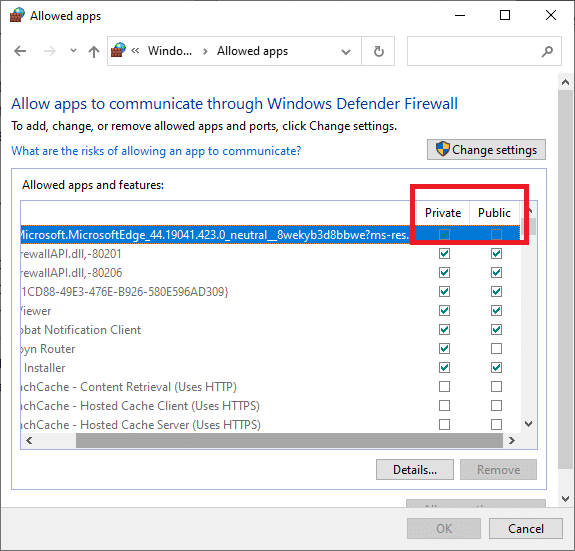
7. Click the OK button.
Method 4: Deactivate and reactivate mods one at a time
1. Launch the Nexus Mod Manager application.
2. Then, in Nexus Mod Manager, select Fallout 4 to see a list of installed mods.
3. Right-click on all of your mods and select Deactivate.
4. Play Fallout 4 after you’ve disabled all mods. If deactivating the mods solves the game’s current problems, then one or more mods are broken.
5. After that, activate a mod and play Fallout 4 to see any problems. Continue to test the game after reactivating one by one till you identify the broken or corrupt one.
6. Deactivate any corrupt mods you come across.
Method 5: Reinstall and update the Nexus Mode Manager
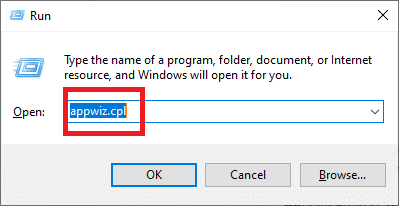
1. To use the Run command box, press the Windows key +R key.
2. After entering the following command in the Run text box: appwiz.cpl, click the OK button.
3. Remove the Fallout 4 mod app by right-clicking it and clicking on the Uninstall option.
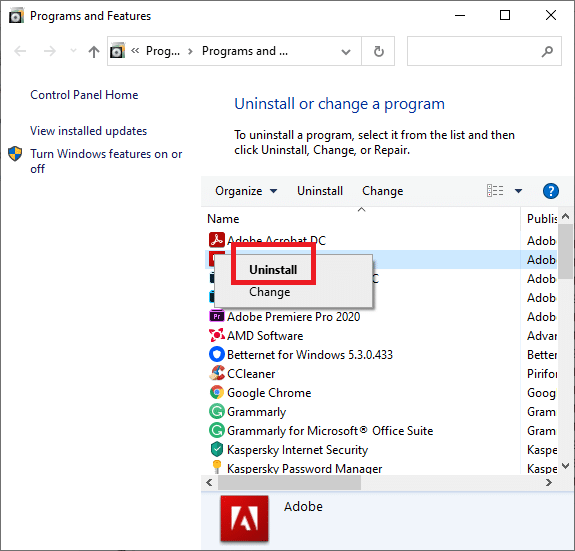
4. After deleting the mod program, restart Windows.
5. On the NMM download tab, click the Manual Download button to get the new Nexus Mod Manager version.
6. Install the downloaded mod manager software.
Method 6: Add Fallout 4 to Windows Exclusion
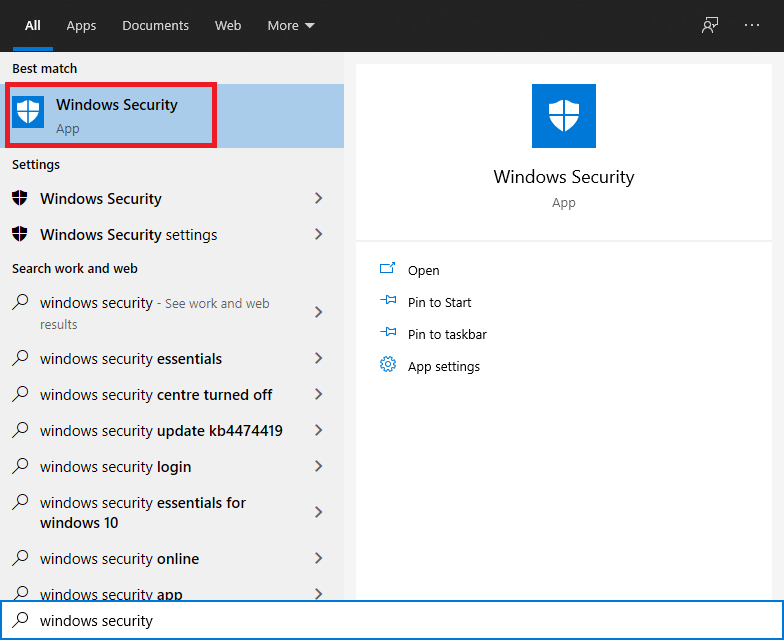
1. Open the Windows search command box.
2. Open the search utility by typing Windows Security into the text box.
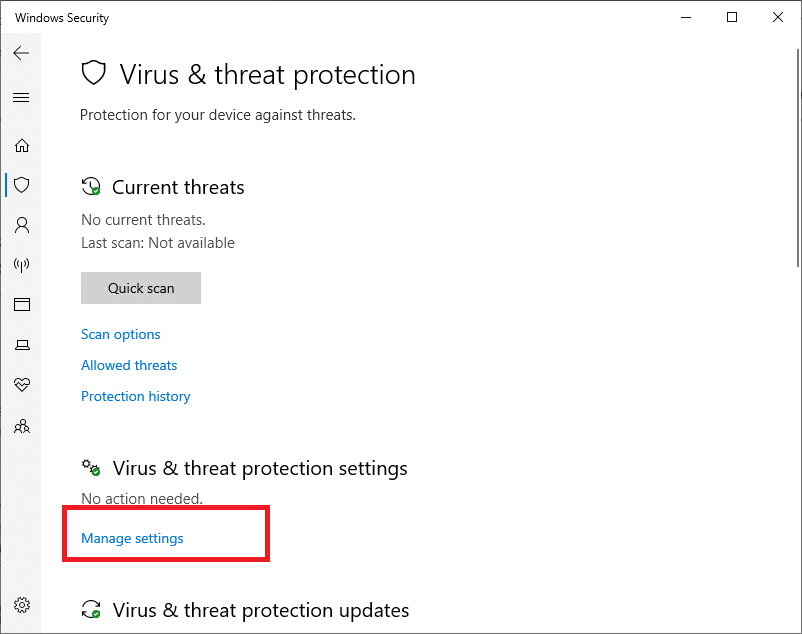
3. Click the Virus & threat protection button located on the top-left of the screen.

4. To use the options shown in the screenshot below, click Manage settings.
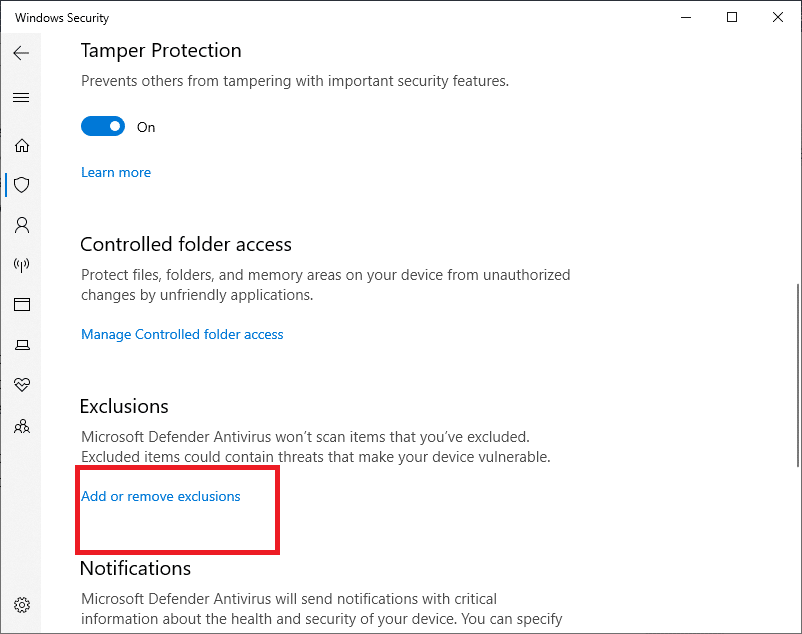
5. Scroll down the page till you find Exclusions. Now click on Add or remove exclusions.
6. Press the + Add an exclusion button.
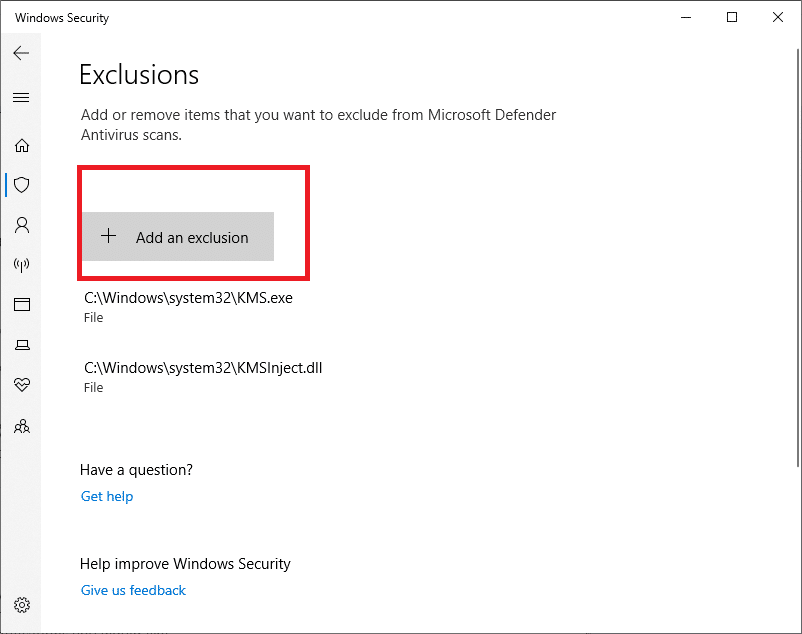
7. Click on the Folder option, and choose Fallout 4 directory.
8. Click on the Select Folder button.
Frequently Asked Questions (FAQs)
Q1. How do I install Nexus Mode Manager?
1. Go to the NMM download page.
2. Save the file to your hard drive.
3. Open the installation program that you just downloaded and run it.
4. Choose the language in which you want the installation to take place.
5. After you click OK, the Installer wizard will pop- up. Click the Next button.
6. Read the Licensing agreement; if you approve the basic GPL terms, press Accept.
7. Now, you can choose where you want NMM to be installed. It is strongly advised that you use the default installation route.
8. To proceed, click Next.
9. You can now make a folder in the Start menu if you want to. If you don’t want to create the Start menu folder, uncheck the box that says Create a Start Menu folder.
10. To proceed, click Next.
11. You now have the option of configuring file extension associations. It is strongly advised that you leave the default settings alone; otherwise, NMM might not function properly.
12. Now, you can double-check what you’re going to do. If you’re satisfied with your choices, click Install, and the software will begin to install.
13. NMM will now be installed successfully. If you don’t want NMM to open after you exit the installer, uncheck the box.
14. To exit the installer, click Finish.
Fallout 4 is one of the most-selling games in recent times. However, issues like “Fallout 4 mode not working” can prevent gamers from enjoying the in-game experience.
Recommended:
We hope that this guide was helpful and you were able to fix fallout 4 Mods not working. If you find yourself struggling during the process, reach out to us through the comments, and we will help you out.