How to Enable Active Directory in Windows 10

Active Directory manages Windows Server Technical Preview. It is a tool used by administrators to grant permission and to access resources on the network. It is not installed on Windows PCs, by default. However, you can get it online from the official website of Microsoft and install it on your device. Are you confused about how to use Active Directory in Windows 10? If the answer is Yes, this article will help you on how to enable Active Directory in Windows 10.
How to Enable Active Directory in Windows 10
Please ensure that your system is connected to the internet, before implementing the below-mentioned steps.
Step 1: Install Remote Server Administration Tools (RSAT)
Note: RSAT is only supported on Windows 10 Professional and Windows 10 Enterprise versions. Other versions of Windows are not compatible with it.
1. Sign in to your system and wait for the system to start up properly.
2. Now, open a Browser e.g. Microsoft Edge, Chrome, etc.
3. Go to the Remote Server Administration Tools for Windows 10 page on the Microsoft website. This will open the web page containing the tool to be downloaded.
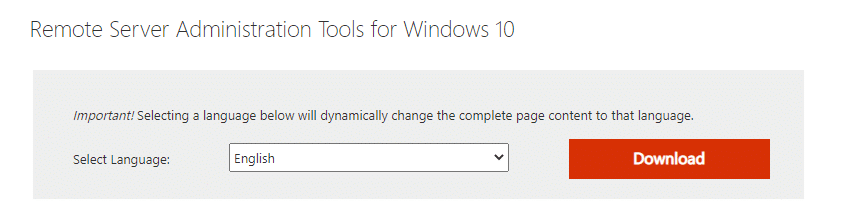
4. Select your Language preference in the dropdown box as shown in the above picture. Then, click on Download which is displayed in a red-colored box.
Note: Selecting the desired language will dynamically change the complete page content to that language.
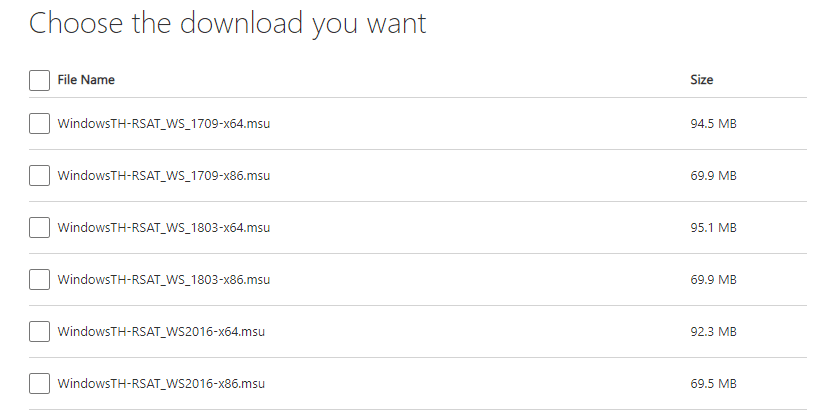
5. Now, on the next page, choose the File Name you want to download. The File Size will be displayed on the right side of the screen. Refer to the picture below.
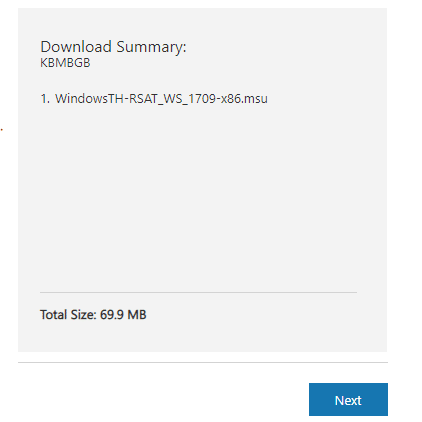
6. Once you have selected the file, it will be displayed in the Download Summary. Now, click on Next.
7. Click on the Control + J keys to view the progress of the downloads in the Chrome browser.
8. Wait for the download to be completed; go to Downloads in your system.
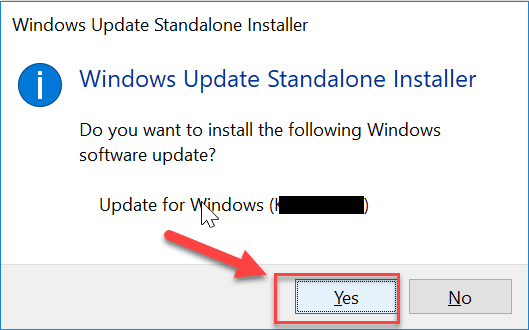
9. Install RSAT using the downloaded file. Double-click on the downloaded file and it will ask for permission, click on the “Yes” button.
10. Once you have installed RSAT, your system is ready to use Active Directory.
Also Read: Install Remote Server Administration Tools (RSAT) on Windows 10
Step 2: Enable Active Directory in Windows 10
Active Directory can be easily accessed with the help of Remote Server Administration Tools. Follow the below-mentioned steps to activate Active Directory in Windows 10:
1. Go to the Search menu and type Control Panel.

2. Click on Open as depicted in the above picture.
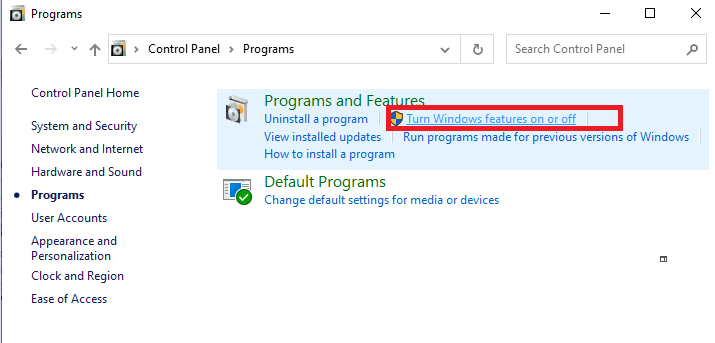
3. You will see the control panel window on the screen. Now, click on Programs.
![]()
4. Now, the Programs windows will pop up on the screen. Click on Turn Windows features on or off as shown below.
5. Now, scroll down, checkmark “Remote Server Administration Tools.” Then click on the + icon next to it.
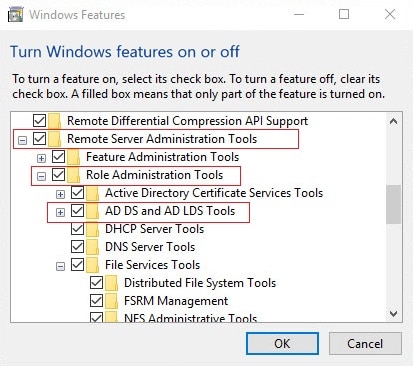
6. Under Remote Server Administration Tools, checkmark ‘Role Administration Tools.‘
7. Next, click on the + symbol next to the Role Administration Tools.
8. Here, select AD DS and AD LDS Tools. Once you check the boxes, some files will be installed in your system.
9. Restart your PC to save changes.
Wait for some time for the process to be completed. Once done, your PC will restart and Active Directory will be enabled on your system. You will be able to access the tool from Windows Administrative Tools.
Recommended:
We hope that this guide was helpful and you were able to enable Active Directory in Windows 10. If you have any queries/comments regarding this article, then feel free to drop them in the comments section.