How to Hide Recent Files and Folders on Windows 11

Recent Files is one of the most useful features on Windows 11 as it automatically lists the last 20 files you have accessed in the Quick Access directory. The operating system thus, provides you with swift access to your recent files. The downside with this feature is that anyone can see these files. Although, if you share your computer with family or friends, they can view which files you have accessed via Quick Access Recent Files section. This could result in the unintended disclosure of confidential or personal information. The Recommended Section of the Start Menu in Windows 11 lists recent files and applications in a similar fashion. In this article, we will teach you how to hide or unhide recent files and folders on Windows 11 to use this feature as per your convenience.
How to Hide or Unhide Recent Files on Windows 11
Here are the methods you can follow to hide or unhide recent files & folders on Windows 11.
The addition of Recommended section is something that has divided Windows users about its use. If you want to hide recent files and folders on Windows 11, in particular, then follow these steps:
1. Click on Start.
2. Right-click on the app or file you want to remove from Recommended section.
3. Select Remove from list option, as depicted below.

Also Read: Fix Start Menu Not Working in Windows 10
Method 2A: Hide Files in Quick Access
Turning off Quick Access which lists the recent files in File Explorer is quite simple. Follow these steps to do so:
1. Press Windows + E keys simultaneously to open File Explorer.
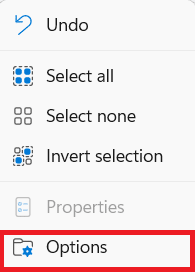
2. Then, click on the three-dotted icon from the menu bar at the top of the screen.

3. Here, select Options from the given list.
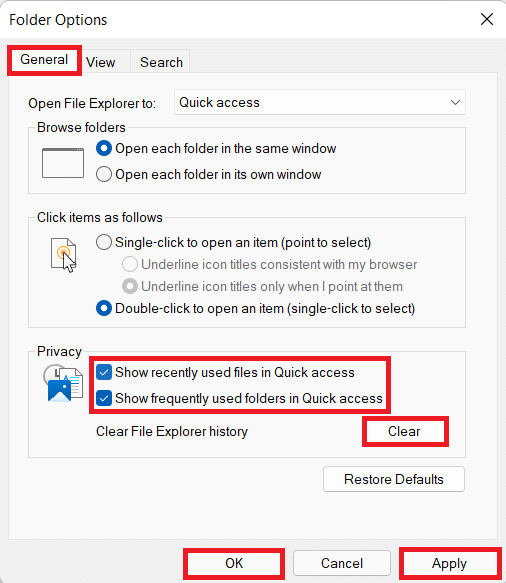
4. Uncheck the given options in the General tab under the Privacy section.
- Show Recently used files in Quick access
- Show frequently used files in Quick access
Note: In addition, click on Clear to clear File Explorer history.
5. Click on Apply > OK to save these changes.
Method 2B: Unhide Files in Quick Access
If you want to unhide recent files & folders on Windows 11 then,
1. Implement Steps 1-3 from Method 2A.
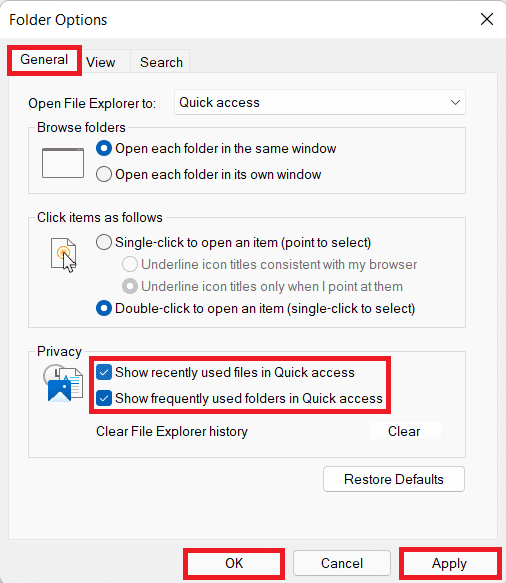
2. Check the given options under Privacy section and click on Apply > OK to save the changes.
- Show Recently used files in Quick access
- Show frequently used files in Quick access
Method 3A: Hide Recently Used Items From Personalization Settings
Here’s another method to hide recent files & folders on Windows 11 through Settings app:
1. Press Windows + I keys together to open Windows Settings.
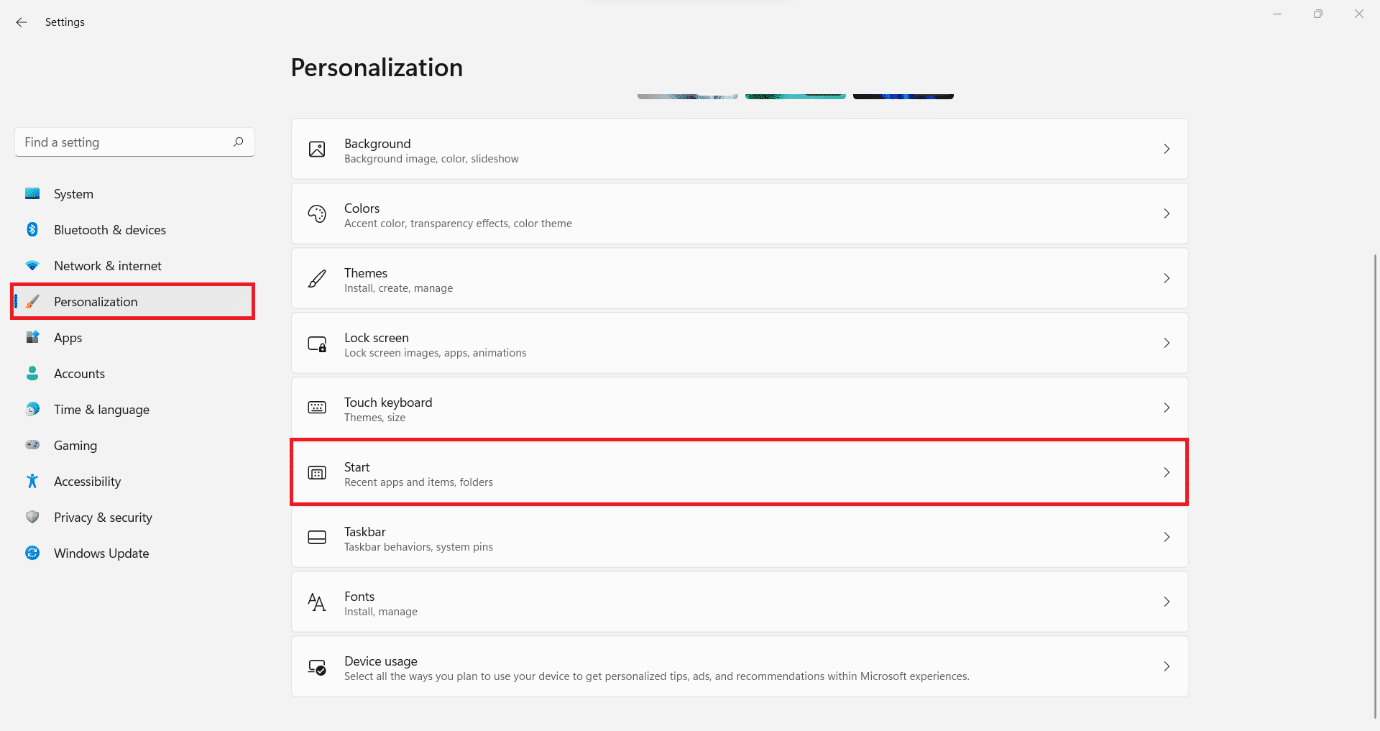
2. Click on Personalization from the left pane.
3. Here, scroll down the list and click on Start.
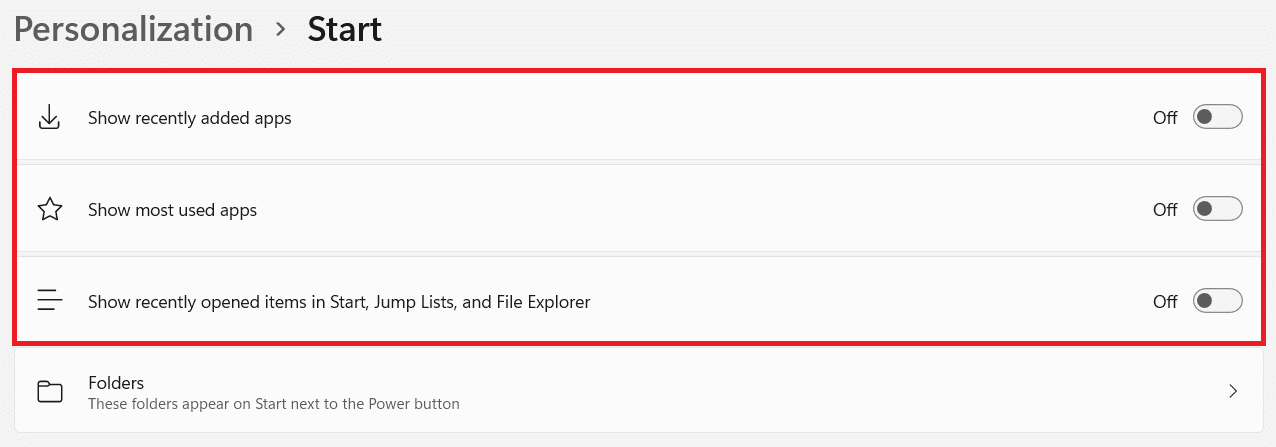
4. Now, toggle off the following options. marked
- Show recently added apps
- Show most-used apps
- Show recently opened items in Start, Jump lists, and File Explorer.
Method 3B: Unhide Recently Used Items From Personalization Settings
Now, to unhide recent files & folders on Windows 11,
1. Follow Steps 1-3 of Method 3A.
2. Toggle on the given options and exit:
- Show recently added apps
- Show most-used apps
- Show recently opened items in Start, Jump lists, and File Explorer.
Recommended:
We hope you found this article interesting and learnt how to hide recent files & folders on Windows 11. You can send your suggestions and queries in the comment section down below. Let us know which topic you want us to explore next.