Google and its products rule the software industry worldwide, with millions of users from various countries and continents. One of the notorious apps that are used by millions is Google Sheets. Google Sheets is an app that effectively helps you organize data in the form of tables and lets you perform a variety of operations on the data. Almost all businesses use database Management and spreadsheet systems in the world. Even schools and educational institutions use spreadsheets to maintain their database records. When it comes to spreadsheets, Microsoft Excel and Google Sheets lead the enterprise. Many people tend to use at as it is free to use, and it can store your spreadsheets online on your Google Drive. This makes it accessible from any computer or laptop that is connected to the World Wide Web via. Internet. Another great thing about Google Sheets is that you can use it from your browser window on your Personal Computer or Laptop.
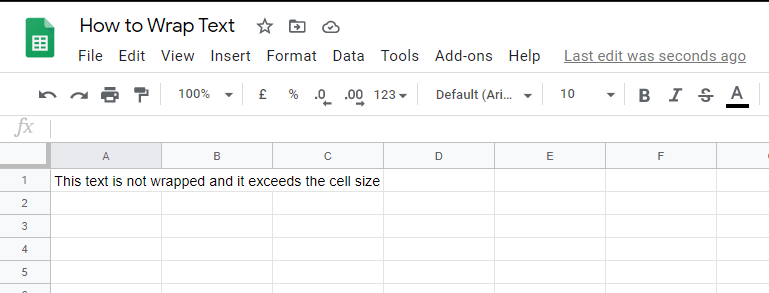
When you organize your data in the form of tables, you might encounter a few problems. One such common issue is that the cell is too small for the data, or the data would not perfectly fit into the cell, and it just moves on horizontally as you type. Even if it reaches the cell size limit, it will go on, covering the nearby cells. That is, your text would start from the left side of your cell and would overflow to the nearby blank cells. You can infer that from the below snip.
People who use Google Sheets to provide detailed descriptions in the form of text would have indeed encountered this issue. If you are one of them, then I would say that you have landed on the perfect spot. Let me guide you with some ways to avoid this.
How to avoid text-overflow in Google Sheets?
To avoid this issue, your content needs to fit into the cell’s width perfectly. If it exceeds the width, it must automatically start typing from the next line, as if you have pressed the Enter key. But how to achieve this? Is there any way? Yes, there is. You can wrap your text to avoid such issues. Do you have any idea about how to wrap text in Google Sheets? That’s precisely why we are here. Come on, let’s make a deep peep into the methods by which you can wrap your text in Google Sheets.
How to Wrap Text In Google Sheets?
1. You can just open up your favorite browser and go to Google Sheets from your PC or laptop. Also, you can do that by typing docs.google.com/spreadsheets.
2. Then you can open a New Spreadsheet and start inputting your content.
3. After typing your text on a cell, select the cell on which you have typed.
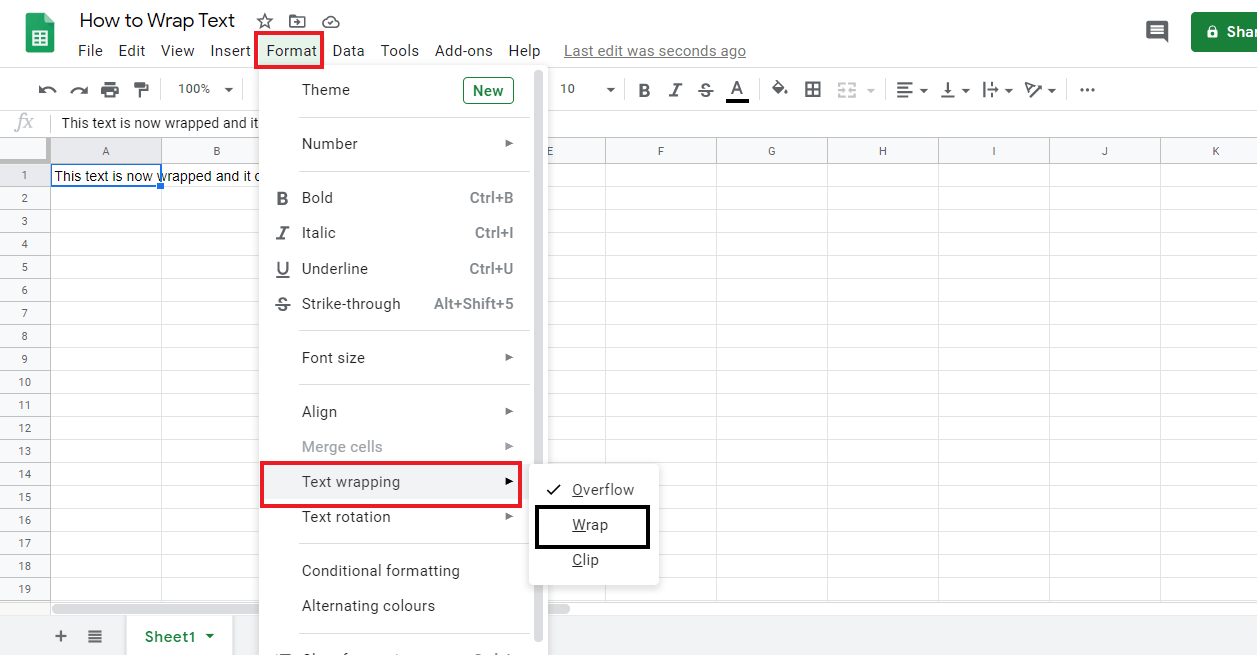
4. After selecting the cell, click on the Format menu from the panel at the top of your Google Sheets window (below the name of your spreadsheet).
5. Place your mouse cursor over the option titled “Text Wrapping”. You can infer that the Overflow option is selected by default. Make a click on the “Wrap” option to wrap your text in Google Sheets.
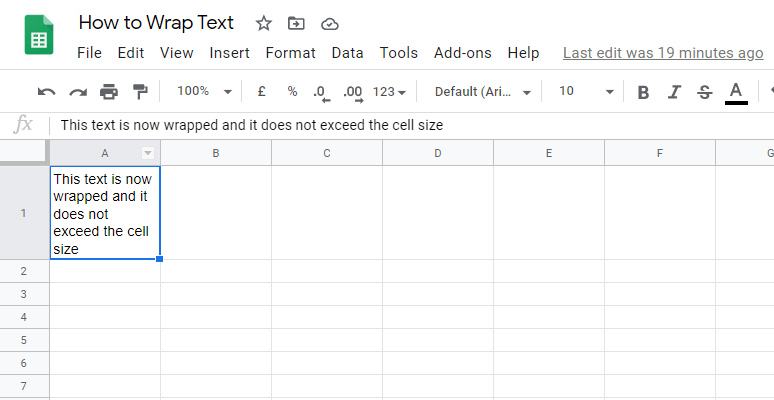
6. As soon as you select the “Wrap” option, you will see the output such as in the below screenshot:
Wrapping Text from the Google Sheets Toolbar
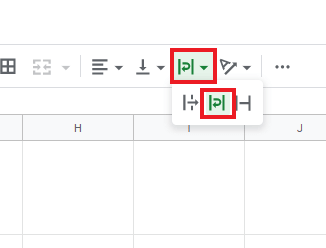
You can also find the shortcut to wrap your text listed in the Google Sheets window’s toolbar. You can click on the Text wrapping icon from the menu and click on the Wrap button from the options.
Wrapping Text Manually in Google Sheets
1. You can also insert line breaks within cells to wrap your cells manually according to your needs. To do that,
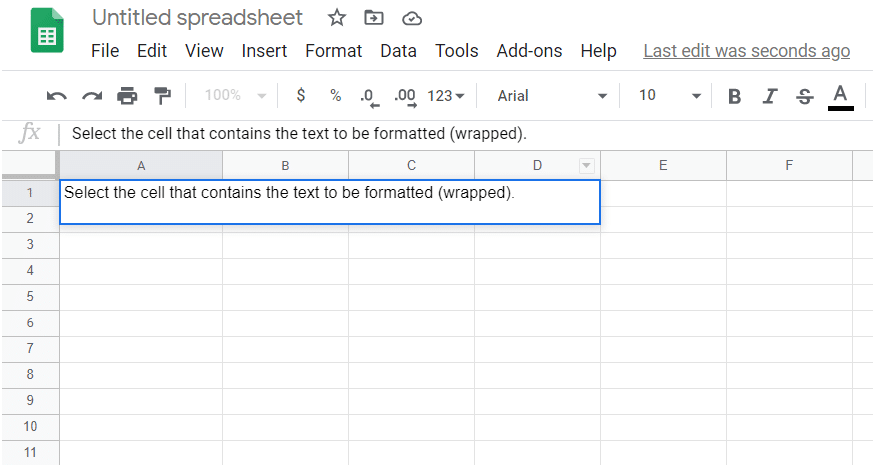
2. Select the cell that contains the text to be formatted (wrapped). Make a double-click on that cell or press the F2. This would take you to the edit mode, where you can edit the contents of the cell. Place your cursor where you want to break the line. Press the Enter key while holding the ALT key (i.e., Press the key combo – ALT + Enter).
3. Through this, you can add breaks wherever you want. This enables you to wrap your text in whatever format you require.
Also Read: How to Rotate a Picture or Image in Word
Wrap Text In Google Sheets App
If you use Google Sheets application on your Android or iOS smartphone, you may be confused with the interface, and you might not know where to find the option for wrapping text. Don’t worry, follow the below steps to wrap text in Google Sheets on your phone:
1. Open the Google Sheets application on your Android or iOS smartphone device.
2. Open a new or an existing spreadsheet in which you want to wrap the text.
3. Make a gentle tap on the cell whose text you wish to wrap. This would select that particular cell.
4. Now tap on the Format option on the application screen (shown in the screenshot).
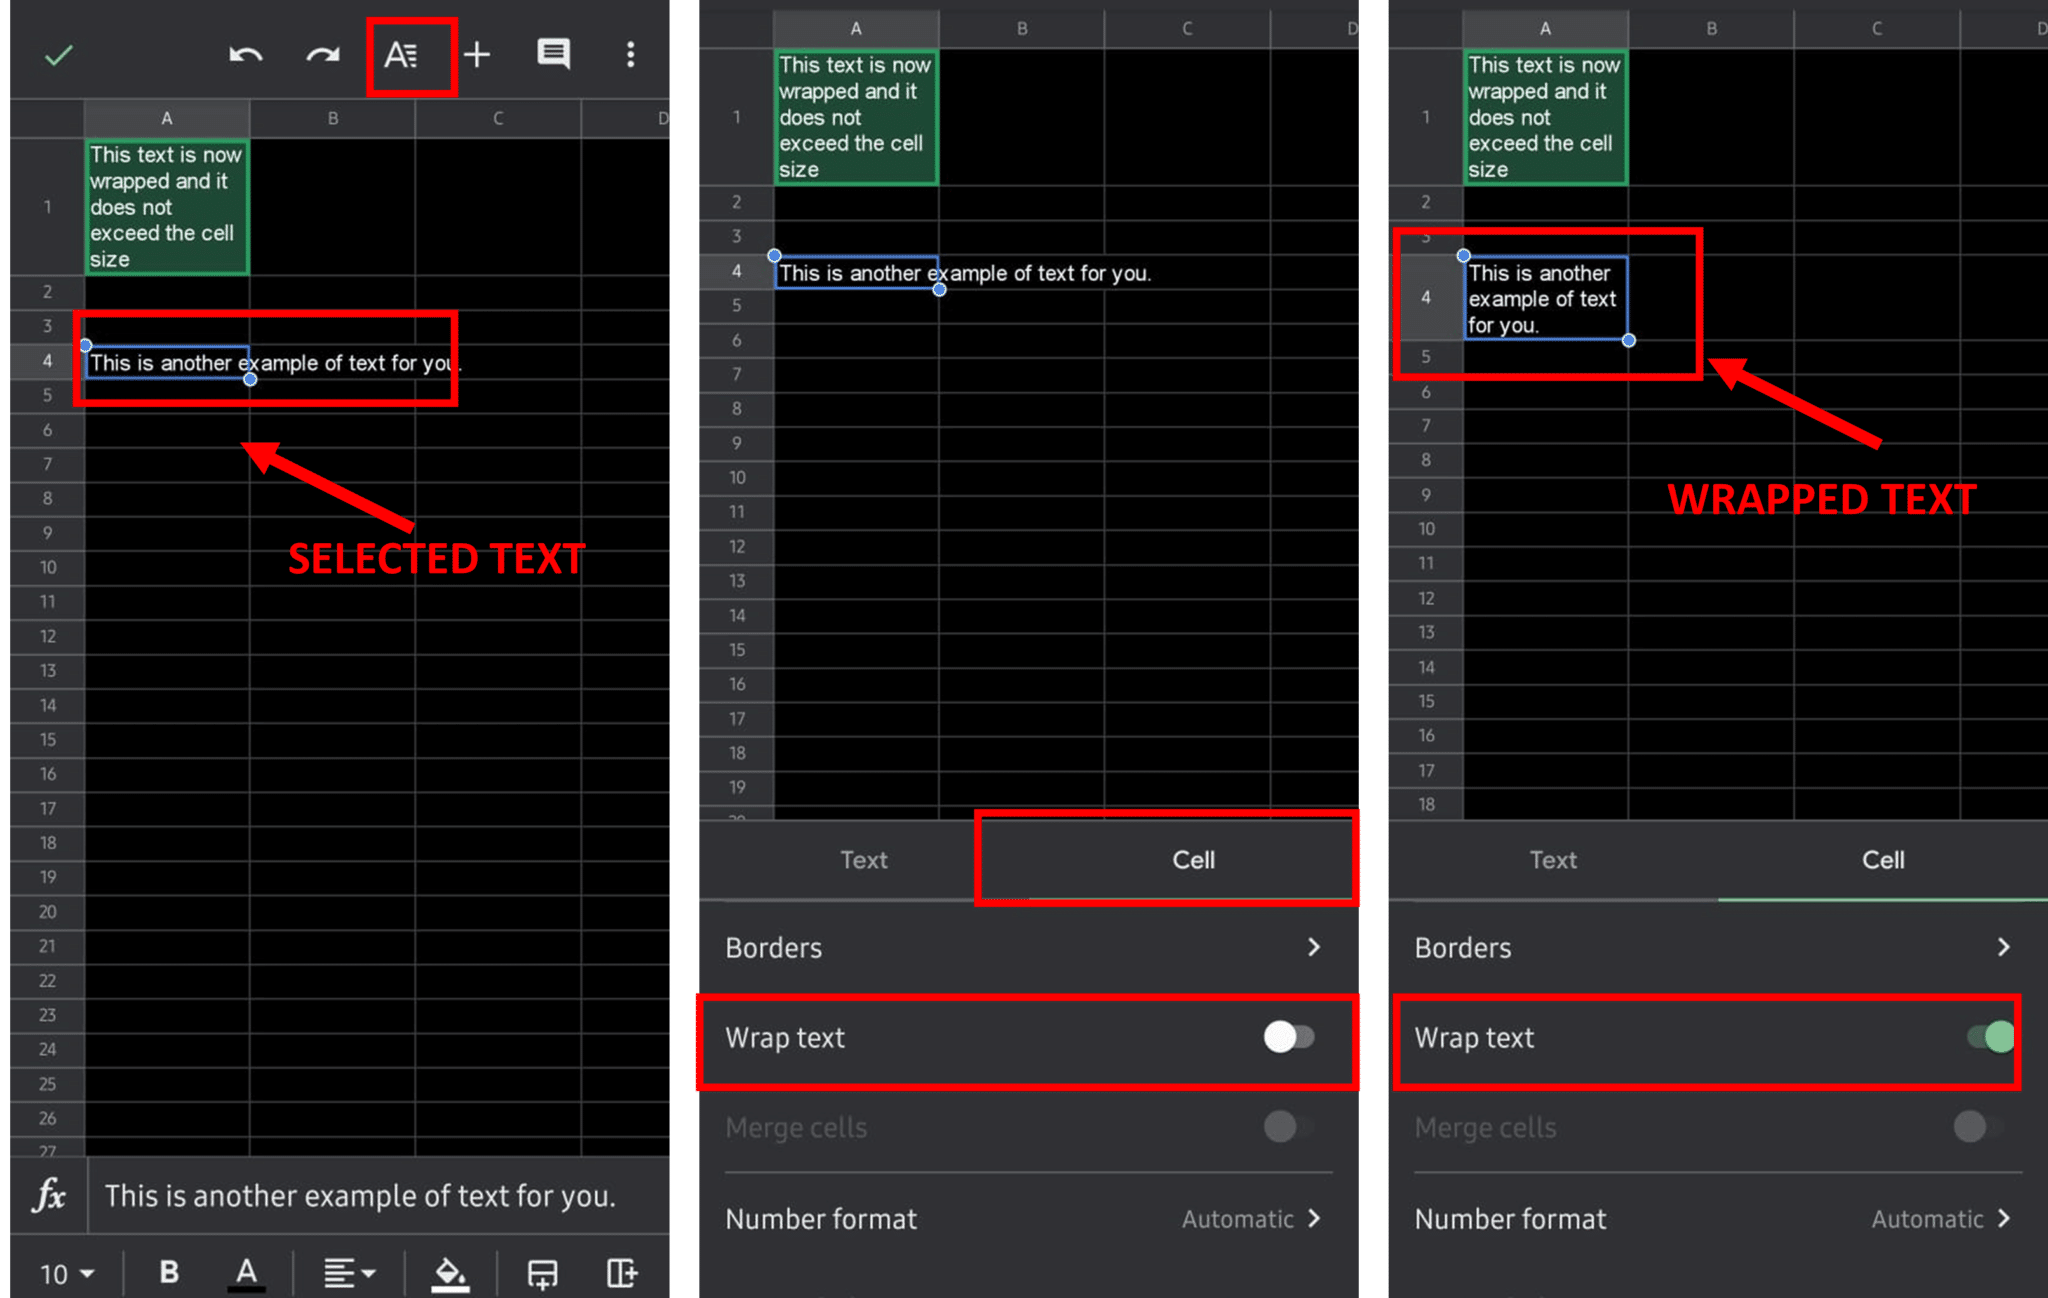
5. You will find the formatting options listed under two sections – Text and Cell. Navigate to the Cell
6. You would have to scroll down a bit to locate the Wrap Toggle. Make sure to enable it, and your text would wrap in the Google Sheets application.
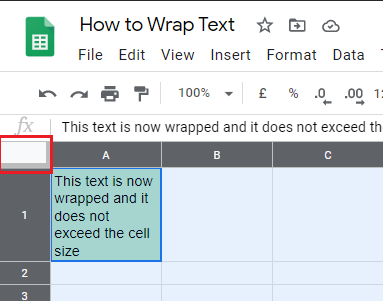
NOTE: If you need to wrap the entire content of your spreadsheet, that is, all the cells in the spreadsheet, you can use the “Select all” feature. To do this, click on the empty box between the headers A and 1 (highlighted in the screenshot below). Making a click on this box would select the entire spreadsheet. Else, you can just make use of the key combo Ctrl + A. Then follow the above steps, and it would warp all the text in your spreadsheet.
Know more about the options to wrap your text in Google Sheets
Overflow: Your text will overflow to the next blank cell if it exceeds your current cell’s width.
Wrap: Your text would be wrapped in additional lines when it exceeds the cell’s width. This would automatically alter the row height with regard to the space required for the text.
Clip: Only the text within the cell’s height and width limits are displayed. Your text would still be contained in the cell, but only a part of it that falls under the cell’s boundaries are shown.
Recommended:
I hope that you can now quickly wrap your text in Google Sheets. If you have any questions, make use of the comments section. I would love to read your suggestions. So drop them too in your comments.