- in Windows 10 by Admin
How To Rename a Printer in Windows 10

When adding a printer in Windows 10, it’s given a default name. The manufacturer name such as Brother or Canon, for example, followed by the model number of that specific device. Because of this, it may get confusing if you have multiple printers on the same network. If you only have one printer, then you can assign it a name that’s easier for you to recognize.
If you have more than one, one printer might be useful for printing pictures, whereas the other is better suited for printing documents. It could help to rename your printers in Windows 10 with different names such as “photo printer” and “document printer”. Doing so can help alleviate the headache of figuring out which one to choose later on. Plus, it can help your family select printers when those printers have simplified names.
There are a couple of ways you can go about renaming a printer in Windows 10. You can go through the Windows 10 settings or the Control Panel.
Let’s head into the Windows settings to begin the process of renaming your printer(s) in Windows 10.
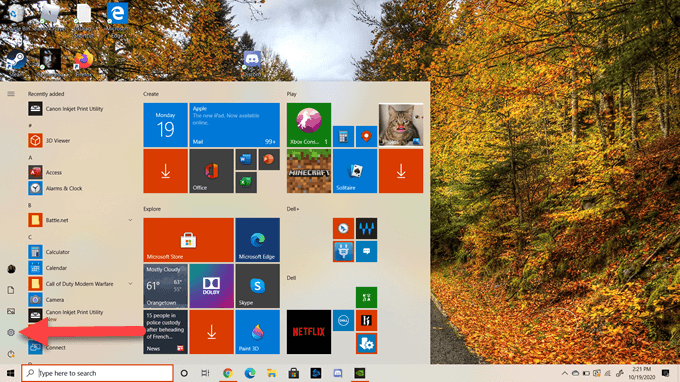
- Hold down the Windows key and I key on your keyboard, or select the Start menu and select the settings icon.
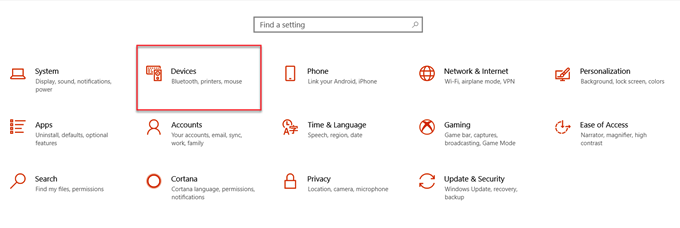
- In the settings menu, select Devices.
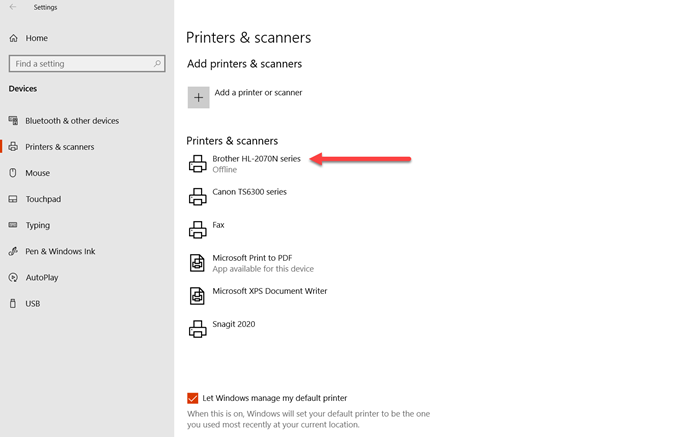
- Next, on the left-hand side of your screen, select Printers and scanners under Devices.

- Choose the printer from the list you’d like to rename.
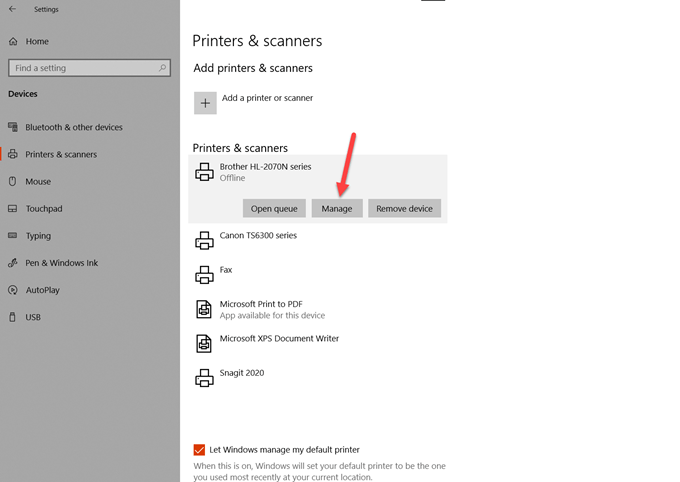
- You’ll see three choices: Open queue, Manage, and Remove device. Select Manage.
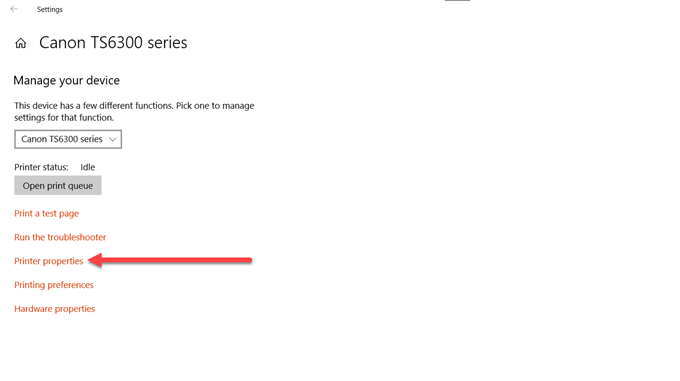
- On the next screen, select Printer properties.
- You’ll see the text area where the printer’s name is on the top of the window. Just click in that area and type what you’d like your printer to be labeled on your Windows 10 computer.
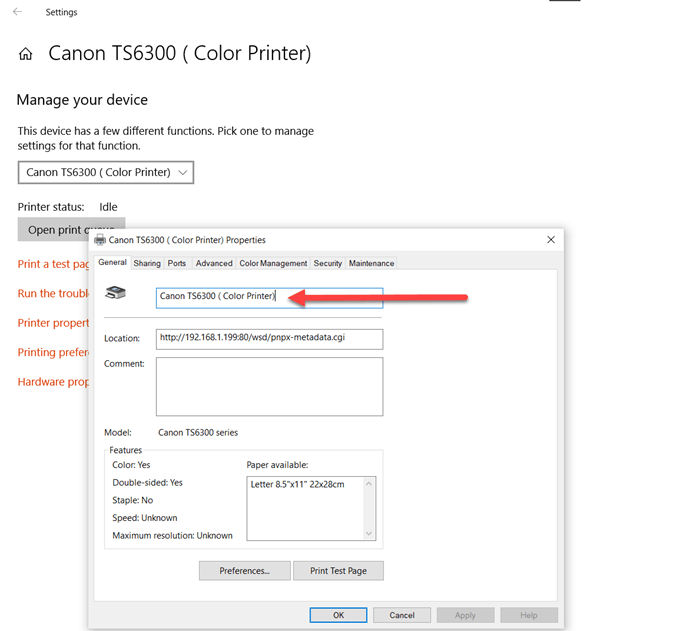
- Finally, just press Enter, or select OK.
You can now see the new name you’ve given your printer is saved to that printer. Now you can easily access the printer and be sure you’ve selected the right one for your printing task.
Let’s take a look at how you can use the Control Panel instead of Windows settings to rename your printer.
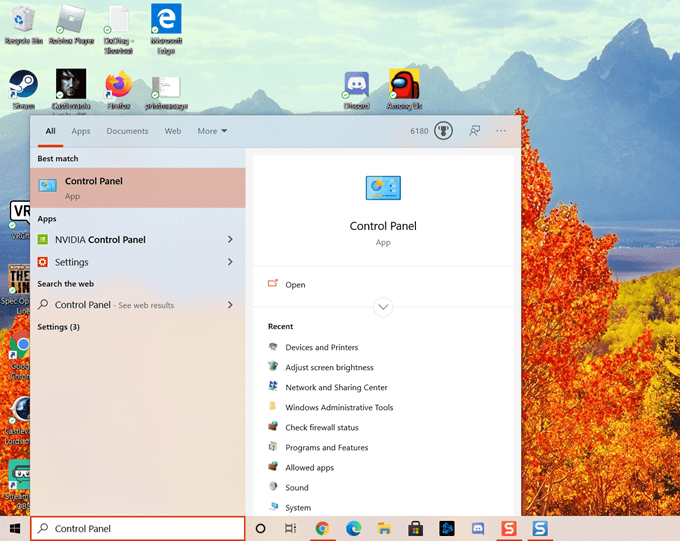
1. In the search bar on the Windows taskbar, type “control panel”. Select Open under the icon for the Control Panel.
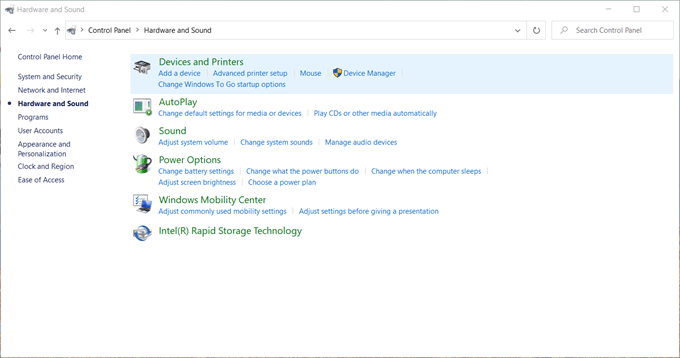
2. In the Control Panel window, select Hardware and Sound.
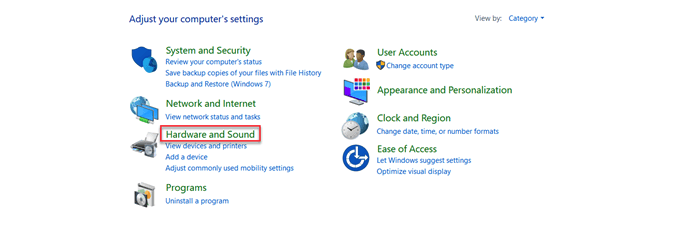
3. Next, select Devices and Printers.
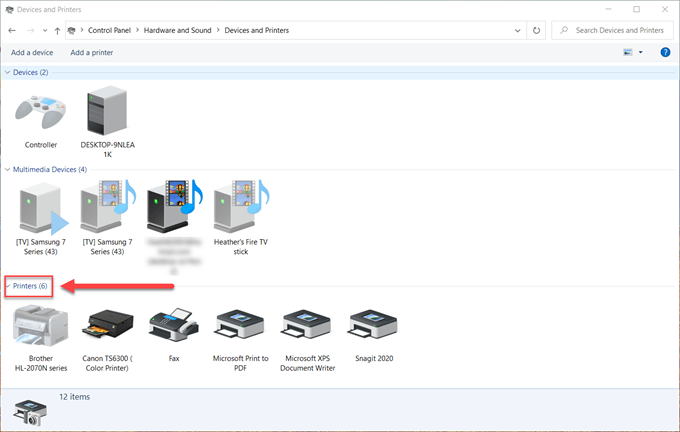
4. Now you’ll see Devices, Multimedia devices and Printers. The devices listed can vary, but this is what you’ll see in this Windows 10 setup. Go to the Printer area and select the printer you’d like to rename.
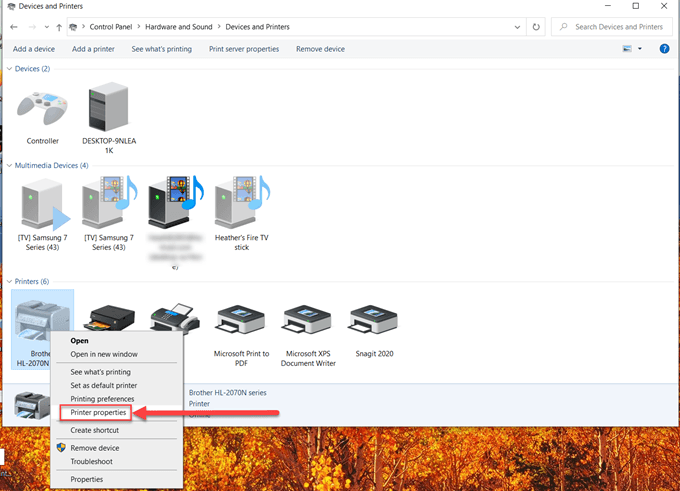
5. Next, right-click the desired printer and select Printer properties.
6. Select the top text area and type in the printer’s new name.
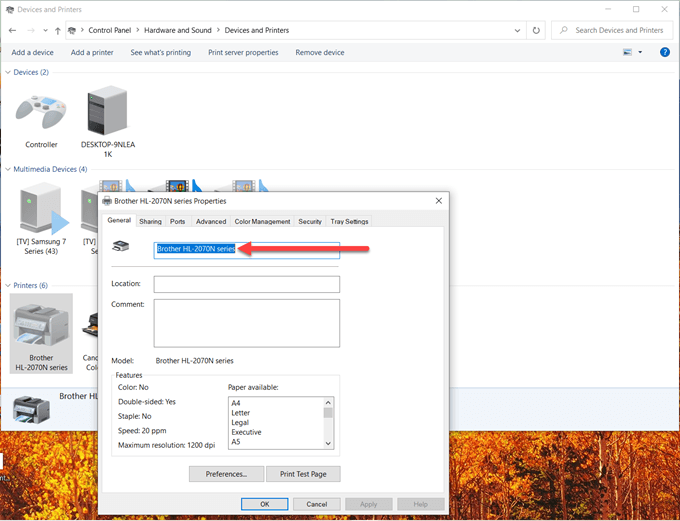
7. Finally, press the Enter key on your computer keyboard, or select OK.
Now the new name you’ve selected for the printer will get displayed and that’s it, you’re all set.
Renaming a printer in Windows 10 is an easy and painless process. Even though there are several steps, we hope this guide has been helpful to you.