Fix Error Code 0x8007007f in Windows 11

Windows 11 became available to the general public on October 5, 2021. For those who did not get the update on the first day, Microsoft released the Windows 11 Installation Assistant, which will force Windows 11 installation on any Windows 10 device that matches the system requirements. If you have tried to update to Windows 11, it is quite possible that you have previously encountered an error message that says Something went wrong accompanied by error code 0x8007007f. Do not worry! We have compiled this doc, especially for our valued readers to guide them on how to fix installation update error 0x8007007f in Windows 11.
How to Fix Error Code 0x8007007f inWindows 11
Users who attempted to utilize Windows 11 Installation Assistant were the only ones who received the error code. According to various reports, the upgrade process appears to freeze around the 70% mark when using the said tool. After some time has passed, the given notification will be displayed: Something went wrong! Select try again, and if that does not work, contact Microsoft support for assistance. Error Code 0x8007007f .
Method 1: Restart Your Windows PC
The majority of the time just restarting your PC is all you need to resolve any issue. Restarting your PC relieves all the stress on the computer resources like memory, CPU & network bandwidth usage which is usually, the main reason behind this bottleneck. Hence it is advised to restart your computer and try running the update once again.
Method 2: Run Windows 11 Installation Assistant as Administrator
Lack of proper permissions can also result in error code 0x8007007f. By providing administrative access to Windows 11 Installation Assistant, you can resolve this error, as follows:
1. Right-click on the executable file for Windows 11 installation assistant.
2. Select Run as administrator from the context menu, as shown.
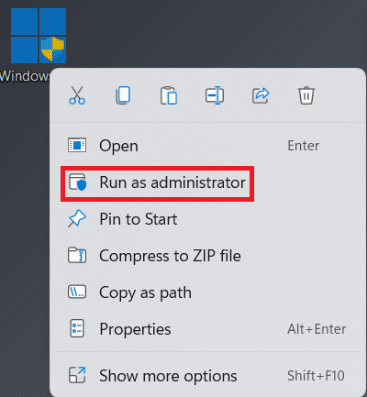
3. Click on Yes in the User Account Control prompt. Now, try upgrading from Windows 10 to 11.
Also Read: How to Update Apps on Windows 11
Method 3: Clear Storage Space
Lack of required space can also result in error code 0x8007007f. Hence, clearing the storage space should help.
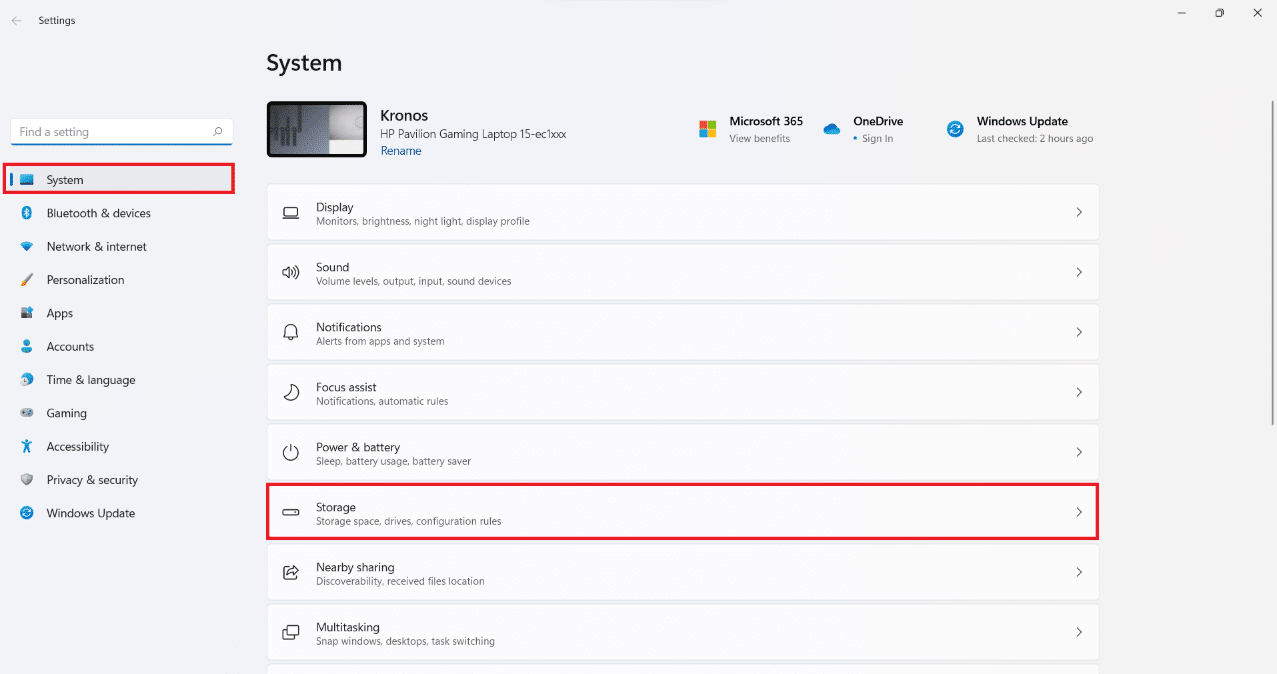
1. Press Windows + I keys simultaneously to open the Settings app.
2. In the System tab, click on Storage.
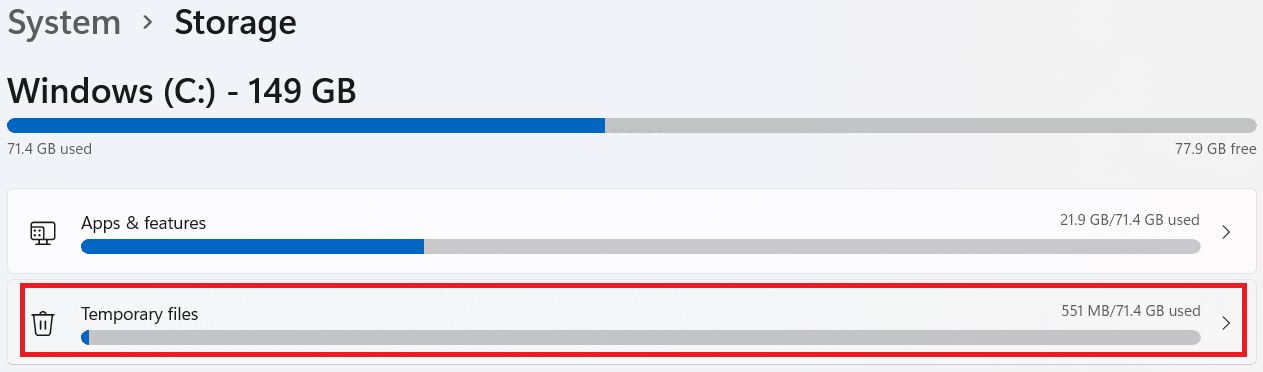
3. Wait for windows to scan your drives to identify temporary files with other junk files.
4. After scanning is done, click on Temporary files shown highlighted.
5. Check the box for Files & Data that you no longer need. e.g. Thumbnails, Temporary Internet Files, Delivery Optimization Files, etc.
Note: Make sure you read the description of each unnecessary file type to avoid deleting important data.
6. Finally, click on Remove files option from the top.
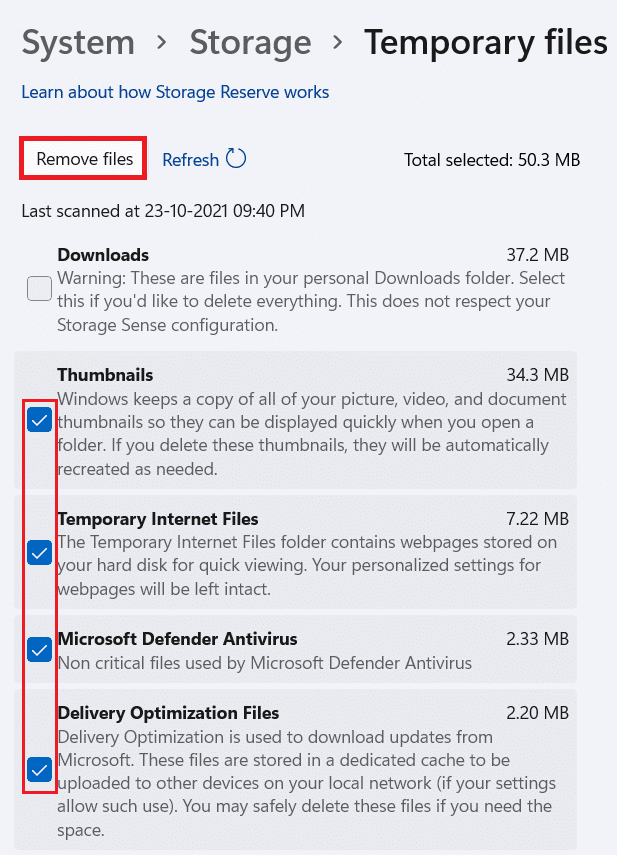
7. Then, select Continue in the Remove files confirmation prompt.

Method 4: Update Graphics Drivers
Users have observed that outdated or incompatible graphics drivers were the source of the problem in multiple cases. Before Windows 11 was officially released, graphics card manufacturers such as AMD and NVIDIA released their Windows 11-compatible graphics drivers. Here’s how to fix installation update error 0x8007007f in Windows 11 by reinstalling these:
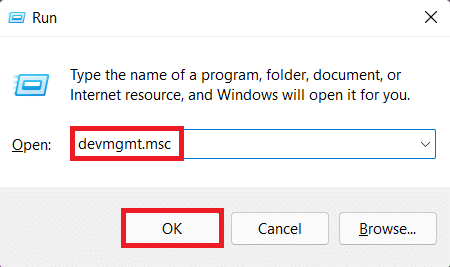
1. Press Windows + R keys together to open the Run dialog box.
2. Type devmgmt.msc and click on OK.
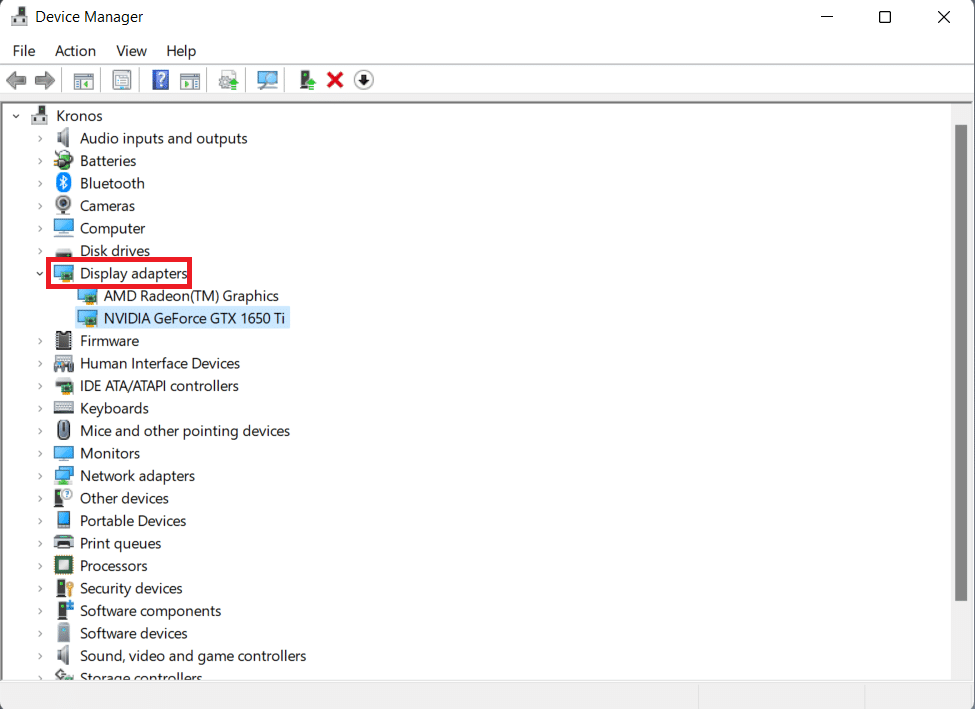
3. From the list of installed devices, double-click on the Display adapters to expand it.
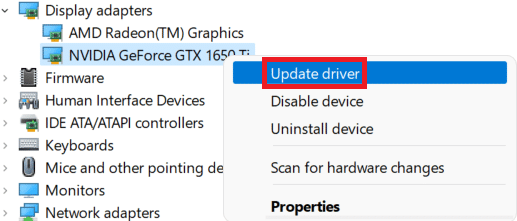
4. Right-click on Graphics card driver such as, NVIDIA GeForce GTX 1650 Ti and click on Update driver from the context menu.
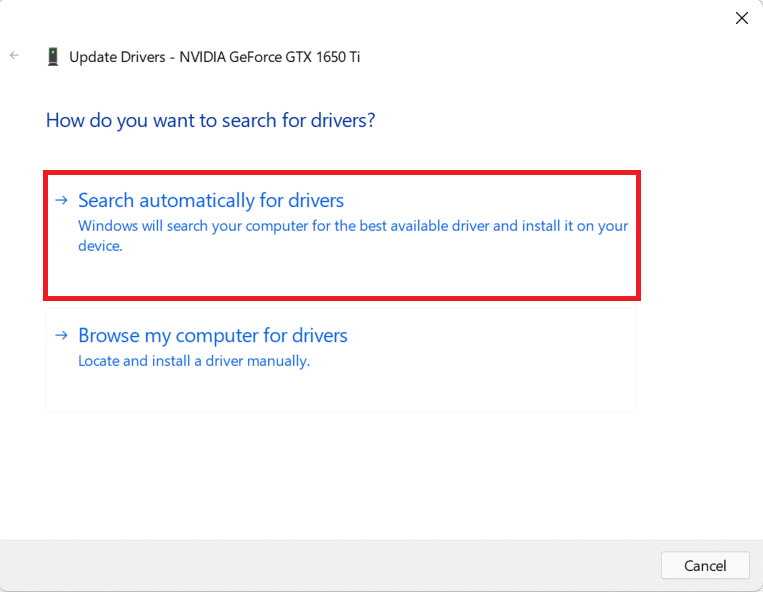
5A. Click on Search automatically for drivers to allow Windows OS to search for & download drivers.
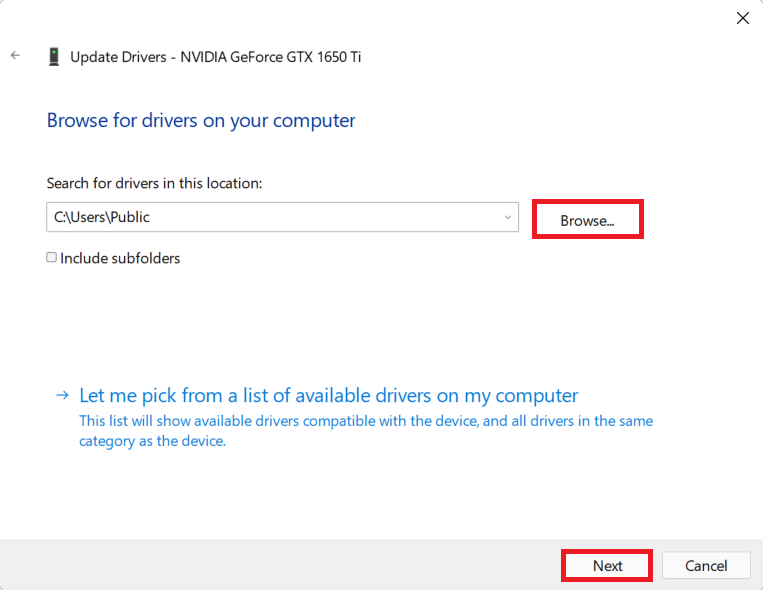
5B. Alternatively, click on Browse my computer for drivers. Then, click on Browse… to locate and install the driver from storage. Click on Next.
Note: You can download drivers for your graphic card from the official support website of the manufacturer.
6. Finally, click on Close and restart your computer after the wizard is done installing the drivers.
Also Read: How to Rollback Driver Updates on Windows 11
Method 5: Modify User Account Control Settings
If the Installation Assistant still does not function after running as administrator and you are getting the same error code, you may need to enable UAC (User Account Control) permissions for new installations. Here’s how to fix error 0x8007007f in Windows 11 by turning it on:
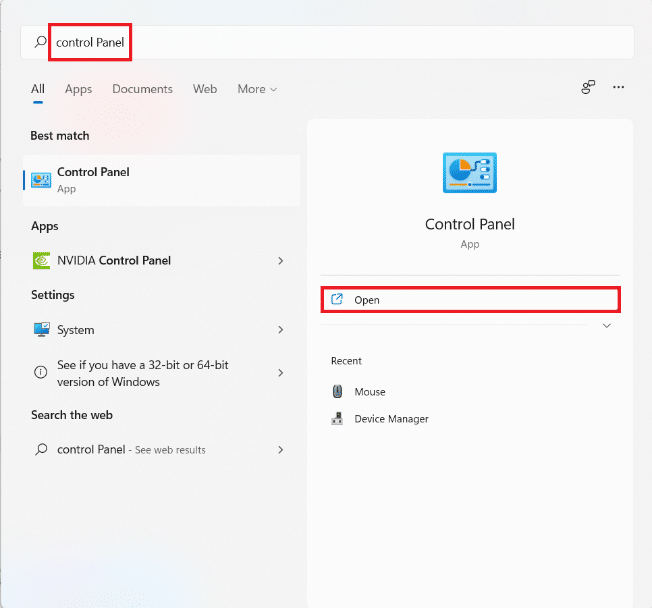
1. Click on the Search icon and type Control Panel. Then, click on Open, as shown.
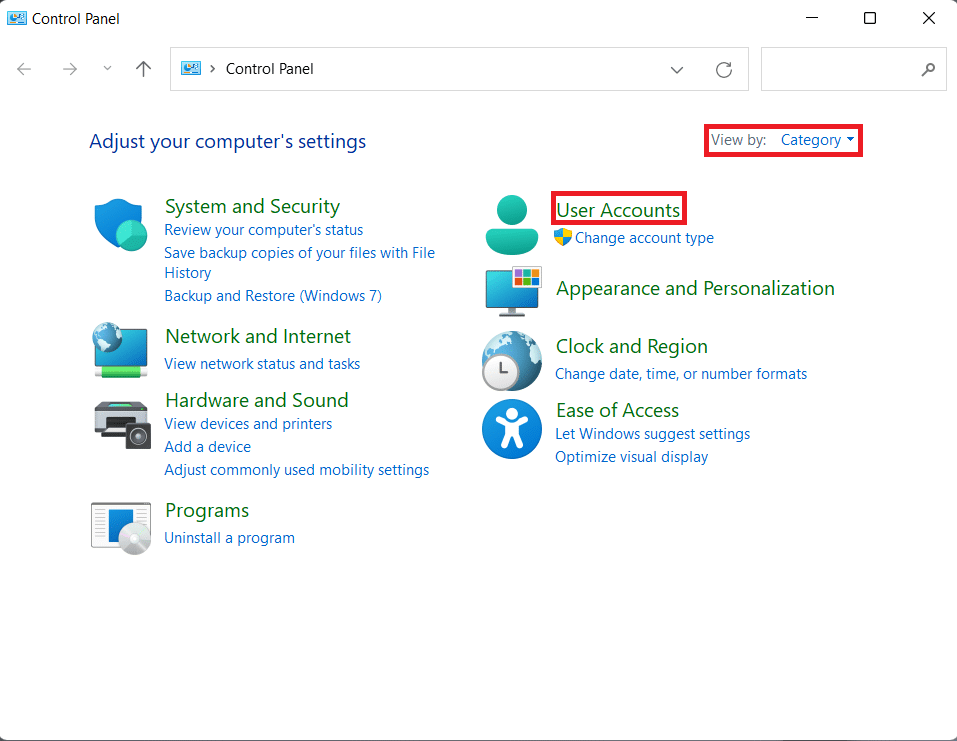
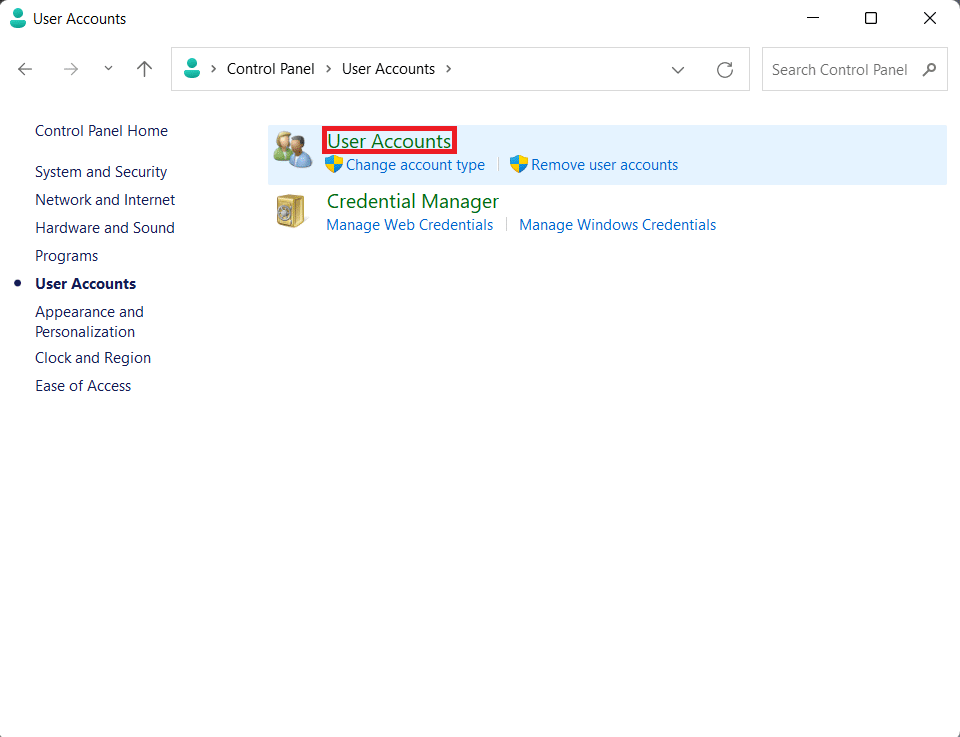
2. Here, select User Accounts.
Note: Make sure you are in Category view mode. If not, click on View by and select Category in the top right-hand corner of the window.
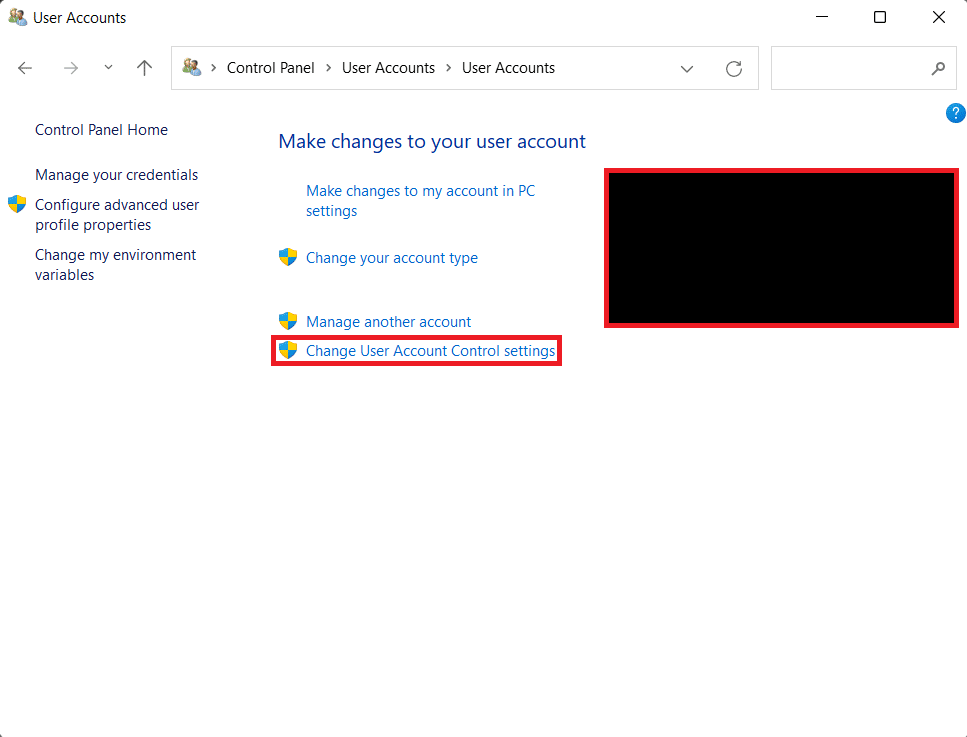
3. Click on User Accounts once again.
4. Now, click on Change User Account Control settings.
5. Drag the slider to the topmost level marked Always notify me when:
- Apps try to install software or make changes to my computer.
- I make changes to Windows settings.
6. Click on OK.

7. Finally, click on Yes in the User Account Control prompt to save these changes.
Also Read: Disable the User Account Control (UAC) in Windows 10
Method 6: Uninstall Third-Party Antivirus (If Applicable)
If you have any third-party antivirus software on your computer, it may cause the Installation Assistant to malfunction. It is preferable to remove the software before proceeding with the installation. After you have upgraded to Windows 11, you can always reinstall it. Just make sure your antivirus software has been updated to support Windows 11.
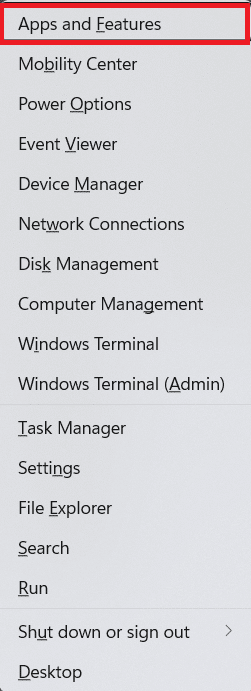
1. Press Windows + X keys together to open the Quick Link menu.
2. Click Apps and features from the list.
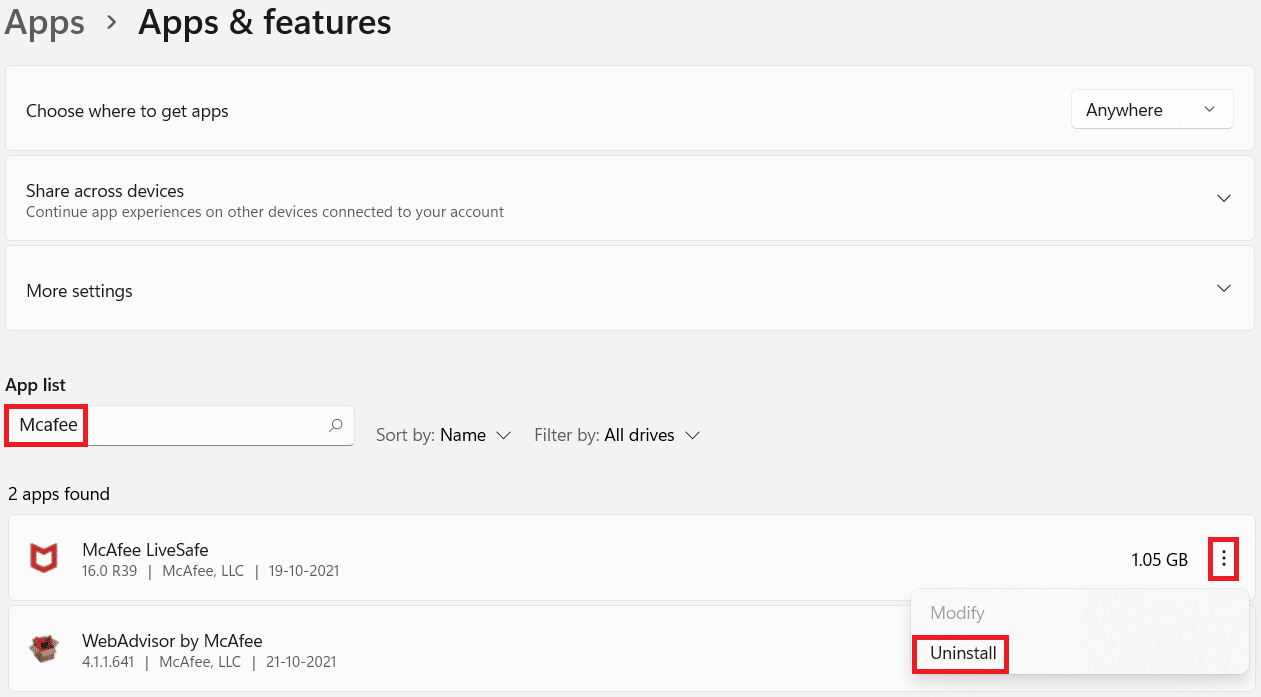
3. Scroll through the list of installed apps and click on the three dots icon for the third-party antivirus installed on your system.
Note: We have shown McAfee Antivirus as an example here.
4. Then, click on Uninstall, as shown.
5. Click on Uninstall again in the confirmation dialog box.
Method 7: Run System File Checker Scan
The Installation Assistant may not function properly if your computer system files are corrupt or missing. You can run a System File Scan (SFC) scan to rule this possibility out and hopefully, fix error 0x8007007f on Windows 11.
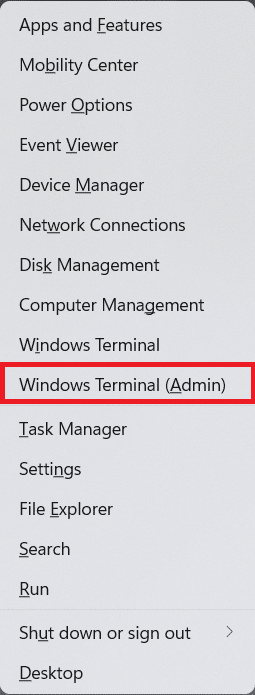
1. Press Windows + X keys together to open the Quick Link menu.
2. Select Windows Terminal (Admin) from the list, as shown.
3. Click on Yes in the User Account Control prompt.
4. Press Ctrl + Shift + 2 keys simultaneously to open Command Prompt tab.
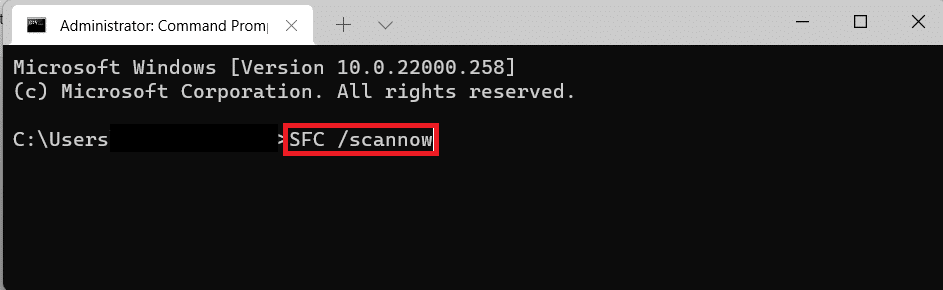
5. Type the command: SFC /scannow and hit the Enter key to execute.
6. After the scan is completed, restart your Windows PC and try upgrading to Windows 11.
Also Read: How to Install HEVC Codecs in Windows 11
Method 8: Make Sure Secure Boot & TPM 2.0 is Enabled
TPM 2.0 and Secure Boot are now critical requirements for Windows 11 Upgrade, according to Microsoft as security is the major focus of Windows 11. Lacking either of these can cause an error to present itself while trying to update Windows. Thankfully, it is simple to see if you have both these services enabled or deactivated. Here’s how to fix update installation error code 0x8007007f in Windows 11 by making sure secure boot and TPM 2.0 are enabled:
Step I: Check TPM Status
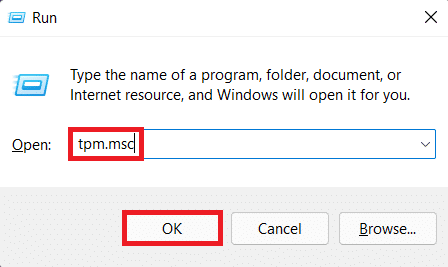
1. Press the Windows + R keys together to open the Run dialog box.
2. Type tpm.msc and click on OK.
3. Under Status, The TPM is ready for use message should be displayed.
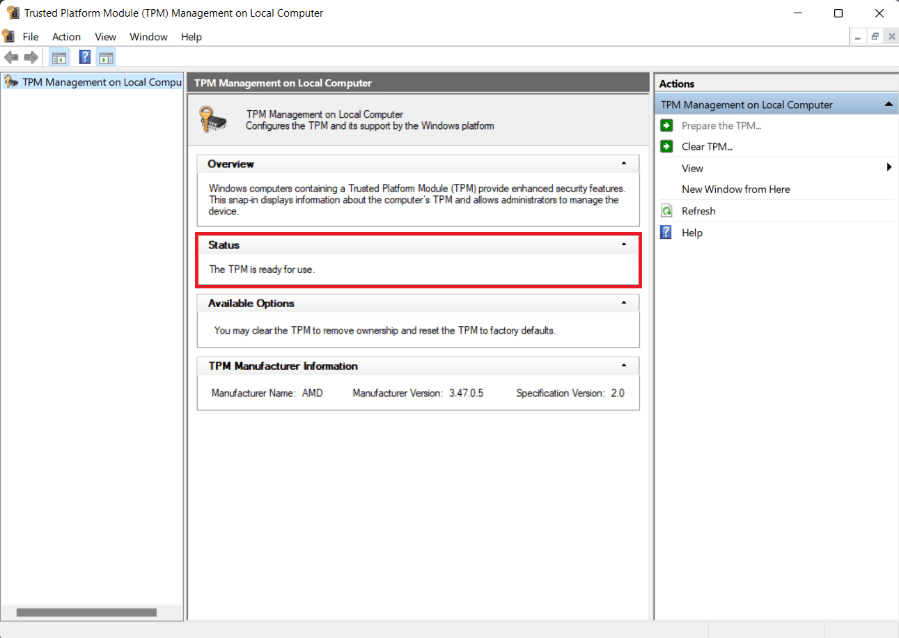
4. If not, enable TPM from BIOS settings of your Windows PC.
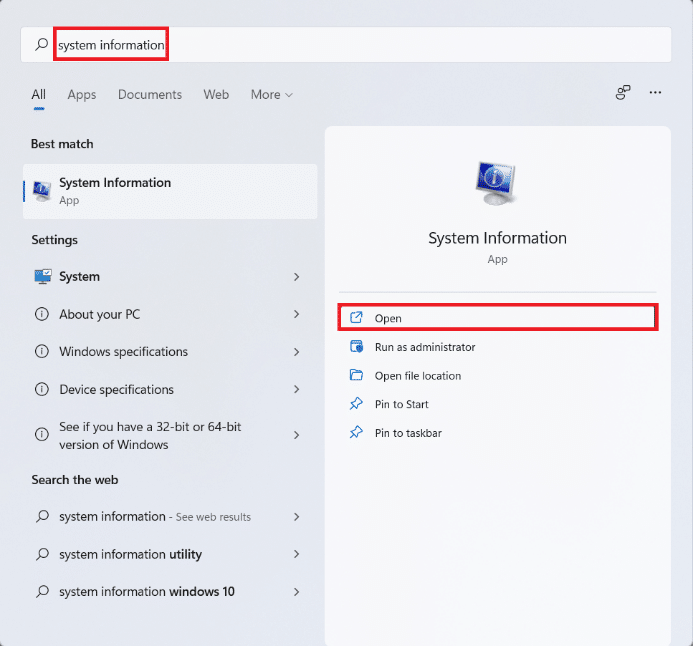
Step II: Check Secure Boot Status
1. Click on the Search icon and type System Information. Then, click on Open.
2. In the System Summary tab, look for Secure Boot State. It should indicate Status as On. Refer pic below.
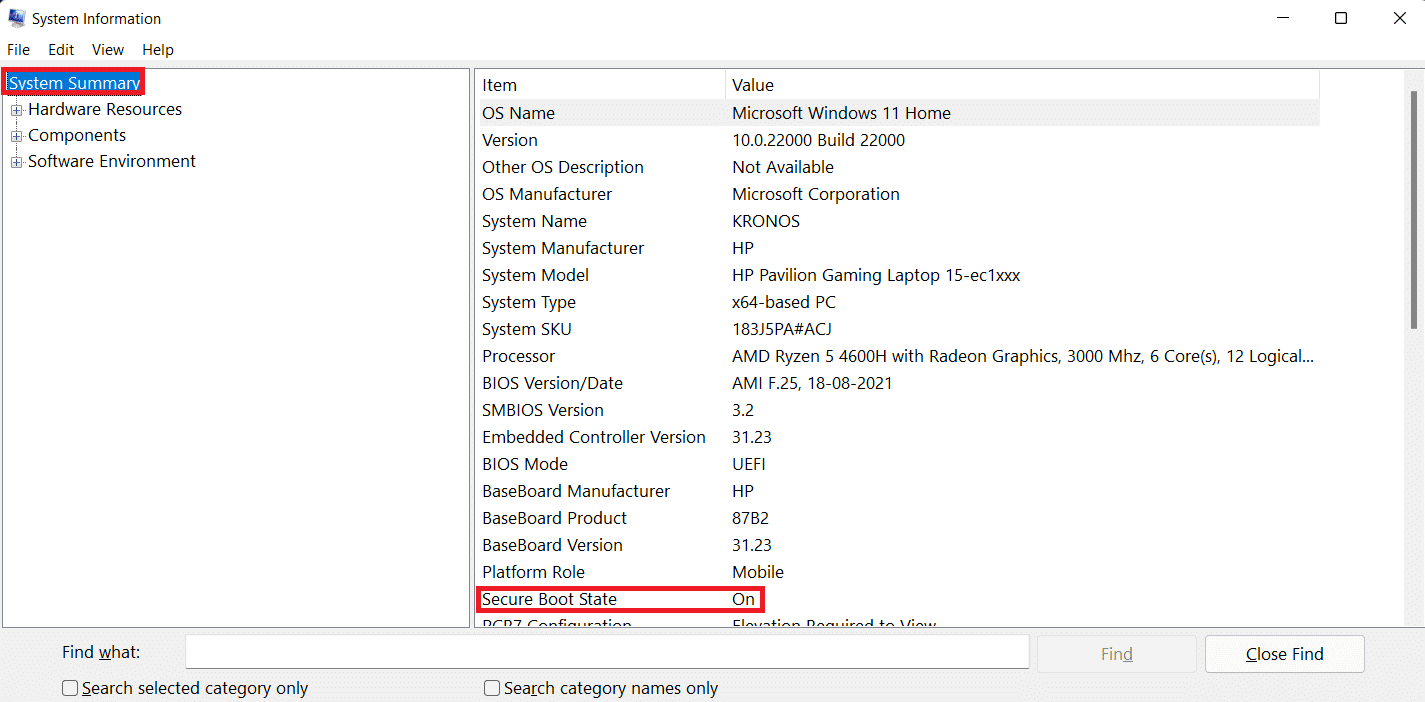
3. If not, enable Secure Boot from BIOS/UEFI settings.
Method 9: Create & Use Bootable USB Drive
If none of the solutions work and the error code remains, you should attempt a different installation procedure. The Media Creation Tool can be used to build a bootable USB. Read our guide on How to Create Bootable Windows 11 USB Drive here to fix error code 0x8007007f in Windows 11.
Recommended:
We hope you learnt how to fix installation update error code 0x8007007f in Windows 11. You can send your suggestions and queries in the comment section down below. We would love to know which topic you want us to explore next.