How To Save Photos To SD Card On Android Phone

By default, all the photos that you click using your smartphone camera get saved on your internal storage. However, in the long run, this could lead to your internal memory running out of storage space. The best solution is to change the default storage location for the Camera app to the SD card. By doing this, all your photos will be saved automatically to the SD card. To enable this setting, your smartphone must have an expandable memory slot and obviously an external micro-SD card to insert in it. In this article, we are going to take you through the entire process step by step on “How to save photos to SD card on your Android phone.”
How To Save Photos To SD Card On Android Phone
Here is a compilation of steps on how to save photos to an SD Card on Android Phone; Works for different versions of Android – (10,9,8,7 and 6):
Insert and Set up the SD card
The first thing that you need to do is purchase the right SD card, one that is compatible with your device. In the market, you will find memory cards having various storage capacities (some are even 1TB). However, every smartphone has a limitation as to how much you can expand its built-in memory. It would be pointless to get an SD card that exceeds the maximum allowed storage capacity of your device.
Once you have acquired the correct external memory card, you can proceed to insert it into your device. For older devices, the memory card slot is under the battery, and thus you need to remove the back cover and extract the battery before inserting the SD card. New Android smartphones, on the other hand, have a separate tray for SIM card and micro-SD card or both combined. There is no need to remove the back cover. You can use the SIM card tray ejector tool to extract the tray and then insert the micro-SD card. Make sure that you align it properly and so that it fits perfectly.
See Also:
Top 11 Best Disney Wallpaper Apps for Android
How to Remove Moisture from Phone Charging Port
How to Know If AirPods are Charging on Android
Top 12 Solutions to ERR Address Unreachable on Android
Depending on your OEM, you might get a notification asking if you would like to change the default storage location to the SD card or extend the internal storage. Simply tap on ‘Yes,’ and you will be all set. This is probably the easiest way to make sure that your data, including photos, will get saved on the SD card. However, not all devices offer this choice, and, in this case, you need to manually change the storage location. This will be discussed in the next section.
Also read: How to Fix SD Card Not Detected in Windows 10
Save Photos To SD Card On Android 8 (Oreo) or Higher
If you have purchased your mobile recently, there are chances that you are using Android 8.0 or higher. In previous versions of Android, it is not possible to change the default storage location for the Camera app. Google wants you to rely on the internal storage or use cloud storage and is gradually moving towards eliminating the external SD card. As a result, apps and programs can no longer be installed or transferred to the SD card. Similarly, the default Camera app does not allow you to select the storage location. It is by default set to save all photos on the internal storage.
The only available solution is to use a third-party camera app from the Play Store, one that allows you to select a custom storage location. We would recommend you to use “Camera MX” for this purpose. Download and install the app by clicking on the link provided and then follow the steps given below to change the default storage location for your photos.
1. The first thing that you need to do is open Camera MX.
2. Now tap on the Settings icon (cogwheel icon).
3. Here, scroll down and go to the Save section and tap on the checkbox next to the “Custom storage location” option to enable it.
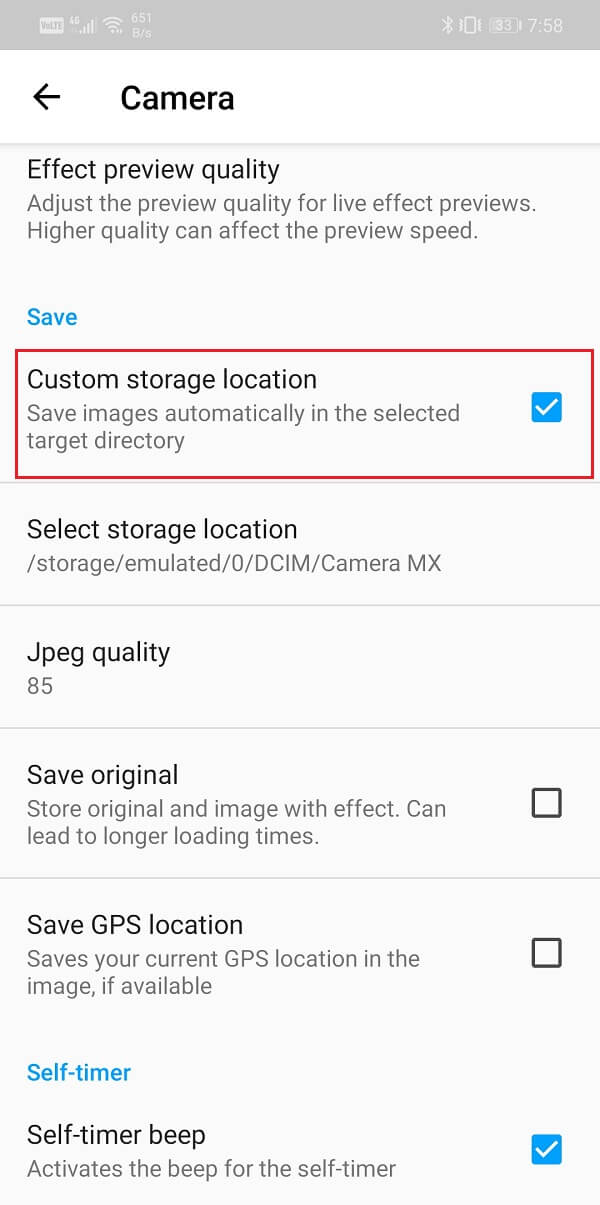
4. On enabling the checkbox, tap on the Select storage location option, which is present just below the Custom storage location.
5. On tapping Select storage location, you will now be asked to select a folder or destination on your device where you would like to save your photos.
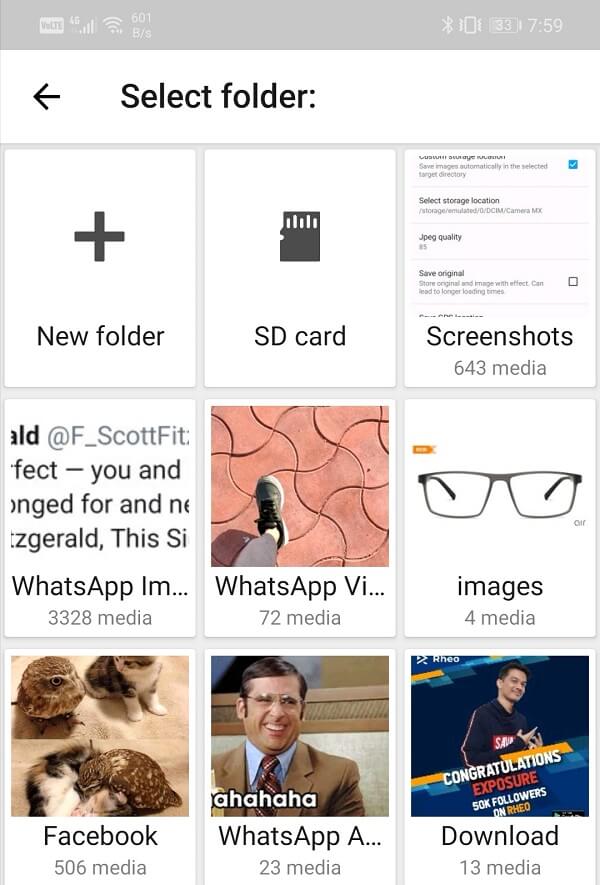
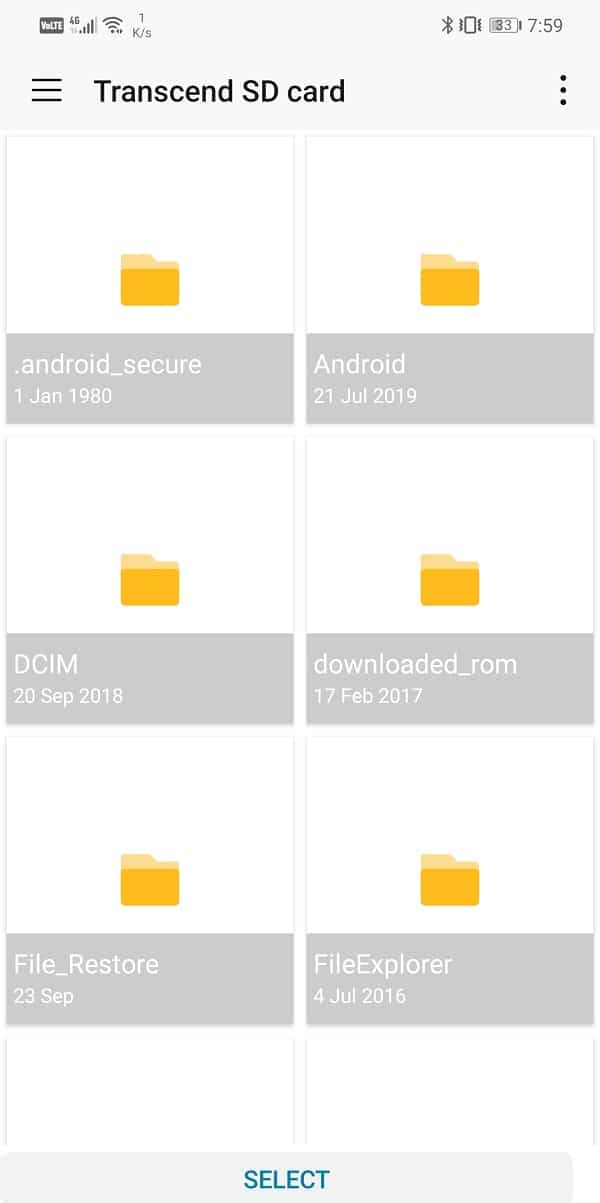
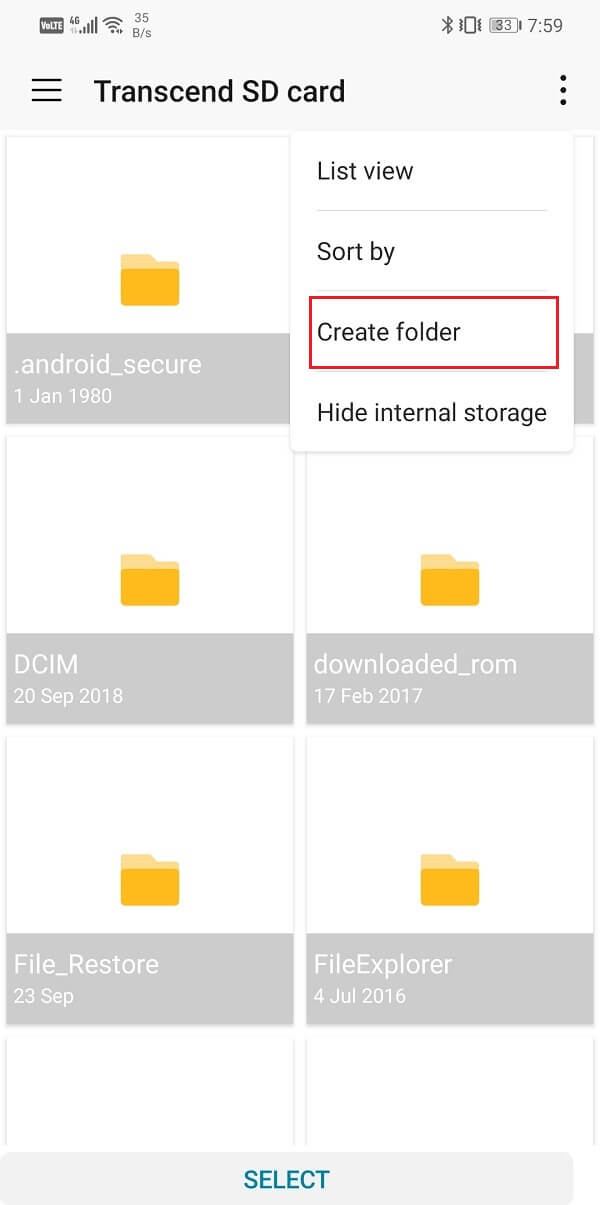
6. Tap on the “SD card” option and then select a folder where you would like to save your photos. You can also create a new folder and save it as the Default Storage Directory.
Save Photos on SD Card on Nougat (Android 7)
If your smartphone is running on Android 7 (Nougat), then things are a little easier for you when it comes to saving photos on the SD card. In older Android versions, you have the freedom to change the default storage location for your photos. The built-in Camera app will allow you to do so, and there is no need to install any other third-party app. Follow the steps given below to save photos to the SD card on Android 7.
1. The first thing that you need to do is insert the micro-SD card and then open the Default Camera App.
2. The system will automatically detect a newly Available storage option, and a pop-up message will pop up on your screen.
3. You will be given a choice to change your default storage location to the SD card.
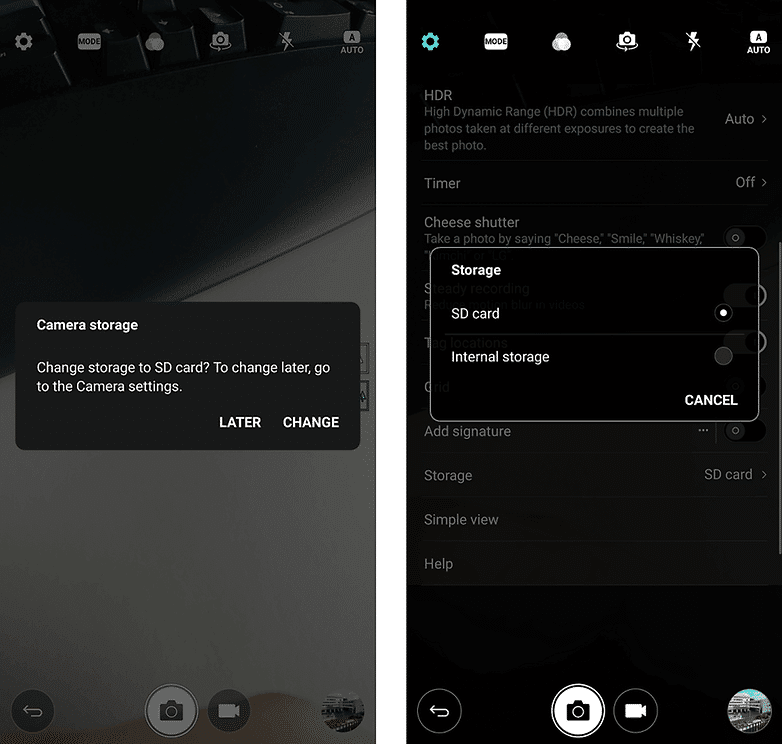
4. Simply tap on it, and you will be all set.
5. In case you miss it or do not get any such pop-up, you can also set it manually from the App settings.
6. Tap on the Settings option, look for the storage option and then select the SD card as the storage location. On changing the storage location to the SD card, the images will be saved on the SD card automatically.
Save Photos on SD on Marshmallow (Android 6)
The process is more or less similar to that of Android Nougat. All that you need to do is insert your SD card and then launch the ‘Default Camera app.’ You will receive a pop-up message asking if you would like to change the default storage location to the SD card. Agree to it, and you are all set. All the pictures that you take using your Camera from now on will be saved on the SD card.
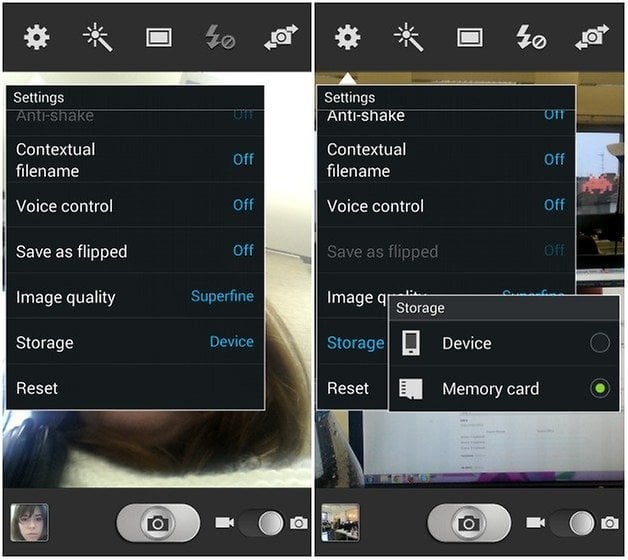
You can also change it later manually from the app settings. Open the ‘Camera settings’ and go to the ‘Storage’ section. Here, you can choose between Device and Memory Card.
The only difference is that in Marshmallow, you will have the option to format your SD card and configure it as internal storage. When you insert the SD card for the first time, you can choose to use it as internal storage. Your device will then format the memory card and convert it into internal storage. This will do away with the need to change the storage location for your photos altogether. The only downside is that this memory card will not be detected by any other device. This means that you won’t be able to transfer photos via the memory card. Instead, you will have to connect it to a computer via a USB cable.
Save photos to SD card on Samsung Devices
Samsung allows you to change the default storage location for your photos. Irrespective of the Android version that you are using, Samsung’s custom UI allows you to save photos on the SD card if you want to. The process is simple, and given below is a step-wise guide for the same.
1. Firstly, insert an SD card in your phone and then open the Camera app.
2. Now, you might receive a pop-up notification asking you to change the Storage location for the app.
3. If you do not get any notification, then you can tap on the Settings option.
4. Look for the “Storage location” option and tap on it.
5. Finally, select the Memory card option, and you are all set.
6. All your photos taken by your built-in Camera app will get saved on your SD card.
Recommended:
With that, we come to the end of this article. We hope that you find this information useful and you were able to save photos to the SD card on your Android phone. Running out of internal storage space is a common problem, and photos and videos have a major contribution to that.
Therefore, your Android smartphone allows you to augment your memory with the help of an SD card, and then you should start using it to save photos. All that you need to do is change the default storage location for your camera app or use a different app if your built-in Camera app does not allow you to do the same. We have covered almost all Android versions and explained how you could save photos to an SD card with ease.