How to Change the System Language in Windows 10

How to Change the System Language in Windows 10: When you install Windows 10 Operating System, it asks you to choose the language. If you choose the particular language of your choice and later decide to change it, you have the option to change the system language. For that, you do not need to re-install the Windows 10 on your system. It could be possible that you are not comfortable with the current system language and want to change it. However, you need to make sure that you always first check your current system language, which is by default set while you install Windows 10 Operating system.
Why Would You Change the System Language in Windows 10?
Before we jump into the instructions of changing the system language, we need to gauge some reasons for changing it. Why would anyone change the default system language?
1 – If your friends or relatives coming to your place are not familiar with the current system language of your system, you can instantly change the language so that they can easily work on it.
2 – If you bought a used PC from a shop and found that you do not understand the current system language. This is the second situation when you need to change the system language.
How To Change System Language in Windows 10
Make sure to create a restore point just in case something goes wrong.
You have complete authority and freedom to change the system languages.
Note: If you are using Microsoft account, it syncs your settings changes in all devices connected with that account. Therefore, if you want to change the language of only one particular system, it is recommended you need to first disable the syncing option.
Step 1 – Navigate to Settings > Accounts > Tap On Sync your settings
Step 2 – Turn off the Language preferences toggle switch.

Once you are done with this, you can proceed to change the language setting of your system.
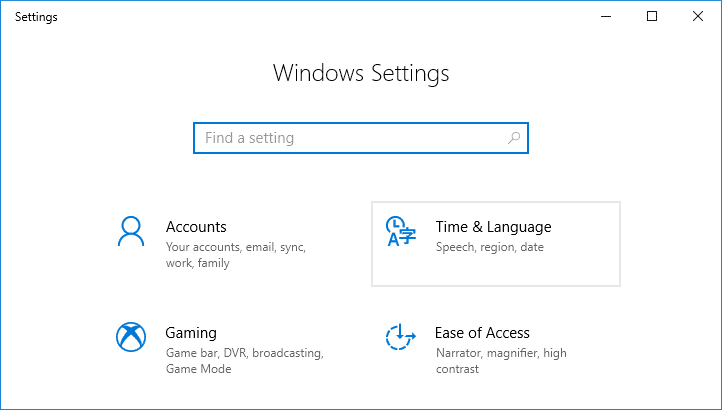
1.Press Windows Key + I to open Settings.
2.Tap on Time & Language option. This is the section where you will find out the settings related to language change.
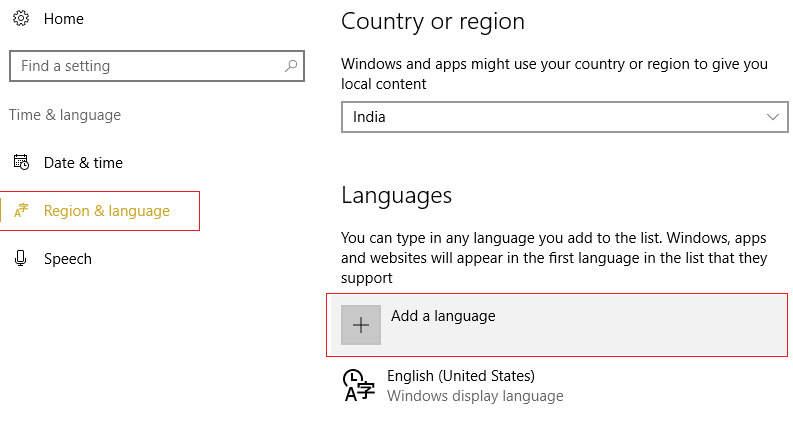
3.Navigate to Region & Language.
4.Here under the language setting, you need to click on Add a Language button.
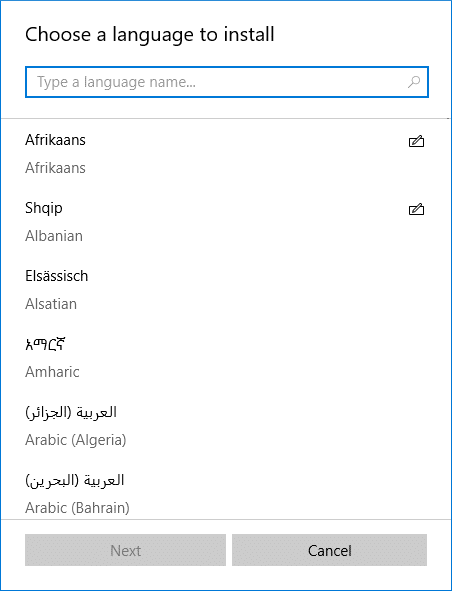
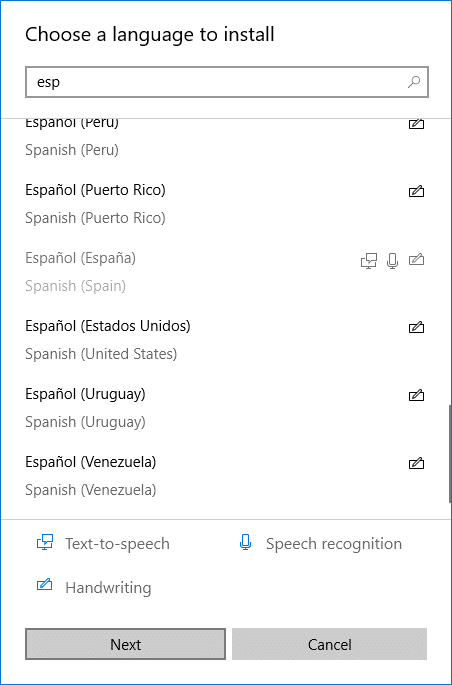
5.You can search the language that you want to use in the search box. You need to make sure that you type the language in the search box and choose the one that you want to install in your system.
6.Select the language and click “Next”.
7.Select “Set as my Windows display language option” option
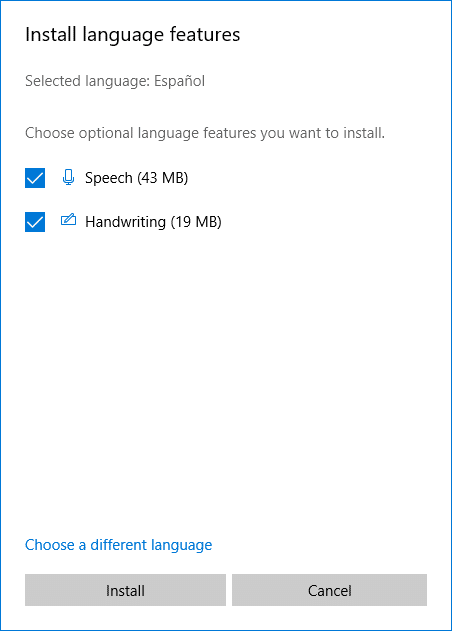
8.You will get an additional feature option to install such as Speech & Handwriting. Click on the Install option.
9.You need to cross-check whether the selected language has been set properly or not. You need to check under “Windows display language”, make sure that the new language is set.
10.In case, your language is not matching with the country, you can check under “Country or region” option and matches the language location.
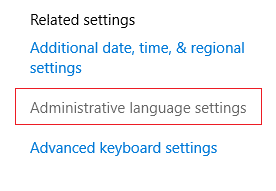
11.To make the language setting for the entire system, you need to click on “Administrative Language Settings” option on the right panel of the screen.
12.Here you need to click on “Copy Settings” button.

13.– Once you will click on Copy Settings, here you need to checkmark “Welcome screen and system accounts” and “New User Accounts“. This will make the changes in all sections to ensure that your system’s by default language is changed to your required setting.

14.– Finally Click on the OK option to save changes.
Once you will complete the above-mentioned steps, everything on your device will be changed into the new language – welcome screen, settings, explorer and apps.
This is how you can easily Change the System Language in Windows 10. However, you need to understand that Cortana feature is not available in some region, so you may lose it while changing the system language to a region which Cortana does not support.
You do not need to stick with the default settings when you want to customize the settings for better use of your system. These steps will make sure that whenever you want, you can make the desired changes in the system. If you want to revert the changes, you just need to follow the same instructions. All you need to keep in mind is the previously configured system language so that you can choose it properly.
Recommended:
I hope the above steps were helpful and now you can easily Change the System Language in Windows 10, but if you still have any questions regarding this tutorial then feel free to ask them in the comment’s section.