How to Use TV as Monitor for Windows 11 PC

Don’t you feel sometimes your computer screen is just not big enough while watching a movie on Netflix or gaming with your friends? Well, the solution to your problem lies in your living room. Your TV can act as a display for your computer and given the sheer number of people using smart TV these days, it is quite an easy task. All you need to do is to read this article till the end to learn how to use TV as monitor for Windows 11 PC and to connect Windows 11 to TV.
How to Use TV as Monitor for Windows 11 PC
There are two methods to use TV as monitor for Windows 11 PC. One is to use HDMI cable and the other one is to cast wirelessly. We have described both methods, in detail, in this article. So, you can choose either one to connect Windows 11 to TV.
Method 1: Use HDMI Cable to Connect Windows 11 to TV
This is, by far, the simplest way to turn your TV screen into your computer display. All you need is an HDMI cable and you are good to go. The majority of TVs nowadays support HDMI input and HDMI cab be bought online or at your local computer store. The cable comes in different lengths and you can choose the one that fits your need. Following are a few pointers to check while connecting Windows 11 to SMart TV using an HDMI cable:
- Switch to the correct HDMI input source using your TV remote.
- You can use Windows + P keyboard shortcut to open the Project menu card and choose from the different display modes available.
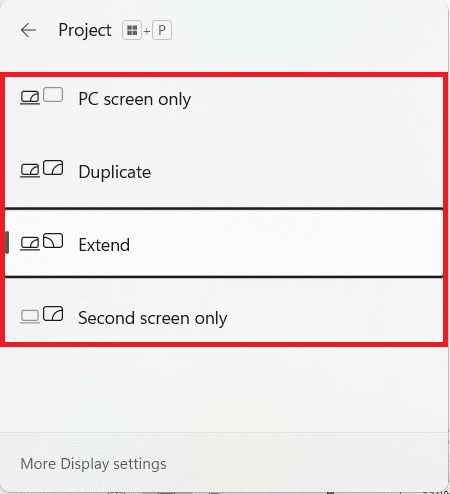
To know more about these modes, consult the table given below:
| Display Mode | Use Case |
| PC Screen only | This mode shut down your TV screen and shows the content on the primary display of your computer. This mode is only available for laptop users. |
| Duplicate | As the name suggests, this option copies the actions and content of the primary display. |
| Extend | This mode lets your TV screen act as a secondary display, basically extending your screen. |
| Second screen only | This mode shut down your primary display and shows the content of the primary display on your TV screen. |
Also Read: How to Record your Screen in Windows 11
Method 2: Cast Wirelessly to Smart TV Using Miracast
If you hate the mess of wires then you would love Wireless Casting instead. You can wirelessly mirror your computer screen onto your TV by using this nifty method. However, it depends on your computer if it supports Miracast or Wireless display or not.
Note: Make sure you have installed & opened Miracast or Wi-Fi Casting app on your TV before proceeding further.
Follow the given steps to connect Windows 11 PC to TV wirelessly:
Step I: Check for Miracast Compatibility
Firstly you must check your system compatibility to use TV as monitor for Windows 11 PC, as follows:
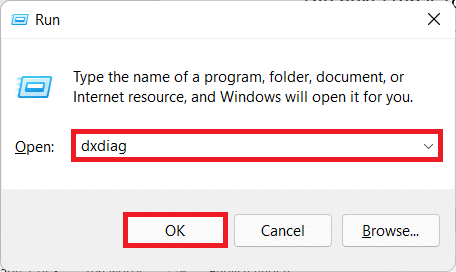
1. Open a Run dialog box by pressing Windows + R keys together
2. Type dxdiag and click on OK to launch DirectX Diagnostic Tool.
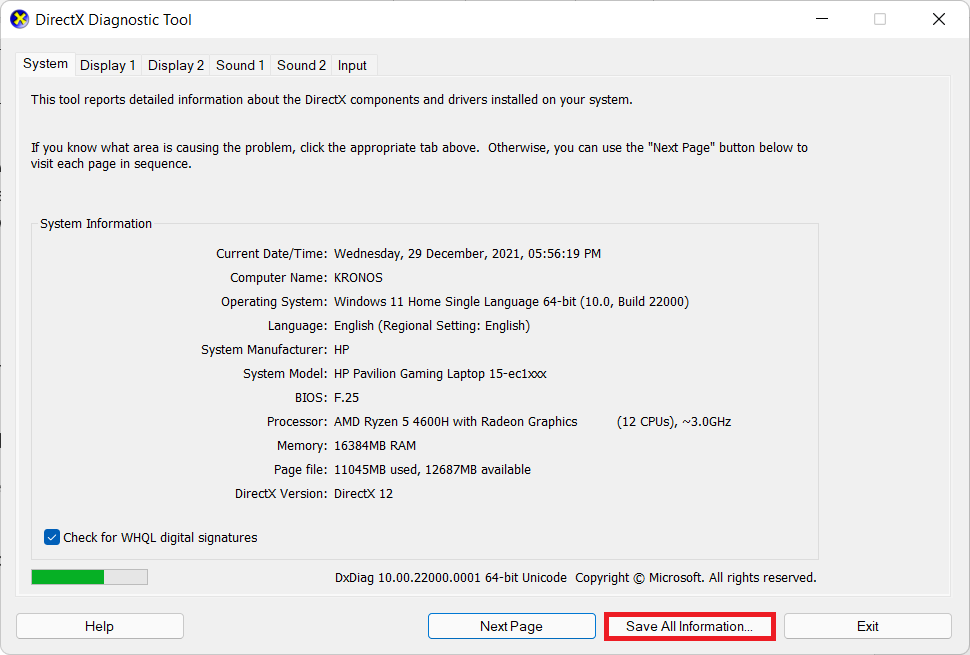
3. Click on Save All Information… in desired directory using the Save as dialog box.
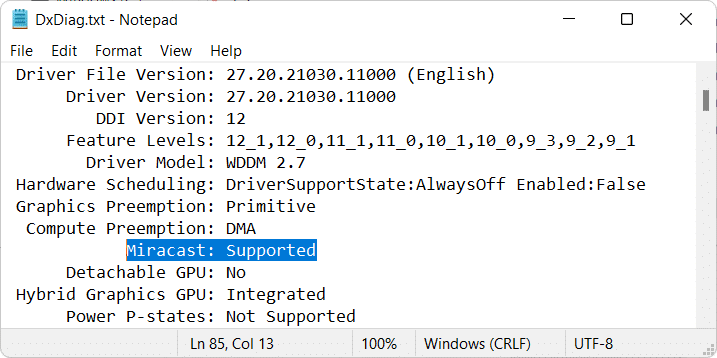
4. Open the saved DxDiag.txt file from File Explorer, as shown.
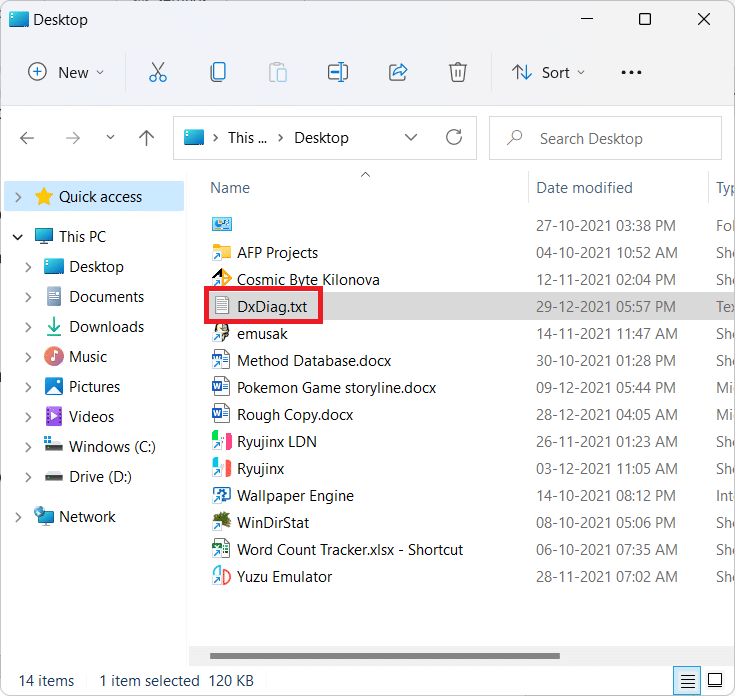
5. Scroll down the contents of the file and look for Miracast. If it shows Supported, as depicted below, then move on to step II.
Also Read: Connect to a Wireless Display with Miracast in Windows 10
Step II: Install Wireless Display Feature
The next step is to install Wireless display feature to use TV as monitor for Windows 11 PC. Since Wireless Display is an optional feature, you have to install it from the Settings app by following these steps:
1. Press Windows + I keys to launch the Settings app.
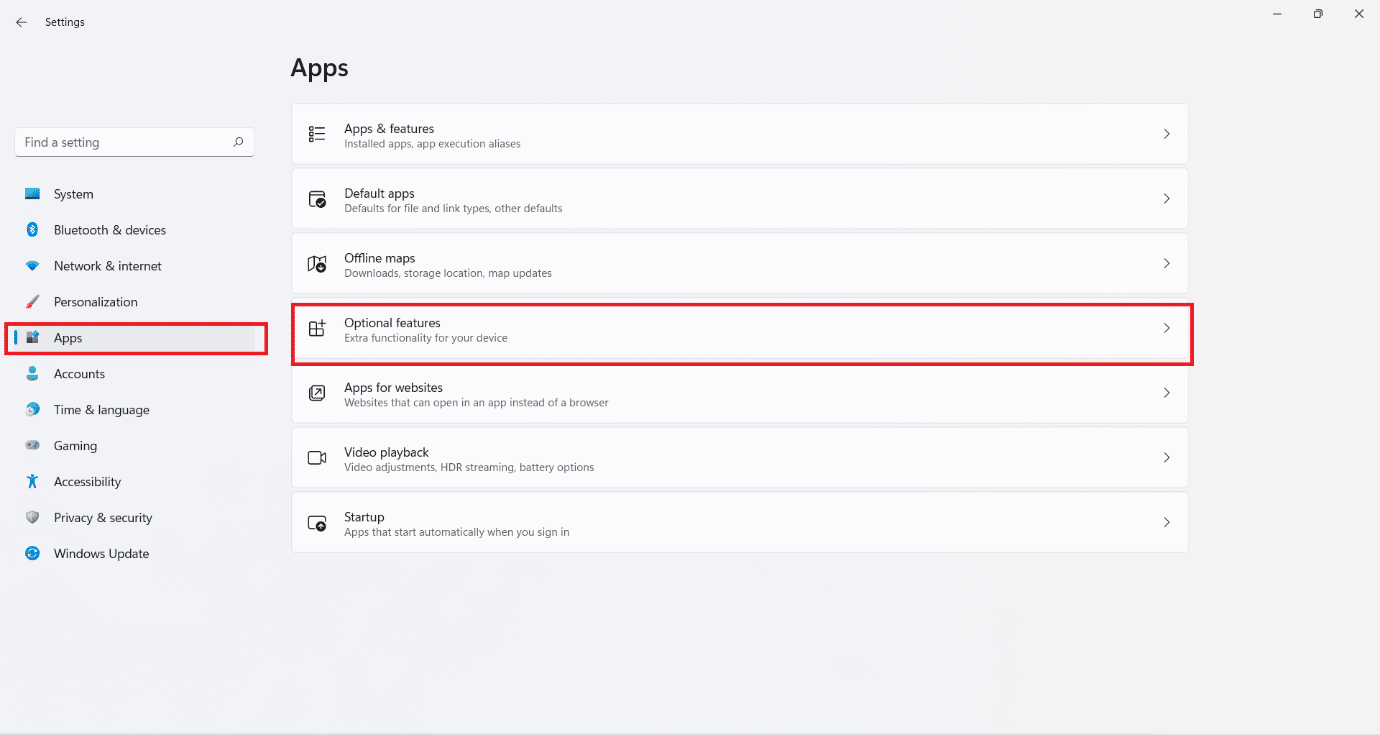
2. Click on Apps in the left pane and select Optional features in the right.
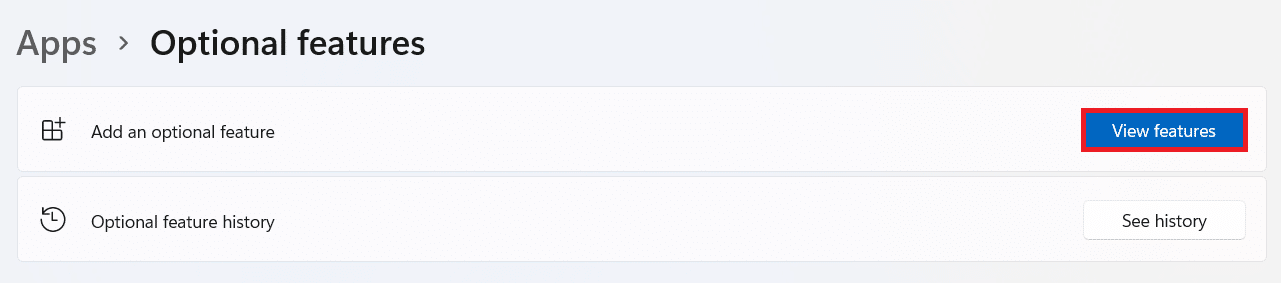
3. Click on View features button for Add an optional feature option, as shown.
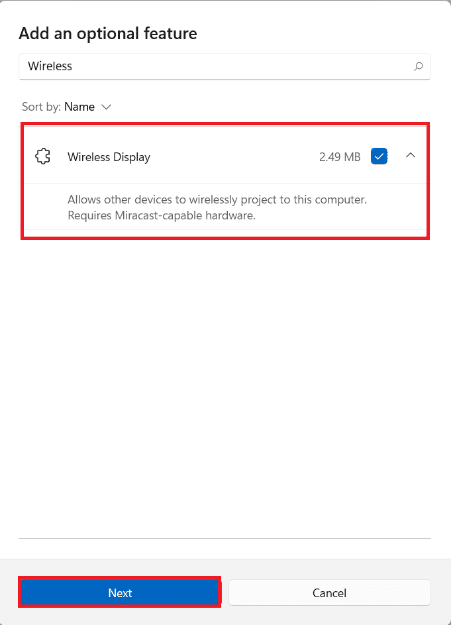
4. Search for Wireless Display using the search bar.
5. Check the box for Wireless Display and click on Next, as illustrated below.
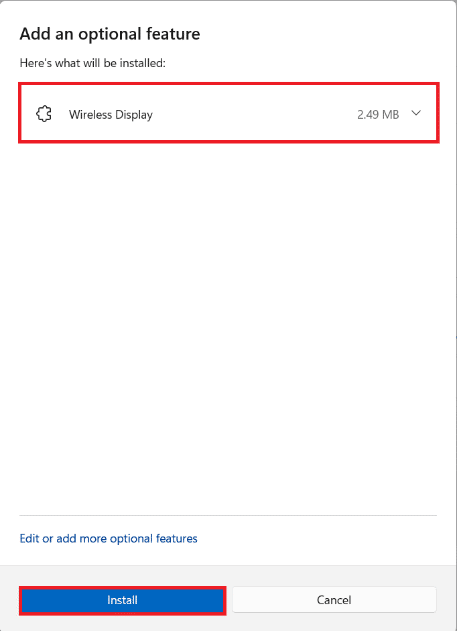
6. Click on Install button, shown highlighted.
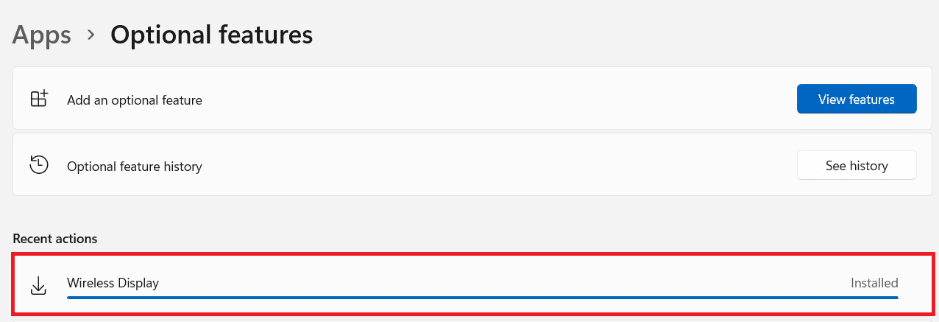
7. Once the installation process is finished, you can see the Wireless Display showing the Installed tag under the Recent actions section.
Also Read: Android TV vs Roku TV: Which is Better?
Step III: Cast Wirelessly from Windows 11
After installing the optional feature module, you can bring up the Cast panel as follows:
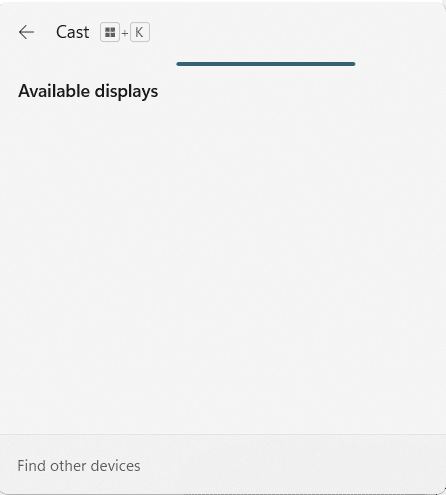
1. Hit the Windows + K keys simultaneously.
2. Select your TV from the List of Available displays.
You can now mirror your computer display on your TV screen.
Recommended:
We hope this article helped you with understanding how to use TV as monitor for Windows 11 PC. We look forward to receiving your suggestions and answering your queries. So if you got one, reach out to us in the comment section below.