Fix System Error Code 1231 in Windows 10

Transmit error code 1231 usually occurs when it cannot connect to another computer on the same network or while trying to ping or trace it. You must be wondering about what is transmit error code 1231 and how to get rid of it. Well, you don’t need to worry now. We brought you a perfect guide that will help you with system error 1231 has occurred and how to fix it.
How to Fix System Error Code 1231 in Windows 10
Ping or Packet Internet Groper is used to test communication latency between the two devices. Similar to Ping, the Trace route is used to trace the path of source and destination. The system error 1231 may occur in Windows 10 due to following possible reasons.
- The home or workgroup network is not configured properly.
- Problem with network discovery.
- Issues with network adapters.
- Problem with TCP/IP.
- The name of the PC is in lowercase letters.
Here are all the possible troubleshooting methods to fix this system error.
Method 1: Switch Wi-Fi Network
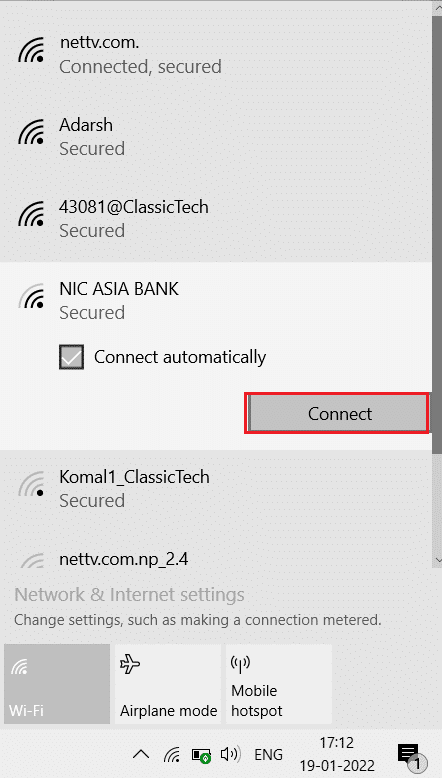
If system error 1231 has occurred, then before doing anything and trying various methods, one quick fix to solve error code 1231 is by simply switching the network. Or you can use a mobile hotspot as well. If the problem remains the same, then try out the methods mentioned below.
Method 2: Change PC Name
While setting up Windows during installation, it asks you to enter a name for your PC. If you have used any lowercase letters in it, then the problem lies in the name itself and therefore system error 1231 has occurred. Windows 10 has made a lot of changes to its system settings, including that it will not show up the device on the workgroup if the device’s name contains any lowercase letters. To fix it, rename your device with capital letters. Do the following:
1. Hit the Windows + I keys simultaneously to open Settings.
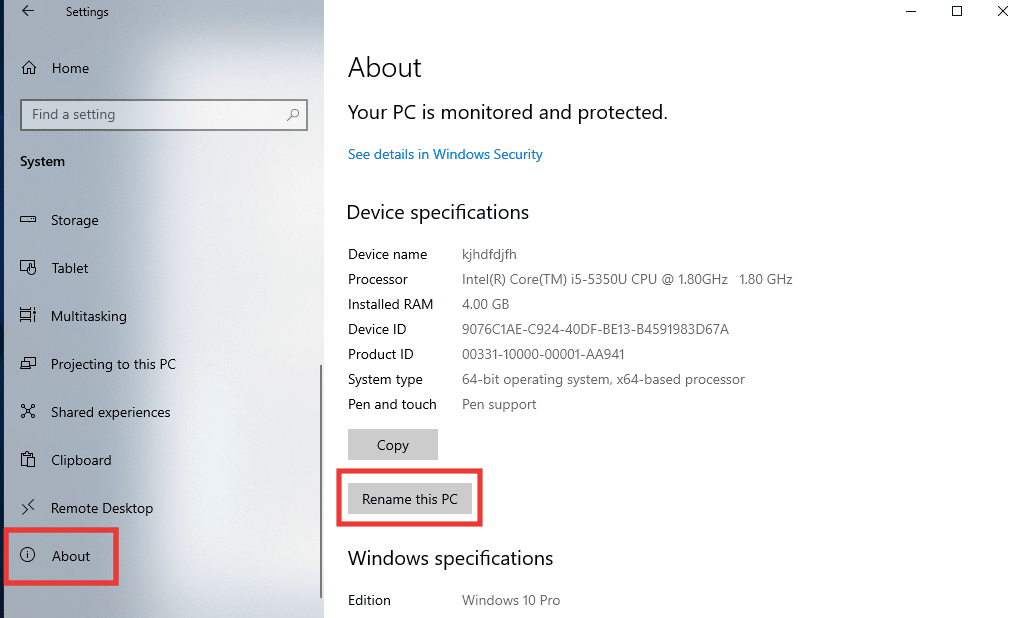
2. Here, click on System setting.

3. Then, click on About and click on Rename this PC.
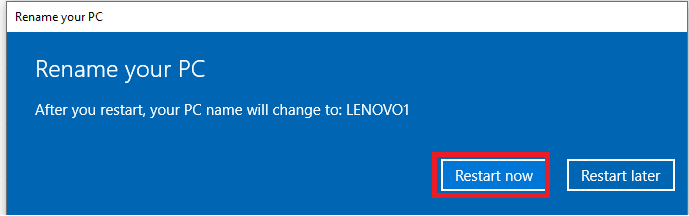
4. Type the new name only in capital letters and click on Next.
5. Click on Restart now.
Also Read: Fix Windows Error 0 ERROR_SUCCESS
Method 3: Troubleshoot Internet Connectivity
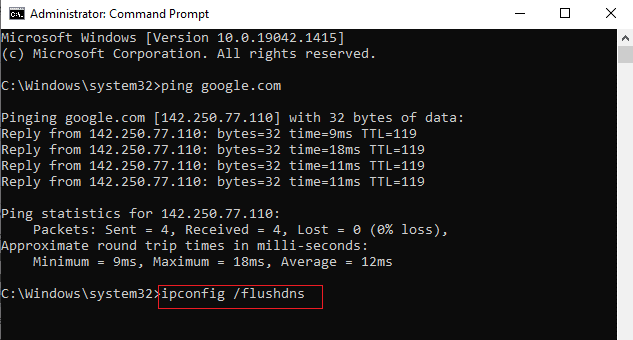
TCP/IP or Transmission Control Protocol/Internet Protocol is a data link protocol used to send and receive data and interconnect network devices, basically allowing two systems to connect and communicate. Due to its improper settings and configuration could create problems in connectivity across devices. So, to fix it try resetting TCP/IP. Do the following, read our guide on How to Reset TCP/IP
Note: It is also recommended that you perform this method on other computers as well, which are connected to your workgroup network.
Method 4: Enable Network Discovery
One of the main reasons behind error code 1231 is due to improper network discovery settings. It’s very obvious that remote computing won’t be possible if the workgroup network is not set to discoverable with a disabled automatic setup. Here’s how to fix it by following these steps.
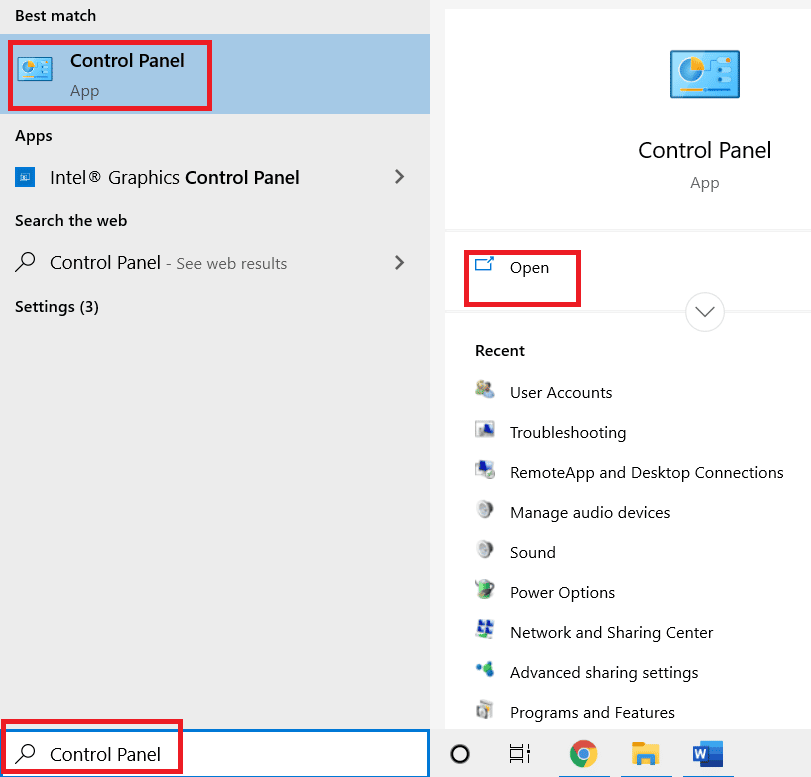
1. Press the Windows key, type Control Panel and click on Open.
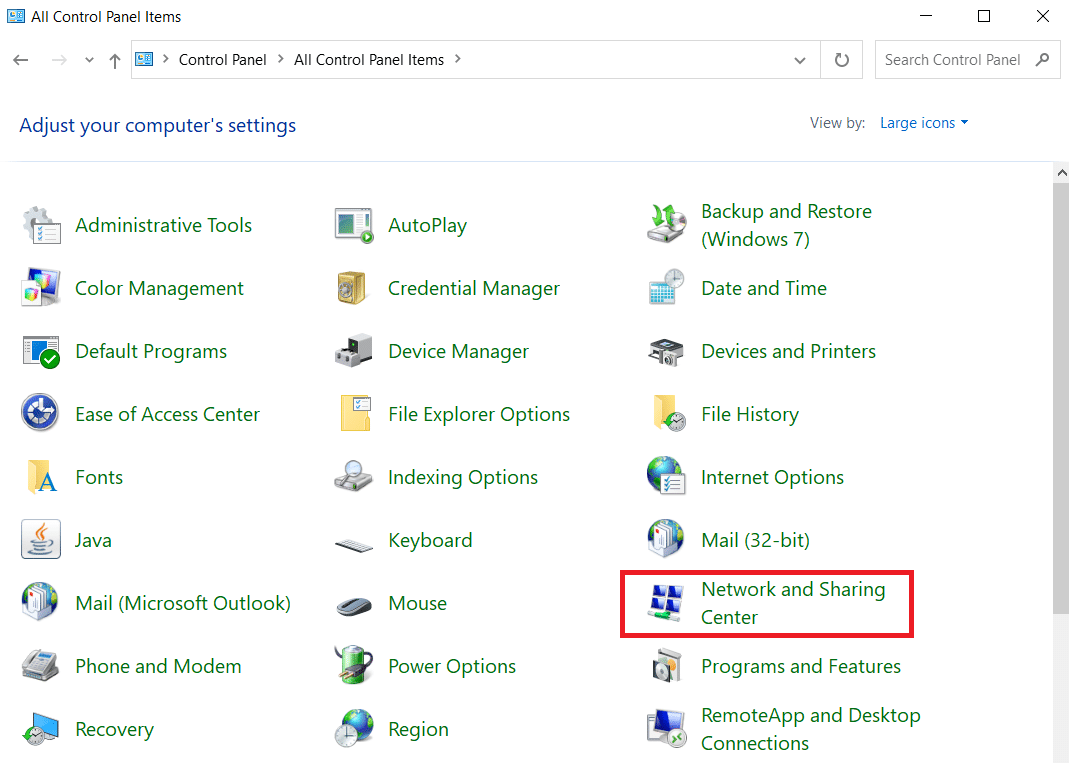
2. Change the View by feature to Large icons.
3. Tap on Network and Sharing Center menu.
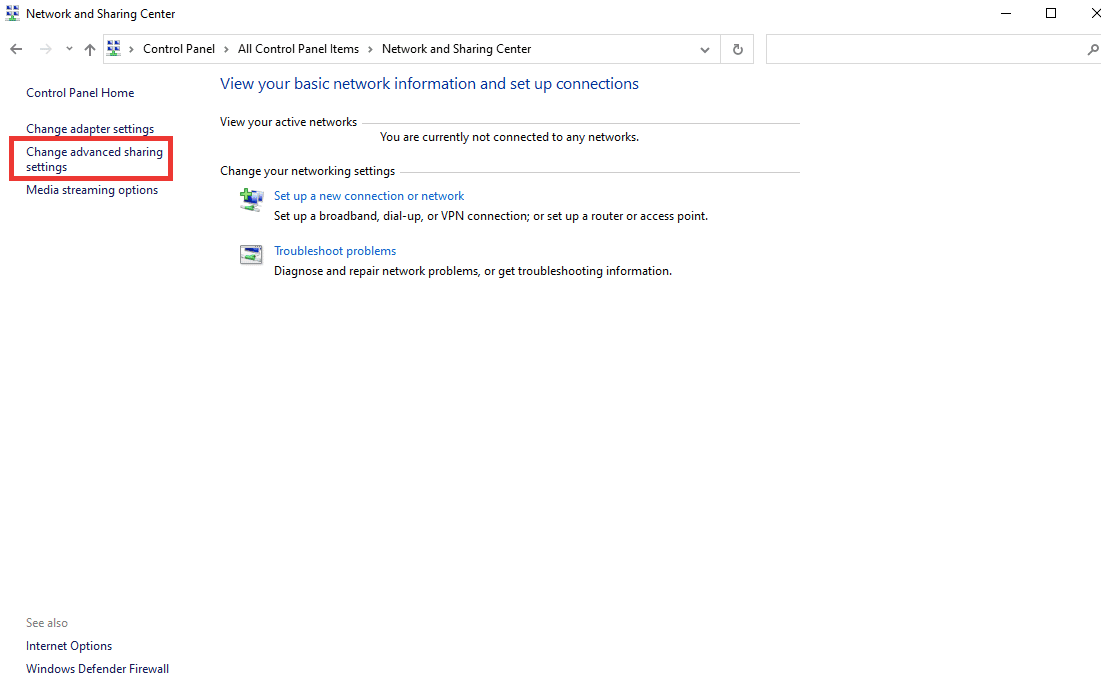
4. Then, click on Change advanced sharing settings.
5. After that, under the Private profile section, click on Turn on network discovery and select Turn on automatic setup of network connected devices option.
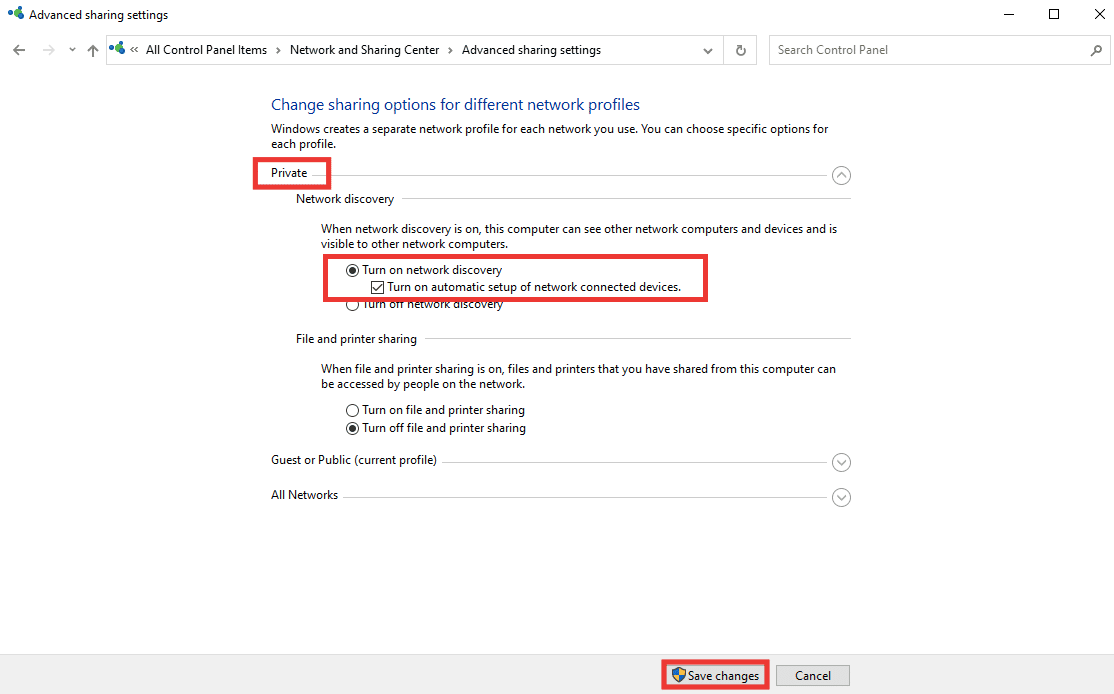
6. Finally, click on Save changes.
Also Read: Fix Network Error 0x00028001 on Windows 10
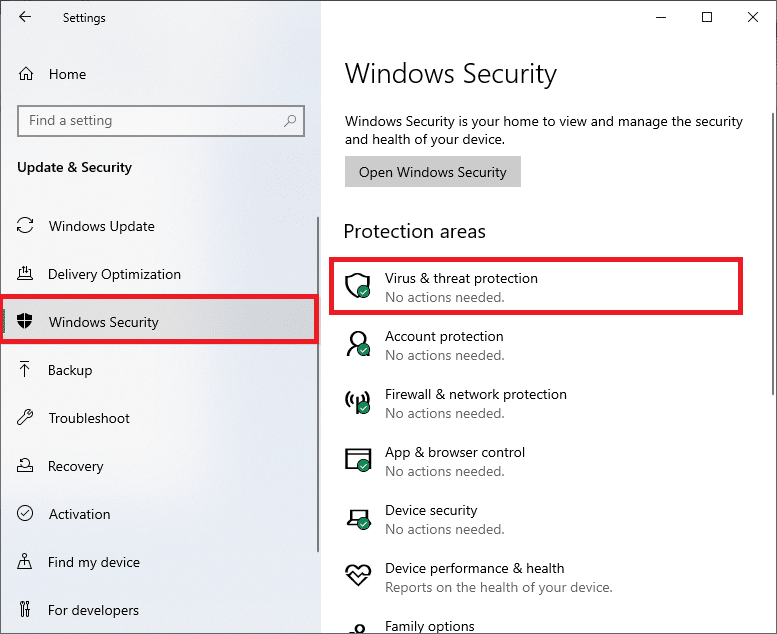
Method 5: Run Virus Scan
Viruses and malware usually alter the system settings and corrupt the system files, and possibly because of that system error 1231 has occurred. To get rid of any virus or malicious files, perform a full scan using an inbuilt Windows scanner. Do the following, read our Guide on How to run a Virus scan.
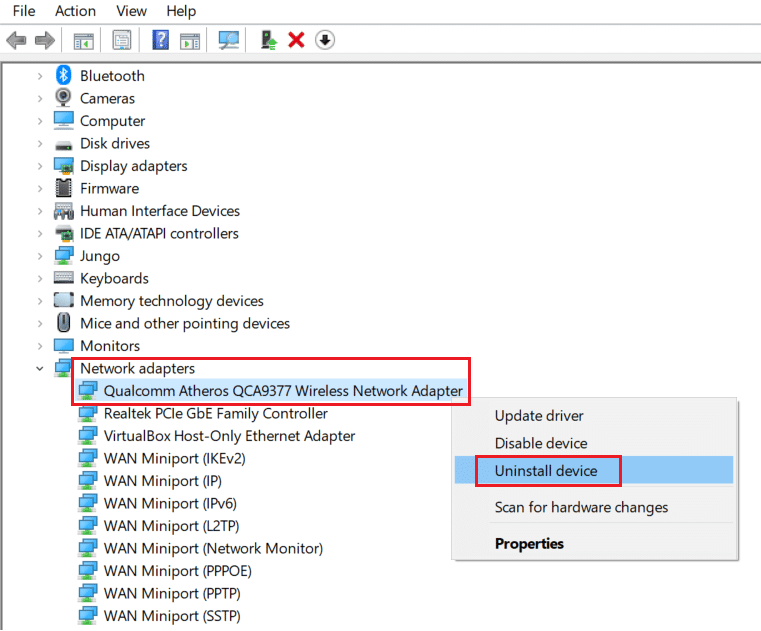
Method 6: Reinstall Network Adapter Driver
The driver is the key component of the system, which is the link between the hardware and software. In case the driver is outdated or not compatible with a certain Windows version, then it won’t be able to create a proper link between devices. To fix the error, first, uninstall the driver so it can be installed with a fresh setup. To Uninstall and Reinstall Driver, Read out our Guide on How to Uninstall and Reinstall Driver.
Also Read: Fix Ethernet Doesn’t Have a Valid IP Configuration Error
Method 7: Create New Batch File
A batch file consists of scripts that can be executed by any command line interpreter to make multiple changes with just one batch file. So, if you don’t want to or can’t change the names of multiple devices to upper case letters, you can try this instead by creating a new batch file. Follow these steps to fix error code 1231 issue.
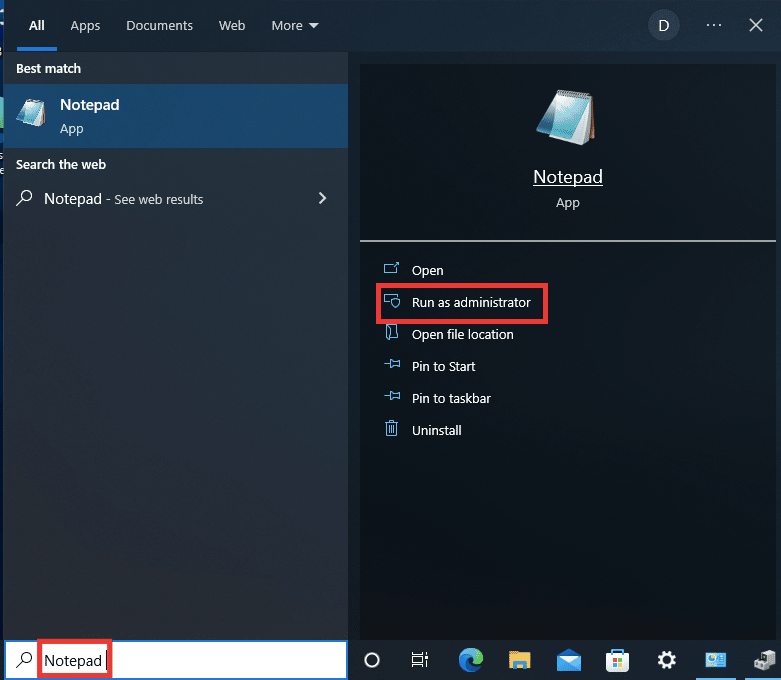
1. Press Windows key, type Notepad, and click on Run as administrator.
2. Click on Yes to grant permission.
3. Paste the following text into the Notepad.
sc.exe config lanmanworkstation depend= bowser/mrxsmb10/nsi
sc.exe config mrxsmb20 start= disabled
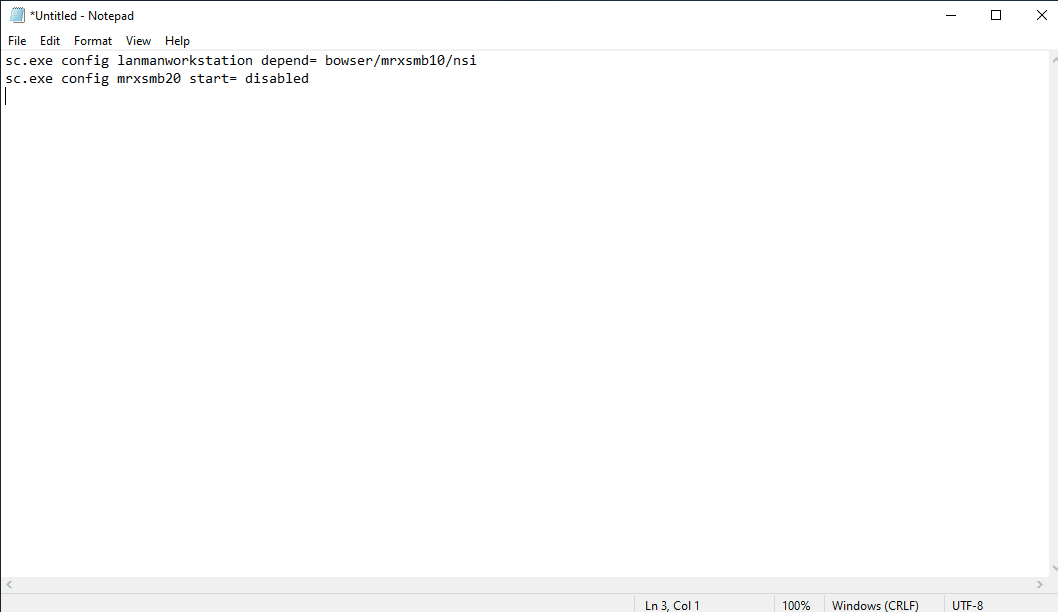
4. After entering the text, hit the Ctrl + S keys simultaneously to save the file.
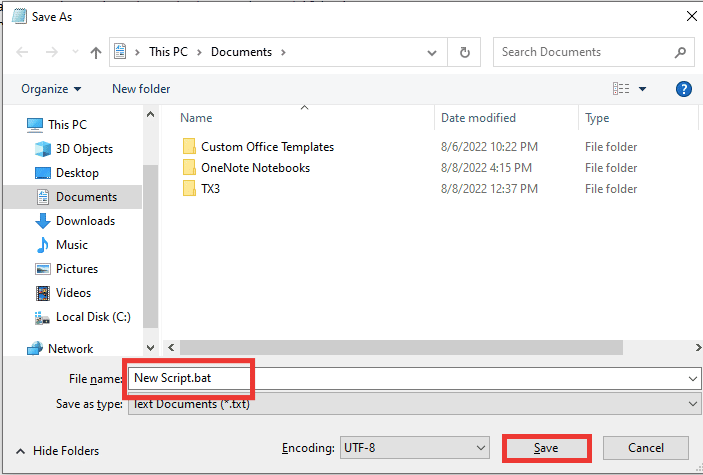
5. Choose the location where you want to save the file and make sure to add the .bat extension after the file name. After that, click on Save.
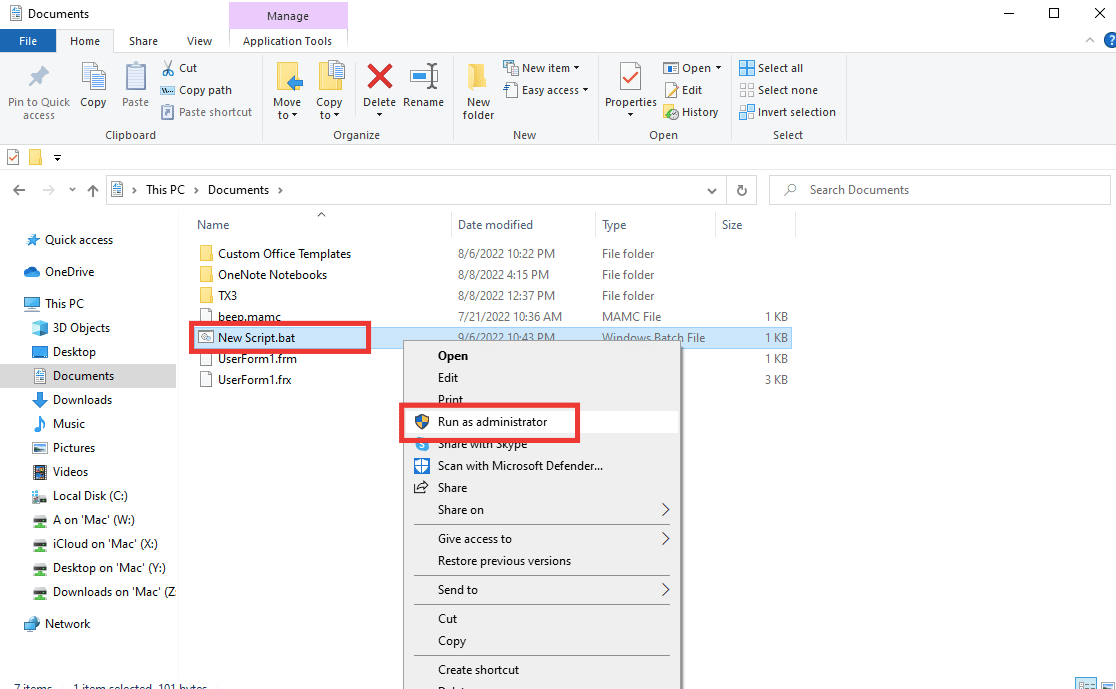
6. Open File Explorer by pressing Windows + E keys together and go to the file location where you have saved the newly created batch file.
7. Right-click on it and click on Run as administrator.
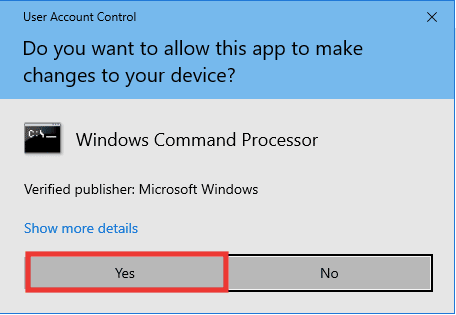
8. Click on Yes to grant permission.
Also Read: How to Setup Network Files Sharing on Windows 10
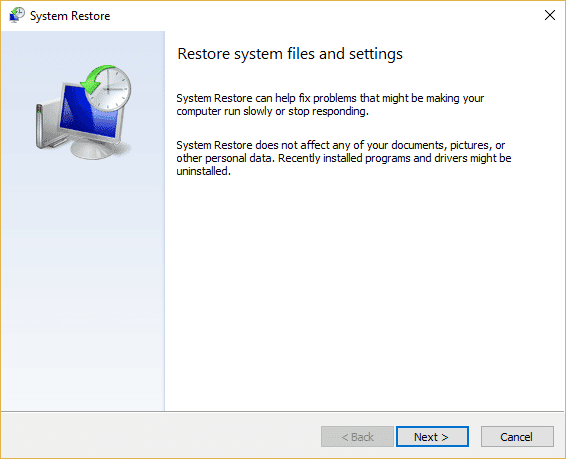
Method 8: Perform System Restore
This method is really helpful when you can’t identify the problem. System restore feature is like a time machine, which will take your system back to the point in time when it was functioning normally without any errors. If you have recently started facing error code 1231, and before that, there were no errors, then you should perform system restore process. Follow our guide to Perform System Restore.
Note: The application installed between the restoration point till now will be deleted. So, make a note of it and simply back up essential information and data.
Recommended:
We hope that this guide was helpful and you were able to fix System error code 1231 and you were able to know about what is transmit error code 1231. Let us know which method worked for you best. If you have any queries or suggestions regarding any tech-related issues, then feel free to drop them in the comments section below.