12 Ways for Establishing Secure Connection on Chrome

Google Chrome is a popular web browser that can be accessed freely via various operating systems. The well-known attributes of Google Chrome that make it stand out are its incredible speed and search results, incognito browsing, dynamic view tabs, bookmarks synchronization, special task manager to check the browser consumption for Windows users, etc. But a few users have faced various issues in establishing secure connection on Chrome. If you face the same, read this article to resolve that Chrome cannot establish secure connection issue.
12 Ways for Establishing Secure Connection on Chrome
With so many accessible and handy features, it surely stays on top of users’ minds and works around as the default browser. Due to the user’s attachment with the browser, they tend to work out and find solutions to any error popups rather than skipping to a new browser. Well! Chrome played very well in captivating the users. Below are some reasons why Google Chrome connection gets insecure.
- If the Cryptographic service has malfunctioned or stopped, you might face this connection error.
- A problematic extension or add-on might also cause this error.
- Sometimes, antivirus software might prolong the time to check the security and restrict you from visiting the page.
- Some webpages or websites might not be compatible with TLS 1.3 flags and thus causing this issue.
- There might be other reasons, such as misconfigured Internet settings, corrupt Winsock configuration, proxy or VPN, outdated Chrome version, and loaded or corrupt browsing data.
Method 1: Clear Browser Data
Abnormal aggregation of browsing data such as caches, cookies, and history files uses an unnecessary amount of Internet resources. This slows down network connectivity when users try to connect to a secure website. Thus, implement the instructions below and delete the browsing data to get rid of this error. Read our guide on How to Clear Cache & Cookies in Google Chrome and clear the browsing data.
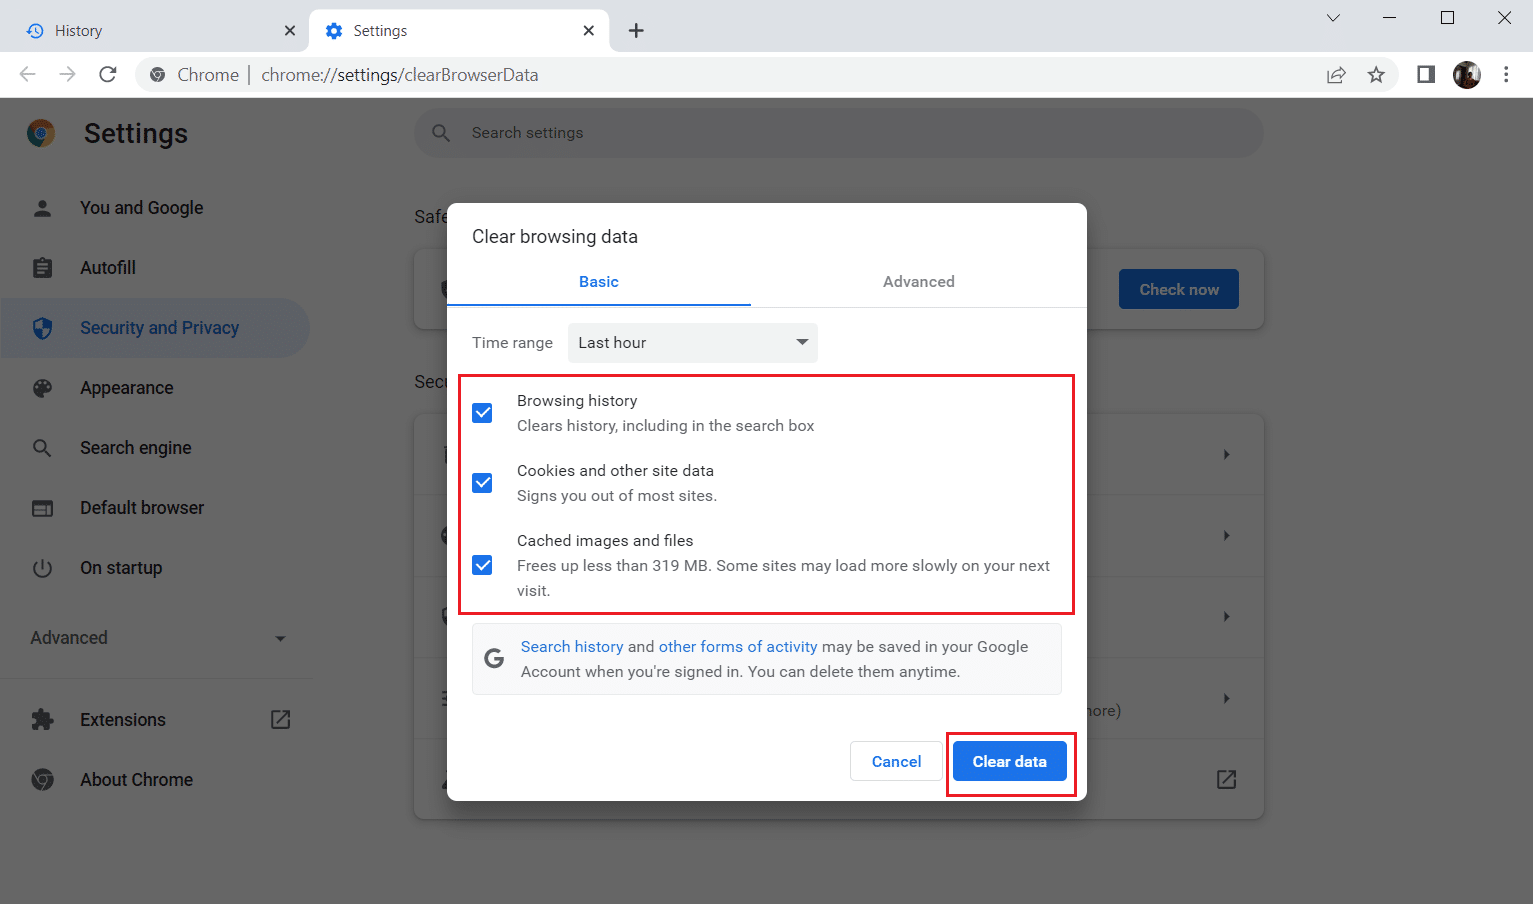
Wait till the unwanted data gets removed. Once done, close the Chrome application. Relaunch it and check if you can establish a secure connection.
Method 2: Update Chrome
Outdated browsers might not support improvised versions of webpages and thus prevent you from visiting those pages. To fix the bugs and problems, you have to update Google Chrome to the latest version. Follow the below steps.
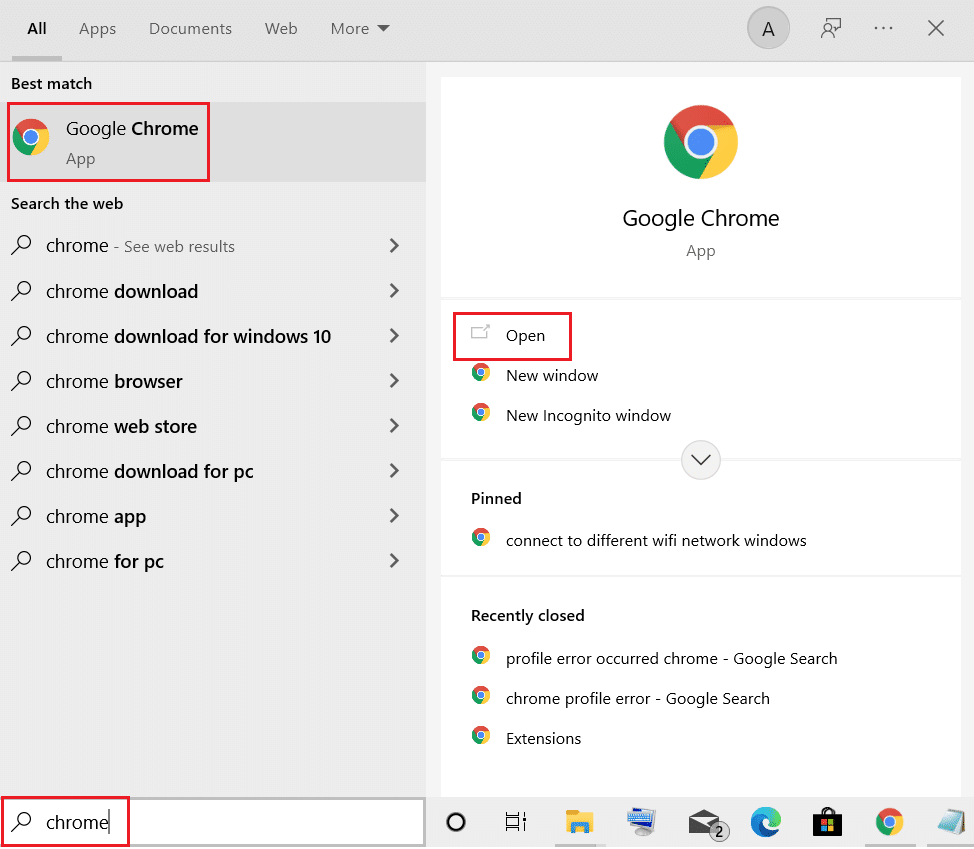
1. Press the Windows key, type Chrome and click on Open.
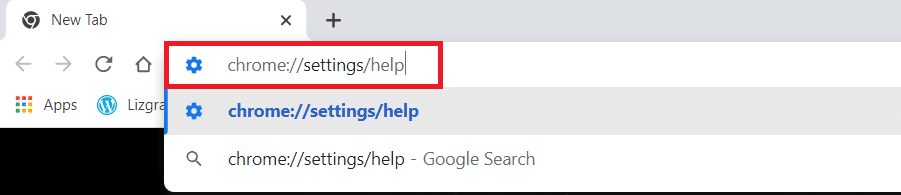
2. Type chrome://settings/help in the address bar to directly launch the About Chrome page.
3A. If Google Chrome is updated to its latest version, it will show Chrome is up to date.

3B. If a new update is available, the browser will automatically update the browser to the latest version. Click Relaunch to restart the browser.
4. Finally, relaunch the browser with its latest version.
Also Read: Fix ERR_CONNECTION_TIMED_OUT Chrome error
Method 3: Disable Chrome Flags (If Applicable)
Sometimes, enabled Chrome flags might also cause issues when connecting to a webpage. Disable either one of the flags or both to resolve the issue.
Note: If you are unable to find these flags on your device, never worry. Proceed with the other methods.
Option I: Disable TLS 1.3
TLS or Transport Layer Security is the channel responsible for connecting communication between a user’s computer and a website. TLS 1.3 is the advanced version that comes with enhanced security attributes. Try once with the older version of TLS by simply altering a few options in Chrome settings. Here is how to disable TLS1.3 for establishing secure connection to Chrome.
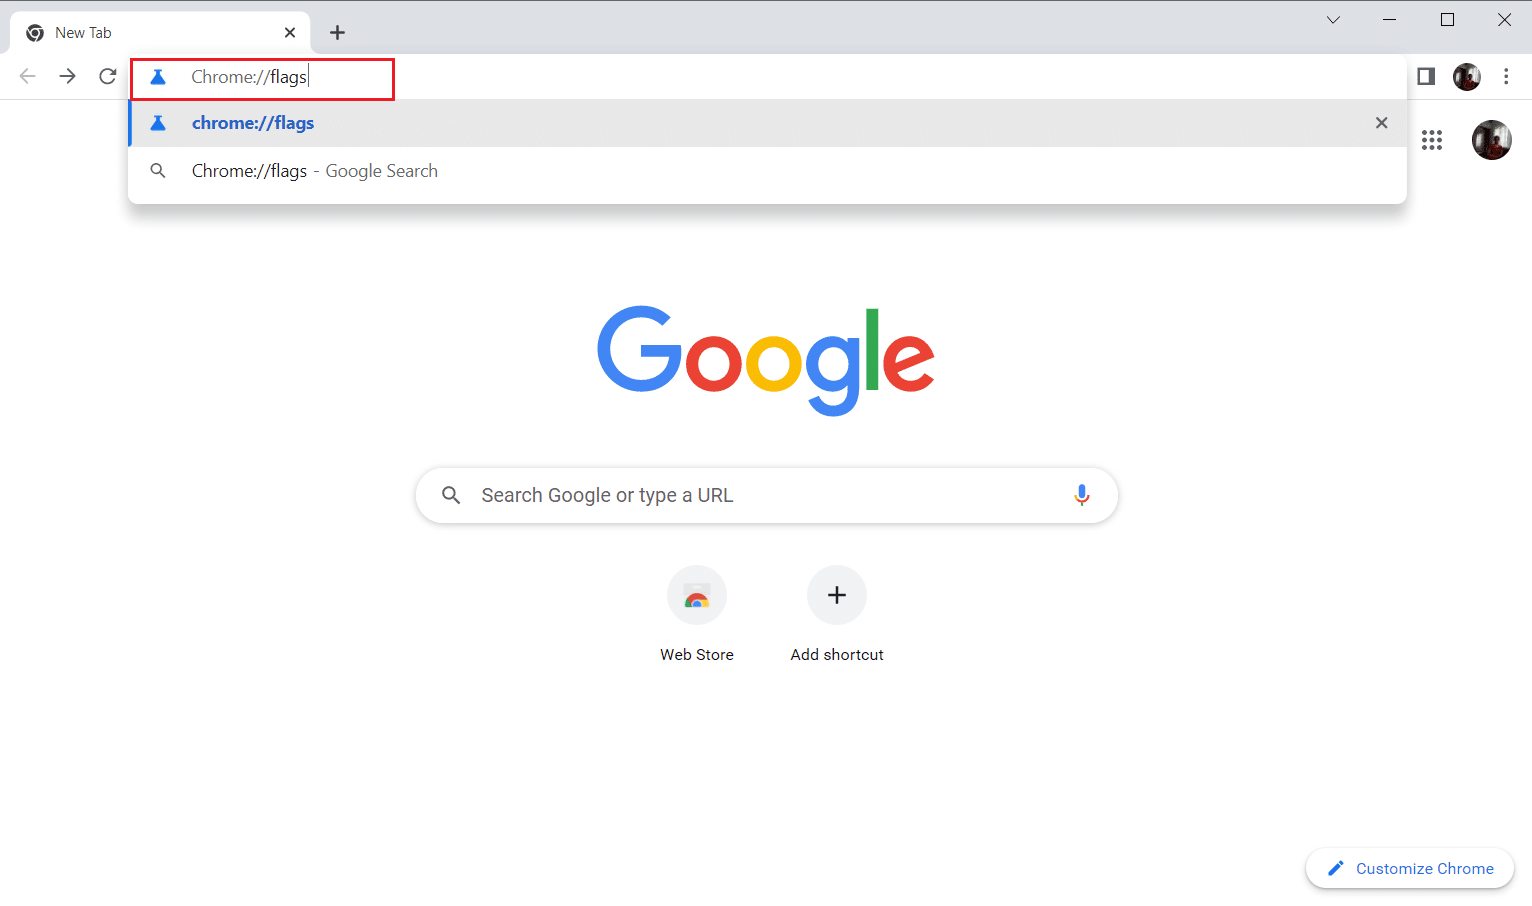
1. Open the Google Chrome browser.
2. Type Chrome://flags on the browser page and hit Enter.
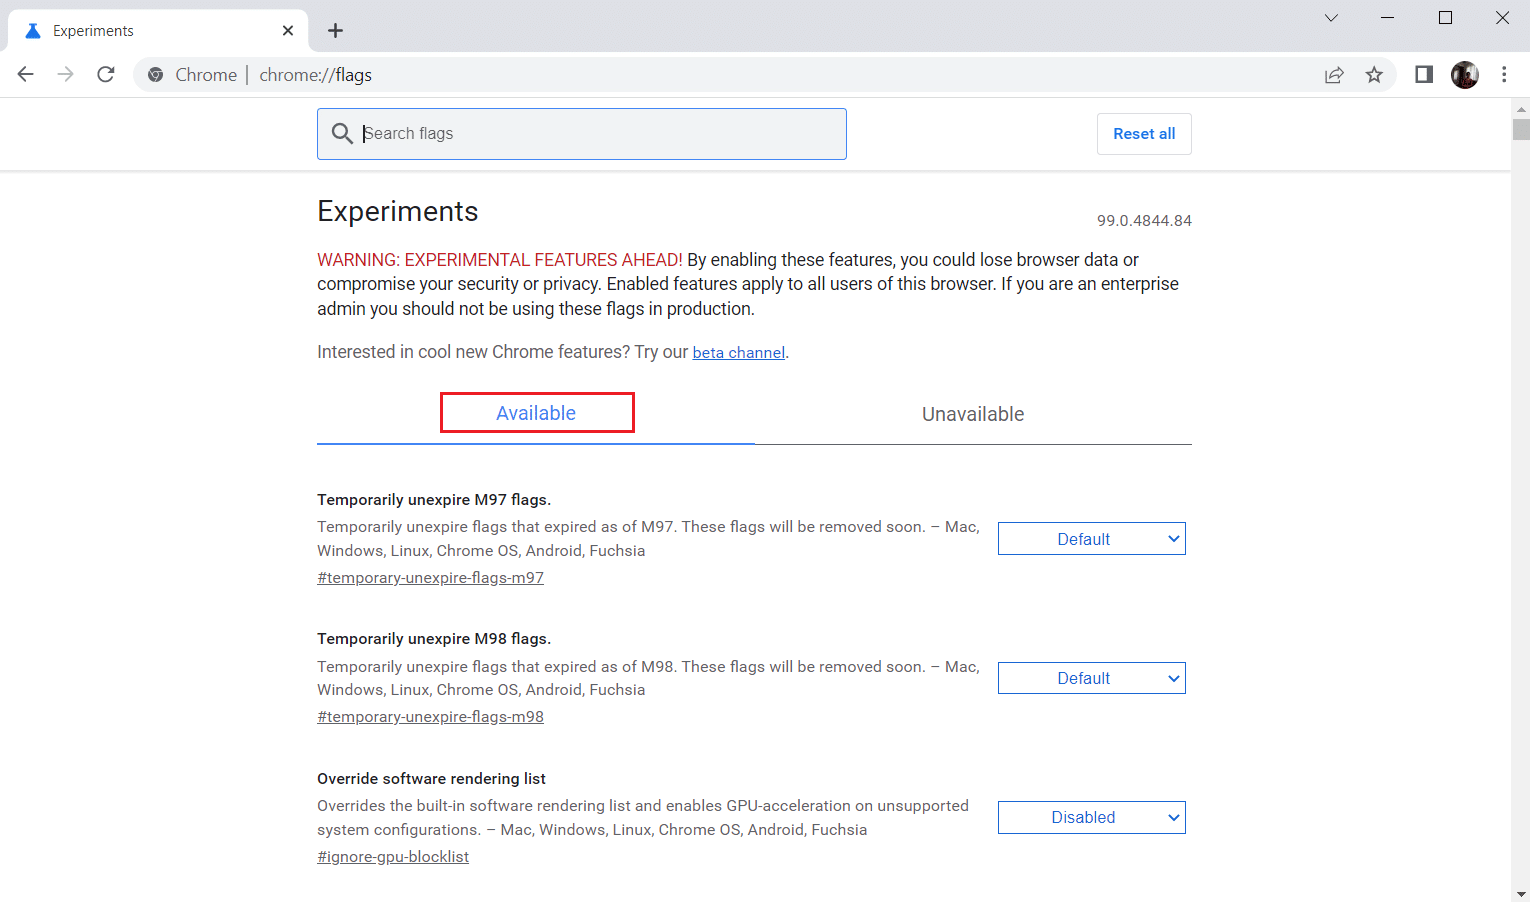
3. Select the Available tab.
4. Type TLS in the search bar and select the Disable option for TLS-related flags.
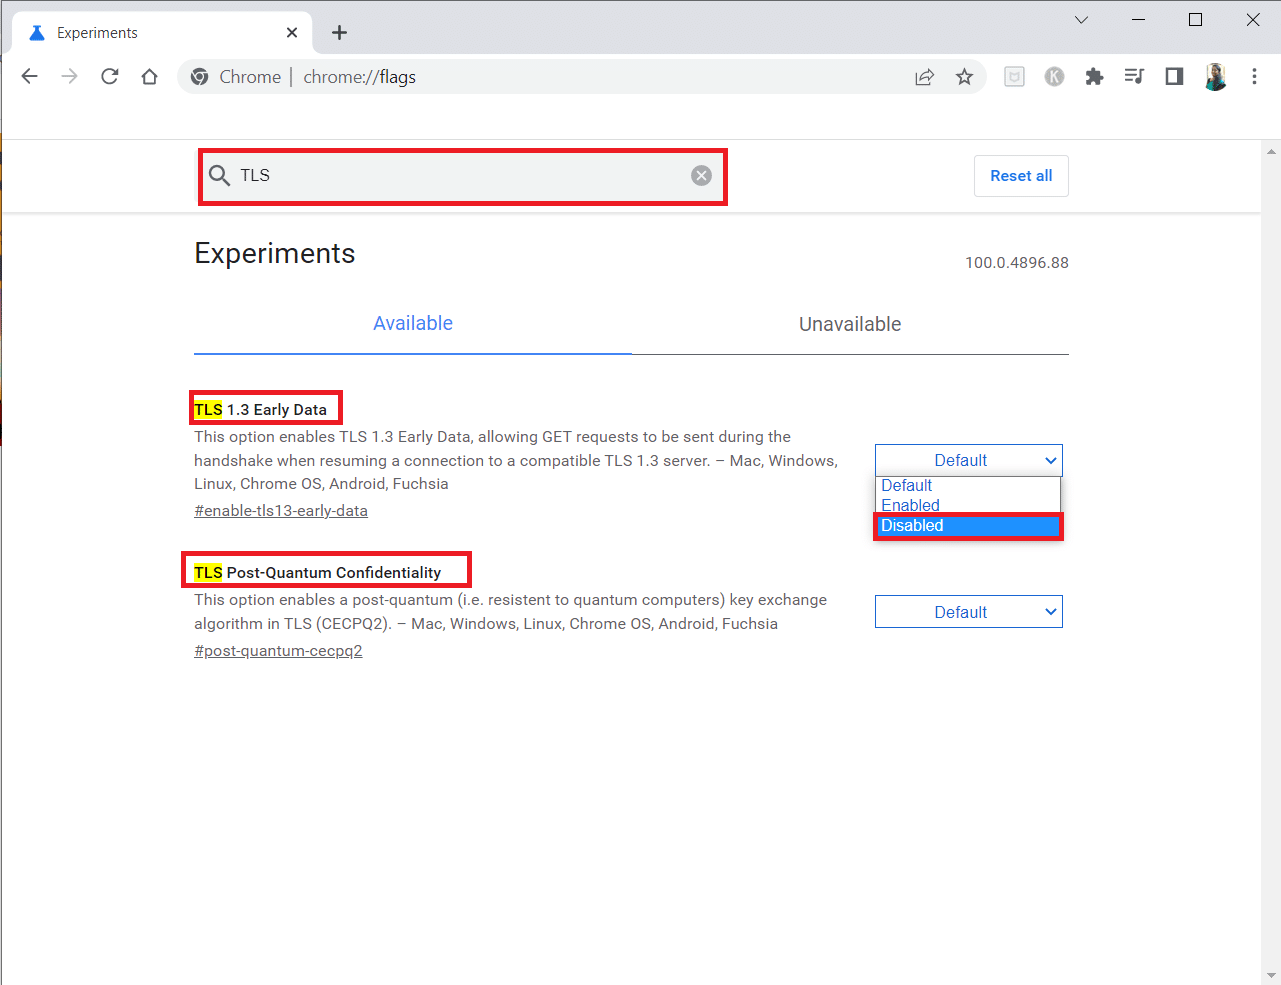
5. Click on the Relaunch button at the bottom.
Option II: Disable Throttle Flag
This flag helps you to throttle or control the open Chrome tab to a maximum of 1% CPU resources. This happens when the page is inactive for more than 5 minutes. But sometimes, this flag might also cause connection issues. Follow the steps given below to disable the throttle flag.
1. Follow Steps 1–3 in Option I to go to the Chrome Flags page.
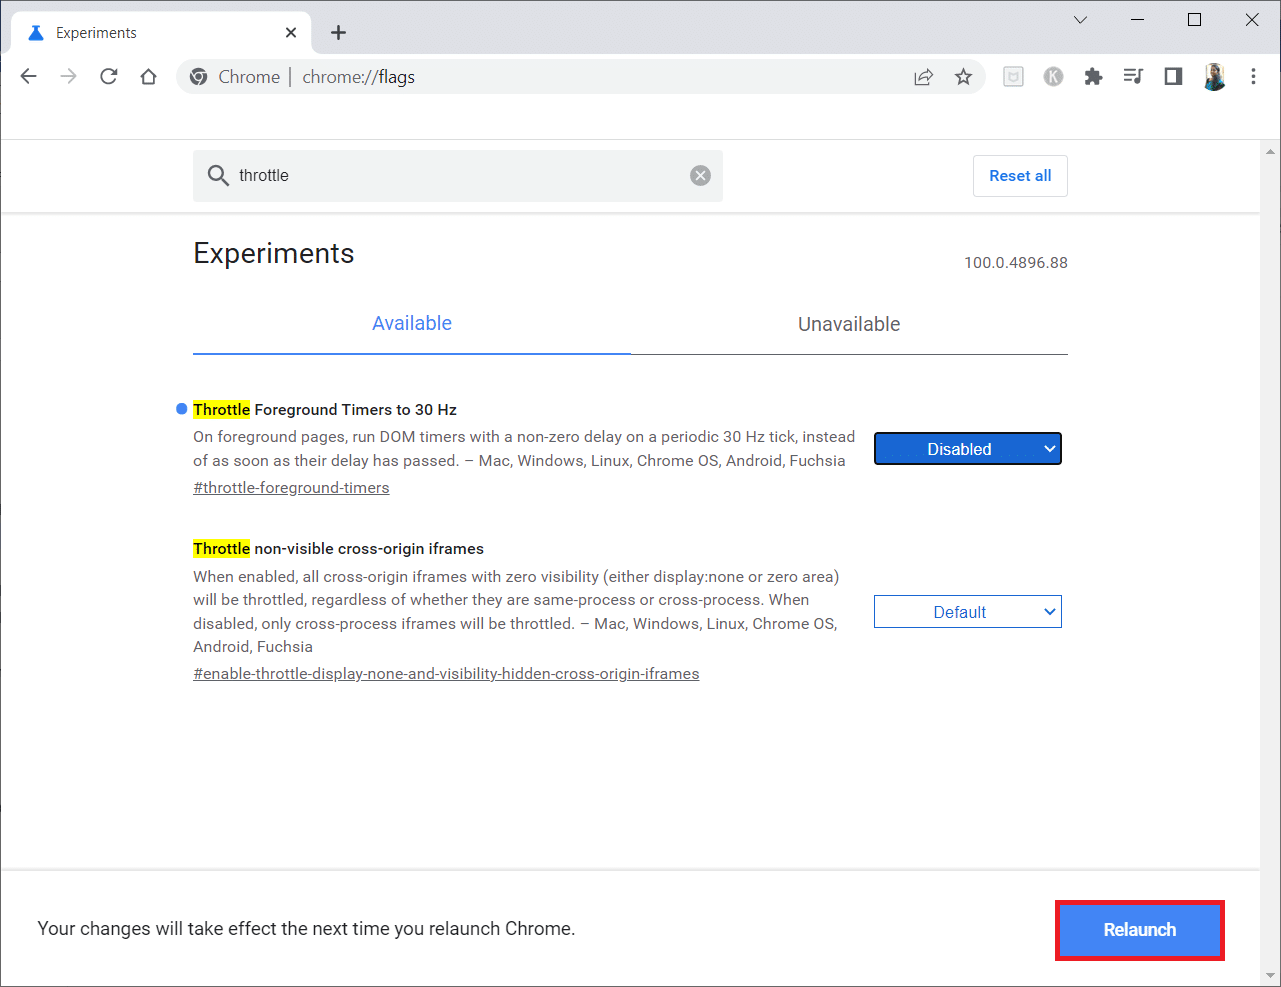
2. Type throttle in the search bar and disable the Throttle Expensive Background Timers flag.
3. Click on the Relaunch button at the bottom.
Method 4: Disable Problematic Extensions (If Applicable)
If you have recently added a new extension to your Chrome, it might have caused security concerns. Therefore, check for any suspicious add-ons and remove them by following the below steps. If the installed extension did not help you, then do not worry. Try once by disabling and re-enabling the Google Meet Grid View extension. To do so, follow the instructions.
1. Launch the Google Chrome browser application as done earlier.
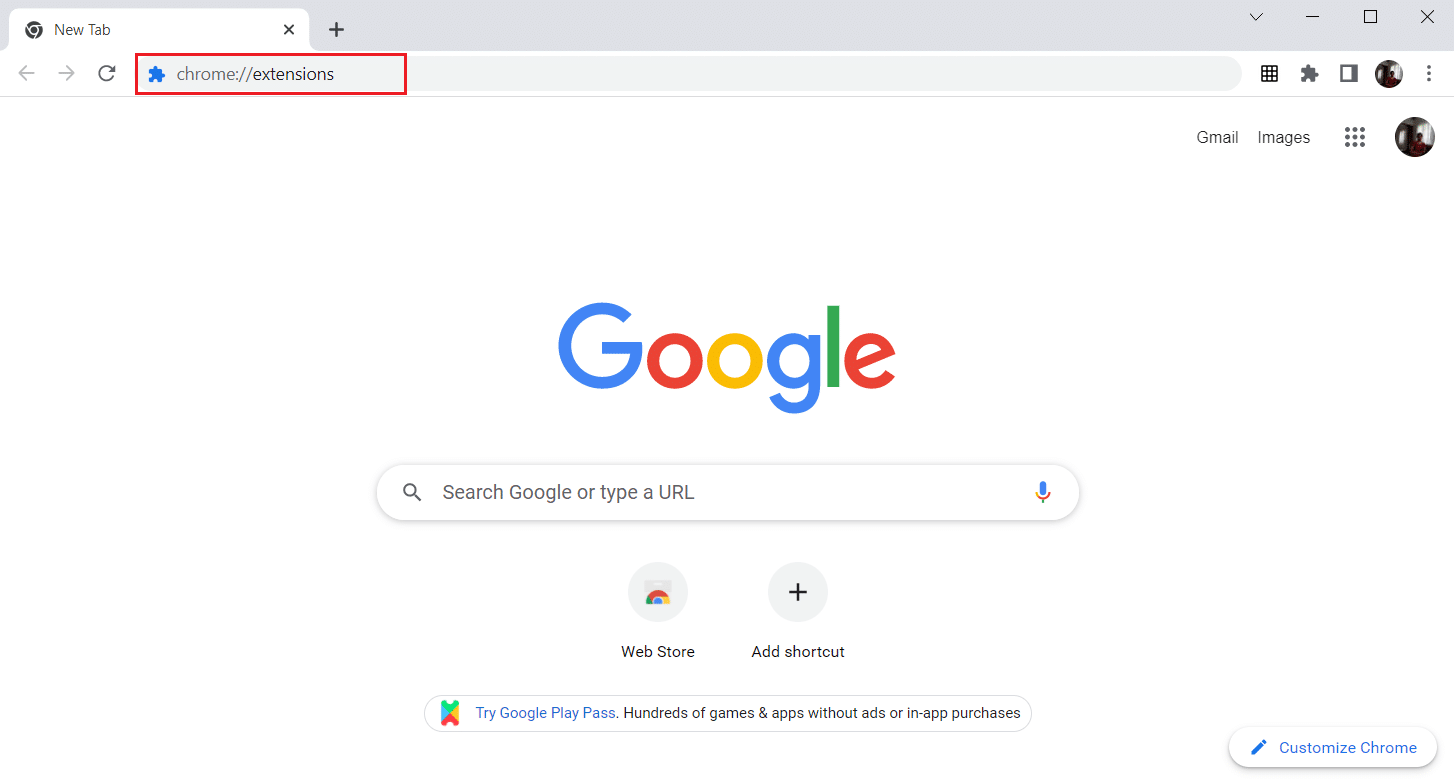
2. Type chrome://extensions in the Chrome web address column and hit Enter.
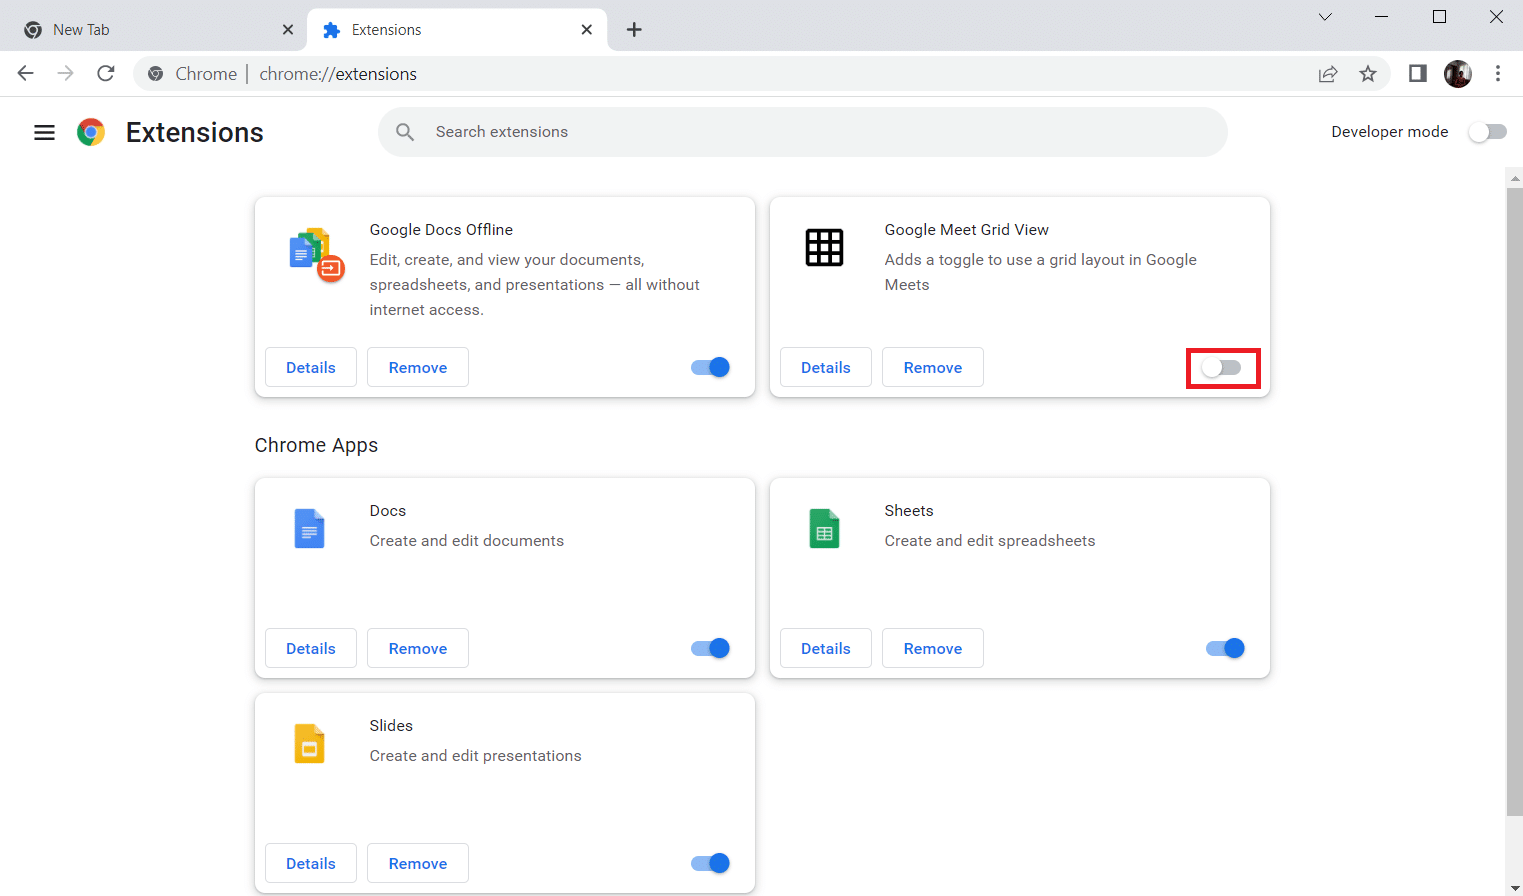
3. On the Extensions page, locate the Google Meet Grid View add-on. Then, turn off the toggle as shown.
Also Read: Fix Google Chrome error He’s Dead, Jim!
Method 5: Turn Off Hardware Acceleration (If Applicable)
This method can be considered as bypassing the DMR of Netflix to allow streaming to your audience. Follow the steps mentioned under this method to turn off Hardware acceleration.
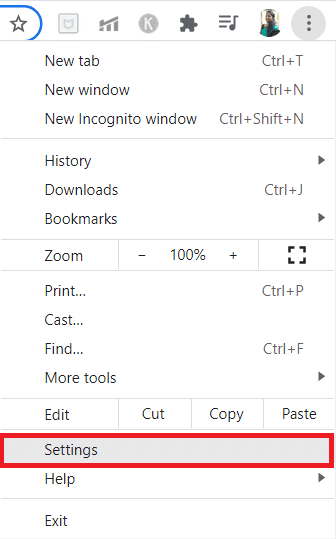
1. Open the Google Chrome browser and click on the vertical three dots icon at the top right corner of the page.
![]()
2. Then, click on the Settings option.
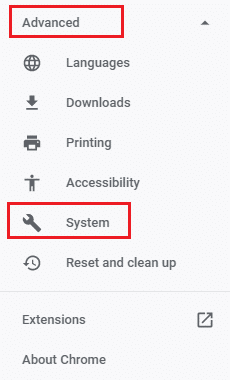
3. In the left pane, expand the Advanced tab.
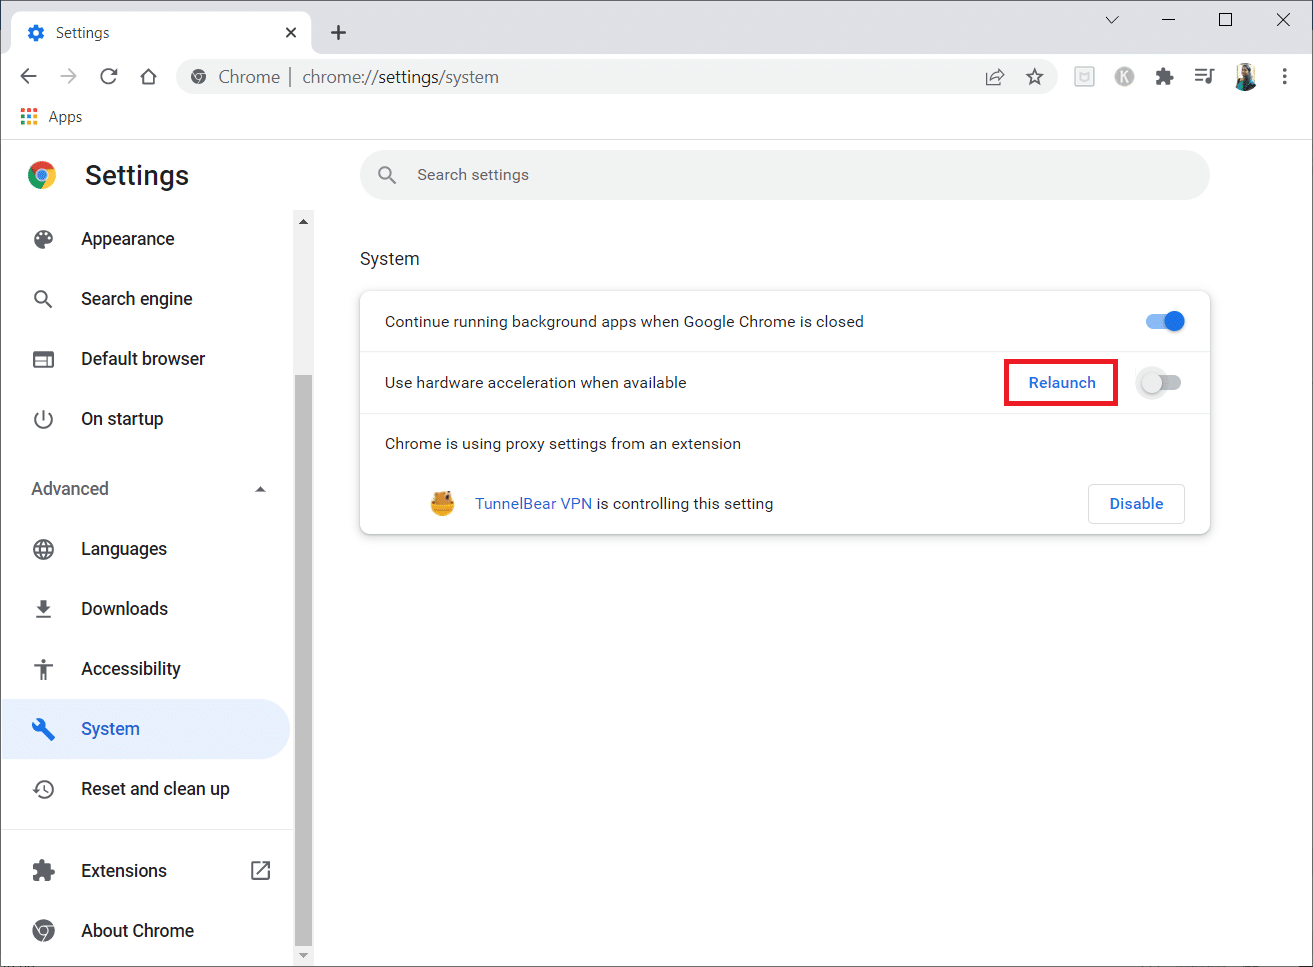
4. Select the System option by clicking on it.
5. Turn off the toggle for the Use hardware acceleration when available setting.

6. Click on Relaunch.
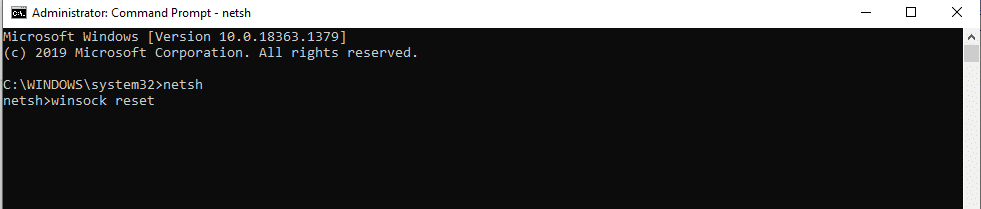
Method 6: Perform Network Reset
The network components of your system can cause trouble and give you a hard time, especially your Chrome, if affected due to technical glitches. Therefore, it is worth an effort to try and reset your network, which in turn removes any bugs that are triggering the error. You can either reset Internet settings through Windows settings or Command Prompt. To perform a network reset, read our guide on How to Reset Network Settings on Windows 10.
Now, wait till the process gets completed and restart your system. Once done, launch Chrome and check if the issue still prevails.
Also Read: How to Fix DHCP Lookup Failed Error in Chromebook
Method 7: Restart Cryptographic Services and DNS Client in Services
The cryptographic services such as Function Discovery Provider Host and Function Discovery Resource Publication are responsible for running file sharing features properly. In this case, it is imperative to boot and run these services. To do so, implement the steps given below for establishing secure connection on Google Chrome.
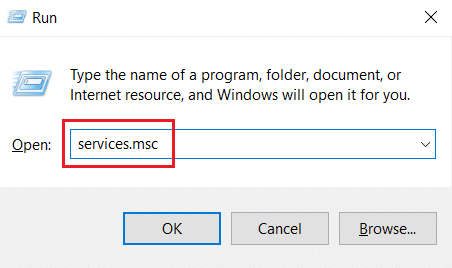
1. Press Windows + R keys together and launch the Run dialog box.

2. Type services.msc and hit Enter key to launch the Services window.
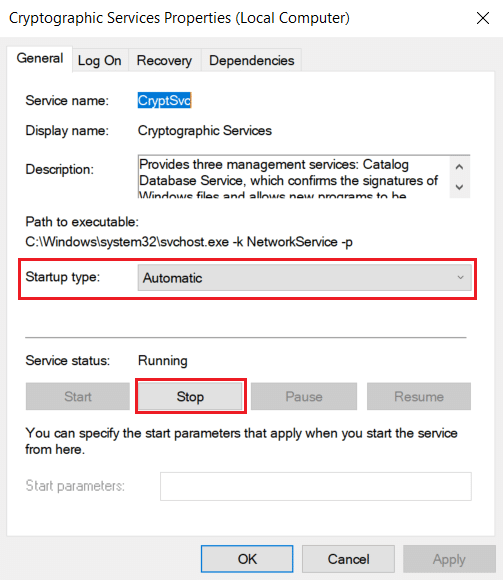
3. On the Services window, locate Cryptographic Services. Right-click on it and select Properties.
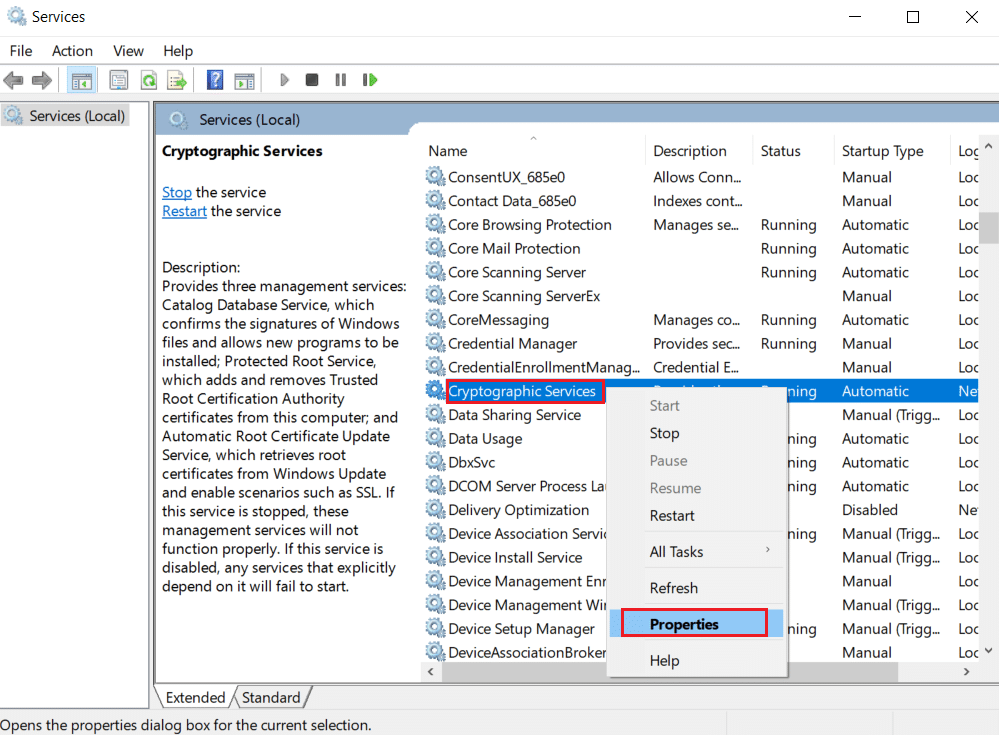
4. On the Properties tab, set Startup type as Automatic. Then, click OK to save the changes.
Note: If the Service status is Running, click Stop to end the service. Then, click on Start to restart.
5. Repeat all the steps mentioned above and restart the DNS Client Services.
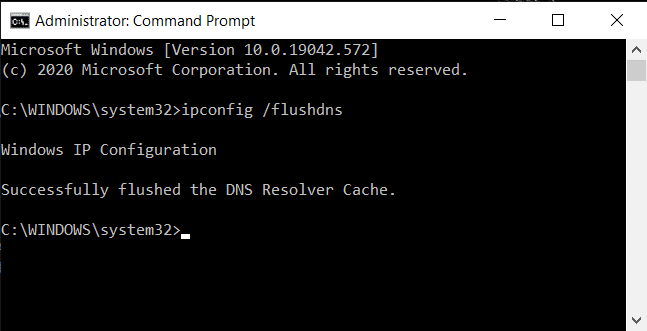
Method 8: Flush DNS Cache
DNS or domain system name acts as a translator between machine and human. It turns the website name or the domain name you visit, for example, https://lbsite.org/, into an IP address to make the machine understand it. Using the Internet often automatically piles up the IP addresses, increasing their cache. These caches restrict the DNS loading, which thus impacts the Chrome browser. Once these caches are cleared, it removes the old and outdated data causing connectivity issues. Read our guide on How to Flush and Reset DNS Cache in Windows 10 to do the same.
Also Read: Fix NET::ERR_CONNECTION_REFUSED in Chrome
Method 9: Deactivate Proxy or VPN
A VPN or virtual private network is a technology that offers privacy online, where its encryption enables users to secure all the data they receive or send on the Internet. These VPN services or proxies may create a conflict atmosphere in the Chrome browser. Hence, you need to disable it for the time being to resolve the error establishing secure connection problem. Read our guide on How to Disable VPN and Proxy on Windows 10 to do the same.

Once VPN or proxy is turned off, open the game launcher and see if you can complete the game update and play it. If the issue is resolved, you could set it up and enable VPN again.
Method 10: Modify Internet Settings
Some little alterations to your internet properties can fix the error establishing secure connection issue. To do so, follow the steps given below.
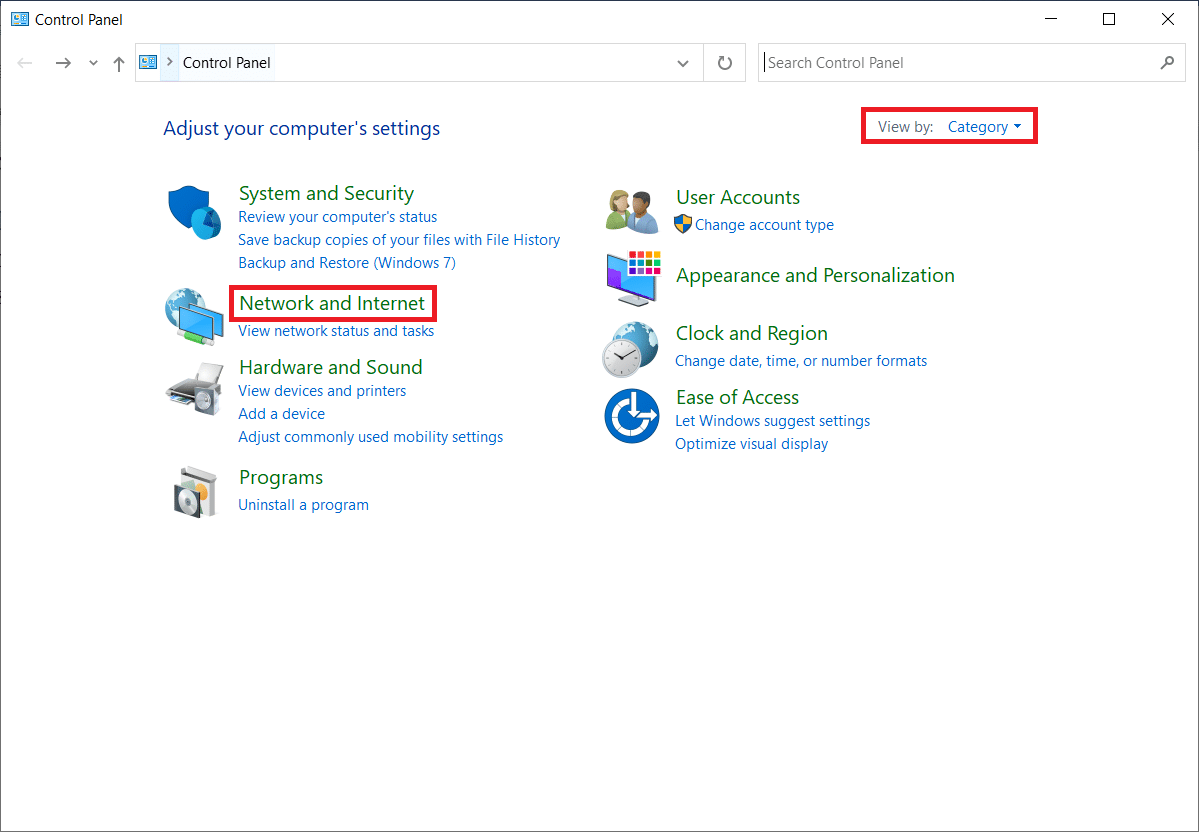
1. Hit the Windows key. Type Control Panel and open it.

2. Set View by as Category. Click on Network and Internet.
3. Click on Internet Options as highlighted.
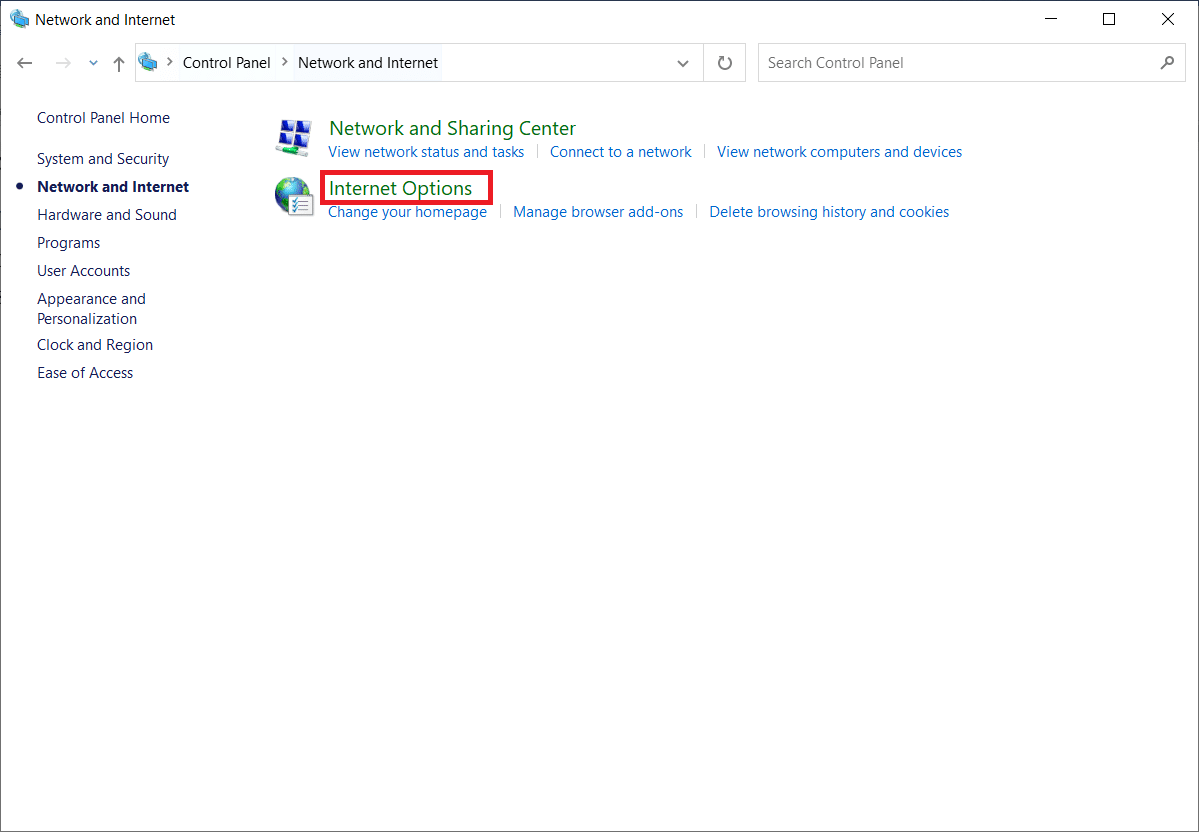
4. Switch to the Connections tab. Click on the LAN settings button under the Local Area Network (LAN) Settings section.
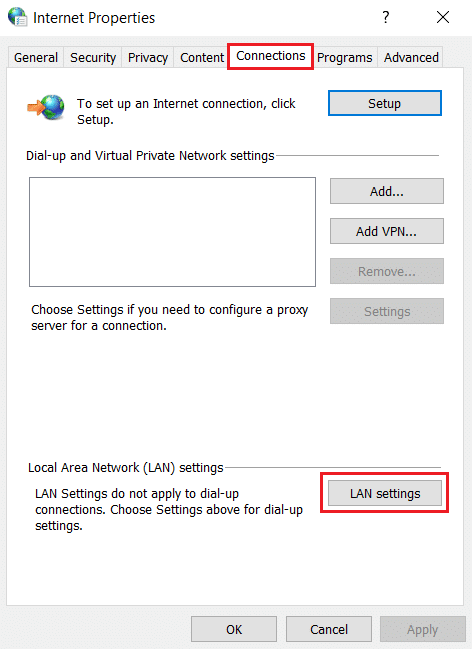
5. Ensure all checkbox is disabled. Then, click on OK to save the changes made.
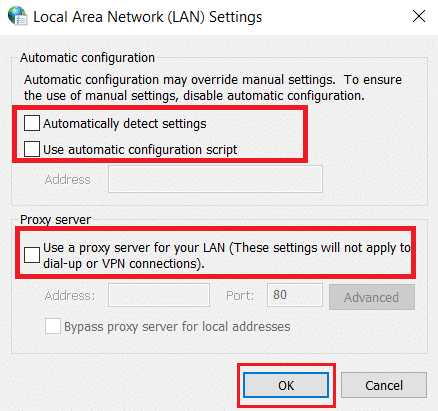
6. Restart the Chrome application and check if the error chrome cannot establish secure connection is resolved.
Also Read: What is Google Chrome Elevation Service
Method 11: Modify Group Policy
This method is for users who use Windows 10 Pro or any other Enterprise edition. Many users reported that the browser started working fine again after doing certain changes to local group policy editor properties. Follow the steps to make the necessary modification.
Note: You can access Group Policy Editor only if you use Windows 10 Pro, Enterprise, and Education editions.
1. Press Windows + R keys together and launch the Run dialog box.
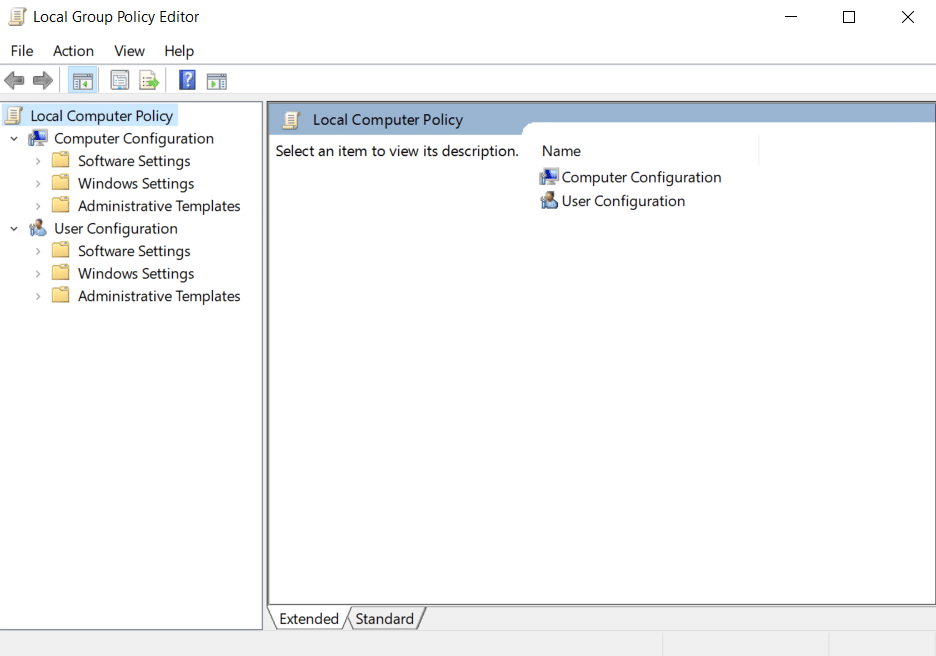
2. Type gpedit.msc on the and hit Enter to open the Group Policy Editor window.
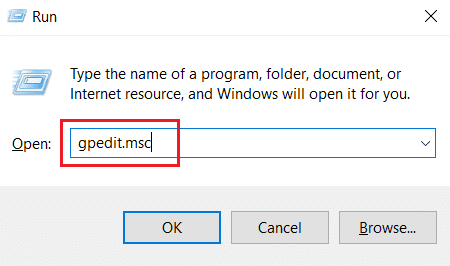
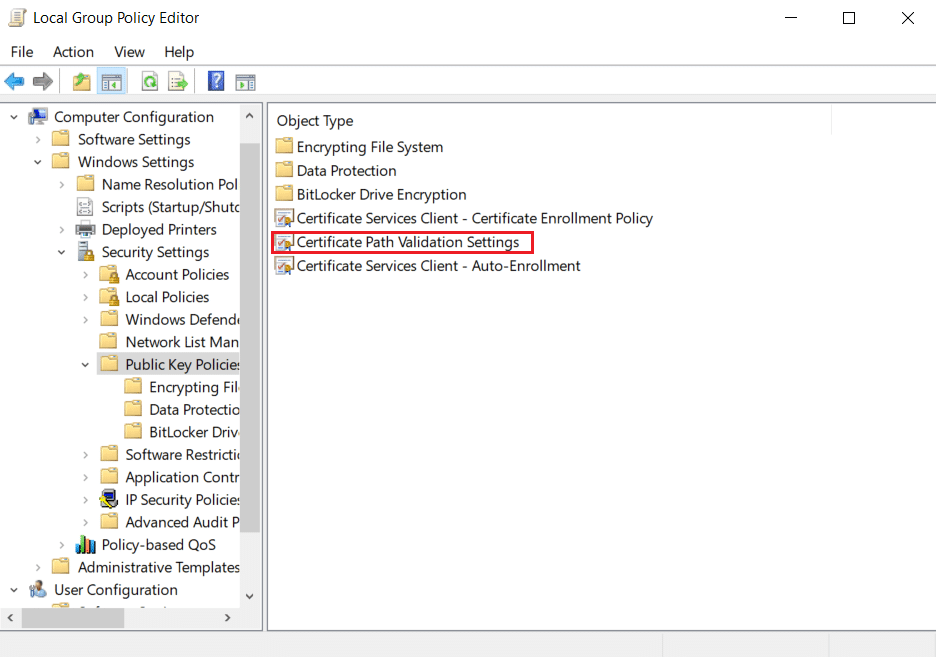
3. On the Local Group Policy Editor window, navigate to the Computer Configuration > Windows Settings > Security Settings > Public Key Policies folder on the left pane.
4. Double-click the Certificate Path Validation Settings file under the Public Key Policies folder.
5. On the Stores tab, check the Define these policy settings box and uncheck the Allow user trusted root CAs to be used to validate certificates (recommended) box.
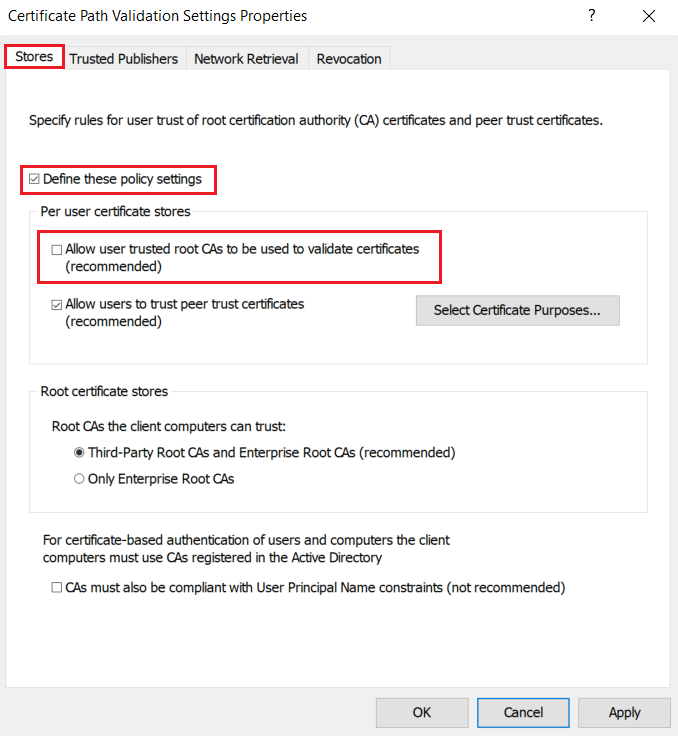
6. Now, click on Apply and select OK to save the changes made.
Method 12: Disable Antivirus SSL Encryption (Not Recommended)
When a third-party antivirus application is installed on your computer with SSL scanning, this attribute might create a conflict atmosphere, especially with CryptSVC service in Windows 10. Thus, follow the instructions below and disable SSL encryption on the antivirus network settings for establishing secure connection on Chrome.
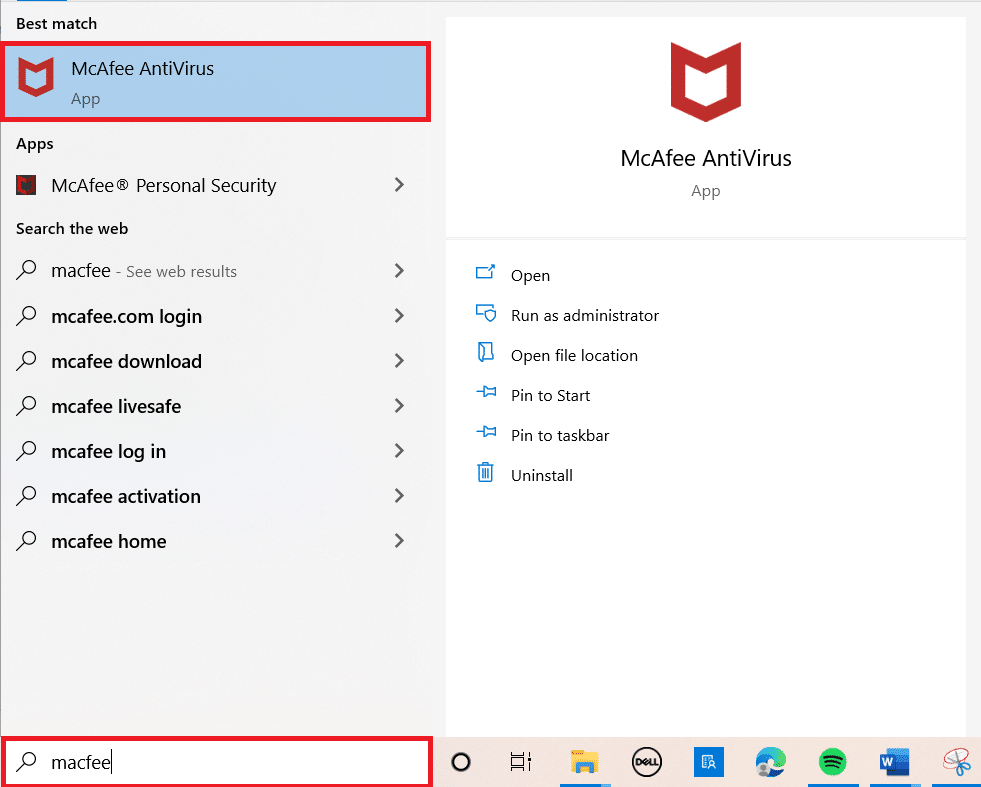
Note: The below steps are followed in the McAfee antivirus software. The procedure and steps vary for different antivirus software.
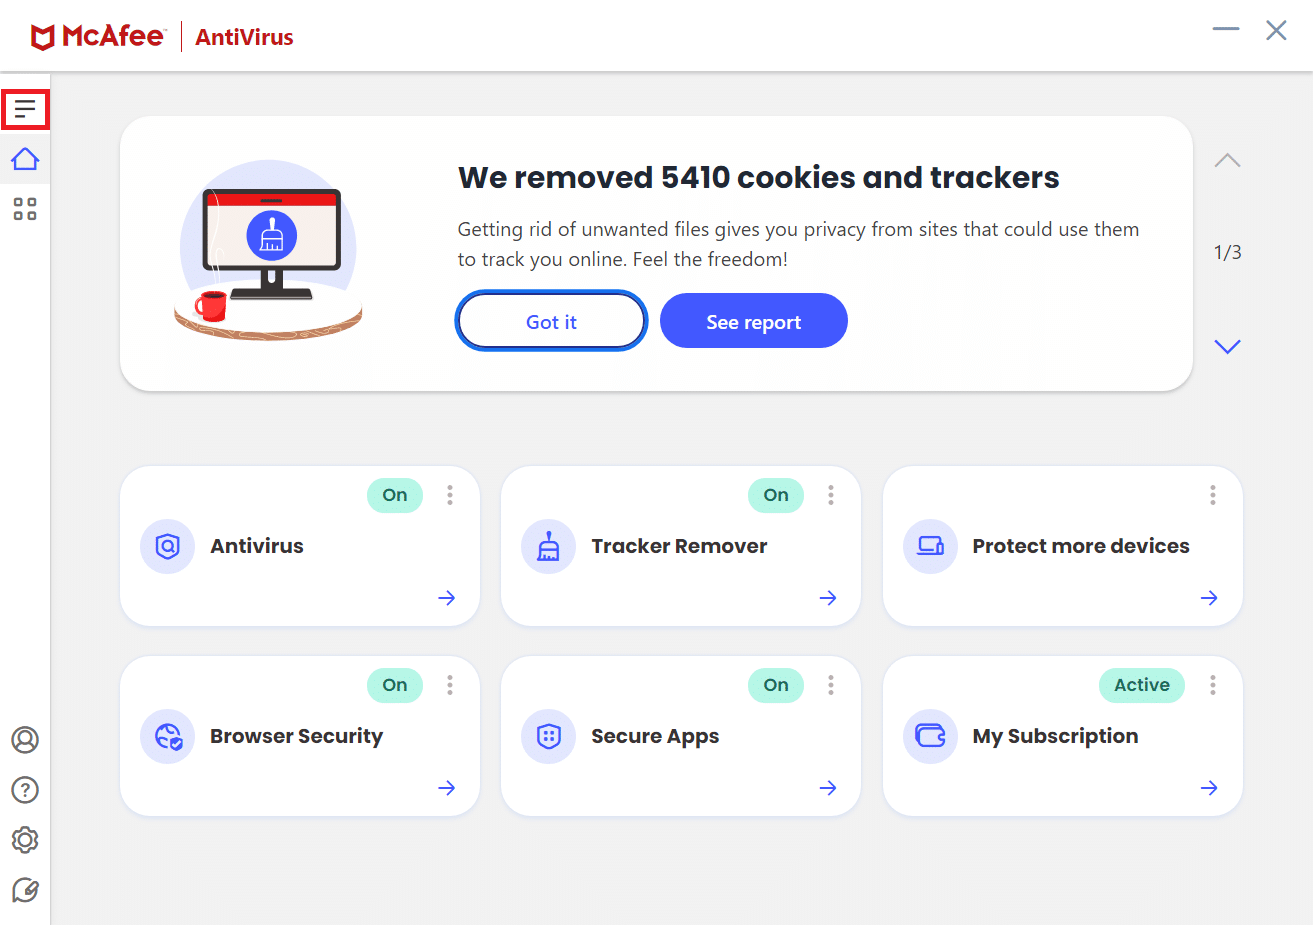
1. Press the Windows key, type McAfee and hit the Enter key.
2. Click on the three horizontal lines at the top left corner.
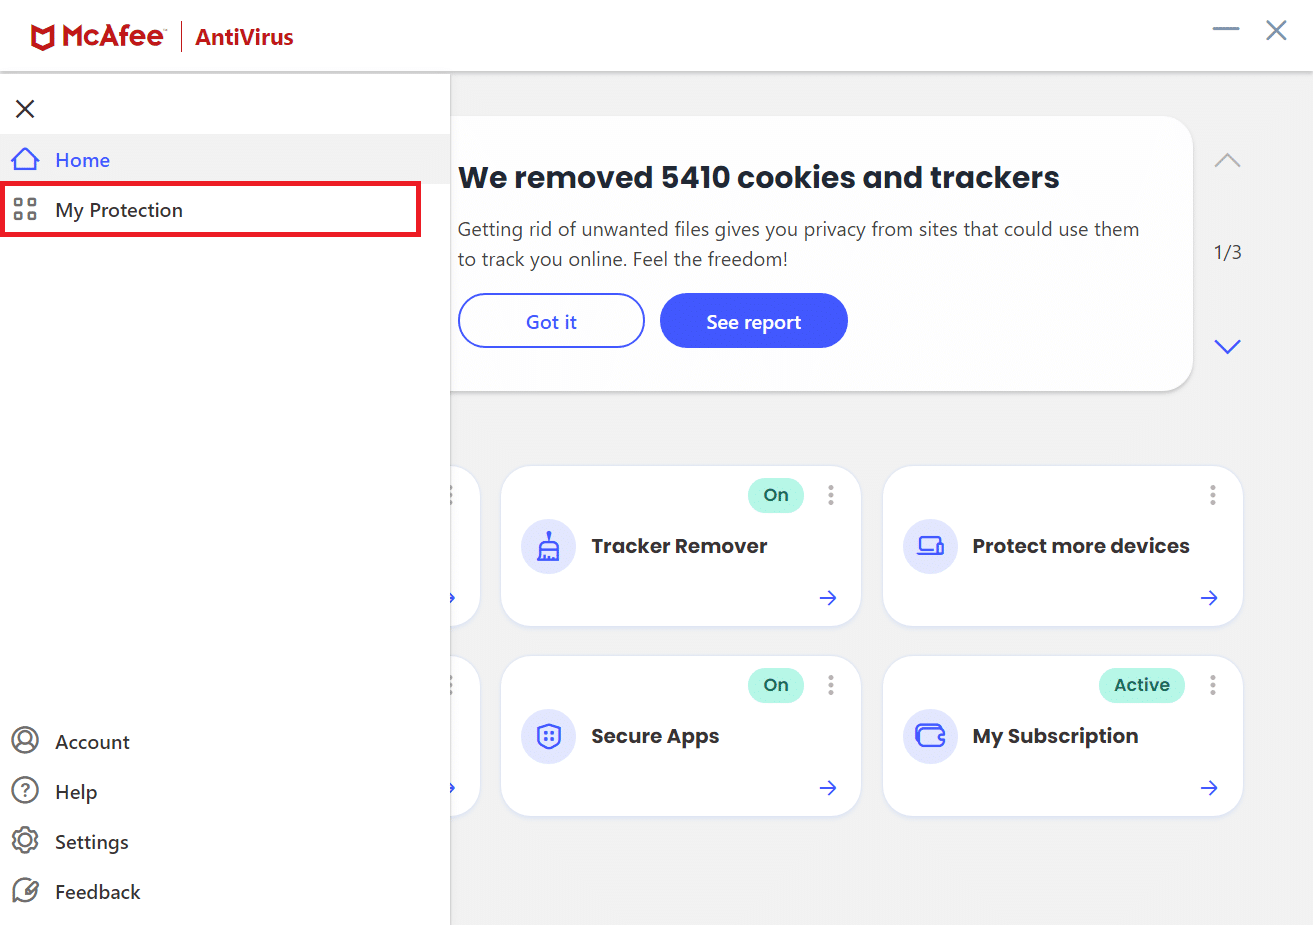
3. Click on My Protection.
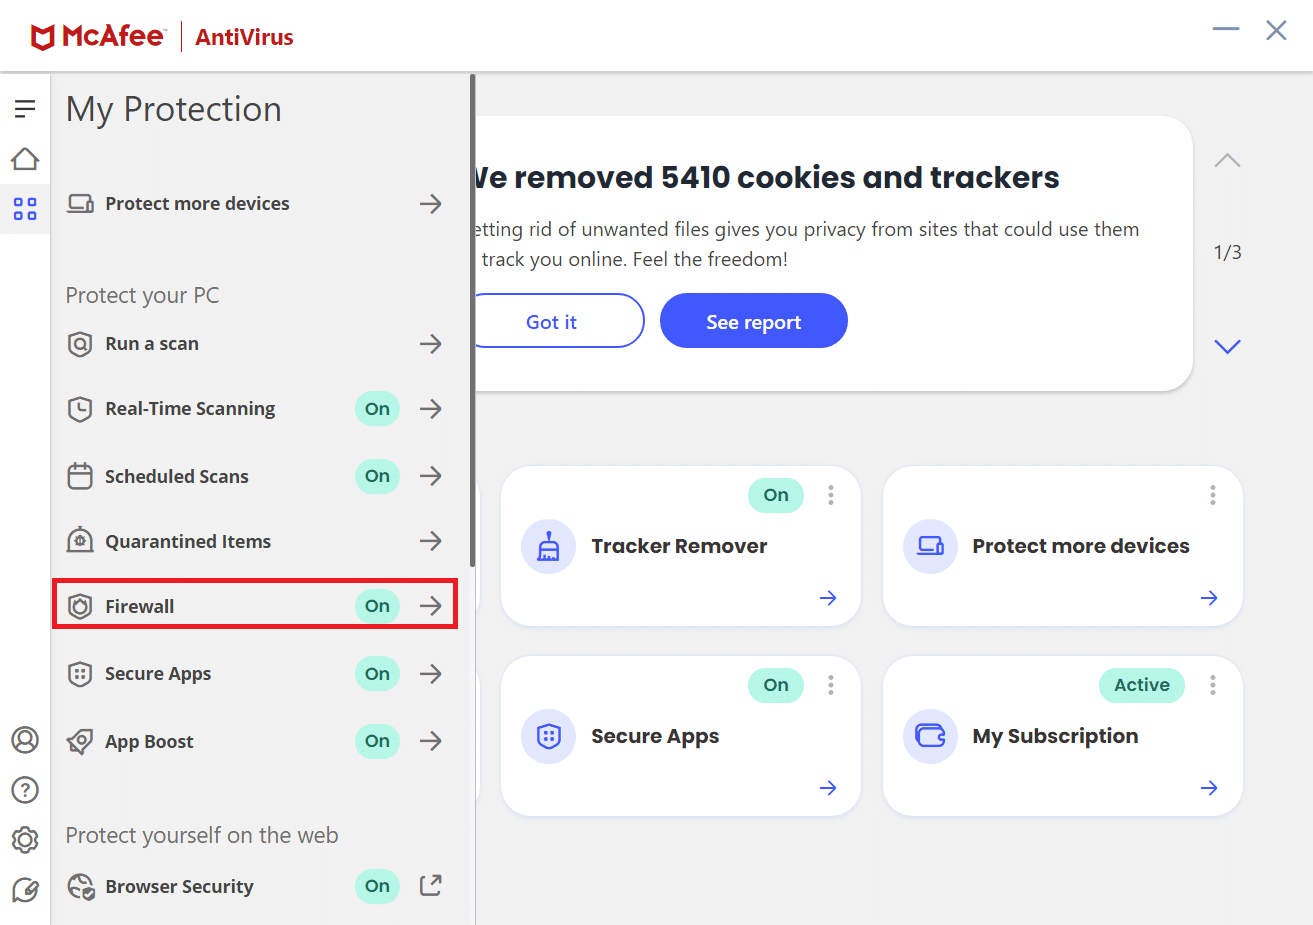
4. Click on Firewall.
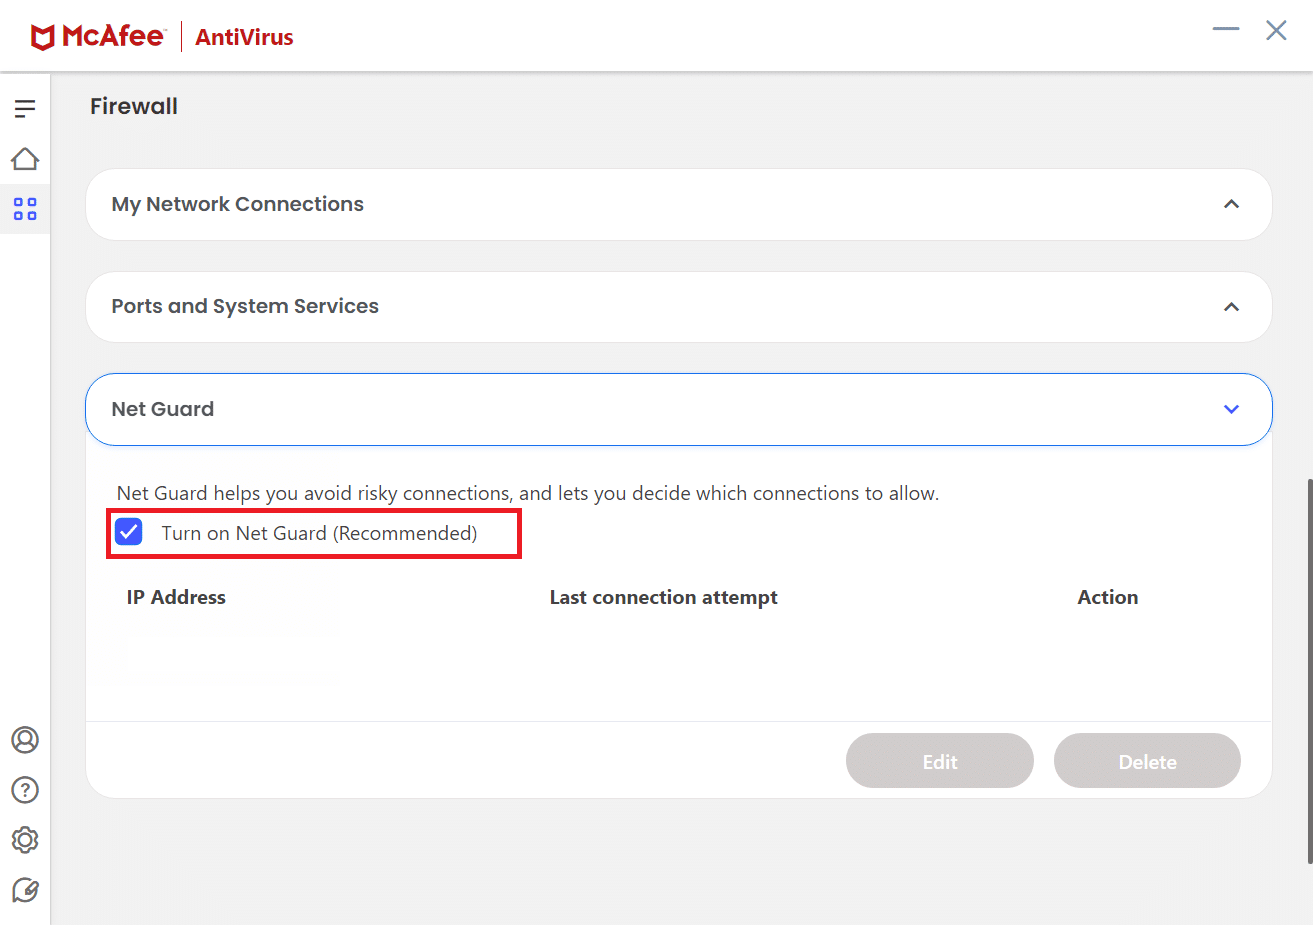
5. Scroll down and click on Net Guard.
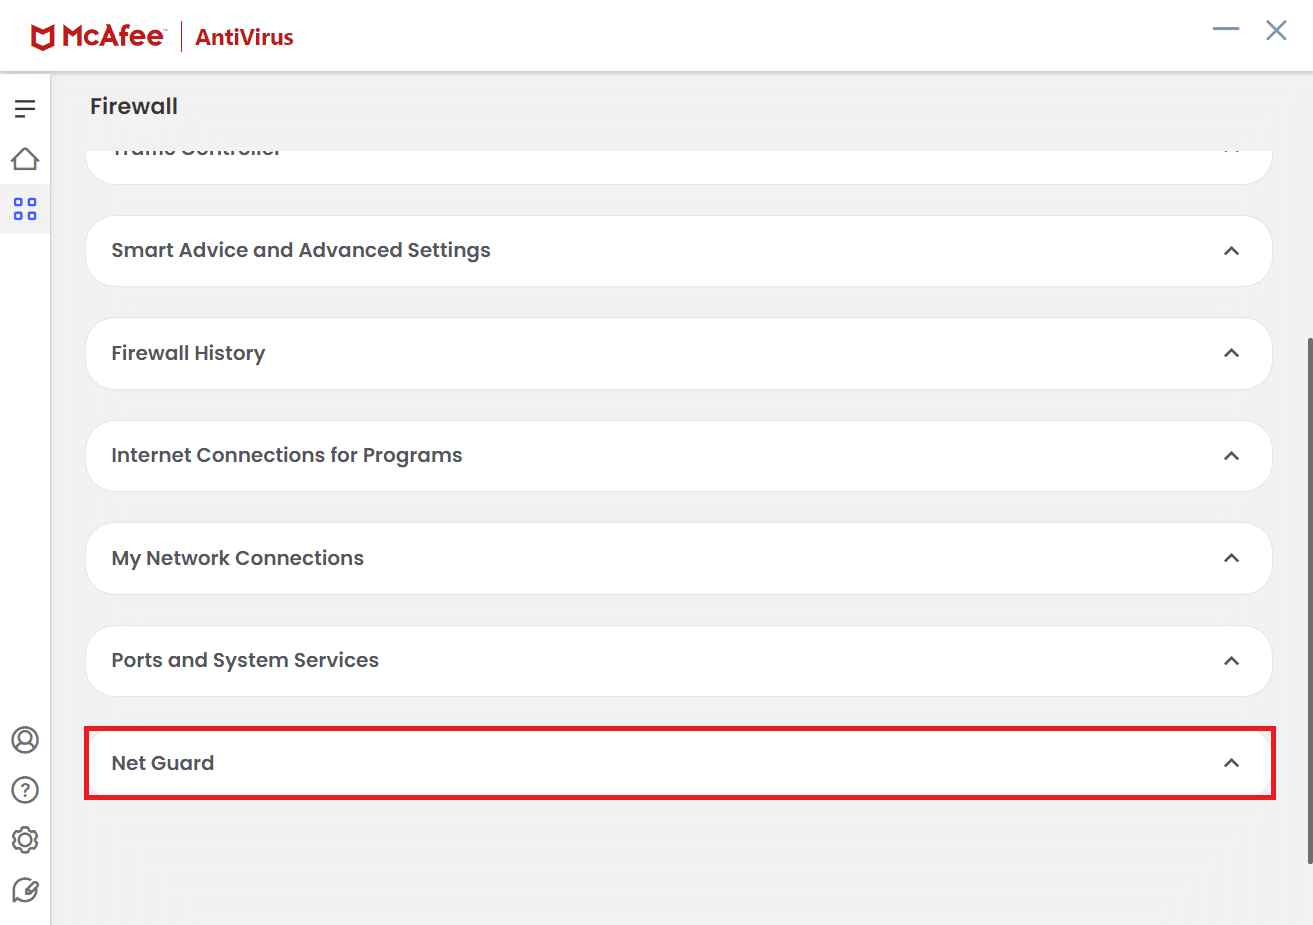
6. Uncheck the option Turn on Net Guard (Recommended).
Also Read: Fix Chrome not Connecting to the Internet
Pro Tip: How to Delete Saved Bookmarks
Also, you can try deleting saved bookmarks to avoid this issue in the future. Follow the below steps.
1. Launch Chrome browser from Windows Search.
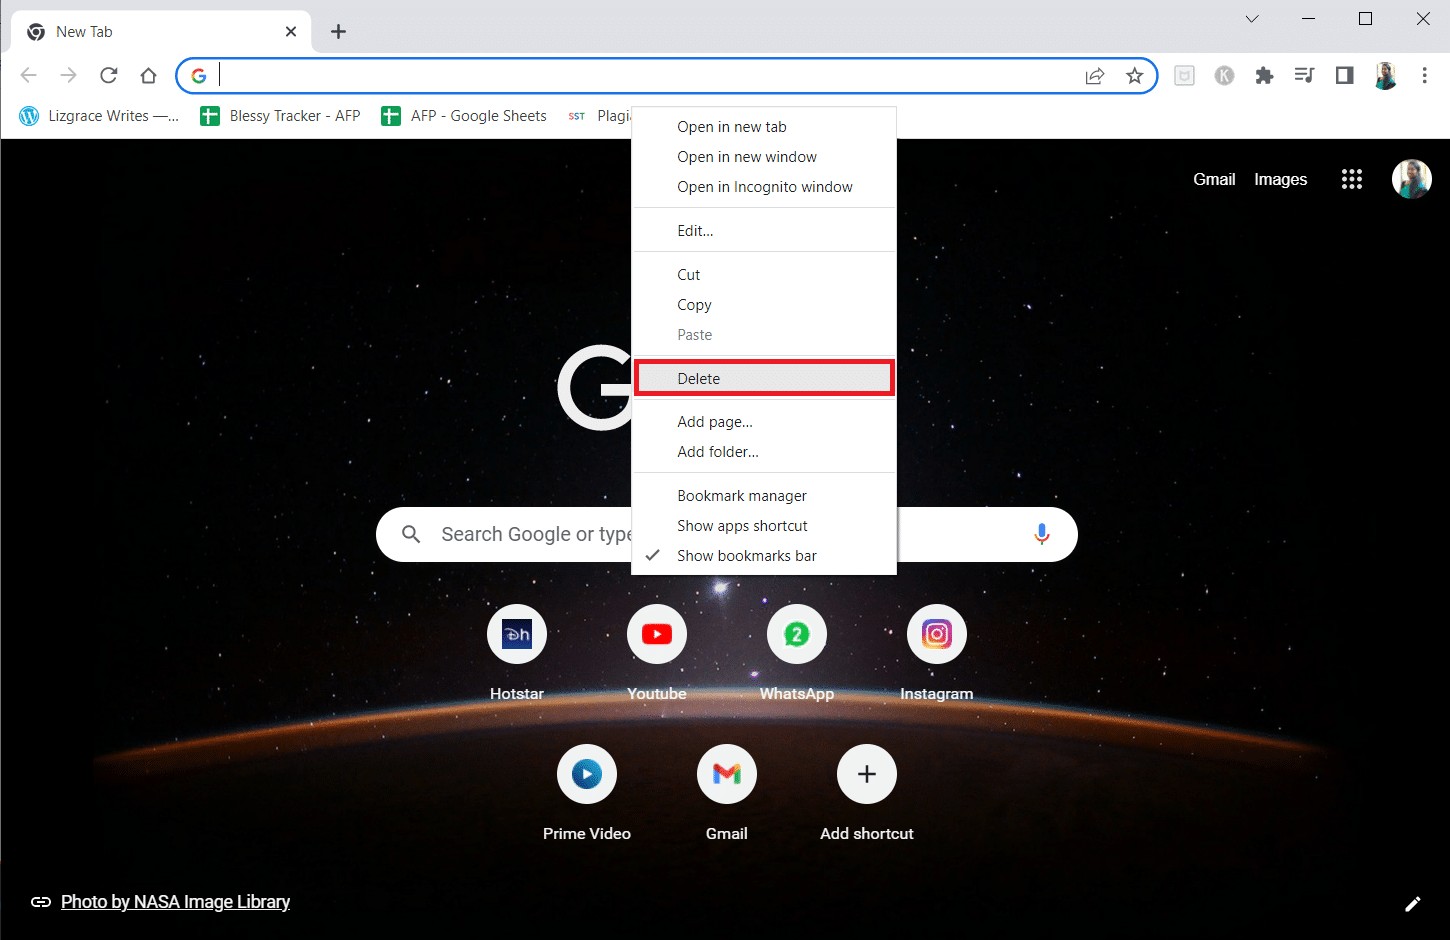
2. Right-click on the unwanted bookmark on the bookmarks tab.
3. Click on the Delete option.
Recommended:
We hope this guide was helpful and you were able to find a solution for establishing secure connection in Chrome. Feel free to reach out to us with your queries and suggestions via the comments section below. Also, let us know what you want to learn next.