How to Change Lid Open Action in Windows 11

With the introduction of modern standby modein Windows 10, the user now gets various options to choose from. It helps decide the action that happens when the lid of the laptop is opened or closed. This varies from waking up from sleep, modern standby, or hibernate modes. After Windows operating system exits any of these three states, the user can resume their previous session. Additionally, they can carry out their work from the point they had left. Read below to learn how to change lid open action on Windows 11.
How to Change Lid Open Action in Windows 11
We also suggest that you read Microsoft tips on Caring for your battery in Windows here to enhance the battery life. Follow the steps mentioned below to change what happens when you open the lid in Windows 11 laptop:
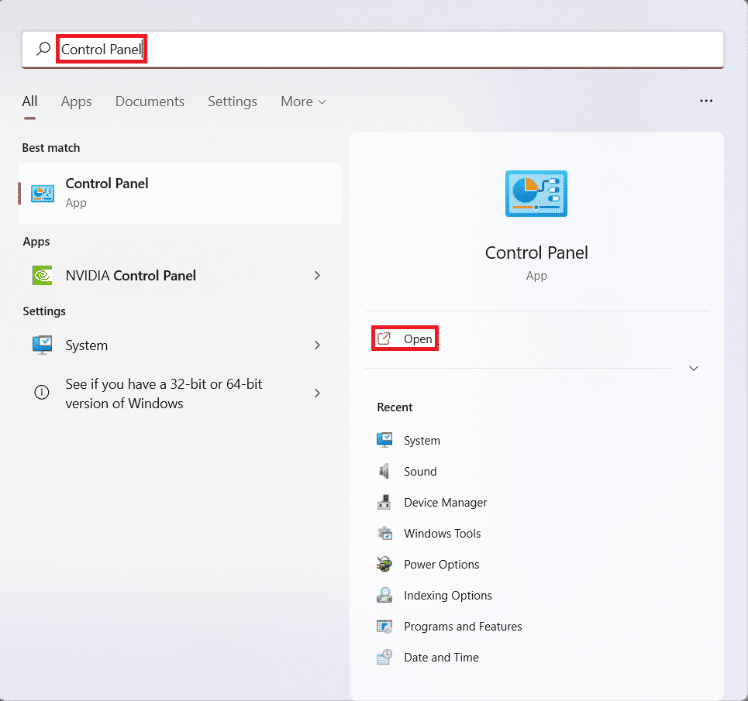
1. Click on the Search icon and type Control Panel, then click on Open, as shown.
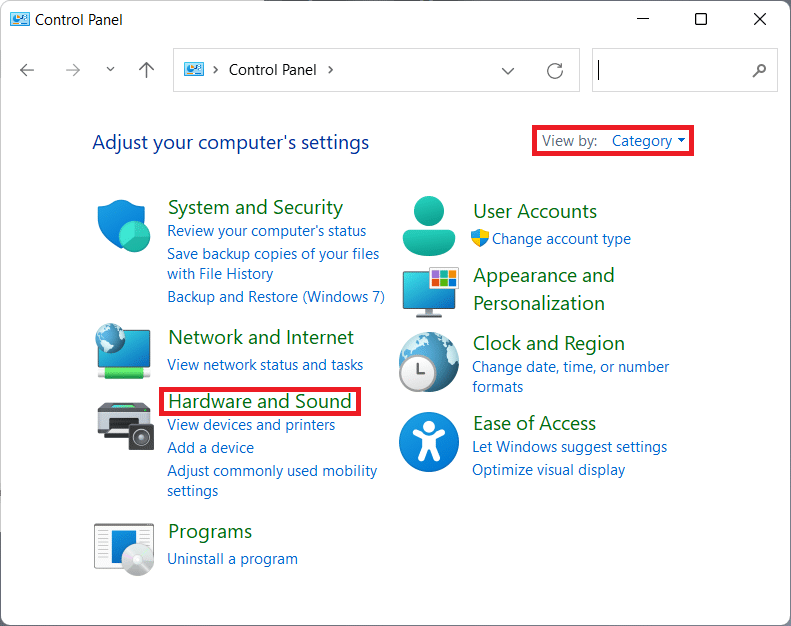
2. Set View by > Category and click on Hardware and Sound, shown highlighted.
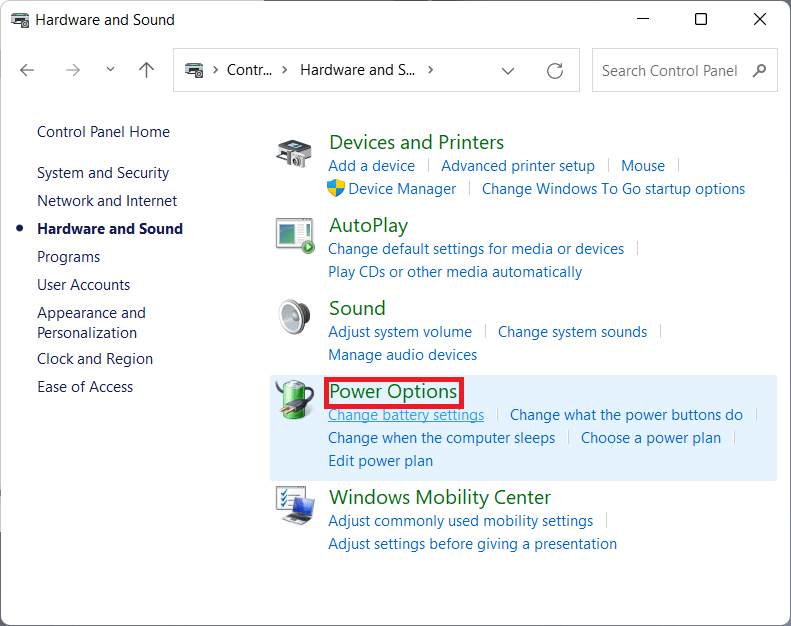
3. Click on Power Options, as shown.
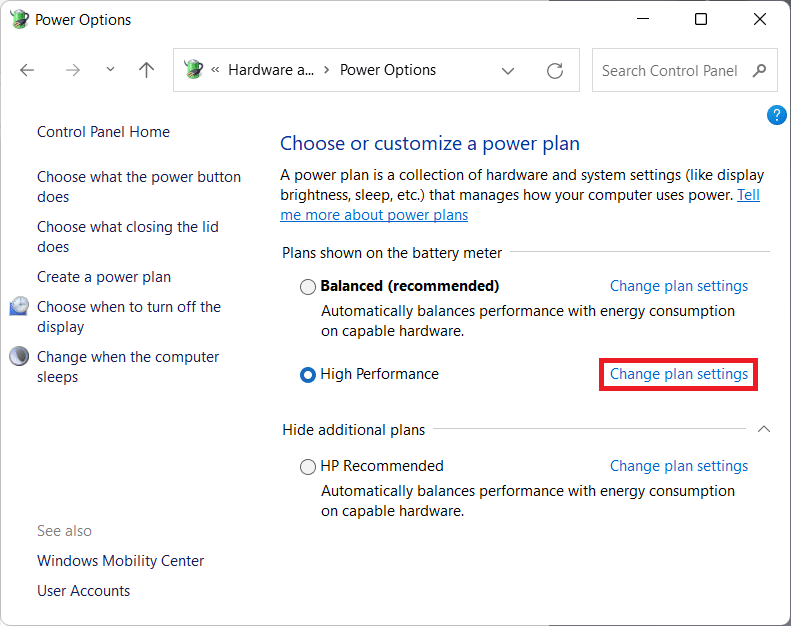
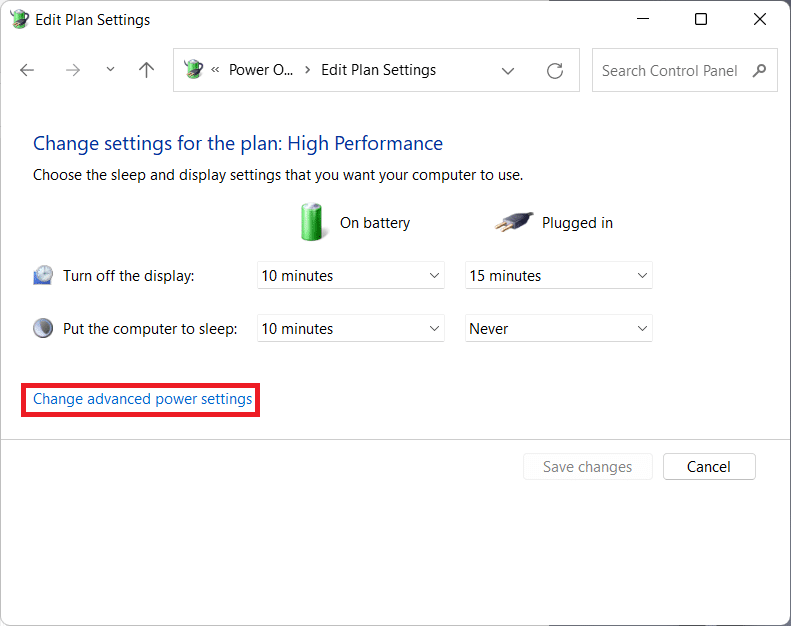
4. Then, click on the Change plan settings option next to your current power plan.
5. Here, click on Change advanced power settings.
6. Now, click on the + icon for Power buttons and lid and again for Lid open action to expand the listed options.
7. Use the drop-down list from On battery and Plugged in and choose what action you want to happen when you open the lid. You can choose from these two options as per your preference:
- Do nothing: No action is performed when the lid is opened
- Turn on the display: Opening the lid triggers Windows to turn on the display.
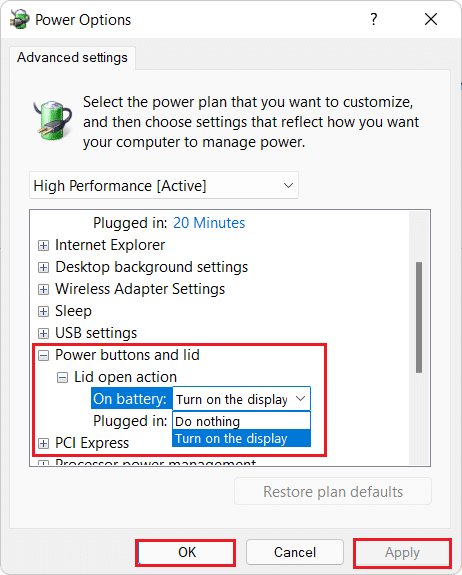
8. Finally, click on Apply > OK to save the changes made.
Also Read: How to Configure Indexing Options on Windows 11
Pro Tip: How to Enable Lid Open Action Feature on Windows 11
Many users reported that they did not see any such option. Thus, in such cases, you will need to enable this feature as discussed here. Basically, you will need to run a simple command in Command prompt, as follows:
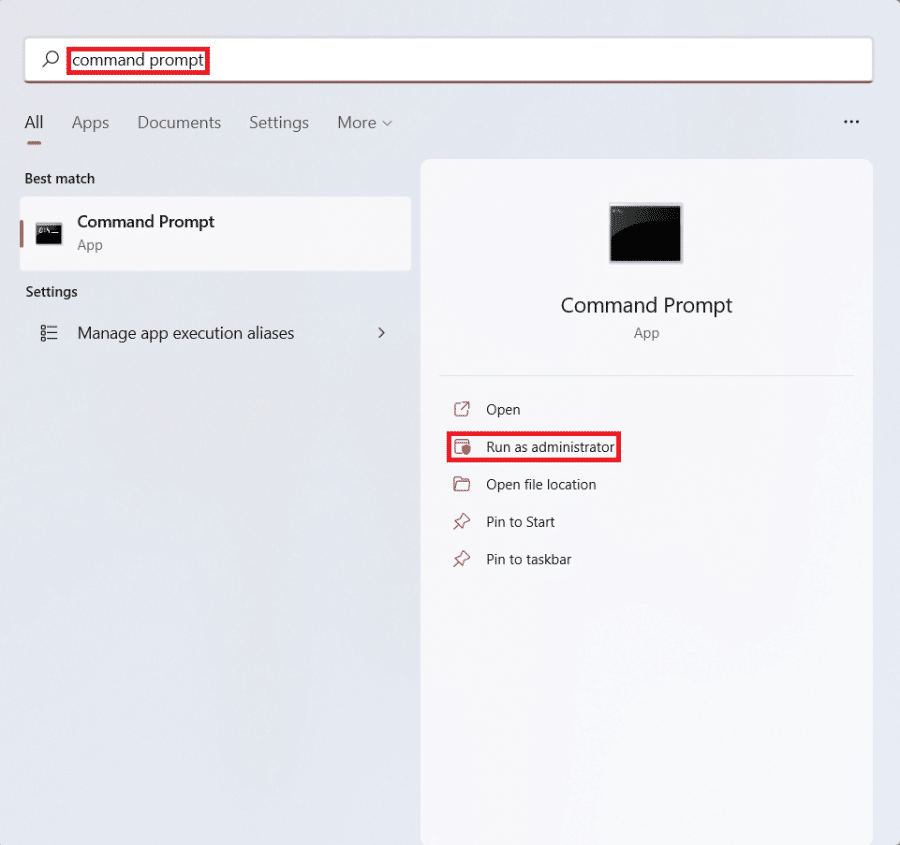
1. Click on the Search icon, type command prompt, and click on Run as administrator to launch Elevated Command Prompt.
2. Click on Yes in the User Account Control confirmation prompt.
3. Type the given command and press the Enter key to enable the Lid open action option in the Power Options dialog box:
powercfg -attributes SUB_BUTTONS 99ff10e7-23b1-4c07-a9d1-5c3206d741b4 -ATTRIB_HIDE

Note: In case you need to hide/disable the option for Lid open action, type the following command in Windows 11 laptop, as depicted below, and hit Enter:
powercfg -attributes SUB_BUTTONS 99ff10e7-23b1-4c07-a9d1-5c3206d741b4 +ATTRIB_HIDE

Recommended:
We hope you understand how to change lid open action in Windows 11 after reading this article. You can send your feedback and questions in the comment box below and suggest what topics should we explore in our future articles.