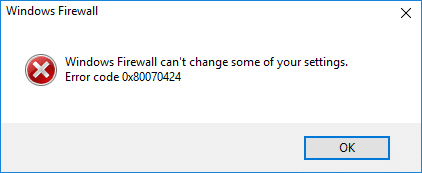
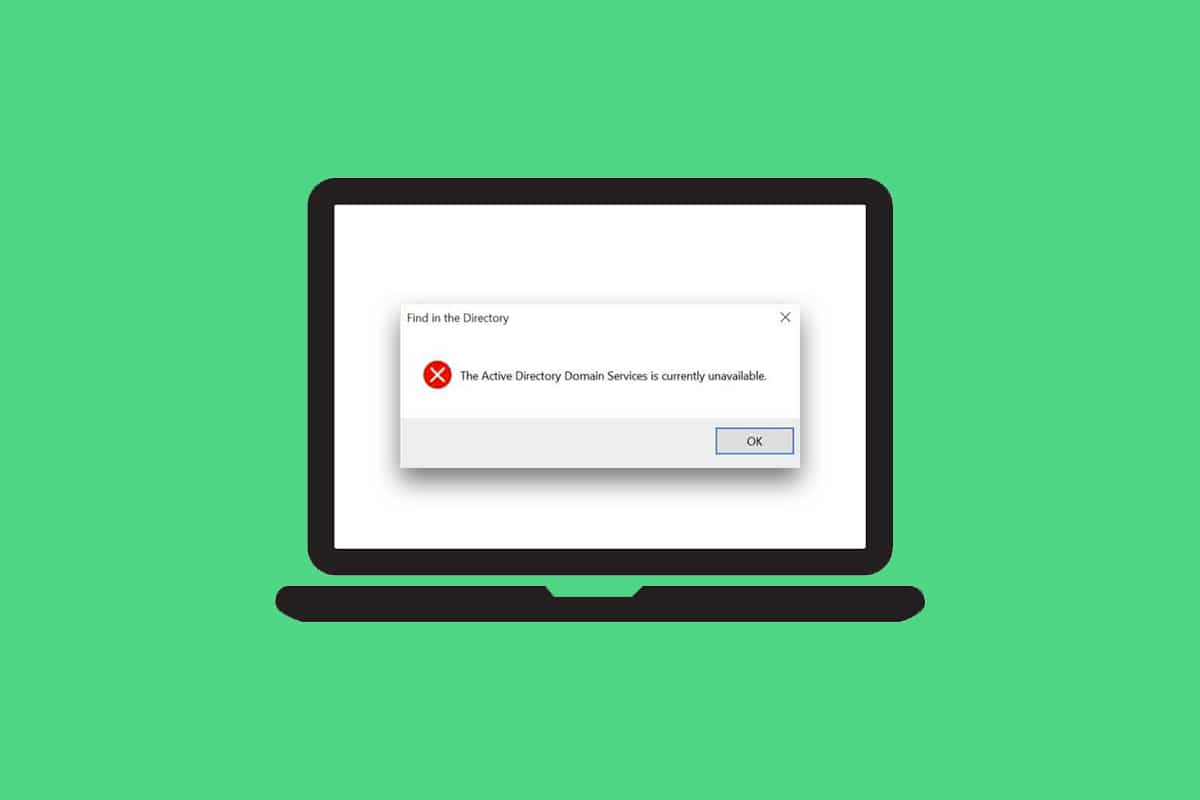
If you face this error message “Fix Selected boot image did not authenticate”, then your PC cannot load BIOS properly, and the main cause of this error seems to be Secure Boot. The boot sequence is saved into the database, and a violation of it seems to lead to this error message. This error can also be caused due to corrupted or incorrect BCD (Boot Configuration Data) configuration.
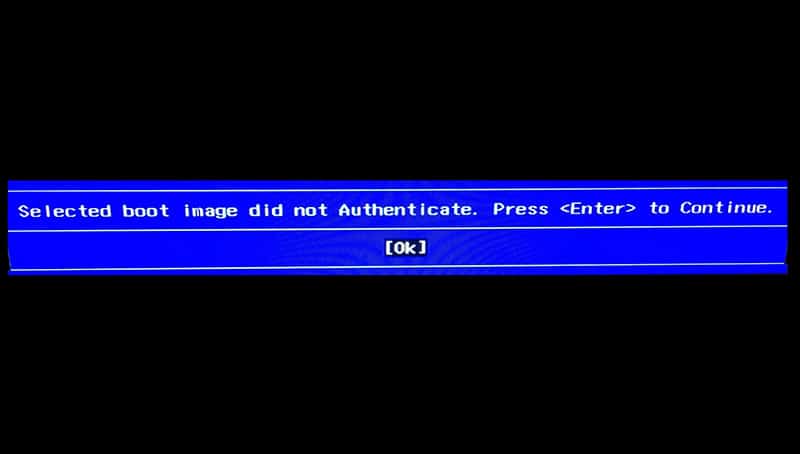
If you click OK, the PC will restart, and you will again be back on this error message. So without wasting any time let’s see how to actually Fix Selected boot image did not authenticate error with the help of below-listed troubleshooting guide.
[FIXED] Selected boot image did not authenticate error
Method 1: Switch to Legacy Boot in BIOS
1. Boot into BIOS, when the computer starts repeatedly press F10 or DEL to enter into BIOS setup.
![press DEL or F2 key to enter BIOS Setup | [FIXED] Selected boot image did not authenticate error](https://lbsite.org/wp-content/uploads/2023/01/press-DEL-or-F2-key-to-enter-BIOS-Setup.png)
2. Now get into System Configuration then find Legacy Support.
3. Enable Legacy support using the arrow keys and pressing Enter.
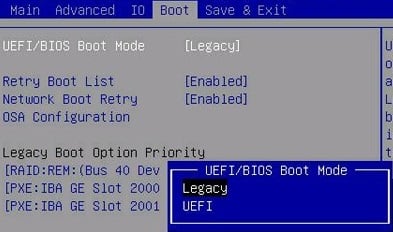
4. Then make sure Secure boot is disabled, if not then disable it.
5. Save changes and exit BIOS.
6. Reboot your PC and see if you can Fix Selected boot image did not authenticate error, if not then continue.
Method 2: Perform Hard Reset
1. Turn off your PC completely and remove the power cord.
2. Remove the battery from the back of your PC.
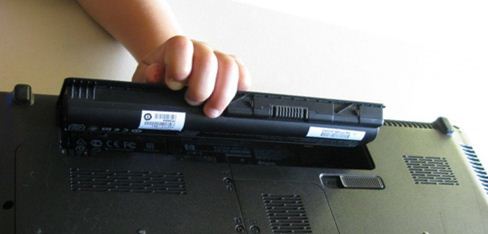
3. Hold the power button for 20-30 seconds to perform a hard reset.
4. Again put your battery and connect the AC power cord.
5. Restart your PC and see if you’re able to fix the issue.
Method 3: Load Default BIOS Configuration
1. Turn off your laptop, then turn it on and simultaneously press F2, DEL or F12 (depending on your manufacturer) to enter into BIOS setup.
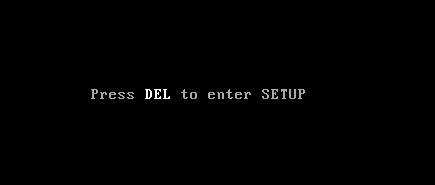
2. Now you’ll need to find the reset option to load the default configuration, and it may be named Reset to default, Load factory defaults, Clear BIOS settings, Load setup defaults, or something similar.
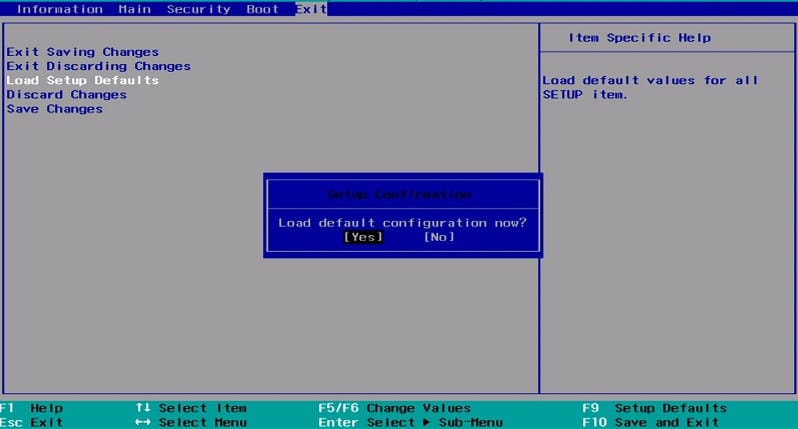
3. Select it with your arrow keys, press Enter, and confirm the operation. Your BIOS will now use its default settings.
4. Once you’re logged into Windows see if the issue with the charging is resolved or not.
Method 4: Run Automatic Repair
1. Insert the Windows 10 bootable installation DVD and restart your PC.
2. When prompted to Press any key to boot from CD or DVD, press any key to continue.
![Press any key to boot from CD or DVD | [FIXED] Selected boot image did not authenticate error](https://lbsite.org/wp-content/uploads/2023/01/Press-any-key-to-boot-from-CD-or-DVD.jpg)
3. Select your language preferences, and click Next. Click Repair your computer in the bottom-left.

4. On choose an option screen, click Troubleshoot.
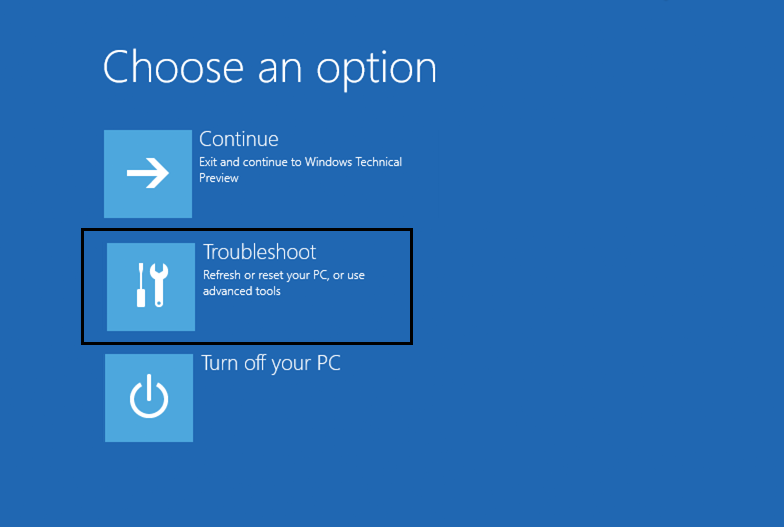
5. On Troubleshoot screen, click the Advanced option.
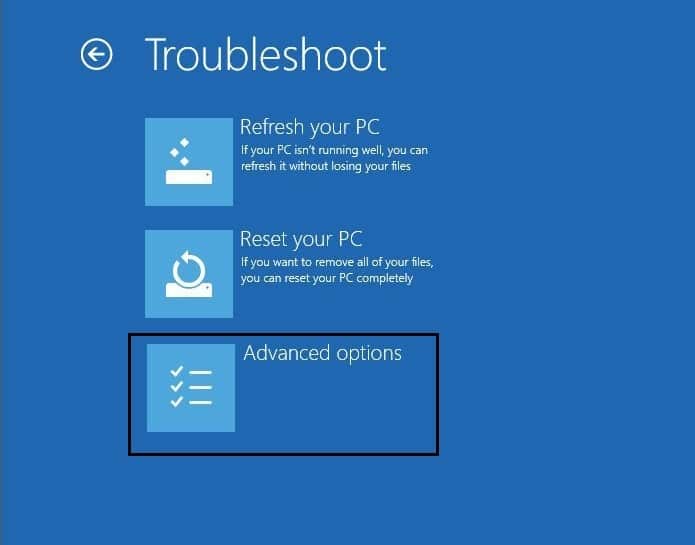
6. On the Advanced options screen, click Automatic Repair or Startup Repair.
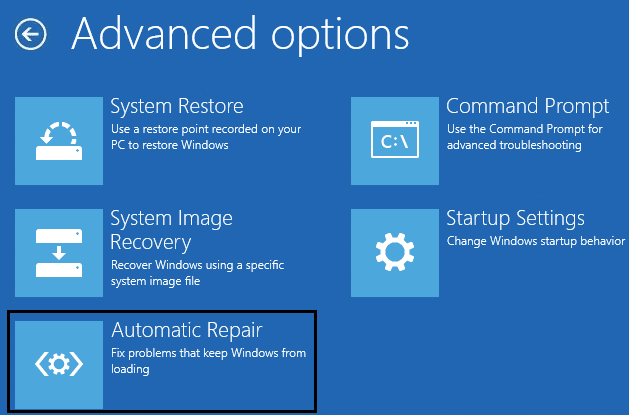
7. Wait till the Windows Automatic/Startup Repairs complete.
8. Restart and you have successfully Fix Selected boot image did not authenticate error, if not, continue.
Also Read: How to fix Automatic Repair couldn’t repair your PC.
Method 5: Run Hardware Diagnostics
If you are still not able to Fix Selected boot image did not authenticate error, then chances are your hard disk might be failing. In this case, you need to replace your previous HDD or SSD with a new one and install Windows again. But before running to any conclusion, you must run a Diagnostic tool to check if you really need to replace the Hard Disk or not. But instead of hard disk, any other hardware might also be failing such as memory or notebook panel etc.
![Run Diagnostic at startup to check if the Hard disk is failing | [FIXED] Selected boot image did not authenticate error](https://lbsite.org/wp-content/uploads/2023/01/Run-Diagnostic-at-startup-to-check-if-the-Hard-disk-is-failing.jpg)
To run Diagnostics restart your PC and as the computer starts (before the boot screen), press F12 key. When the Boot menu appears, highlight the Boot to Utility Partition option or the Diagnostics option press enter to start the Diagnostics. This will automatically check all the hardware of your system and will report back if any issue is found.
Recommended:
That’s it you have successfully Fix Selected boot image did not authenticate error if you still have any questions regarding this post then feel free to ask them in the comment’s section.
